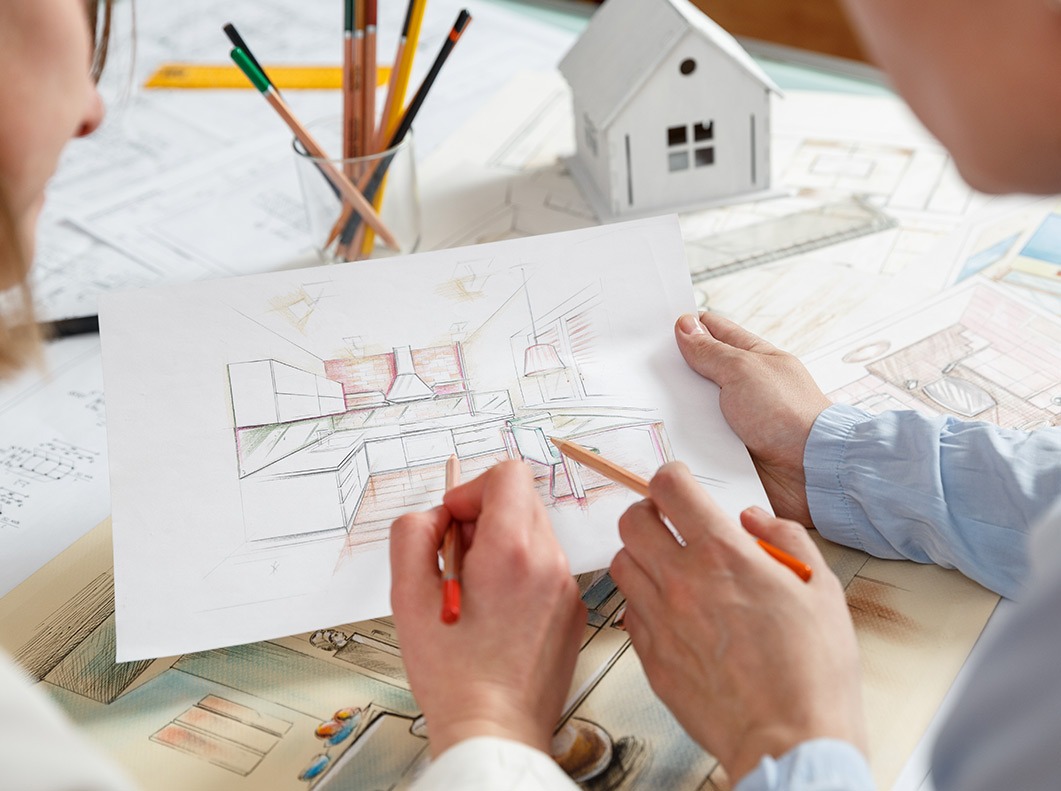
One of the most important rooms a human will spend the majority of their time in will be the kitchen. We spend hours of every day preparing food, cooking food, socializing with food, and cleaning food all while in the kitchen. It is a room that gets messy very quickly and typically a room that will require the most attention when remodeling the interior.
So the question becomes, how does one go about designing a kitchen? Are there default options that interior designers provide homeowners? How do you know the kitchen is properly spaced for what you need? What’s the point of an island and why does everyone want one?
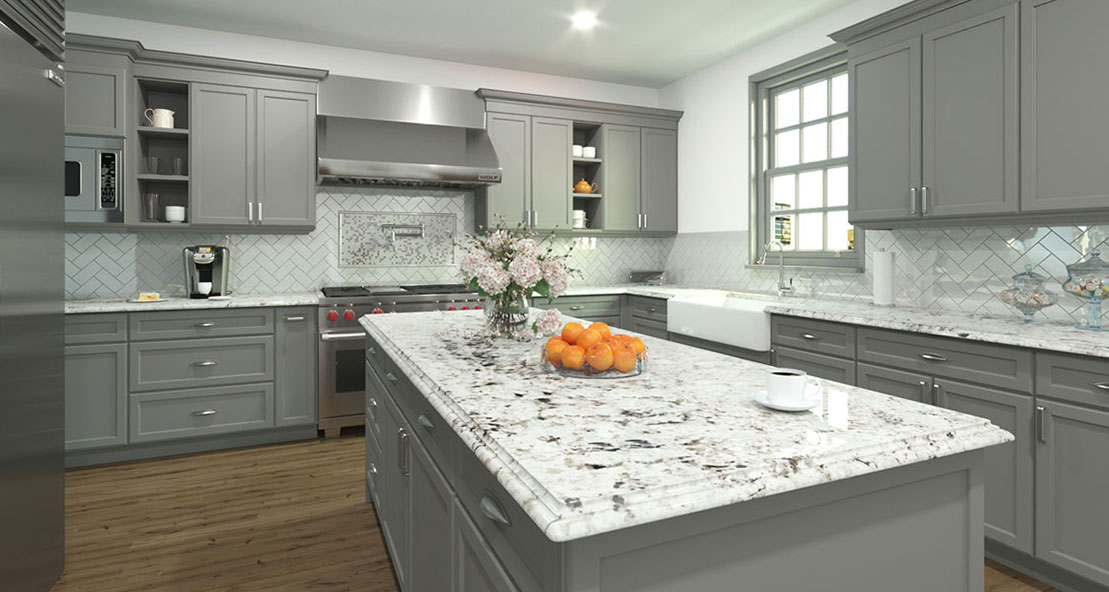
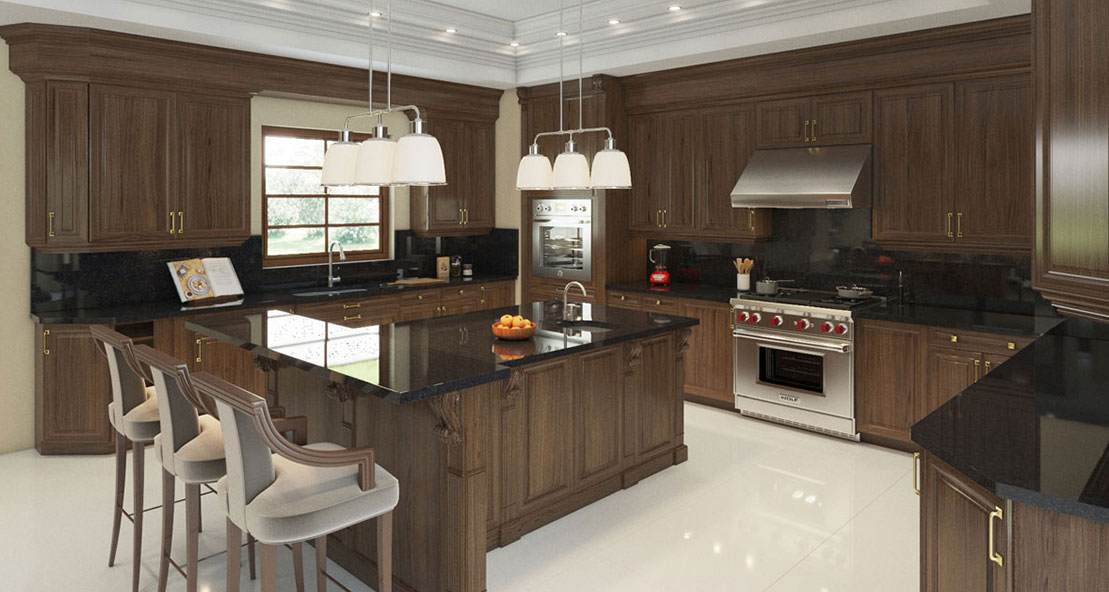
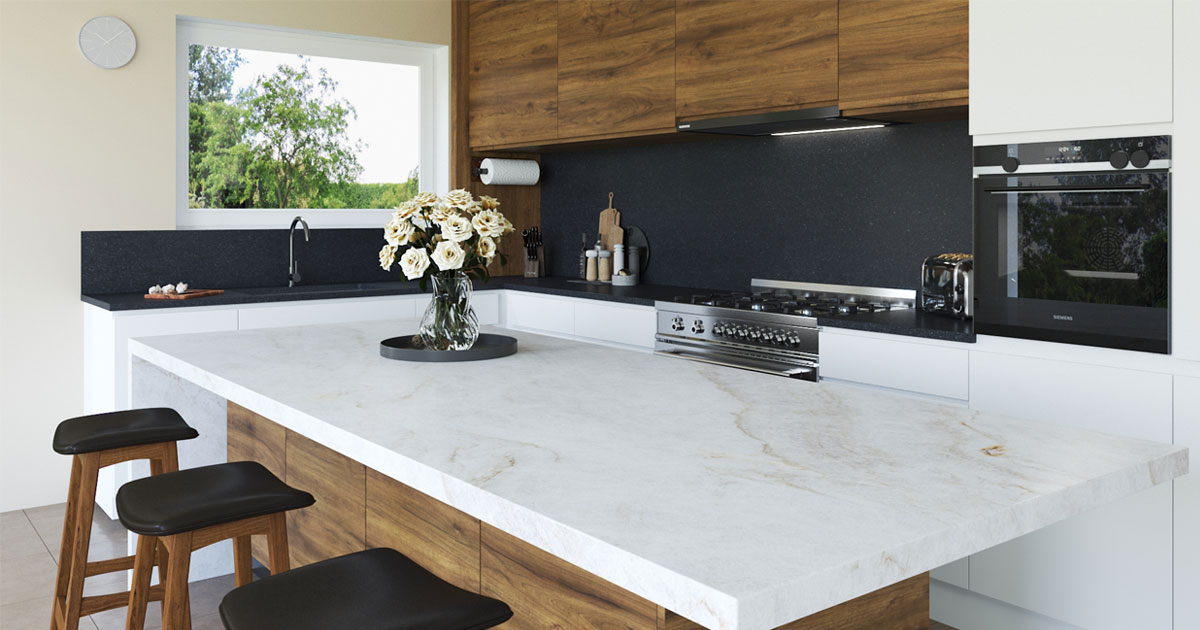
Designing a kitchen takes a lot of time, energy and thought from the homeowner and interior designer. Thankfully, the entire process can be made easier with our Kitchen Visualizer Tool. With our kitchen visualizer, you’ll be able to design a kitchen by customizing prerendered rooms crafted by interior des