


Want to spruce up an old dining room table with a stunning refinish? A new finish will allow you to match the table to the style of your home, and give your dining room or kitchen a new and refreshing look. Here’s how to do it:
Supplies and Tools
Before getting started, gather a few needed supplies and tools. If you don’t have these supplies at home, you can find them easily in any home improvement store.
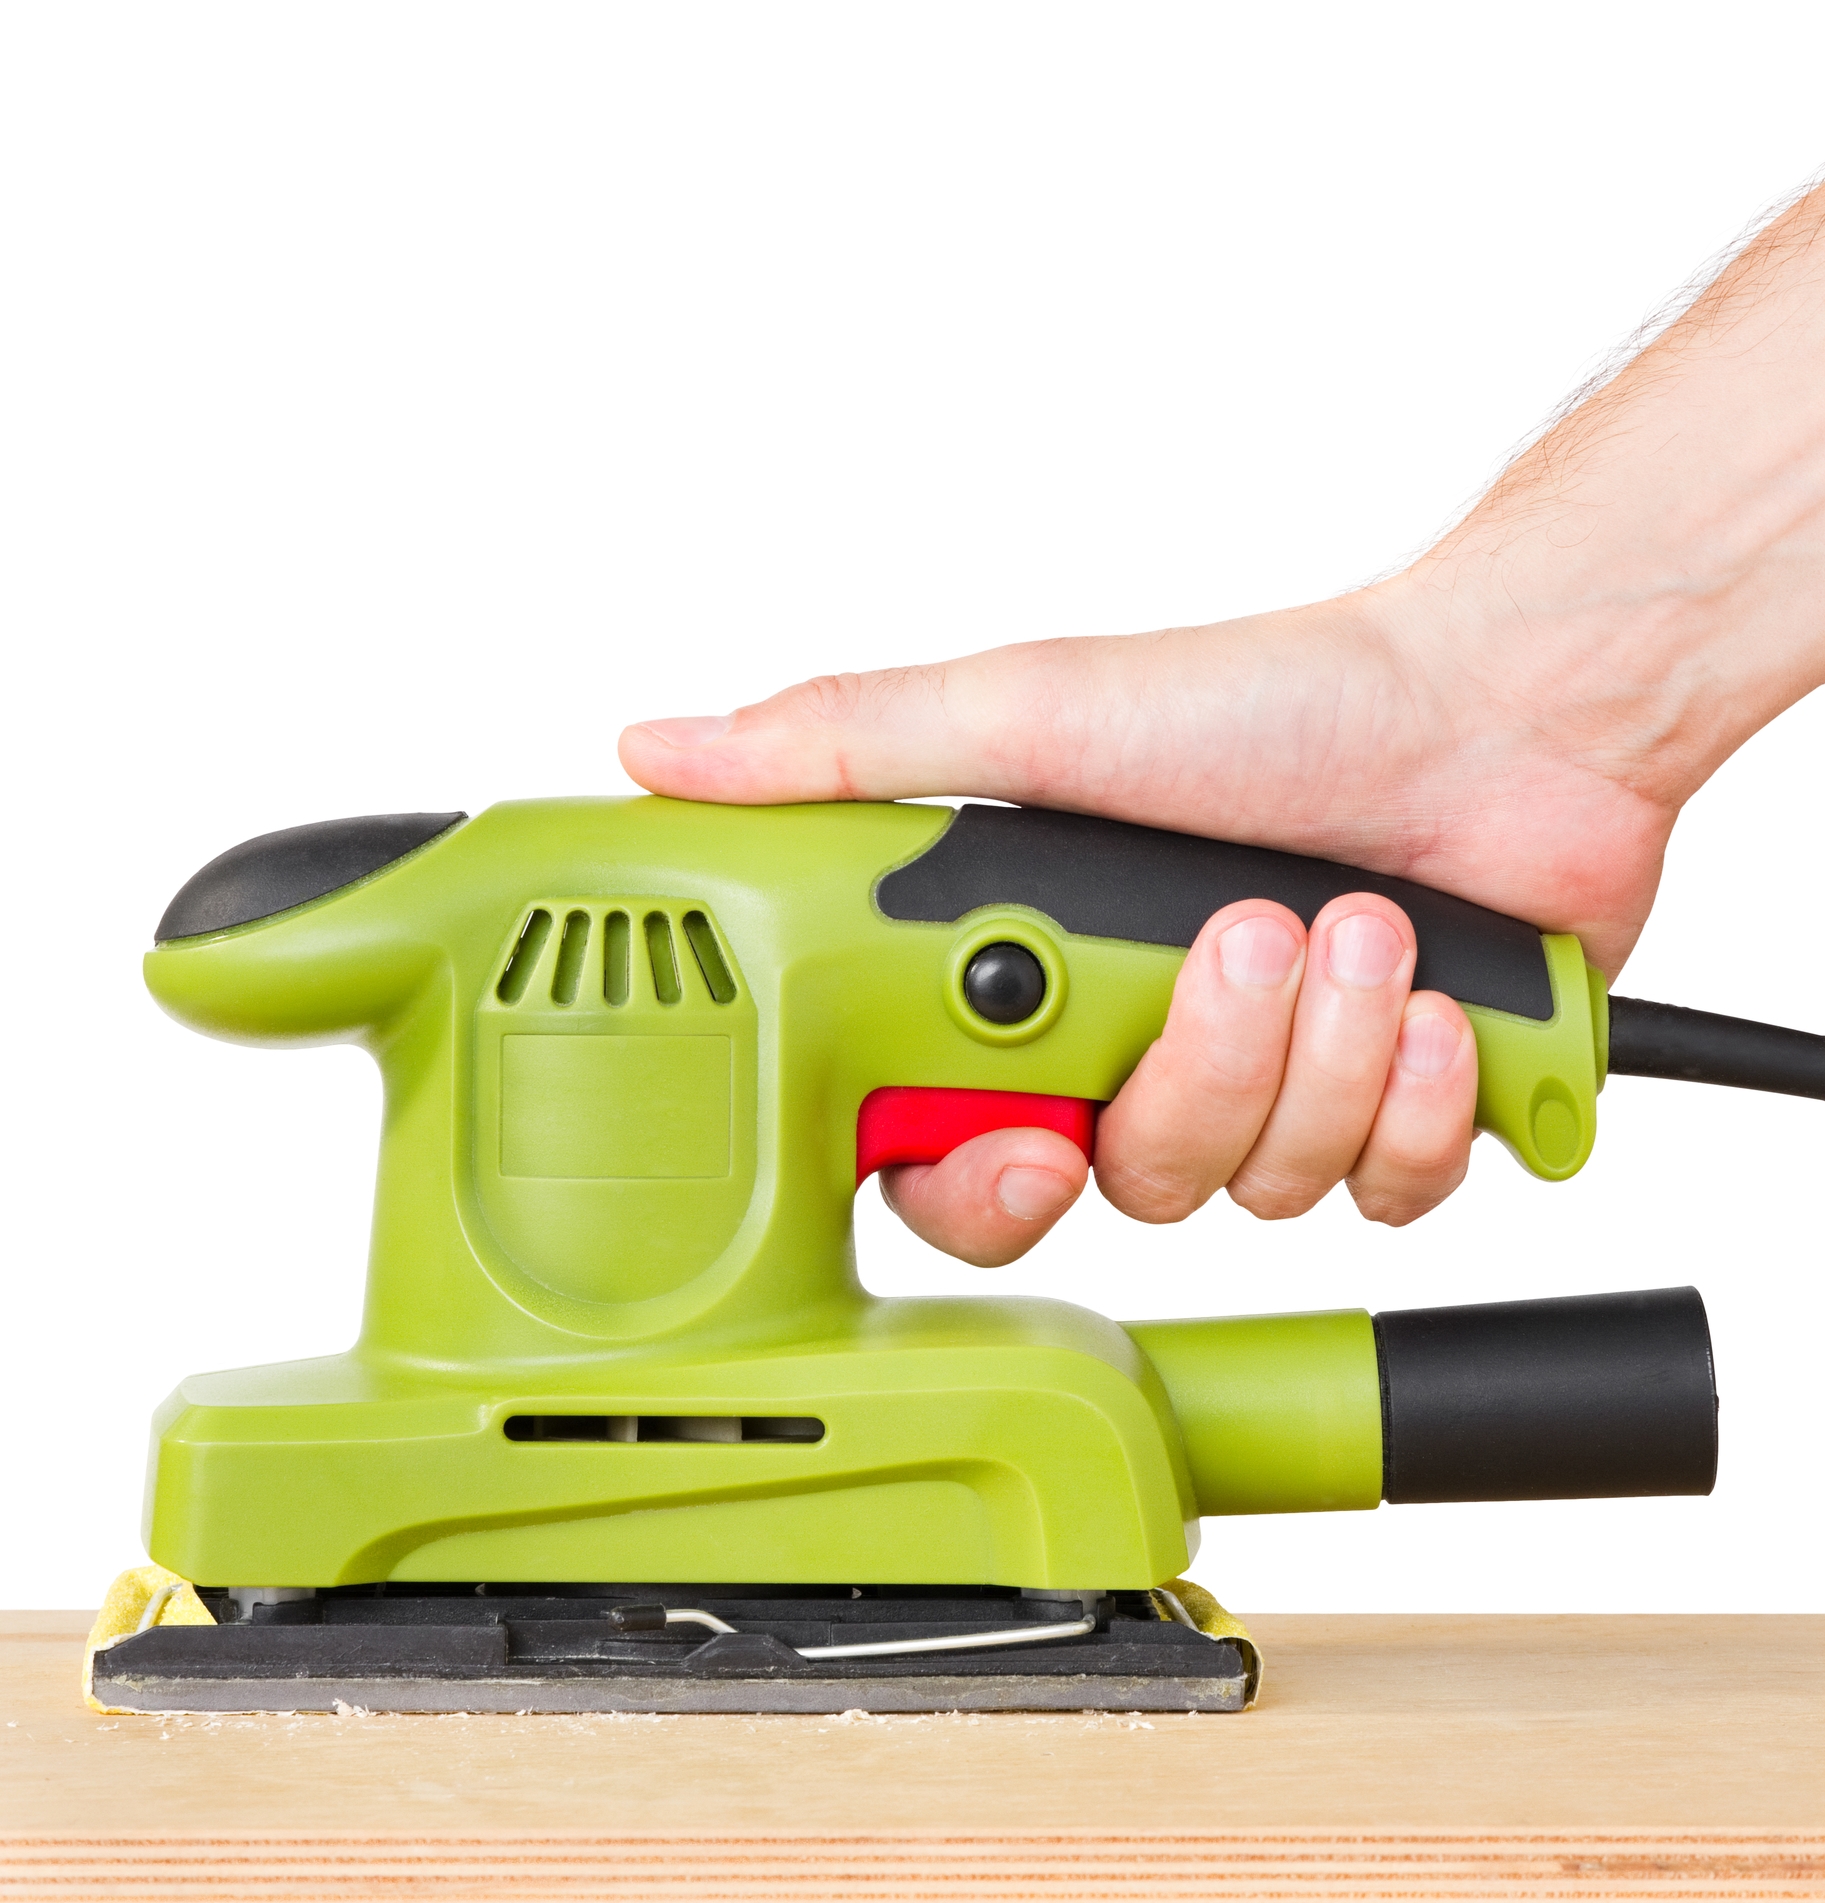
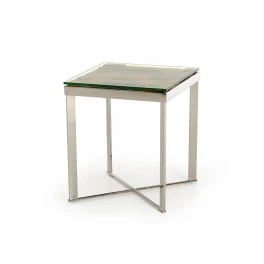
Photo by NatalliaKhlapushyna on Dreamstime


- Tack cloth
- Rags
- Stain brushes
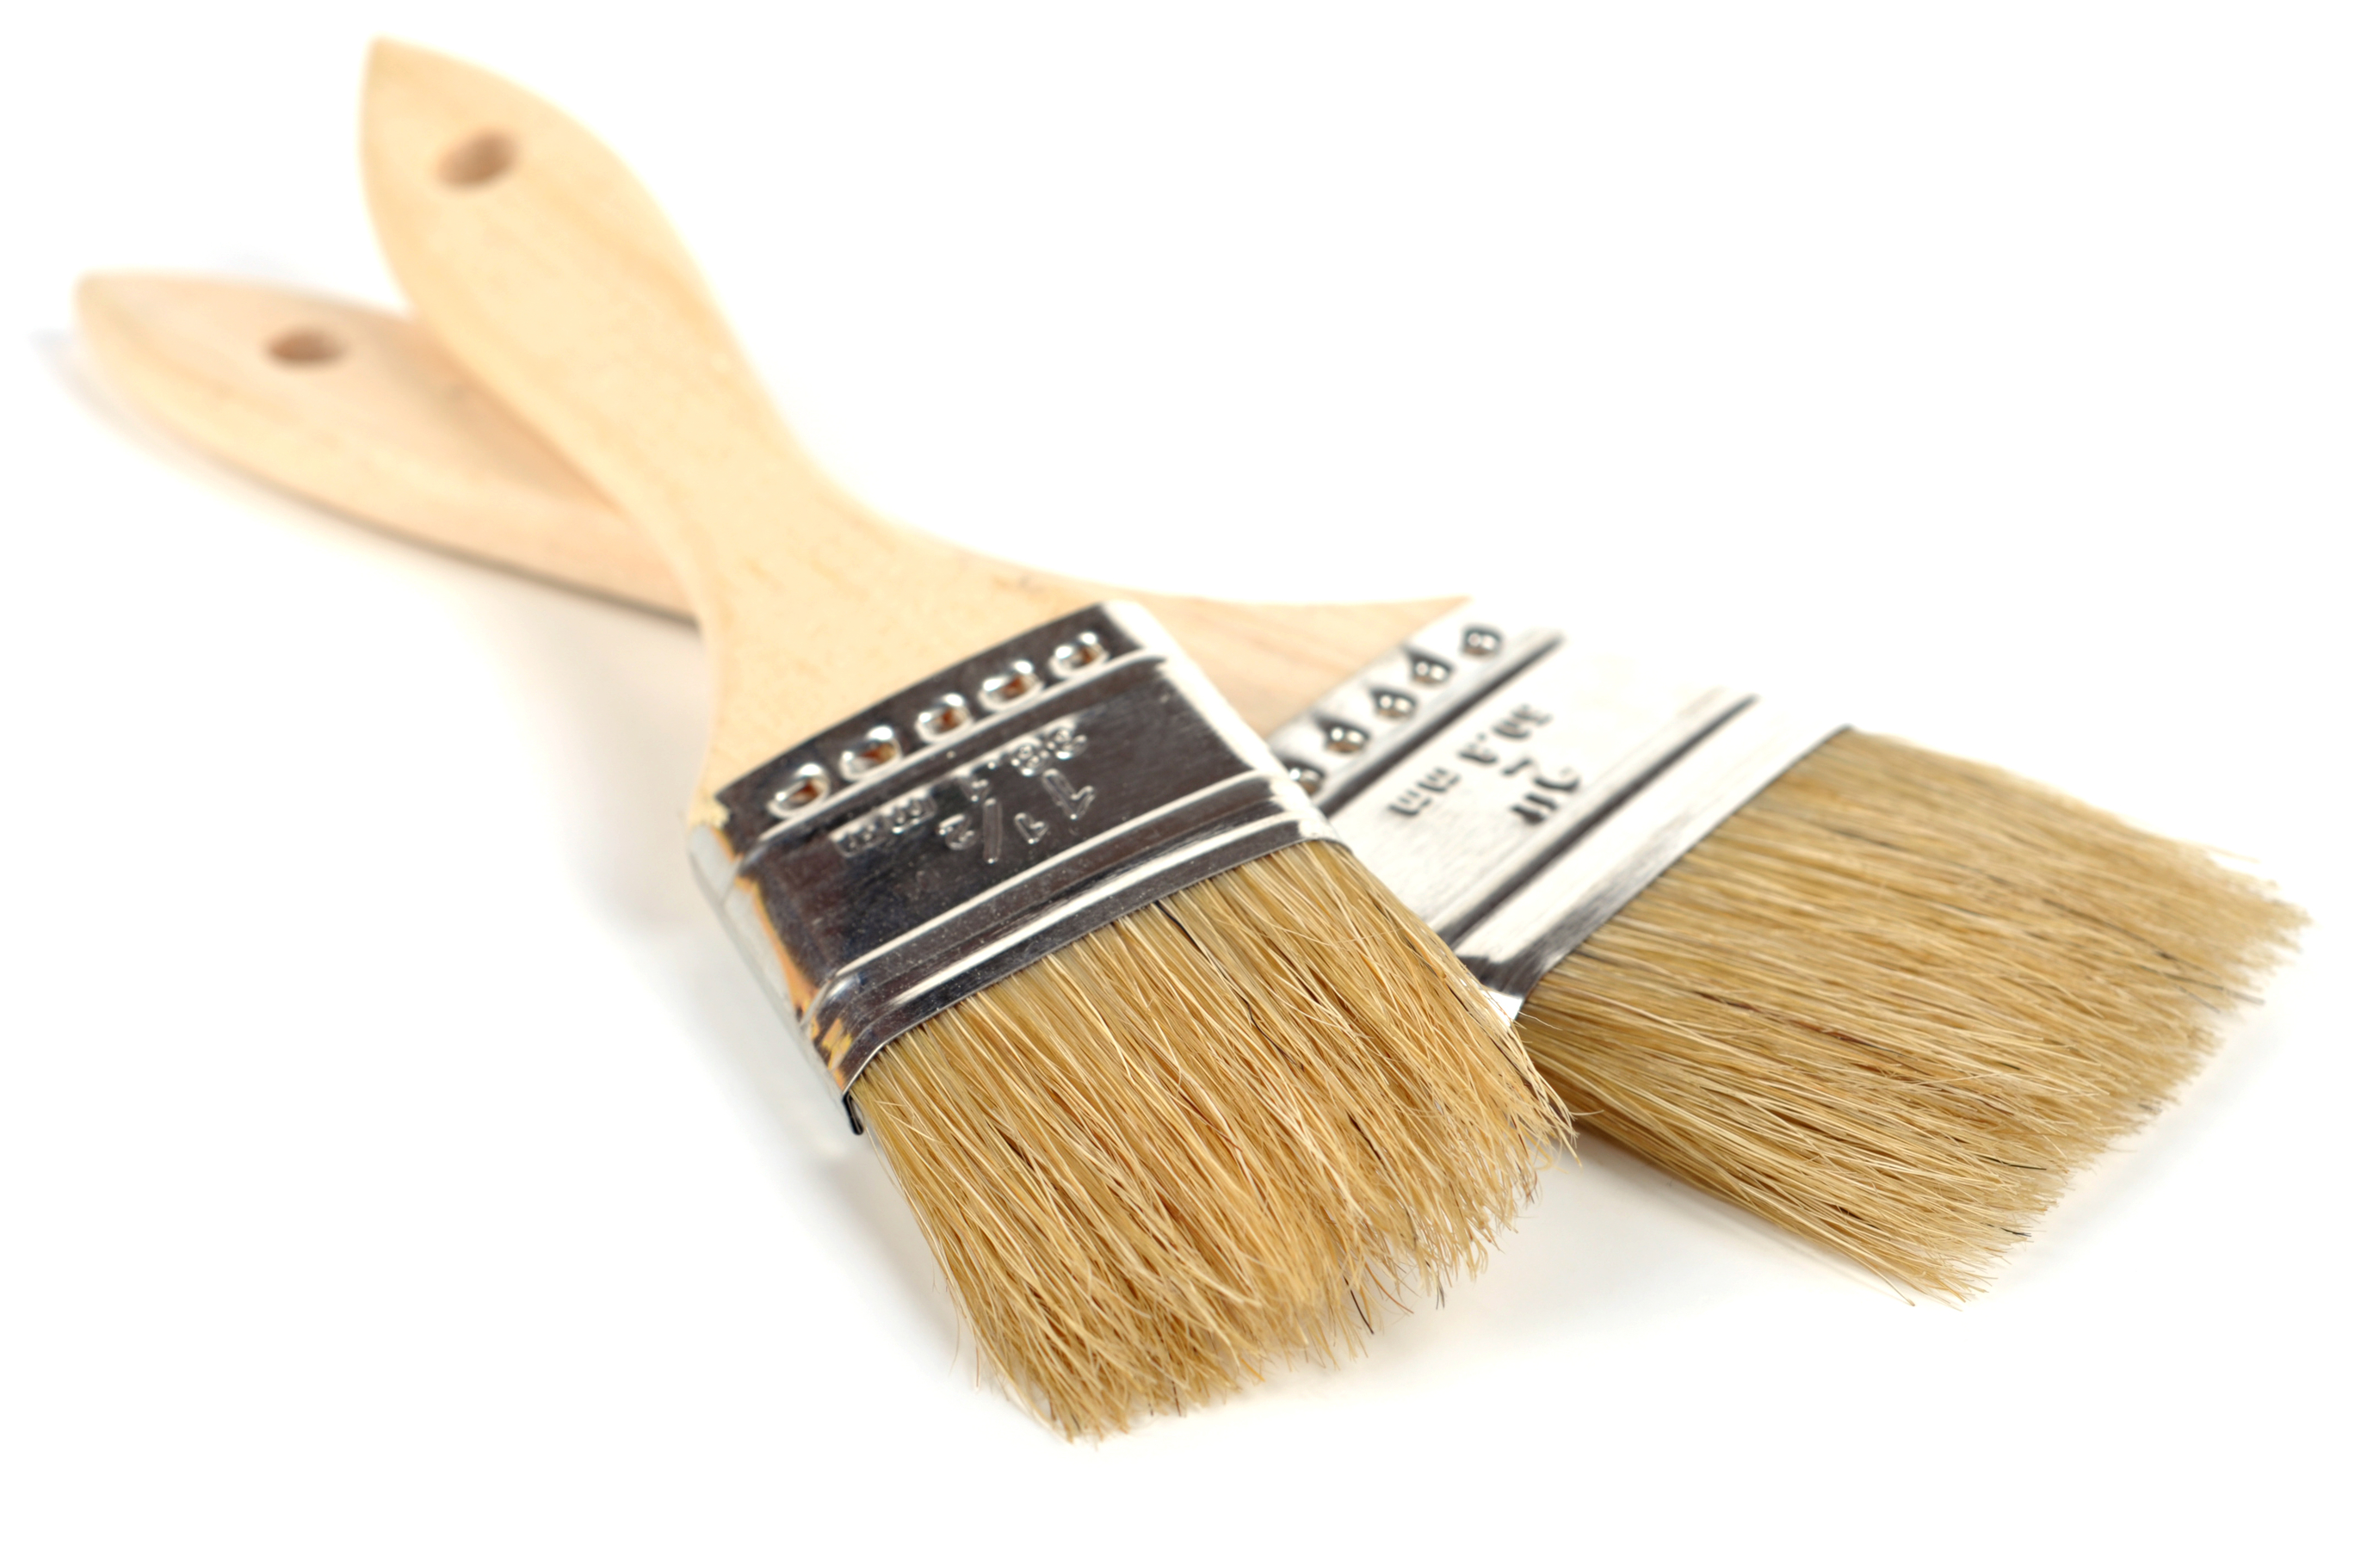
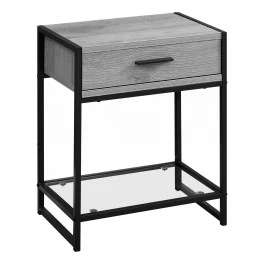
Photo by Andrelix on Depositphotos
- Paint stripper
- Sandpaper of varying grits
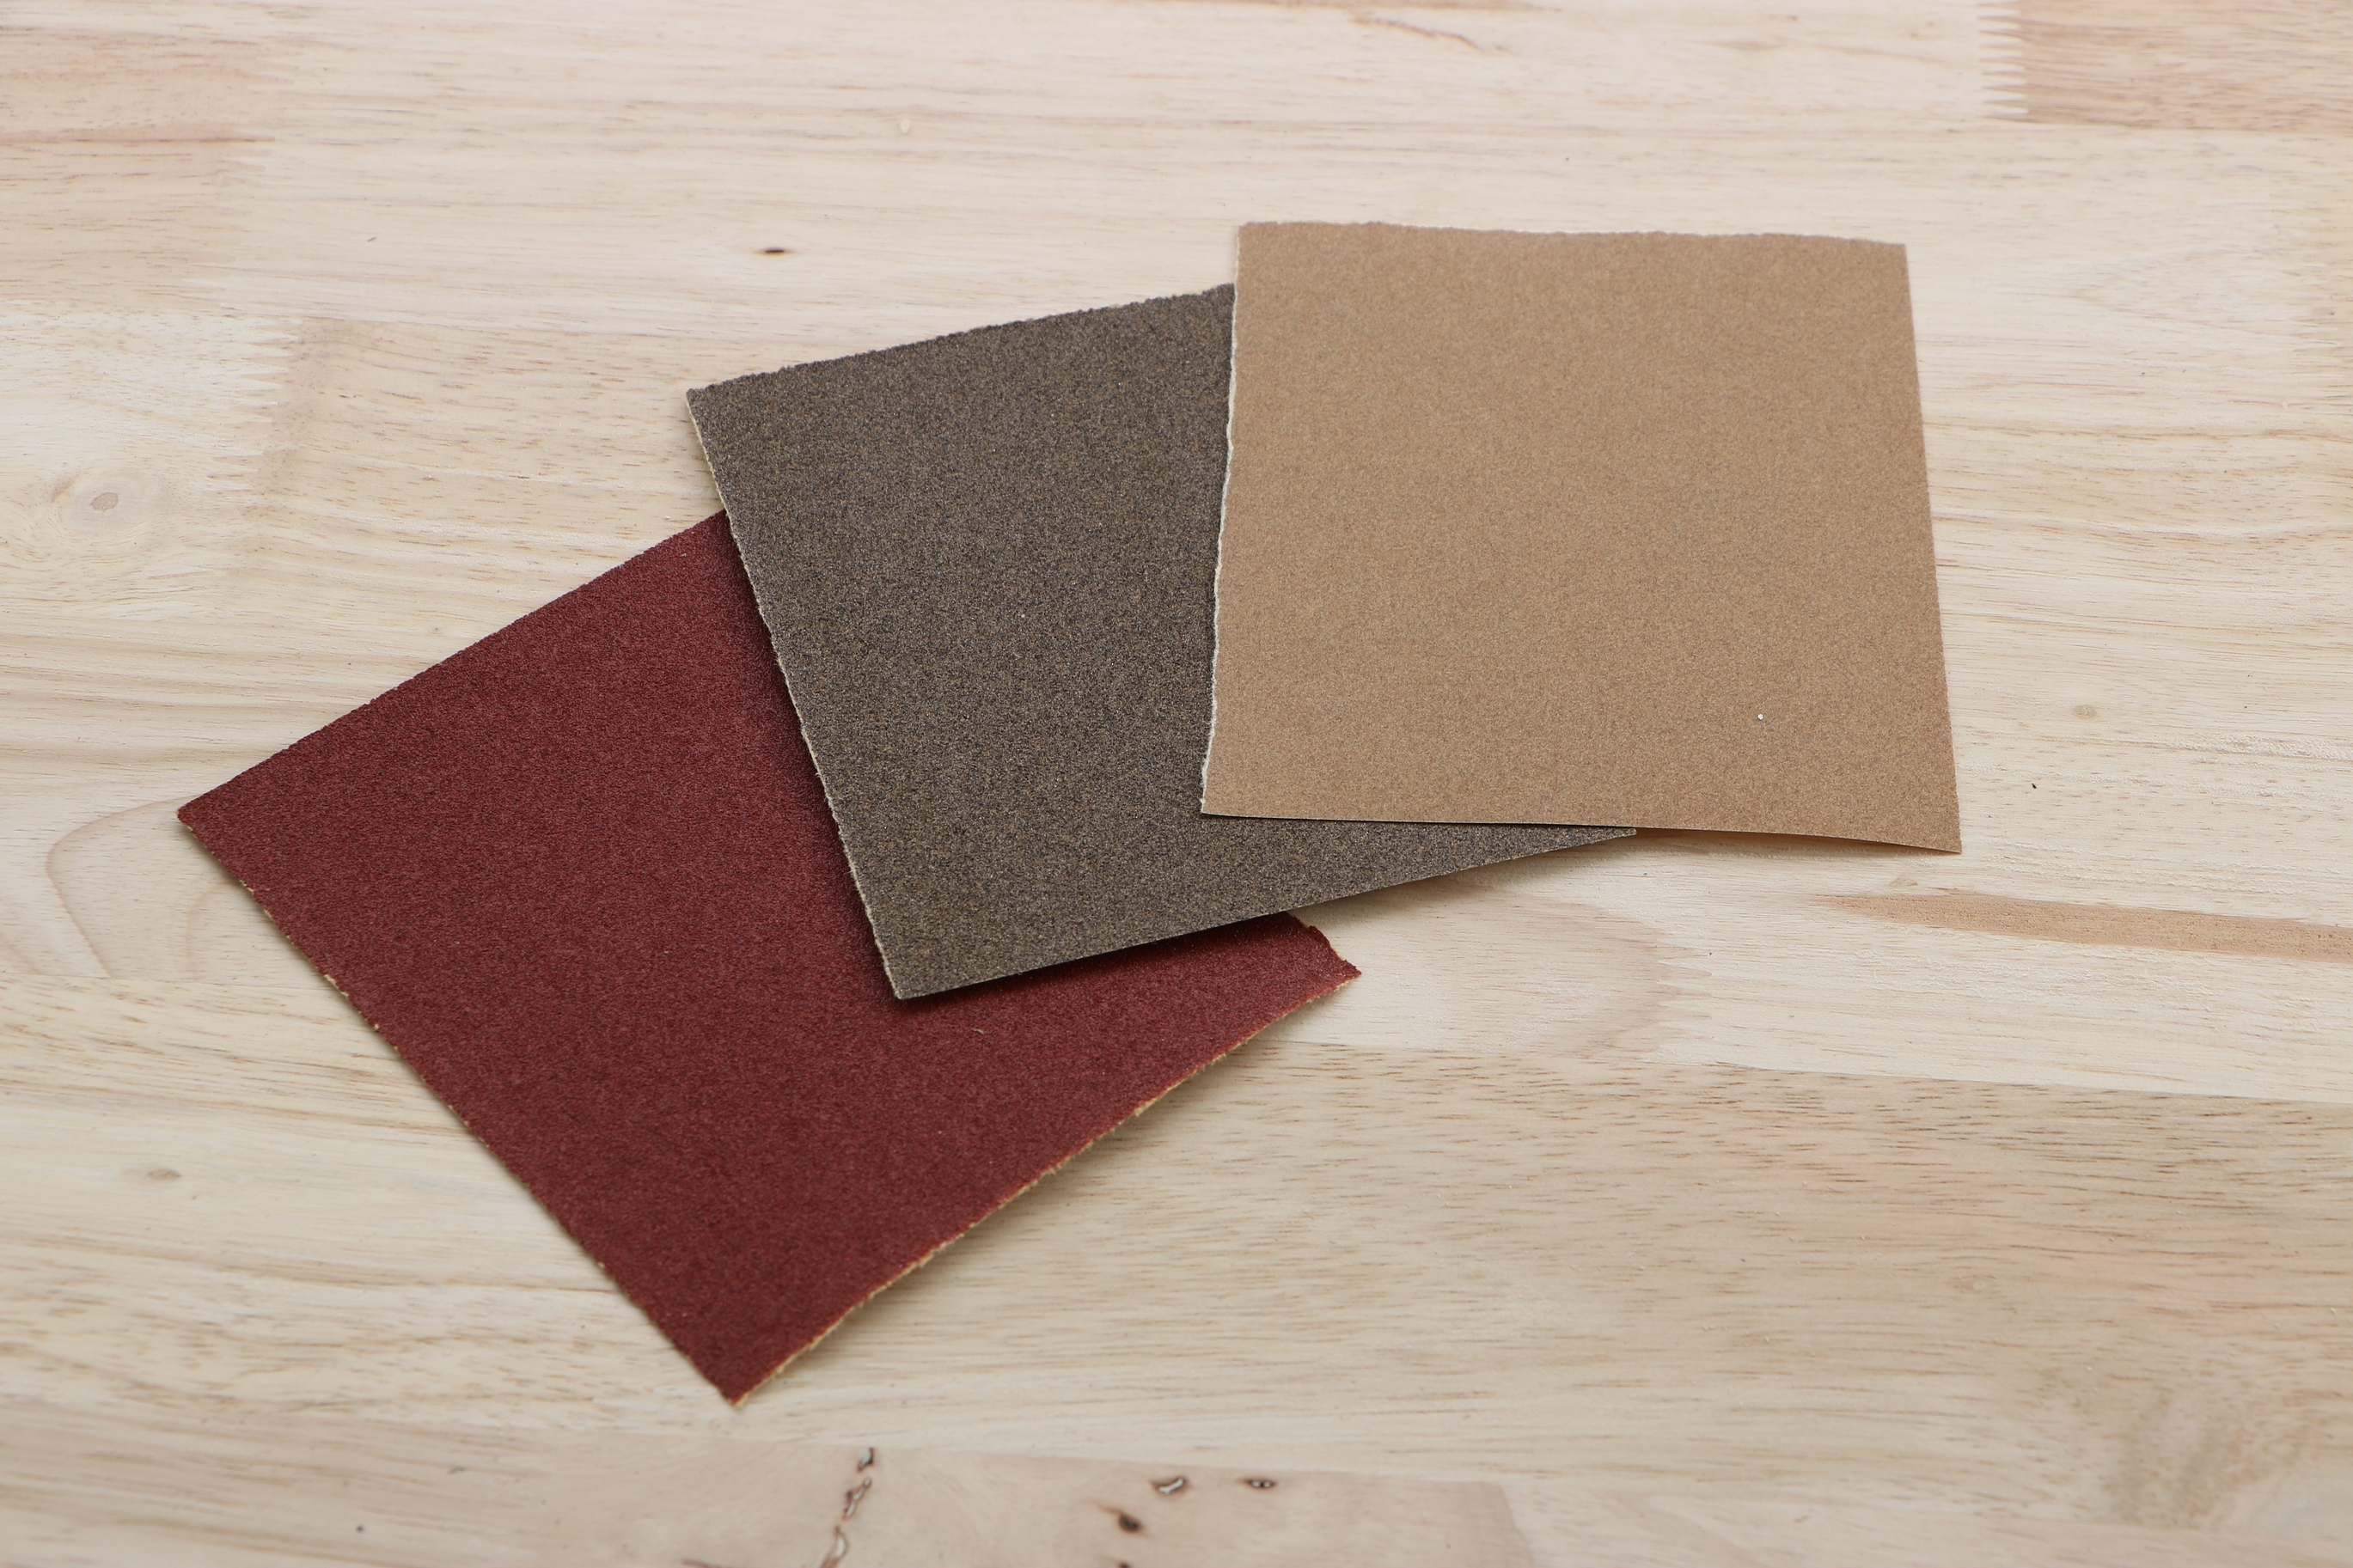
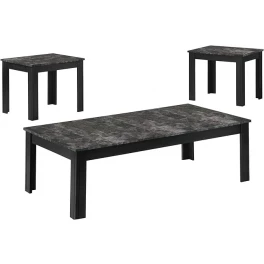
Photo by AMLbox on Shutterstock
- Polyurethane
- Scraper
- A stain with the color of your choice
Removing the Old Look
Before you can add you own new look to your table, you first need to remove the old one. While you might be tempted to immediately grab the sand paper, don’t start sanding yet as the old finish will cake onto the paper. Instead, remove the old finish with a paint stripper outdoors or in a well-ventilated area. A spray-on chemical stripper will not spill and will be easy to control. Spray it over the entire surface that you’re stripping in an even layer, and then let it sit for about 5-10 minutes. The finish should peel away from the wood, letting you easily scrape it away with a metal scraper. Feel free to add more stripper to stubborn areas of finish.
After applying stripper and clearing the table of loose pieces with a rag, you should then start sanding. First use a medium- or low-grit sandpaper to remove any last bits of finish then use a finer sandpaper, working with the grain. This will smooth the surface and prepare it for the new stain and finish. Be sure to sand all surfaces of the table evenly and take care not to gouge the surface, particularly if you use an electric sander.
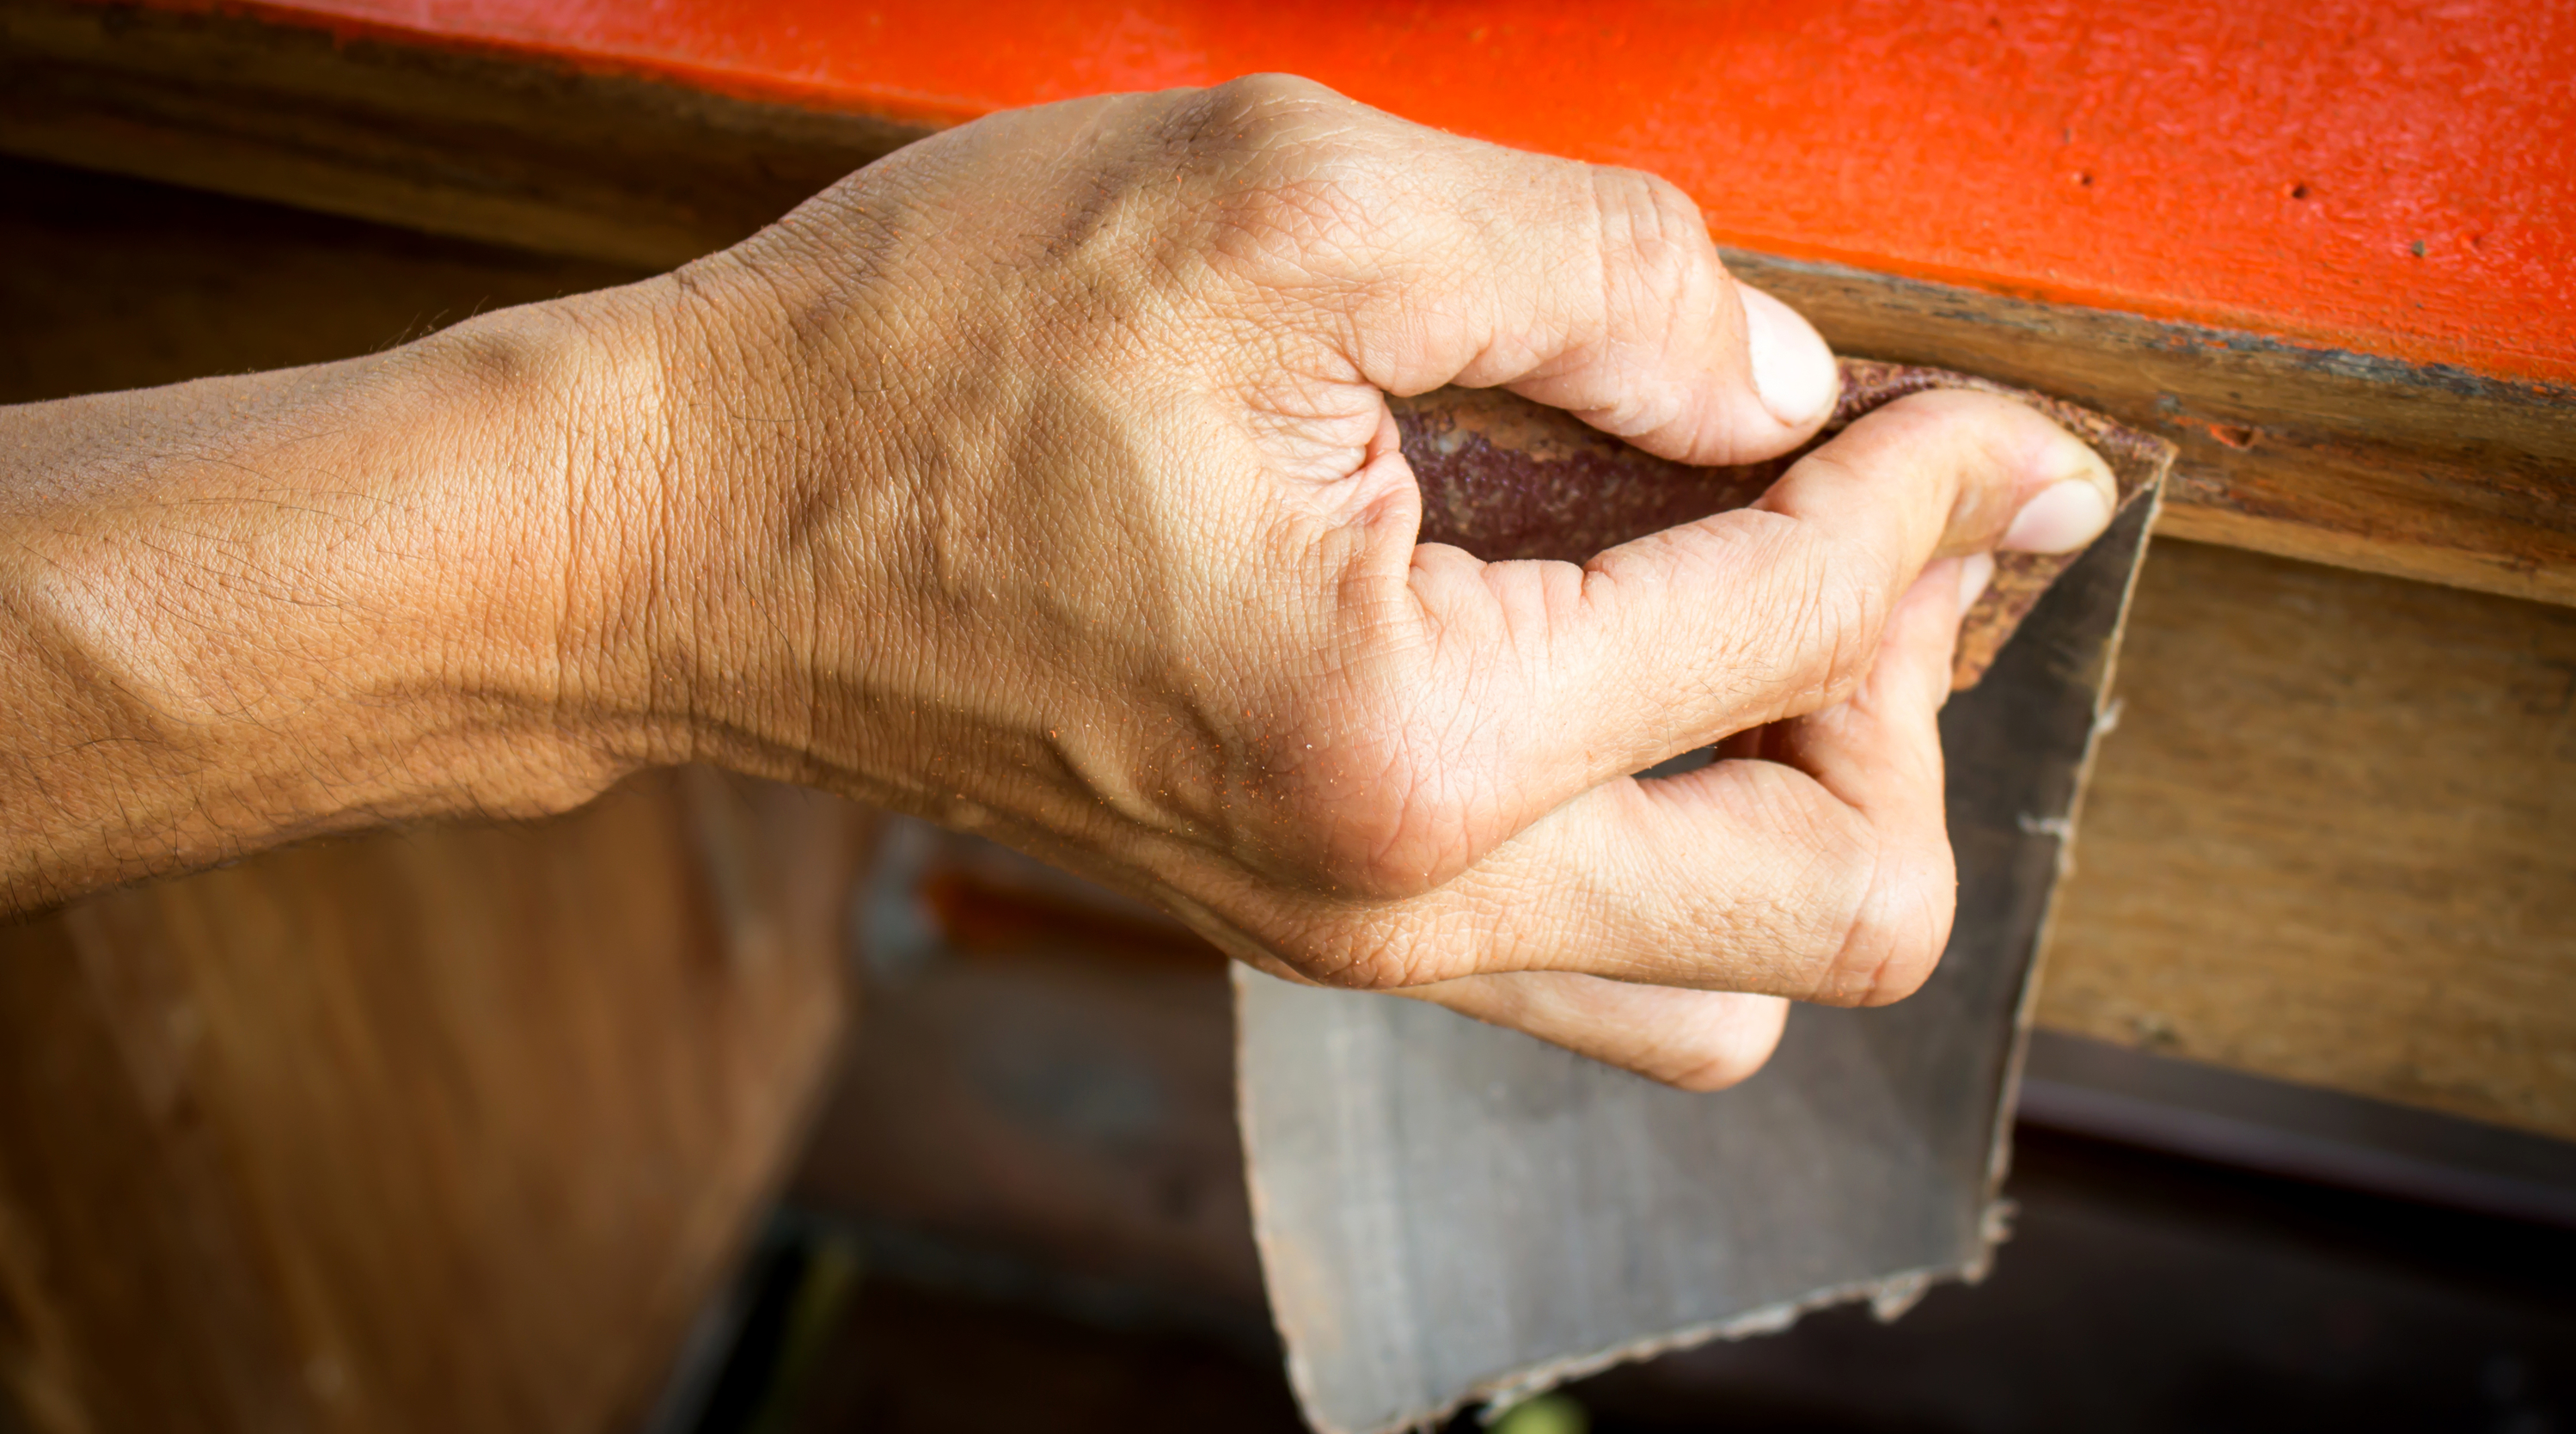
Photo by Kamontad123 on Shutterstock
Next, wipe away any remaining dust with a tack cloth, especially in the crevices of the table, and sweep sawdust from the floor.
Creating Your New Design
In creating your new design, first apply the new stain to the wood. Pick out a color that will complement the artistic theme of the room your table will be in, and also decide how dark you’d like the color to be before you start staining. Brush the stain on with a stain brush or wipe it on with a staining pad. Whatever tool you use, apply the stain in long, even strokes along the grain of the wood.
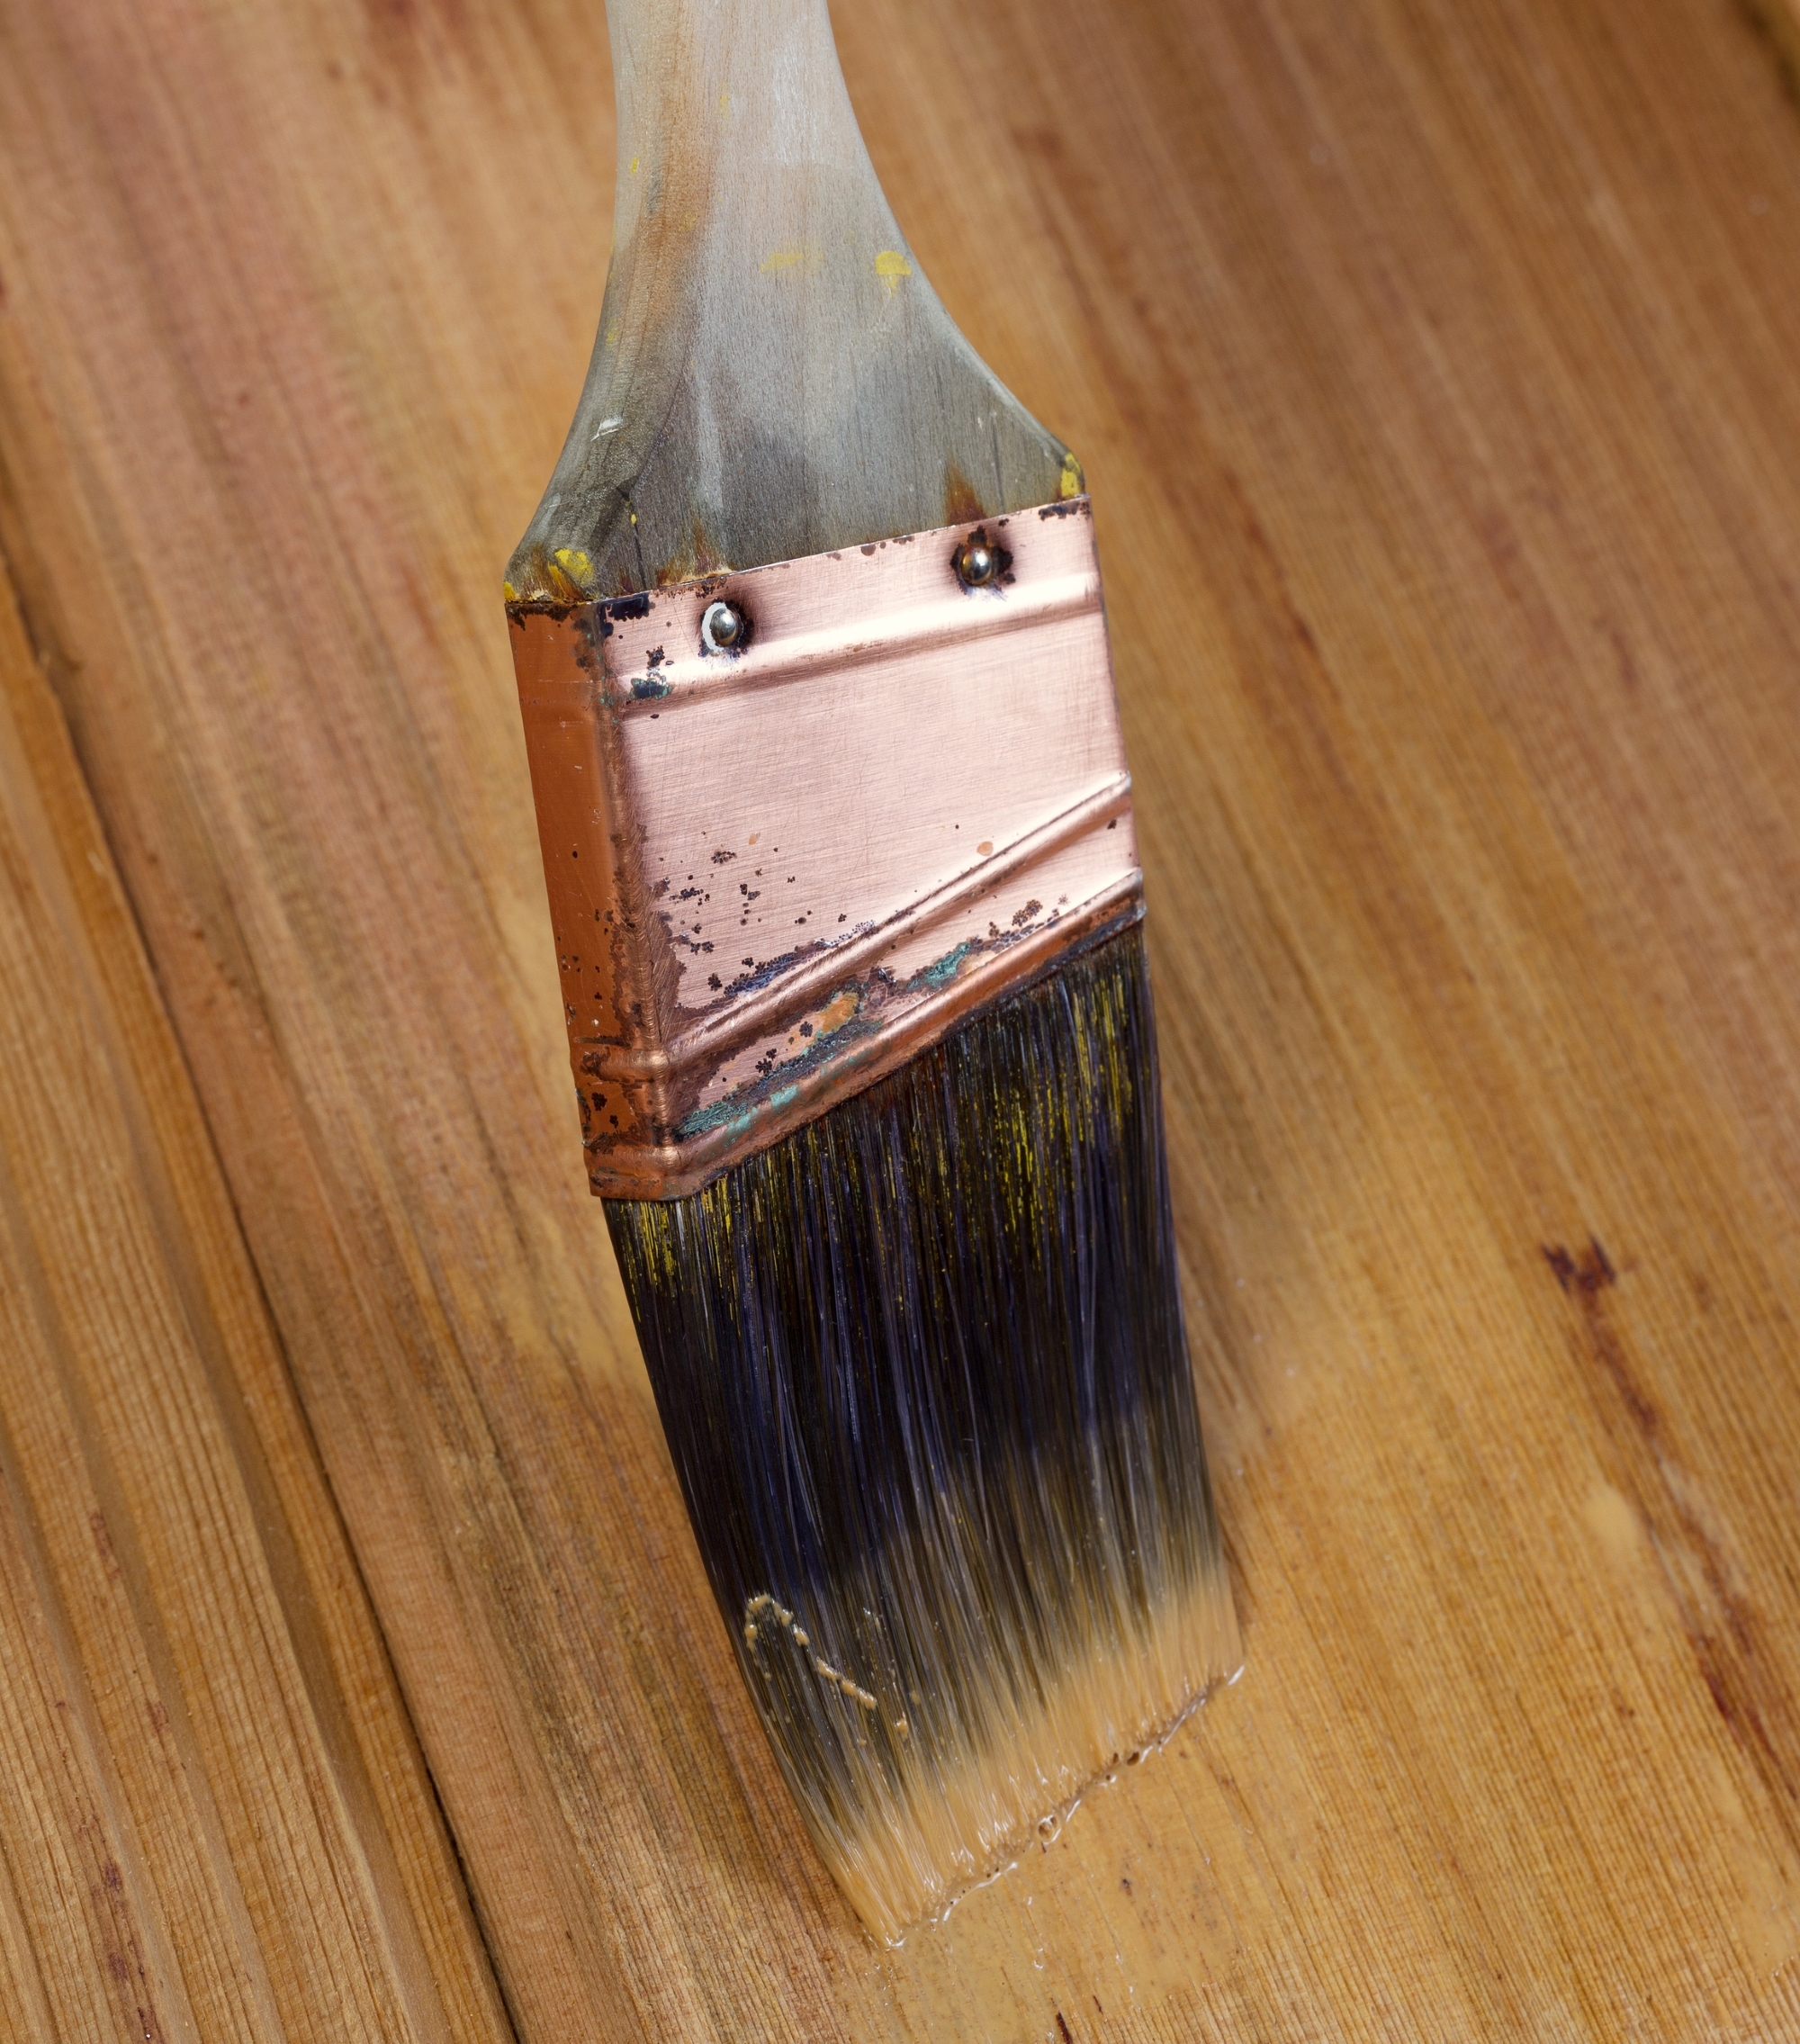
Photo by Thomas Baker on Alamy
For a darker color, let the stain sit for a bit longer, and for lighter color, only let the stain soak for a few minutes at the most. After letting it sit for a moment, wipe off excess stain with a clean cloth along the grain. Allow the stain to dry to see how much you like the color, and then add coats until you achieve the desired shade. Be sure to stain all surfaces of the table evenly with each new coat, and sand in between coats with fine-grain sandpaper. You only need to lightly sand the surface to maintain smoothness since wood stain tends to swell the wood fibers.
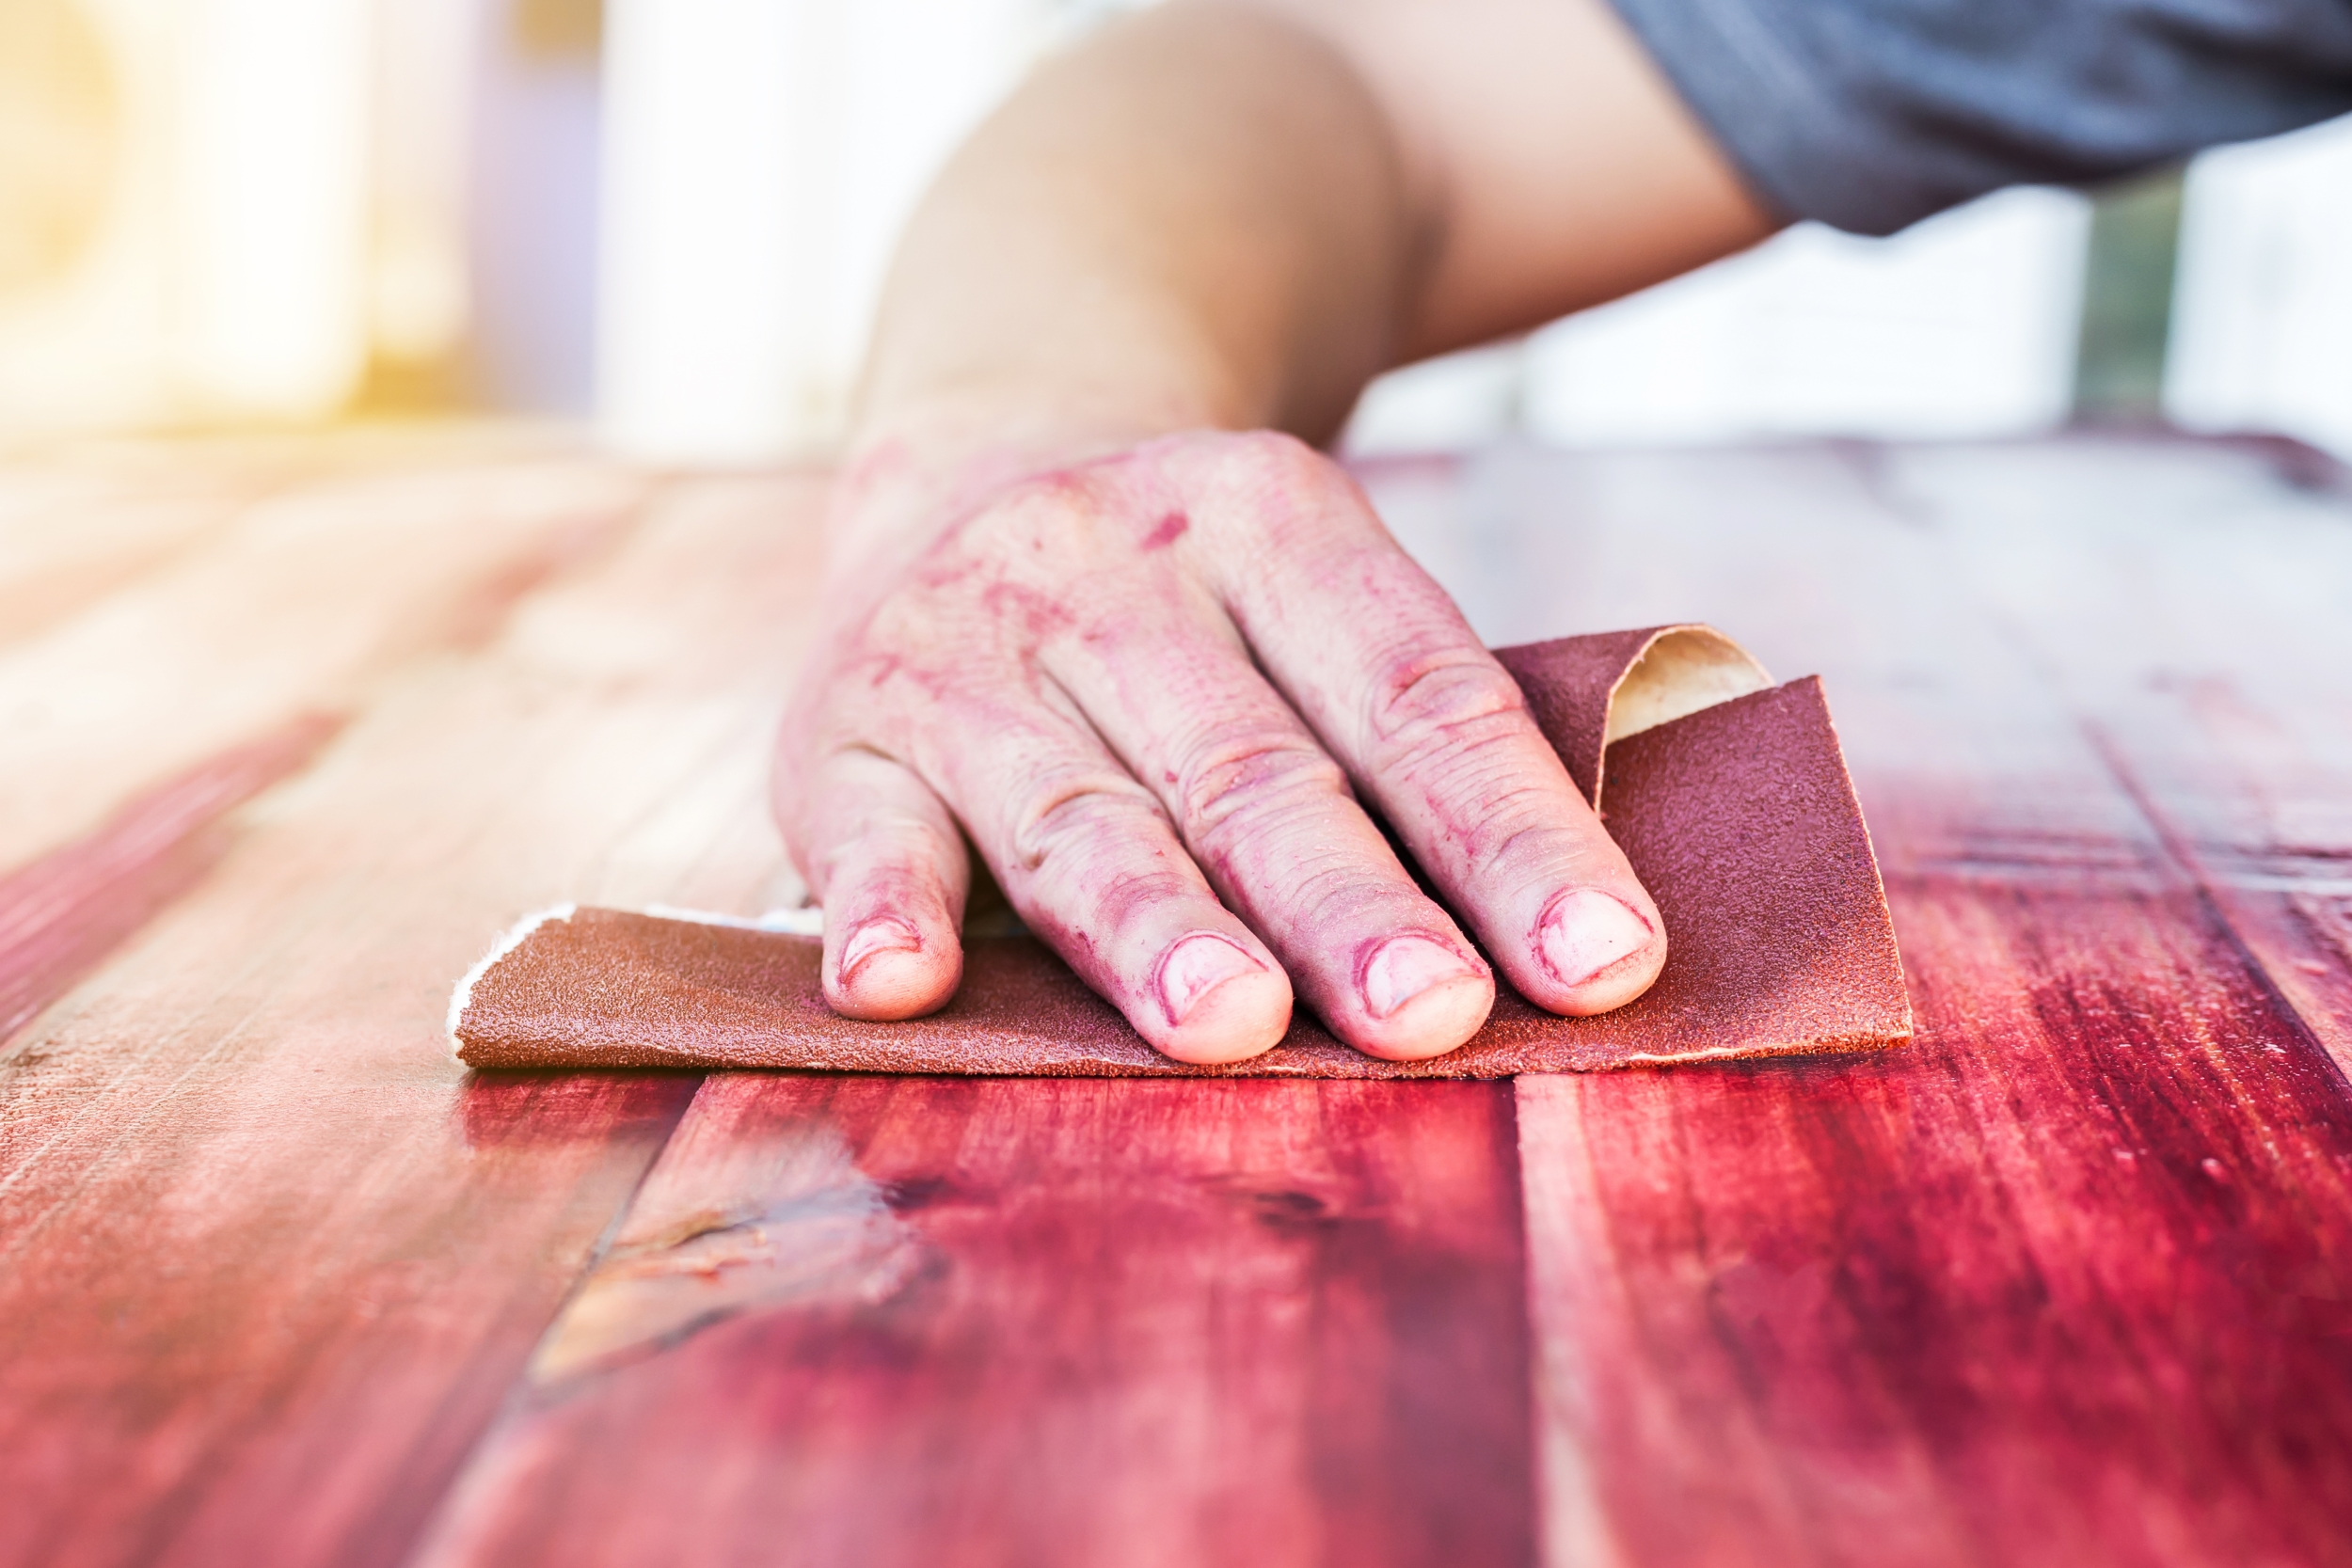
Photo by Pix One onShutterstock
Now it’s time to finish up by applying polyurethane. Wait for the last coat of stain to dry, and then apply four or more coats of polyurethane to the table. Since tables undergo a lot of use, these coats should help the table maintain its look and finish for many years. After applying the last coat of polyurethane, let it dry for at least 24 hours. Once it’s completely dry, you can use your refinished table again.
Whether your current table is getting old or you picked up an ancient relic from a thrift store, you can make it look great again in just a few easy steps.
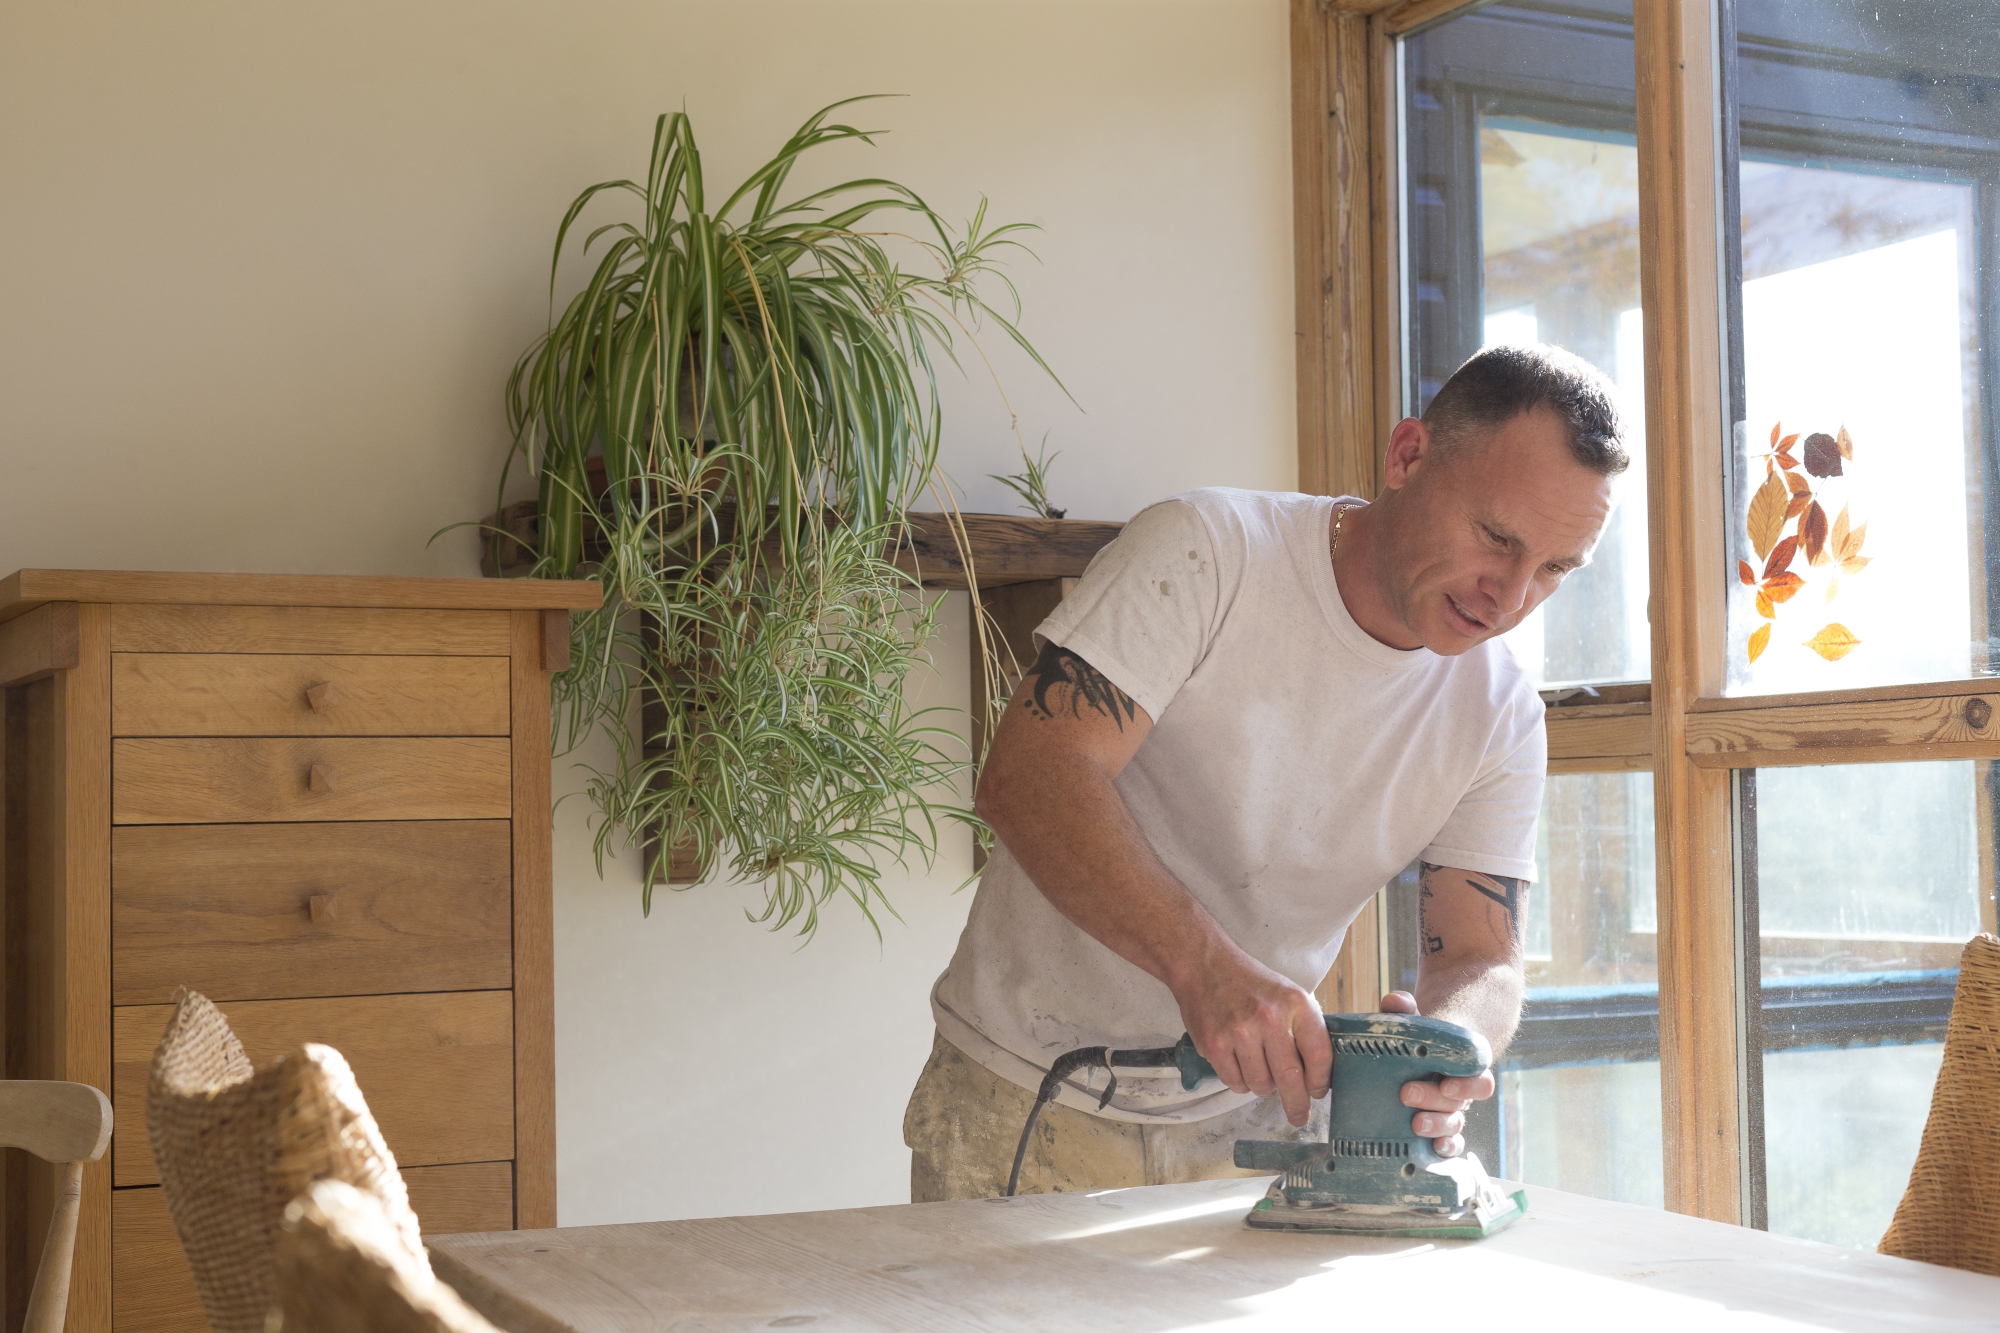
Photo by DGLimages on Shutterstock


