


Have you ever thought about raising chickens in your own backyard? It can be a fun and relaxing hobby. Plus, you’ll get the best eggs you’ve ever tasted. Chickens just need basic shelter with room to move around, so constructing a chicken coop on your property can be relatively easy. Here are some simple tips to get started (without ruffling your feathers).
Step 1. Decide on Size.
You will need 2 square feet of floor space for each chicken. For example, if you have four chickens, then plan on a minimum of 8 square feet of floor space. But it’s fine if you build it a bit bigger because the coop should also comfortably accommodate the birds’ nesting boxes, which should be a minimum of 1 square foot each. Plan on having one nesting box for every three birds.

Photo by eurobanks on Adobe Stock


Step 2. Sketch it Out.
Your chicken coop can be as simple or fancy as you want, but it’s a good idea to sketch out the construction pattern on paper first. Be sure to include measurements in your sketch.

Photo by Aivita Arika on Dreamstock
Don’t forget to include a door in the plans as well. It needs to be large enough for you to enter and exit while holding an egg-collecting basket.
Step 3. Mark the Ground.
Use wooden stakes and string to mark the area you plan on building the coop. Take into consideration how much sunlight and warmth the area will get (chickens like plenty of both). Avoid building the coop in low areas where rain and mud can collect. And, if you plan to have a chicken run, make sure you have enough space for it near the coop.
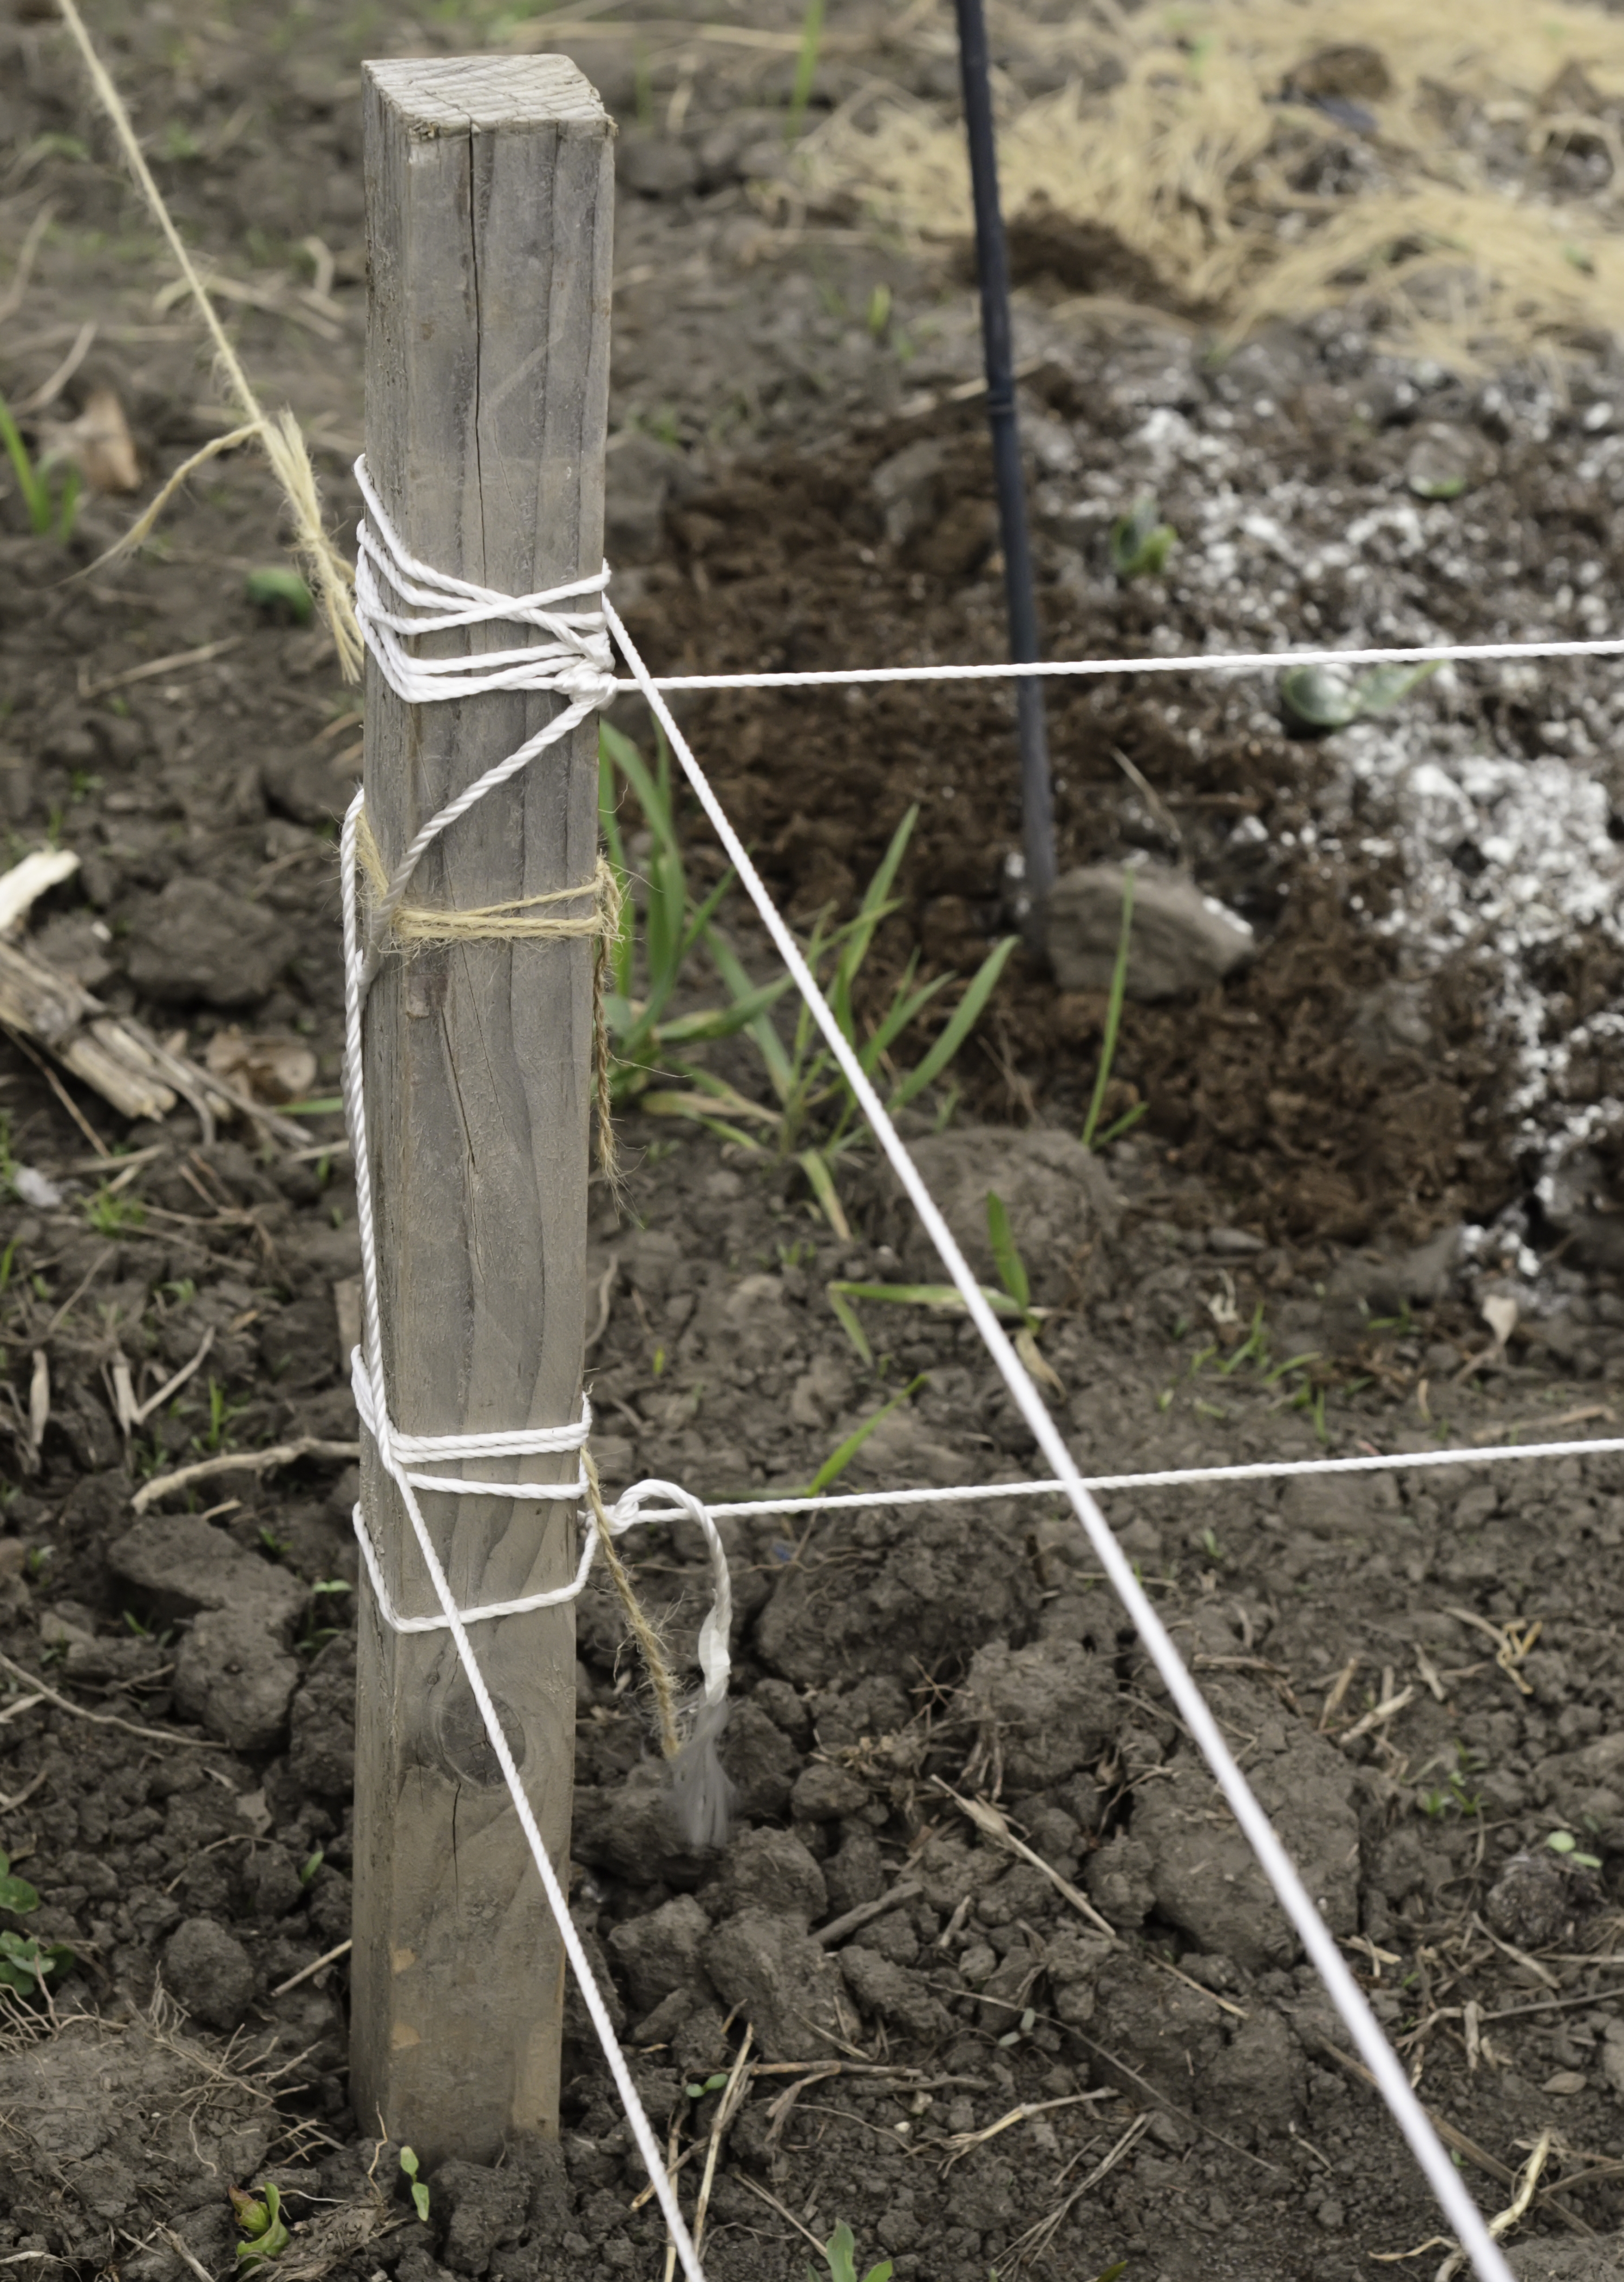
Photo by ESB Essentials on Shutterstock
Step 4: Build.
Now that you’ve got your construction plans and the perfect place to build, it’s time to get to work. Bring your plans to the local lumber yard. Someone there can help you determine how much wood you’ll need. Plan to frame the coop with 2-by-4-inch lumber and use plywood for the walls. The roof can also be a sheet of plywood covered with roof shingles, or simply a piece of sheet metal.

Photo by Artem on Adobe Stock
Remember, your chickens aren’t going to care how fancy it is, and a dirt floor is perfectly fine. So, you’re basically putting together the walls and the roof of a simple structure.
Be sure to leave an opening in one of the walls to enable the hens to easily and exit the coop. You can let them roam freely if you have a fenced in yard and aren’t concerned about predators. Otherwise, you should attach a chicken run, which can be as simple as chicken wire attached to evenly spaced wooden posts. A 20-by-5-foot run should keep six to eight birds happy.
Step 5: Accessorize.
Once the coop is in place, add waterers, a feed trough, and nesting boxes. Throw about 6 inches of straw on the floor and some in each nesting box and your chickens will be happy and comfortable.

Photo by JackF on Adobe Stock
Step 6: Pick Up Some Chicks.
Finally, it’s time to invite some chickens to live in your coop. There are more breeds of chickens than you may realize and they all have different temperaments, egg yields, activity levels, climate preferences, and noise levels. Check out this convenient chart to decide on what breed of bird will be right for you.

Photo by shapovalphoto on Shutterstock
There are plenty of pre-made chicken coops on the market, but they can be costly. If you know how to measure, saw, and hammer, then you can build one yourself. As long as you follow the above tips, your chickens will cluck in approval of their new home, and you’ll have a consistent supply of fresh eggs.


