If you need some light in the yard and the added benefit of keeping pesky bugs at bay, here are some easy DIY backyard tiki torch ideas that will solve both your problems. These DIY tiki torch tips are simple and can be used to make your own tiki torches from repurposed items you probably already have around the house.
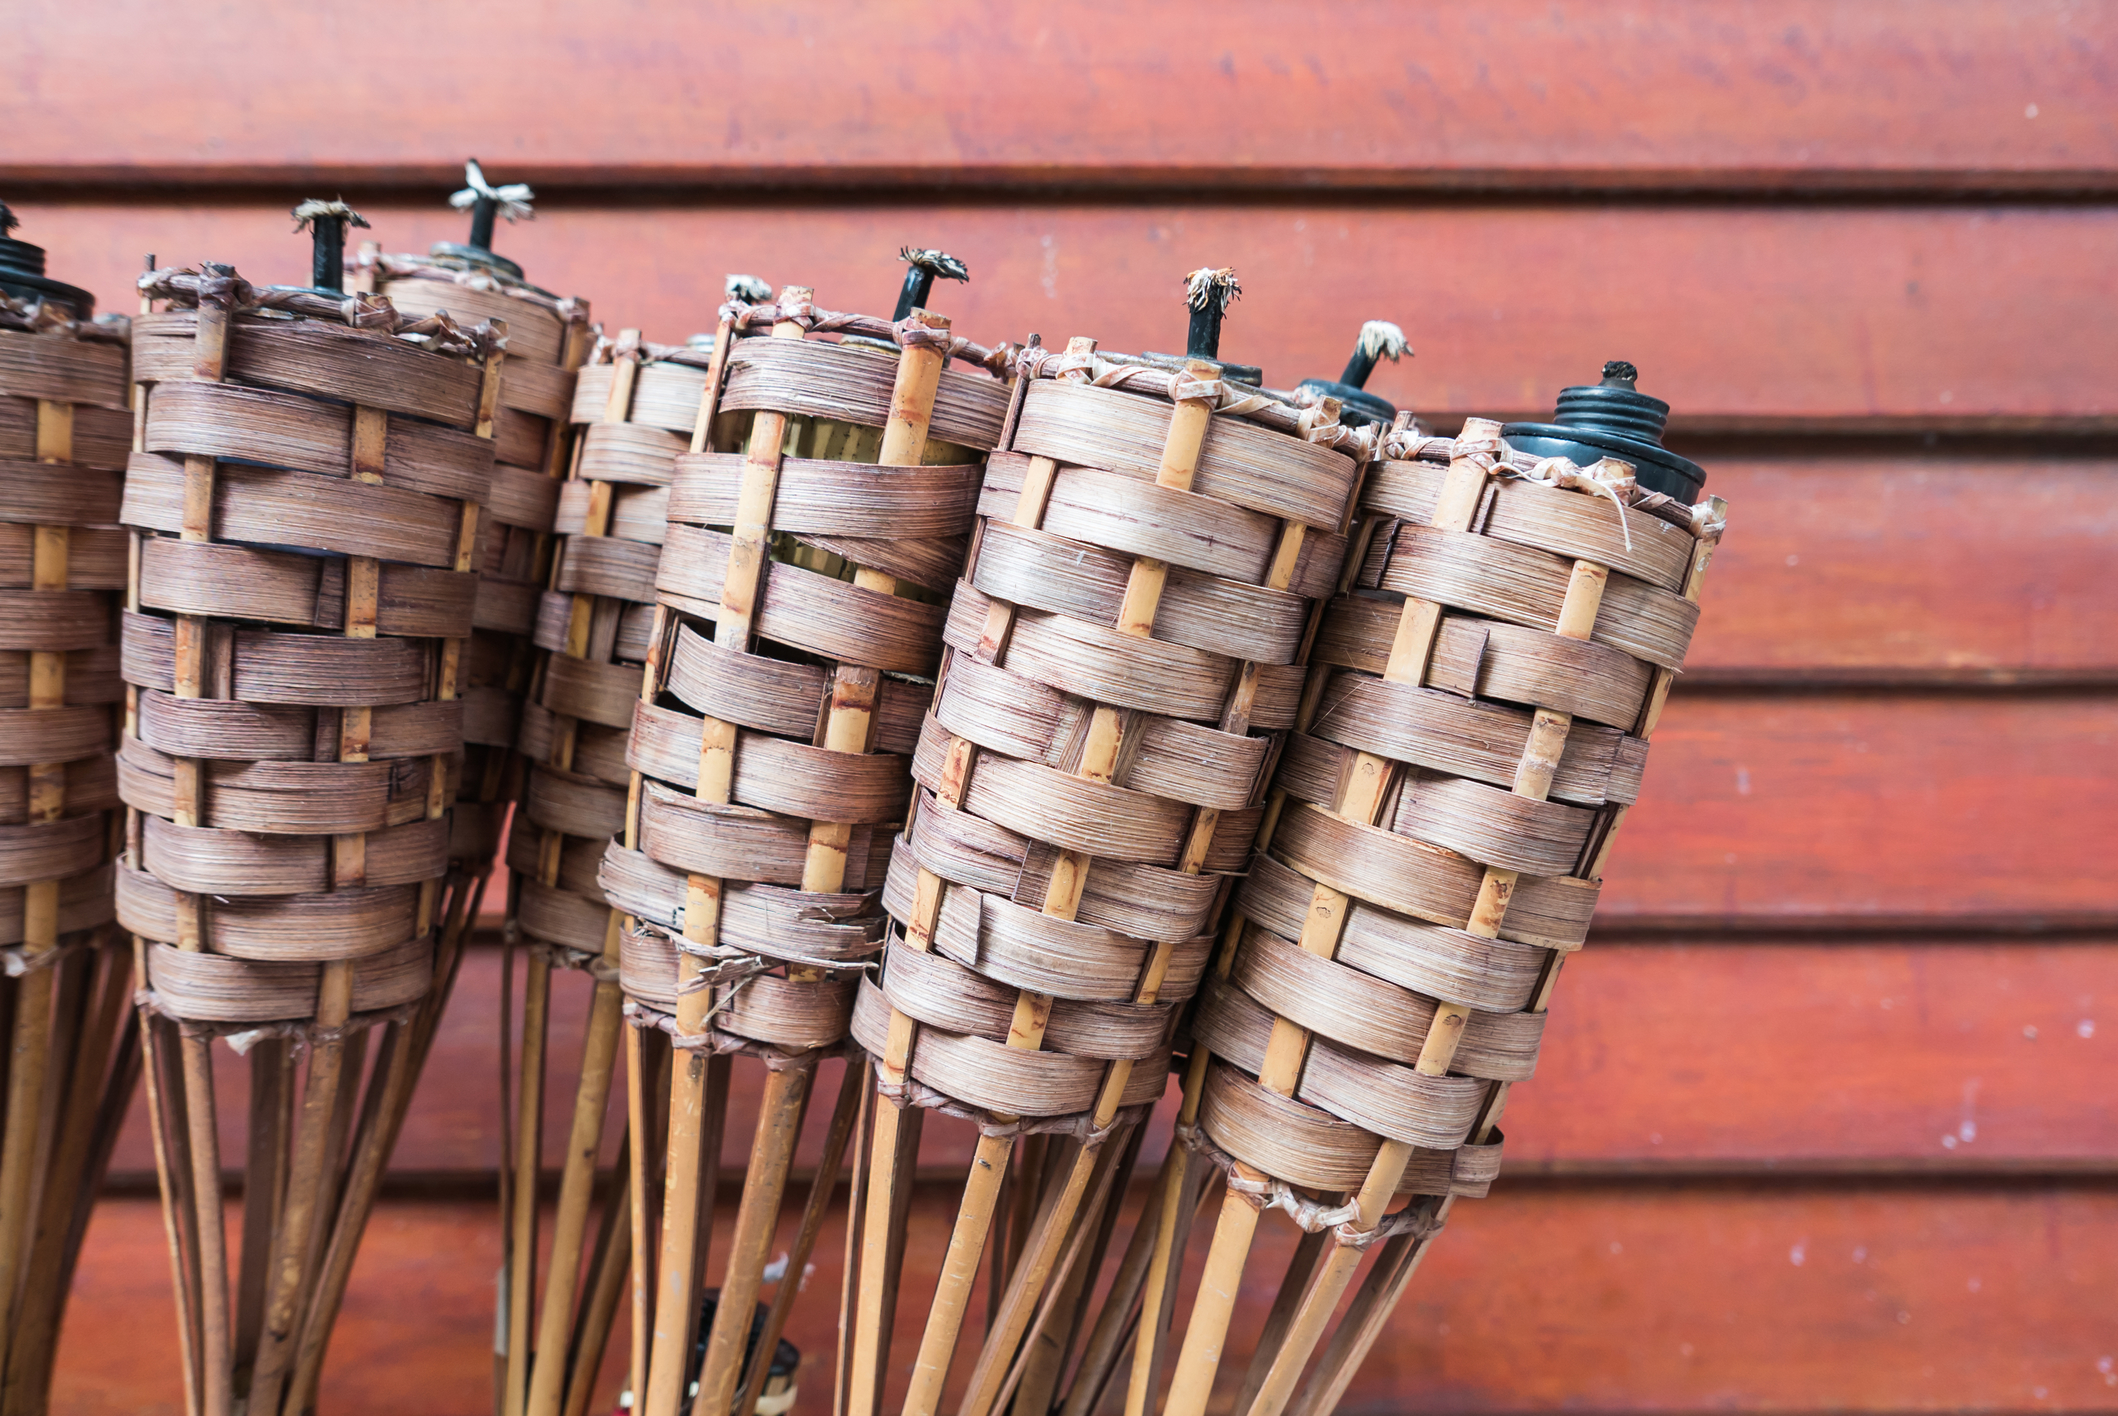
Bamboo Tiki Torches
If you decide to go with the traditional bamboo tiki torches, you may be wondering how to put tiki torches into the ground. Unfortunately, many people find out the hard way that tiki torches can blow over easily, and moving them from place to place can take a bit more work than they anticipated.

Photo by phurinee on Adobe Stock
An easy solution is to quick-set cement tiki torches into terra cotta planters or aluminum buckets. This makes it easy to move your tiki torches to where you need them, and makes it easier to store them too.
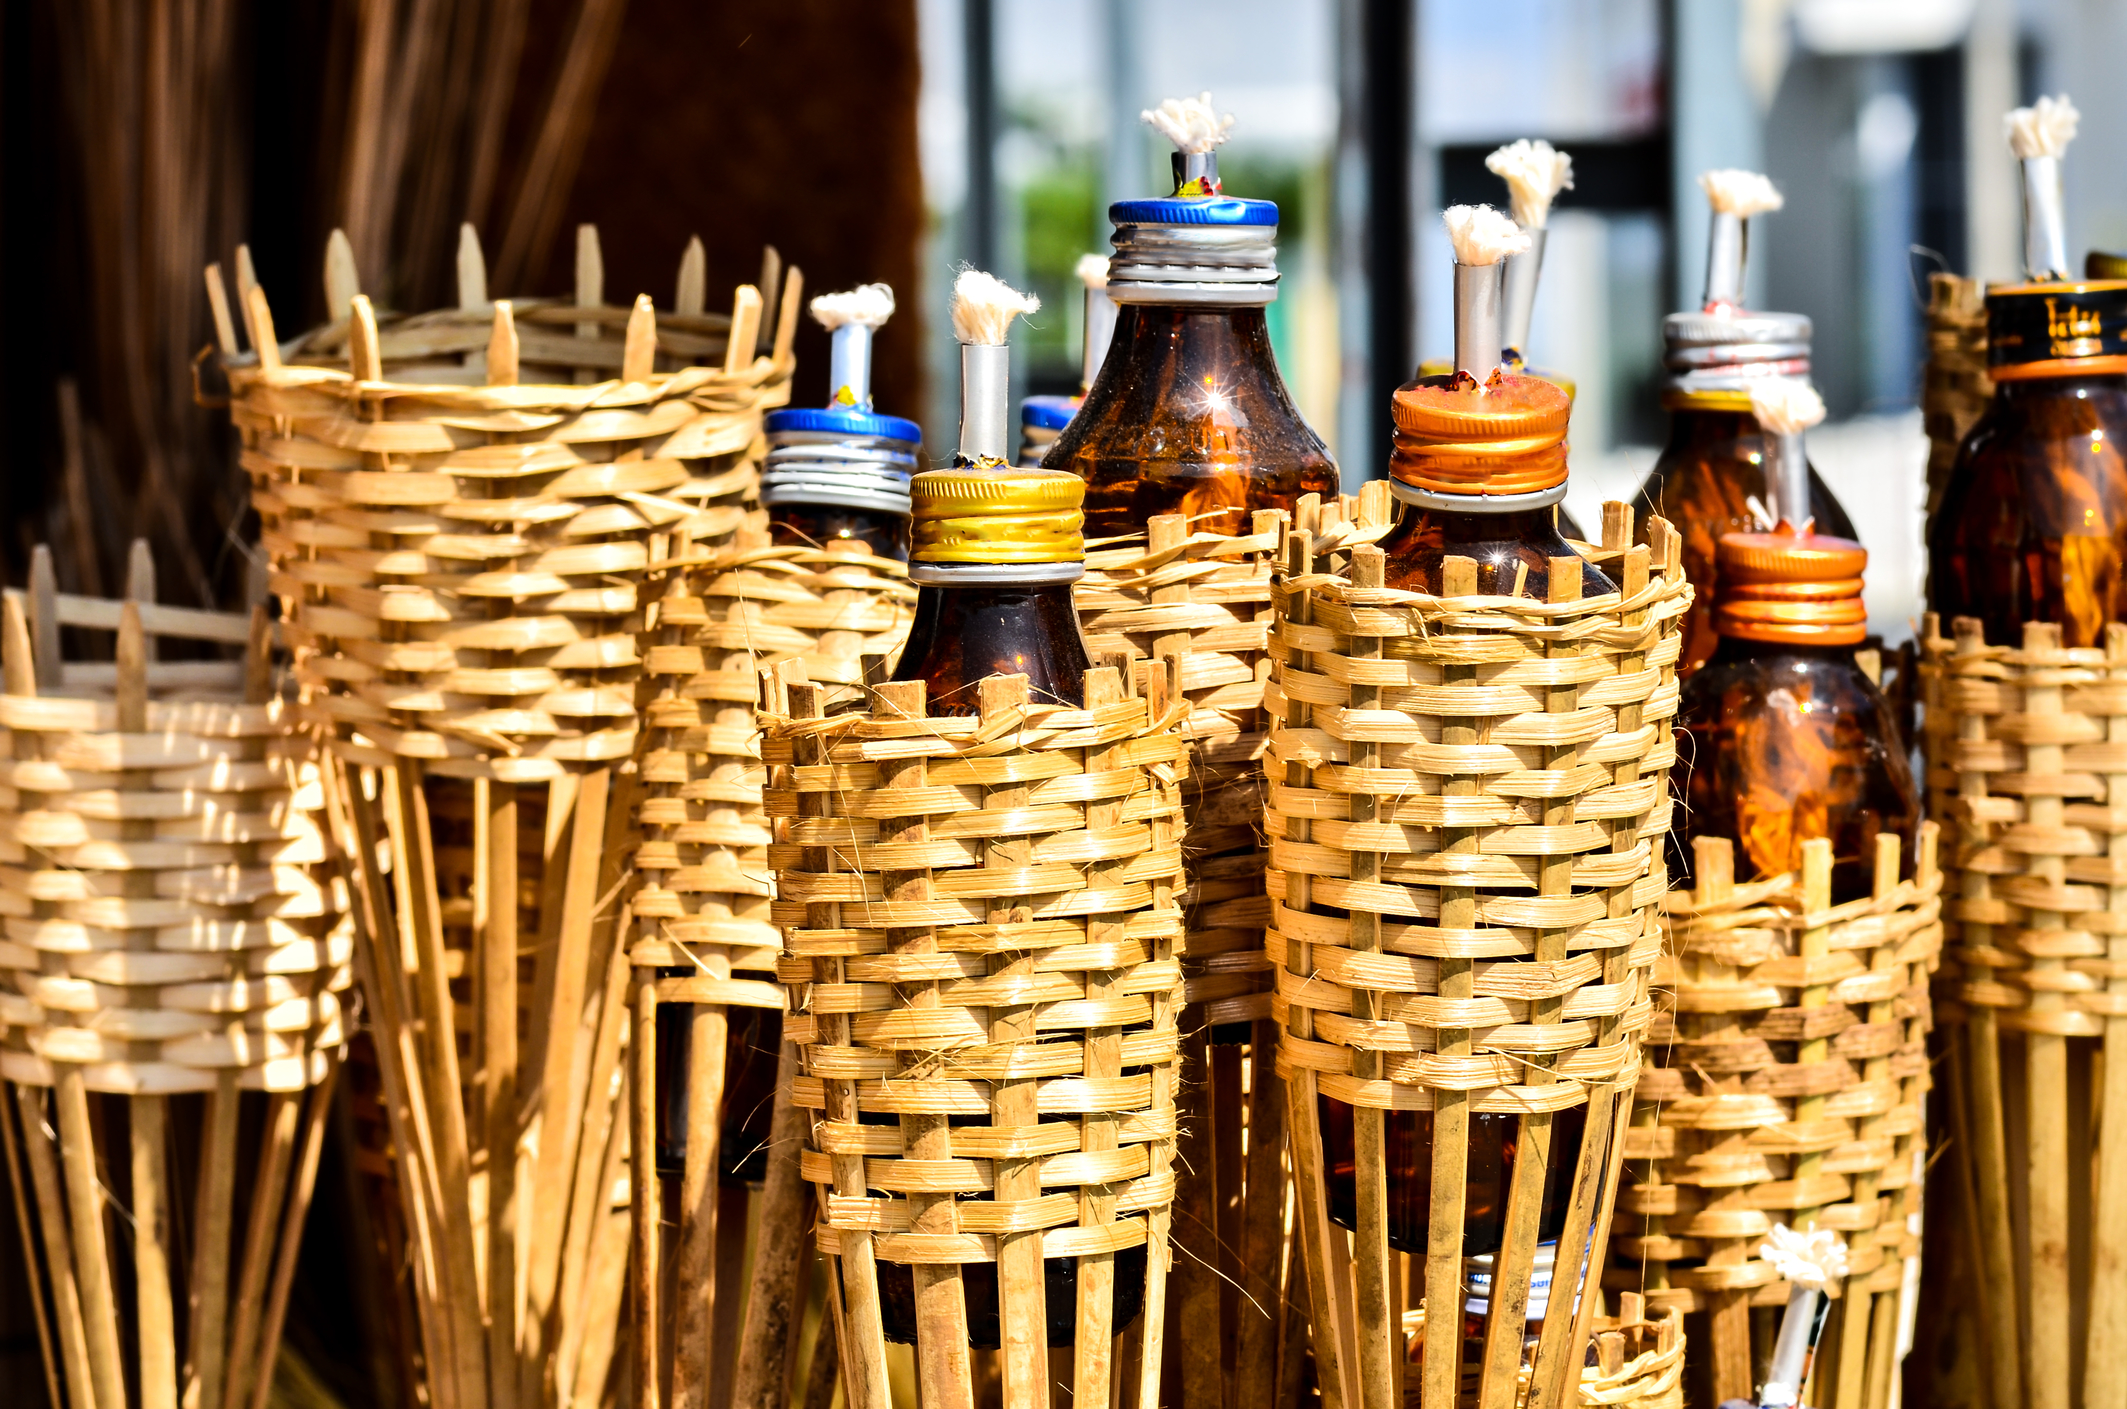
Tiki Torches Made from Bottles
Used wine bottles or various sized liquor bottles are perfect for a DIY tiki torch. If you don’t imbibe, long-necked soda bottles will work just fine. The wicks you need can be purchased for pennies, and the fuel is the same kind you use for store-bought tiki torches.

Photo by Raveenuttapong on Dreamstime
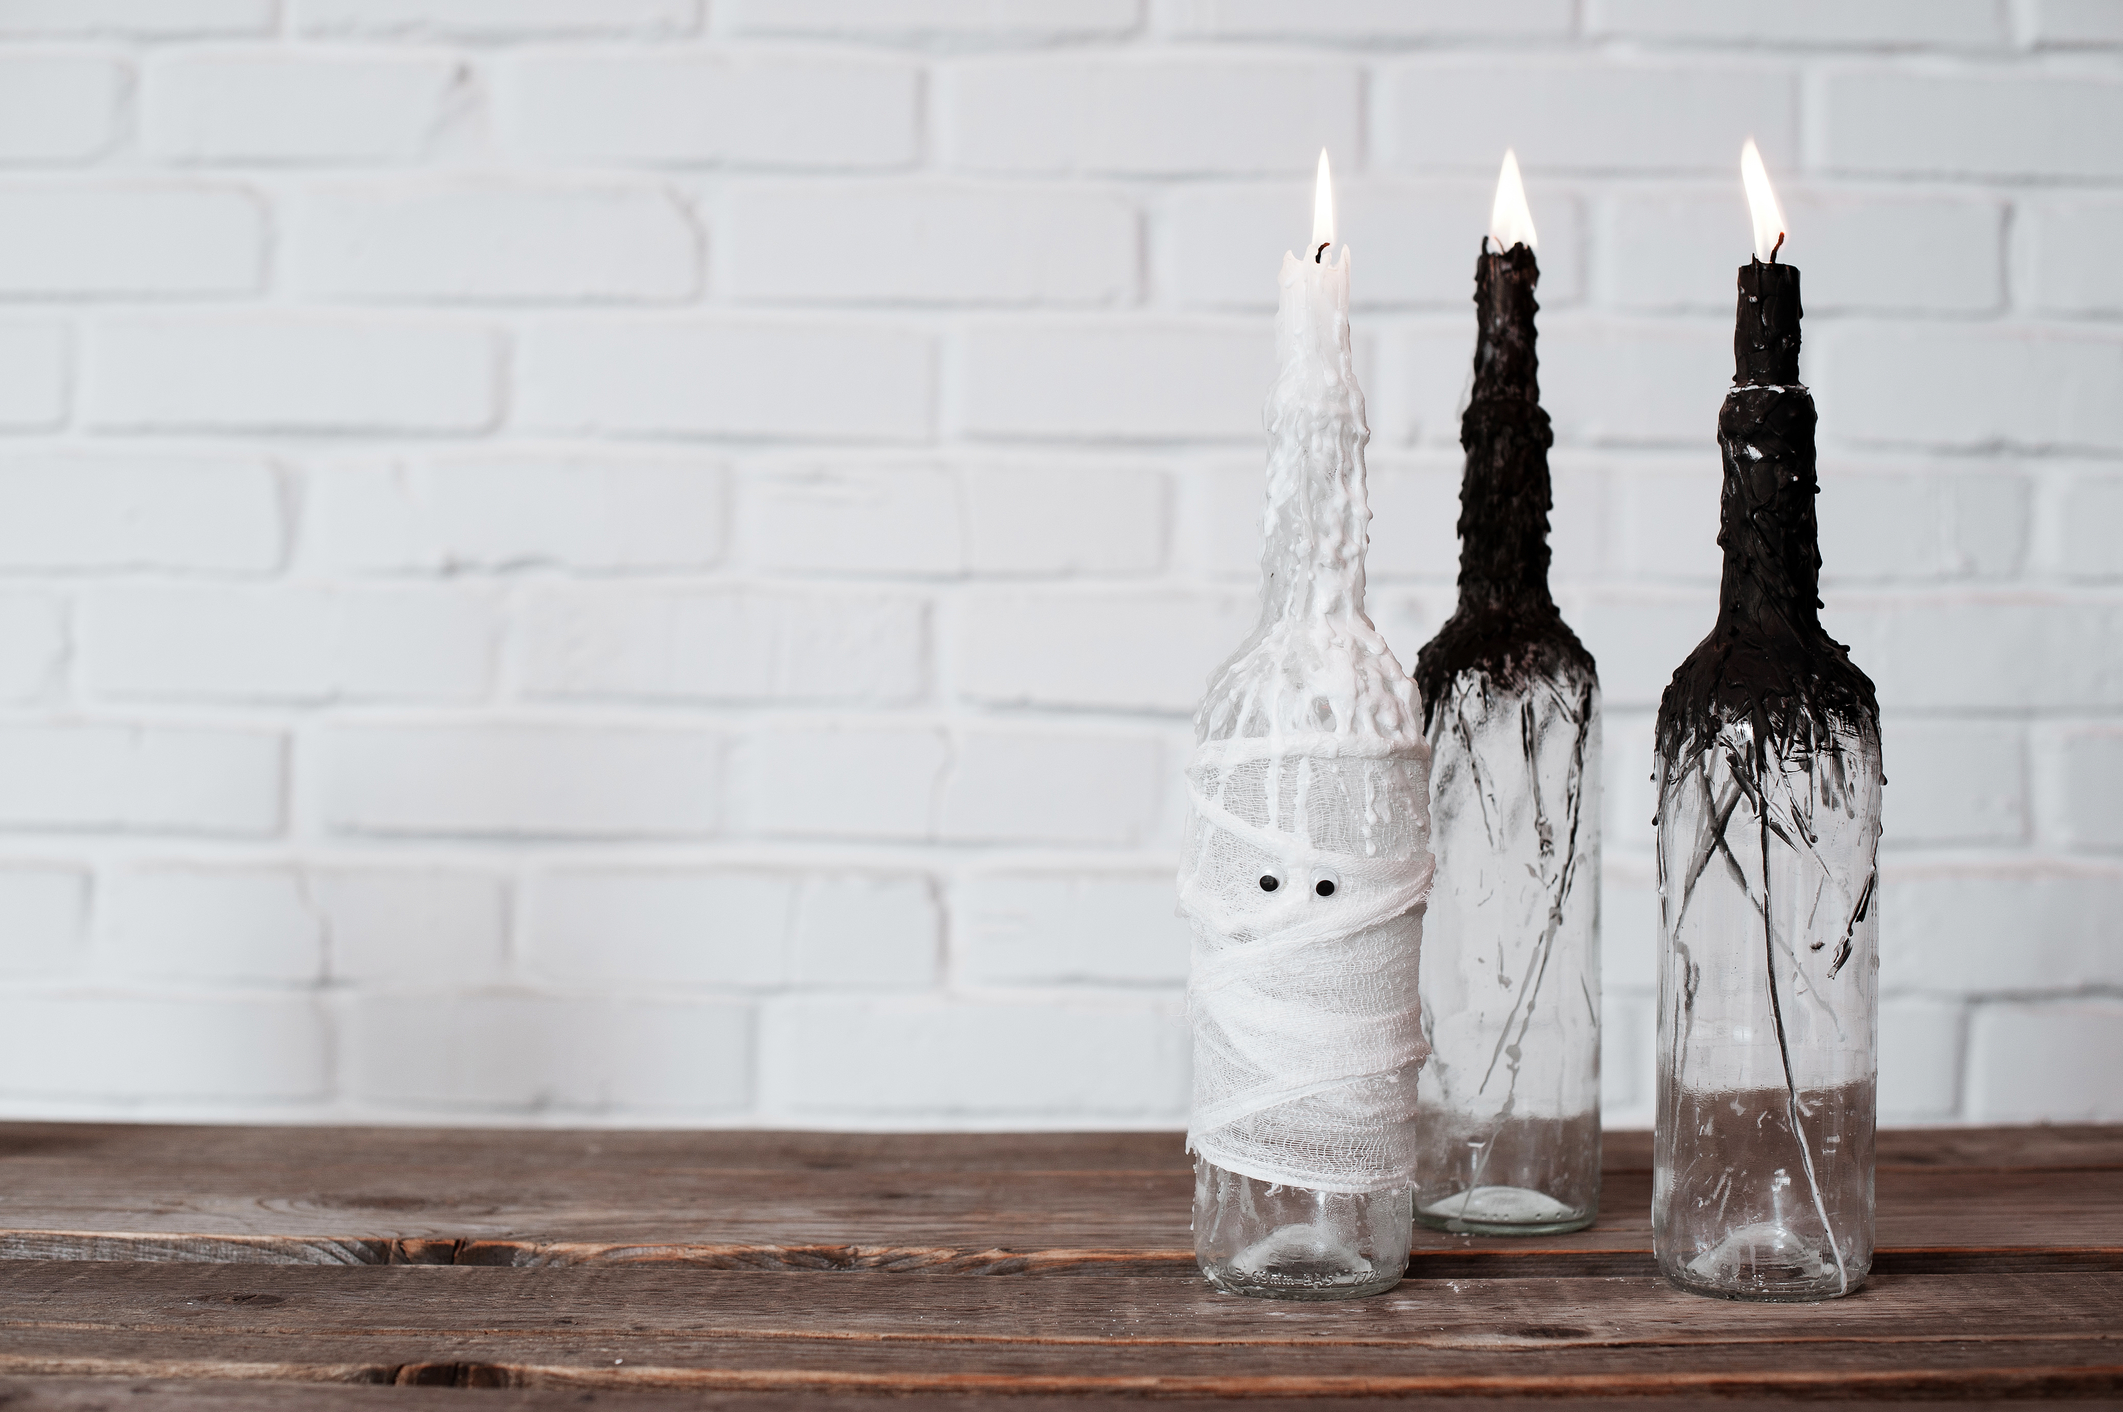
You’ll want to attach a metal ring inside the neck of your bottle with plumber’s tape to hold the wick in place. The rings can be found in the plumbing aisle at your local home store. These backyard lights can now be decorated with rope glued around the bottom of the bottle, and craft ornaments can be glued on, spray painted, or stenciled any way you like.

Photo by Maryna Krasnokutska on Dreamstime
When considering how to keep mosquitoes away, DIY tiki torches can be placed on tables, steps, garden walls or railings. If you’d rather keep them up and out of the way, you can use a few cheap plumbing clamps and screws to attach them to fence posts or other wood structures. Brass clamps with a screw holder are affixed to the neck of the bottle. Then attach your torch to the clamp using a screw that’s long enough to keep the flame safely away from the wood. Place a brass receptor on a fencepost to attach your torch.
It’s important to note that kerosene is never recommended for tiki torches — whether they’re store-bought tiki torches or DIY tiki torches. You can find some great new clean burning fuels that provide all the benefits of kerosene without all the smoke and soot.
Tuna Can Torches
If you want to keep mosquitoes away, citron candles can handle the job. To make a decorative outdoor tiki torch with citron candles, start saving your tuna cans! Once you have enough for however many torches you want to make, pick up the same amount of glass hurricanes at a thrift store or craft store.
Spraypaint the tuna cans any color you like, and attach a wood dowel, stake, or even an old broom handle to the base of each can. They are easy to screw into place with a rotary drill. Use a flathead screw so your candle will stay secure and level.
Place the candles and hurricanes inside the painted cans, and you’re ready! Using a variety of heights in wood bases, you can arrange your backyard lights next to your shrubs, decks, or other structures to add illumination where needed.
Mason Jar Tiki Torches
This is probably the easiest DIY backyard tiki torch idea. Because the tops are metal, there’s no need to add any holders for the wick. Simply drill a hole in the lid, or hammer a large nail into it to thread the wick through. Now fill the jar with fuel, and it’s ready! These DIY tiki torches can be placed on a metal sconce wherever needed, or placed on pathways throughout the yard.
However you decide to light up your backyard, keep it simple and fun for your family and guests. It takes just a little time and money to make your next party fully lit!


