


March Madness may be over, but if you love basketball like I do, I bet you often wonder how to build a backyard basketball court. Well, guess what? You can build a backyard basketball court over the span of just a couple of weekends. Having your own home backyard basketball court can ensure your family stays active. As an added bonus, you’re also all-but-guaranteed to perfect your free-throws with a bit of practice.
Sure, it’s not the easiest of all the backyard upgrades to take on, but if you live and breathe NBA or NCAA basketball, then there’s no better way to showcase your love of the sport than with your own home basketball court.
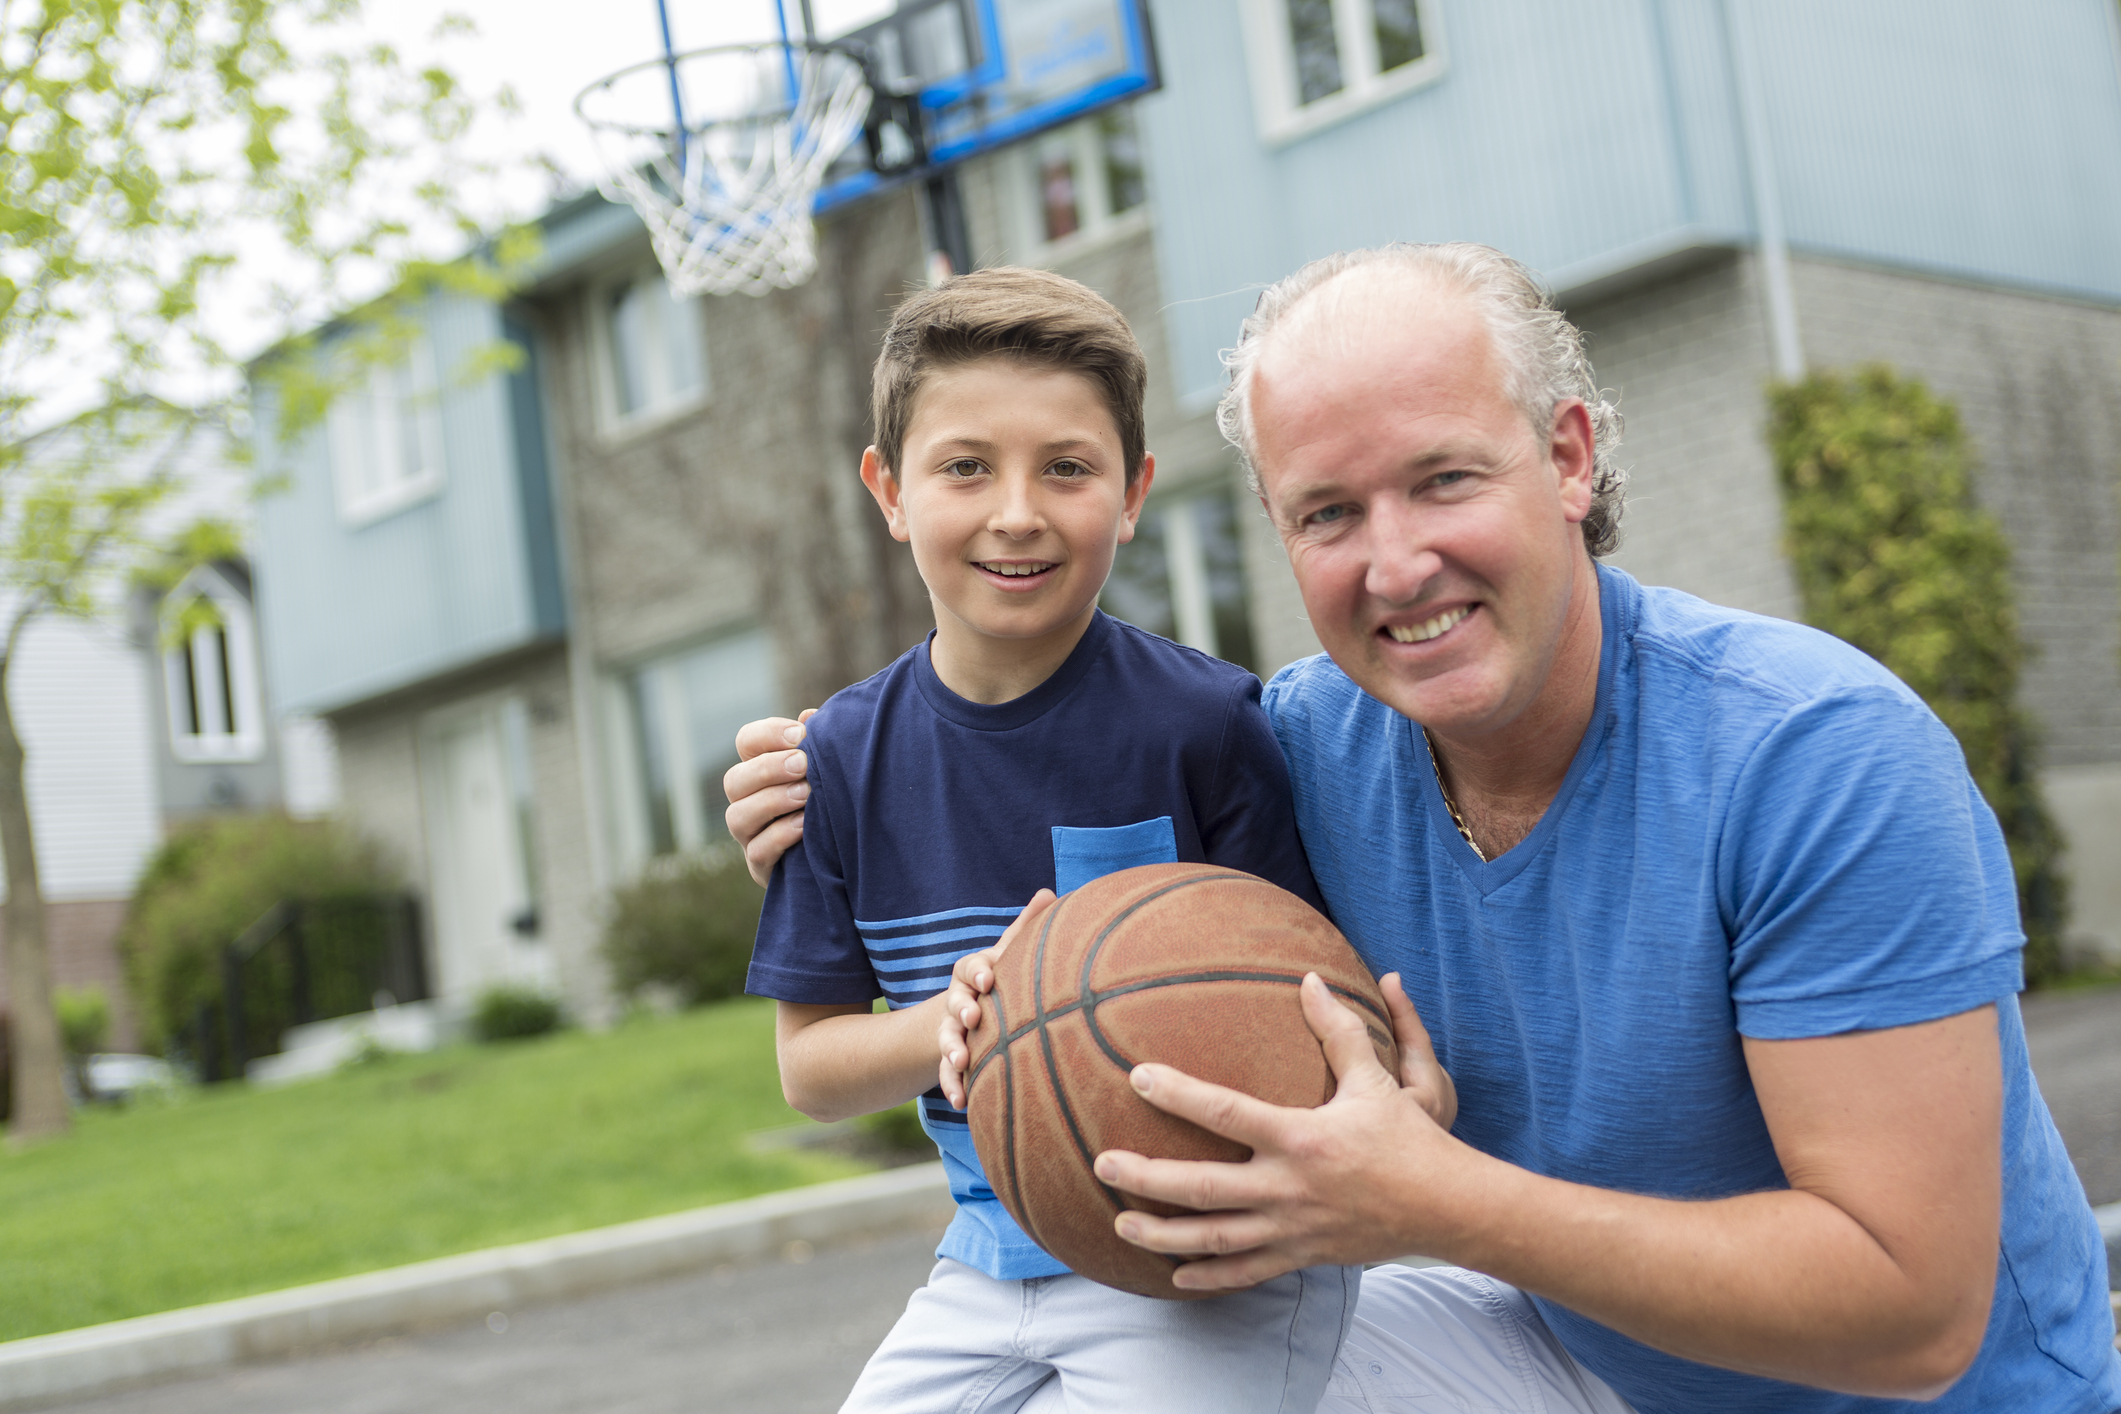
Photo by pololia on Adobe Stock

Follow these five steps to build your own home basketball court.
1. Size Your Space
Step one is figuring out your backyard basketball court dimensions. Full courts measure 94-by-50 feet and high school courts are 84-by-50 feet. Truth be told, a full court definitely requires a substantial amount of space. If you don’t have a backyard big enough to fit an entire court, don’t worry! You can always build a half court that’s either 47-by-50 feet or 42-by-50 feet.
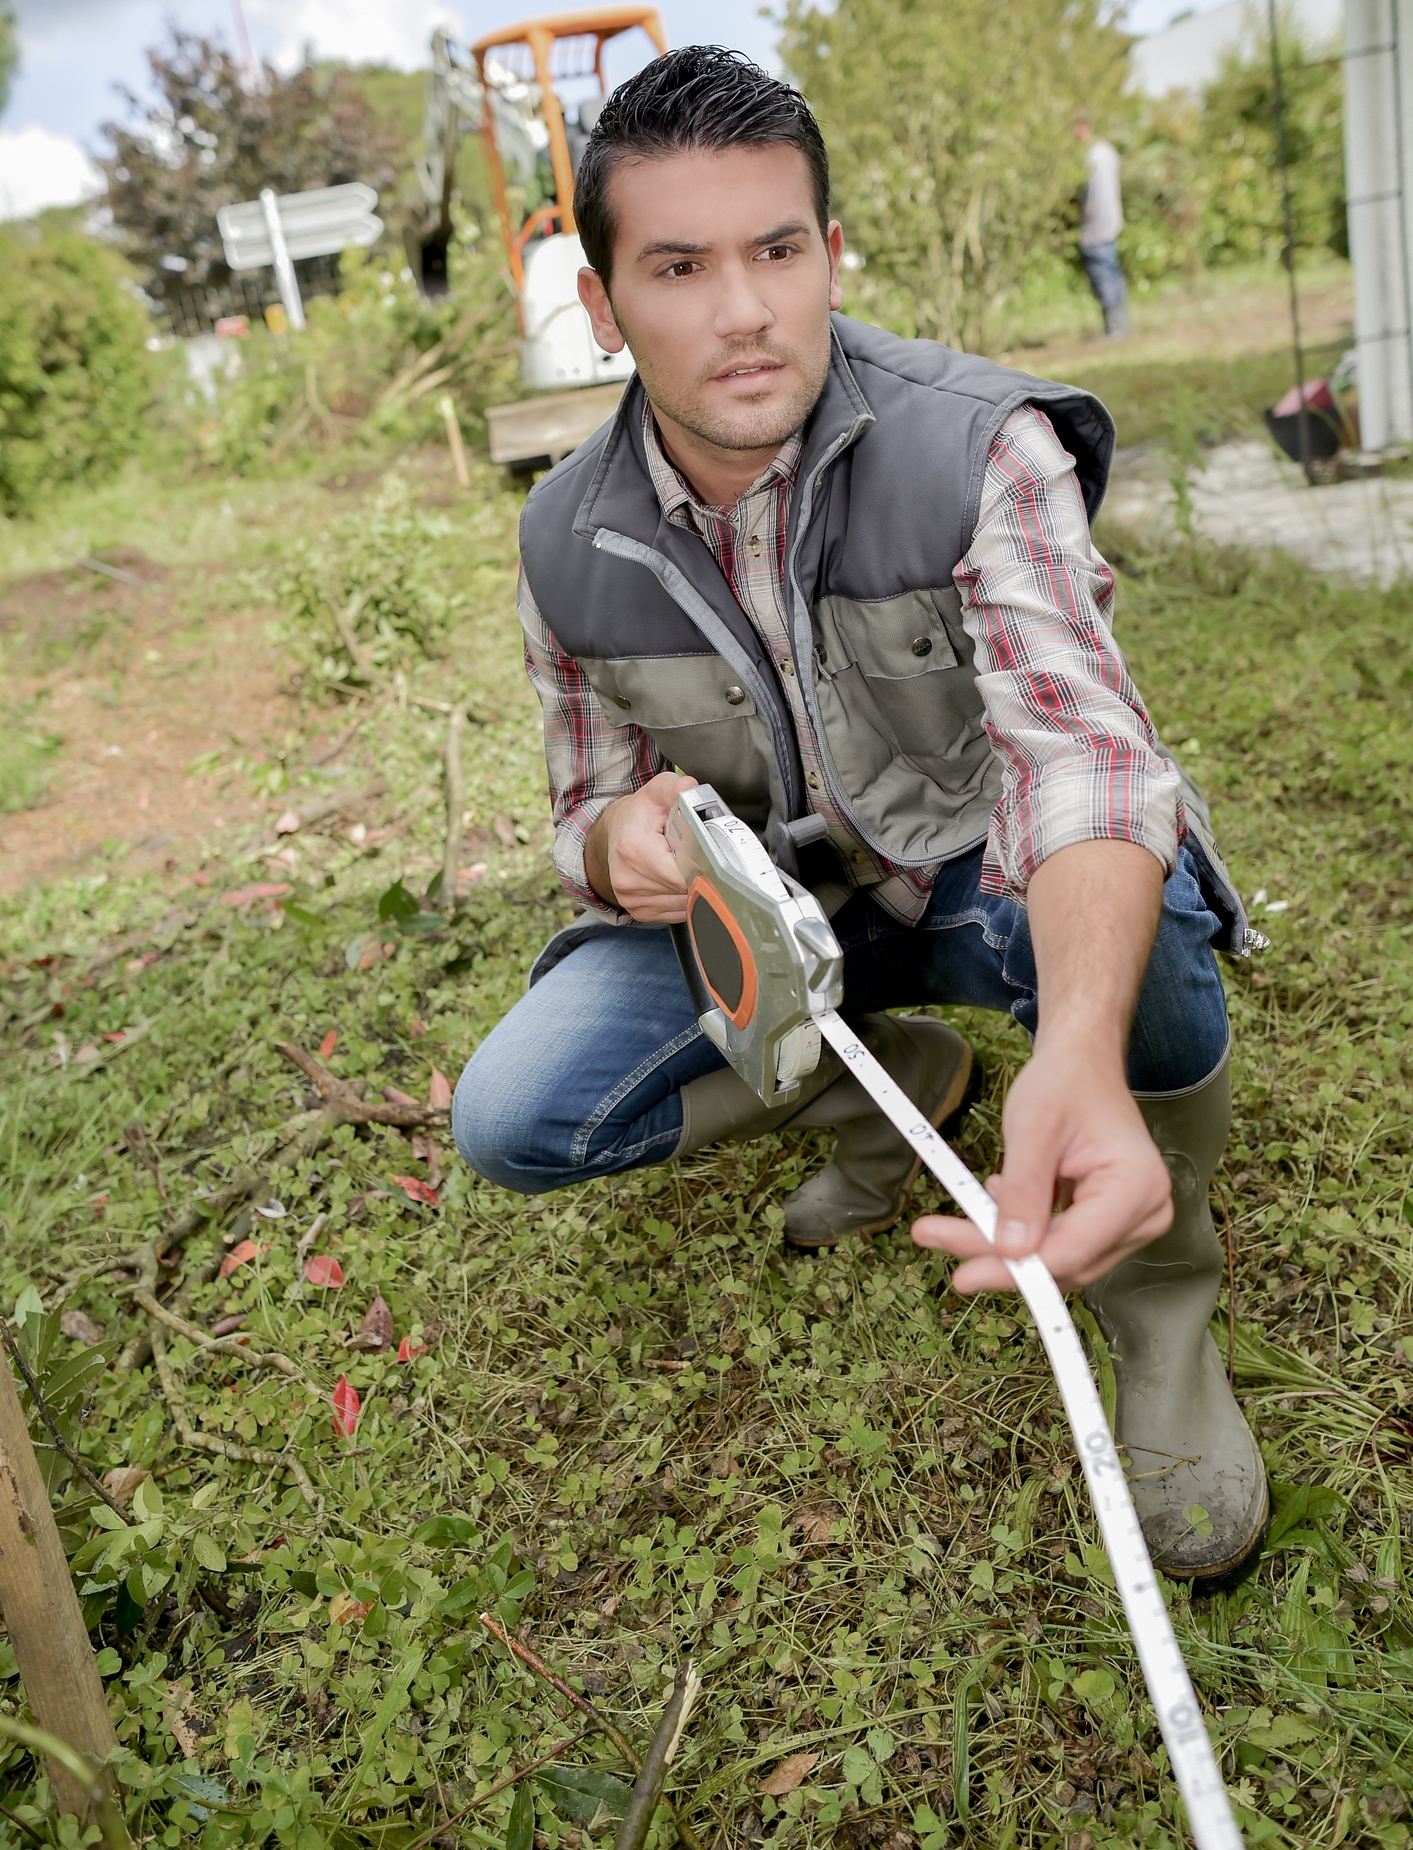
Photo by auremar on Adobe Stock
Aside from overall space, DIY basketball courts must be installed on level ground. If you don't have a flat area that's large enough, rent a small excavator to dig up your ground and level the playing field (pun intended).
2. With or Without Concrete
When it comes to backyard basketball courts, you can either choose to use a premade court floor made of rubber sports tiles or a plastic polymer mix over a concrete slab or without a slab. If you plan on spending a lot of time in your court and want a strong, solid, long-lasting product, concrete is essential.

Photo by Pressmaster on Shutterstock
Your best bet is to call a local concrete company that can come out and do all the heavy lifting. Most of the time, they’ll even install the hoops for you!
If you want to do it yourself, consider renting a concrete mixer to cut down on the backbreaking work of mixing concrete yourself. Keep in mind that you’ll also be responsible for creating a wooden frame and laying all the rebar to support the slab. It’s a big project, so recruit some able-bodied friends to help out.
3. Gather Materials
Collect the following materials and tools to complete your backyard basketball court project:
- Hoops
- Concrete (if applicable)
- Stencil
- Tape measure
- Tamper
- Twine or stakes to mark your court
4. Set Your Floor & Hoops
Measure out your court and mark it with stakes and twine. Then, use a string level to ensure you’re working with a level surface. Using an excavator, shovel, and tamper, move the soil as needed.
Next, work with your concrete contractor to frame and pour your slab. If you’re doing it yourself, create a frame out of supported 1-by-4-inch or 2-by 4-inch plywood and lay your rebar across the plane. Pour your concrete so the slab is, at minimum, 4 inches thick.
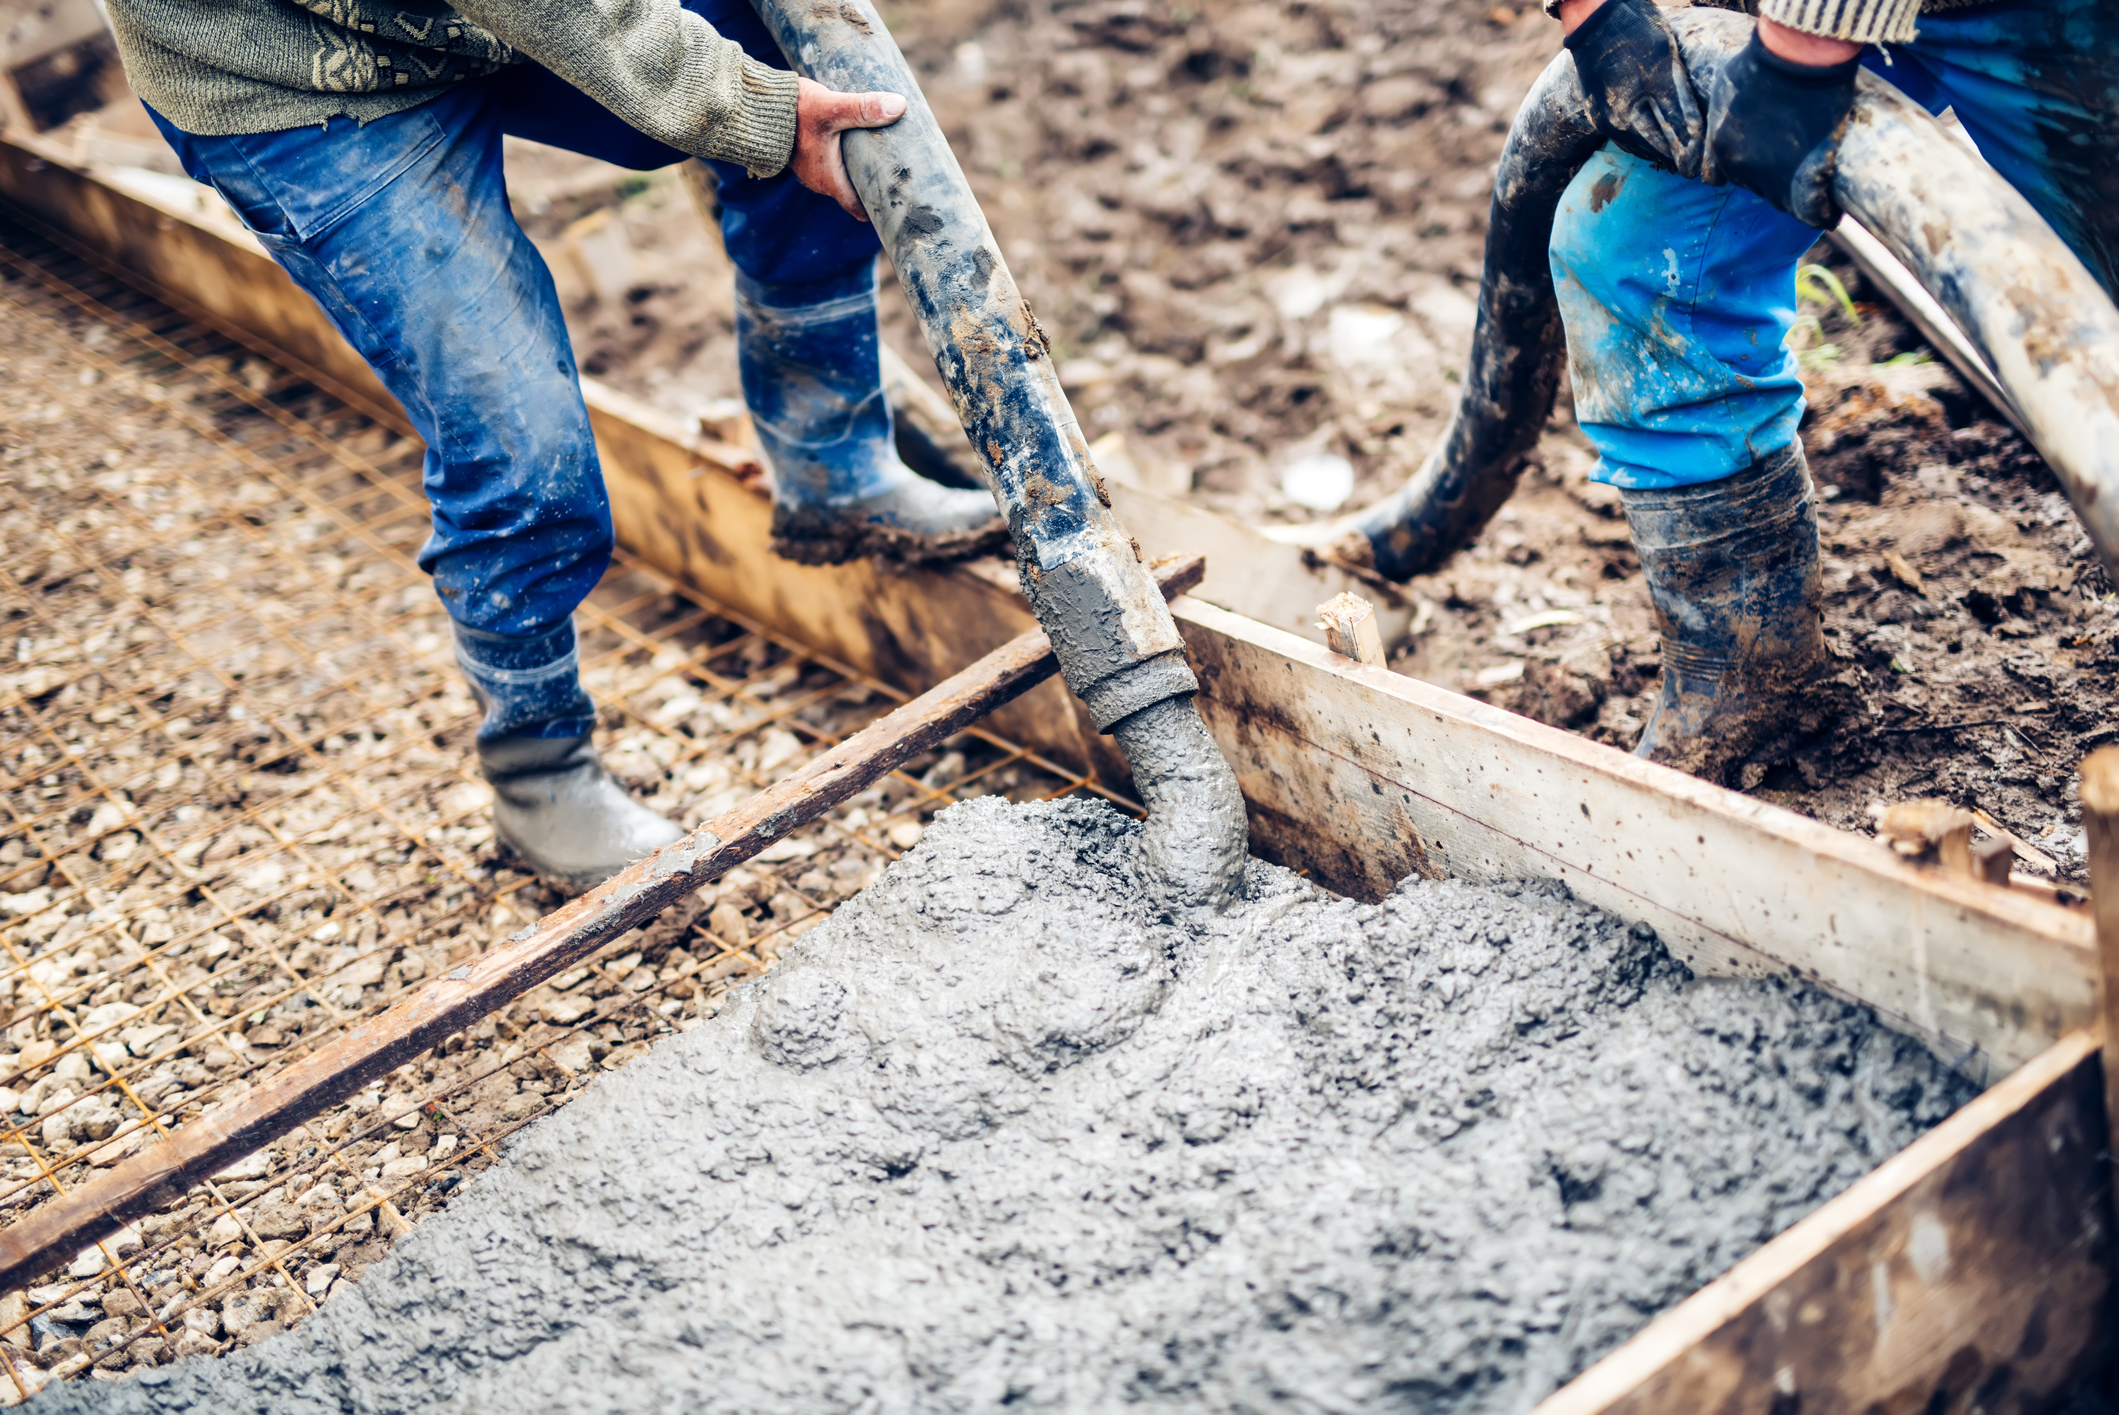
Photo by Bogdan Hoda on Dreamstime
While the concrete is still wet, lay your hoop/s and secure in the cement.
Then, allow the concrete to completely cure for 28 days.
5. Resurface and Mark for Optimal Performance
Once the concrete has dried, add a surface such as the rubber or polymer tiles mentioned above. Consider how much use your court will get, your weather conditions, and the “give” of the floor itself to find the best product for your court. If the surface doesn’t already come pre-marked, use a court stencil to create accurate markings.
There you have it: a DIY backyard basketball court to be enjoyed by family, friends, and neighbors for years and years to come. In no time at all, you’ll be working on those alley-oops!
Photo by Jason Smith on Dreamstime


