


Outdoor showers are extremely useful whether you’re coming back from a sand-filled day at the beach or just need to hose off before heading into your house after a summer evening jog. If you already have a garden hose connection outside (you probably do!) then installing an outdoor shower using that existing connection is remarkably easy!
Here’s everything you need to know about installing an outdoor shower.
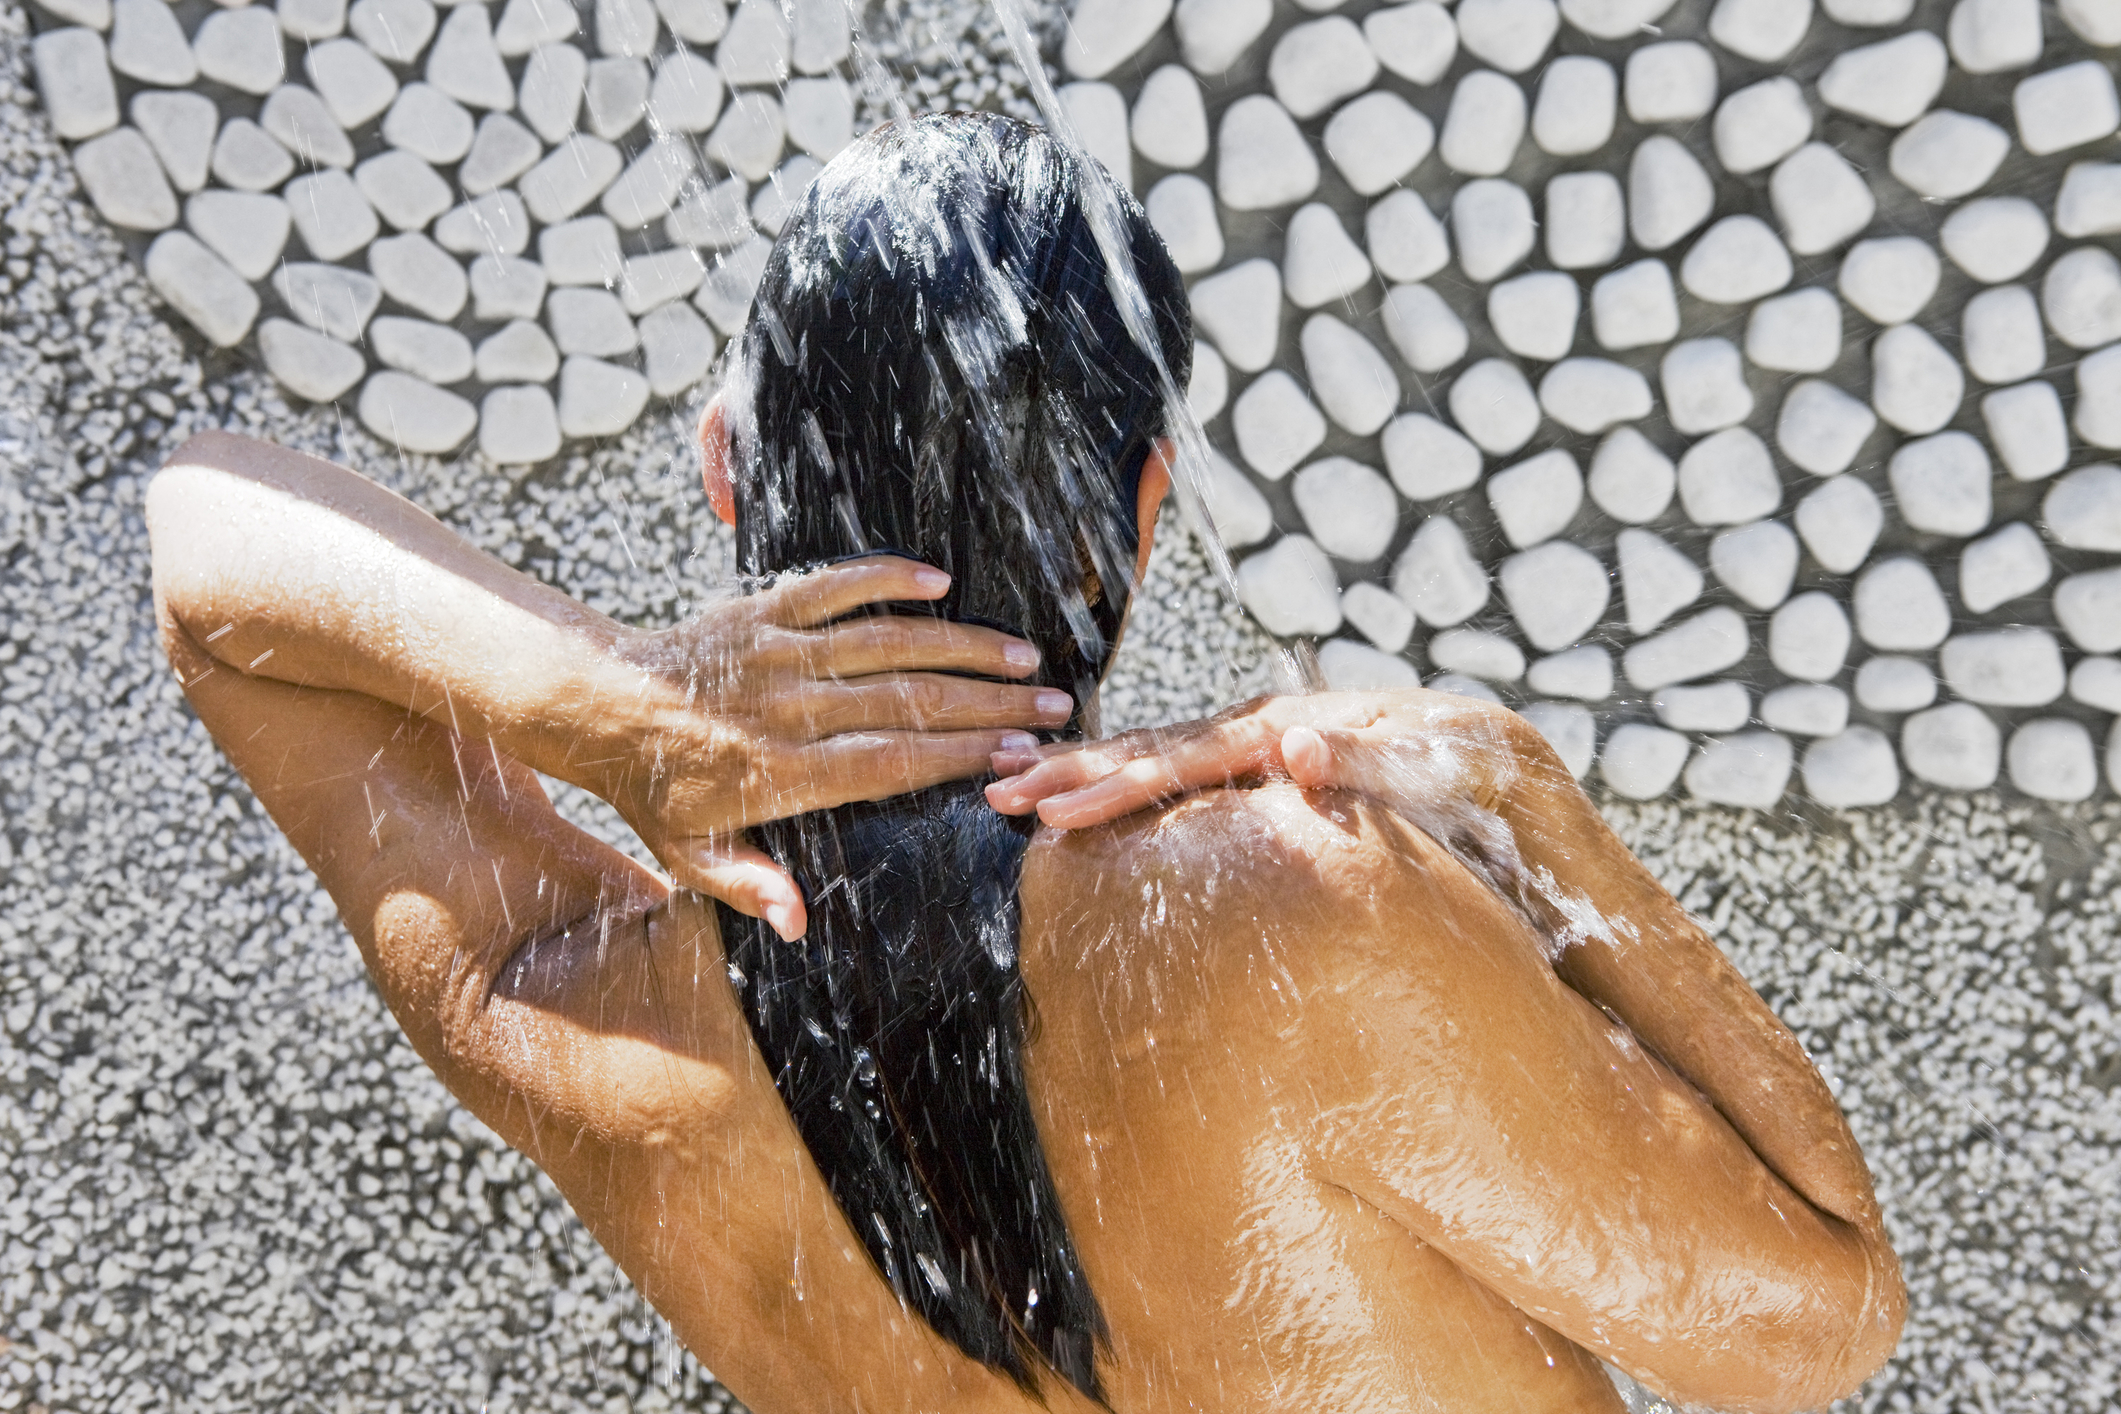
Photo by Inga Ivanova on Dreamstime


1. Choose an Outdoor Shower Design
When creating an outdoor shower from an existing hose connection, choose between two designs: fixed plumbing or a hose-fed shower. Let’s dive into the pros and cons of both designs.
Hose-Fed Shower (also called “standalone”): This is the simplest, most affordable design option. You don’t necessarily need extensive draining and you have the option to “move” the shower the radius of your hose. There are numerous shower stand and attachment products on the market that connect directly to your hose. If you’re more of a DIYer, it’s remarkably simple to create your own mobile hose-fed shower using some pipes, an on/off valve, and a high-quality stainless steel showerhead.
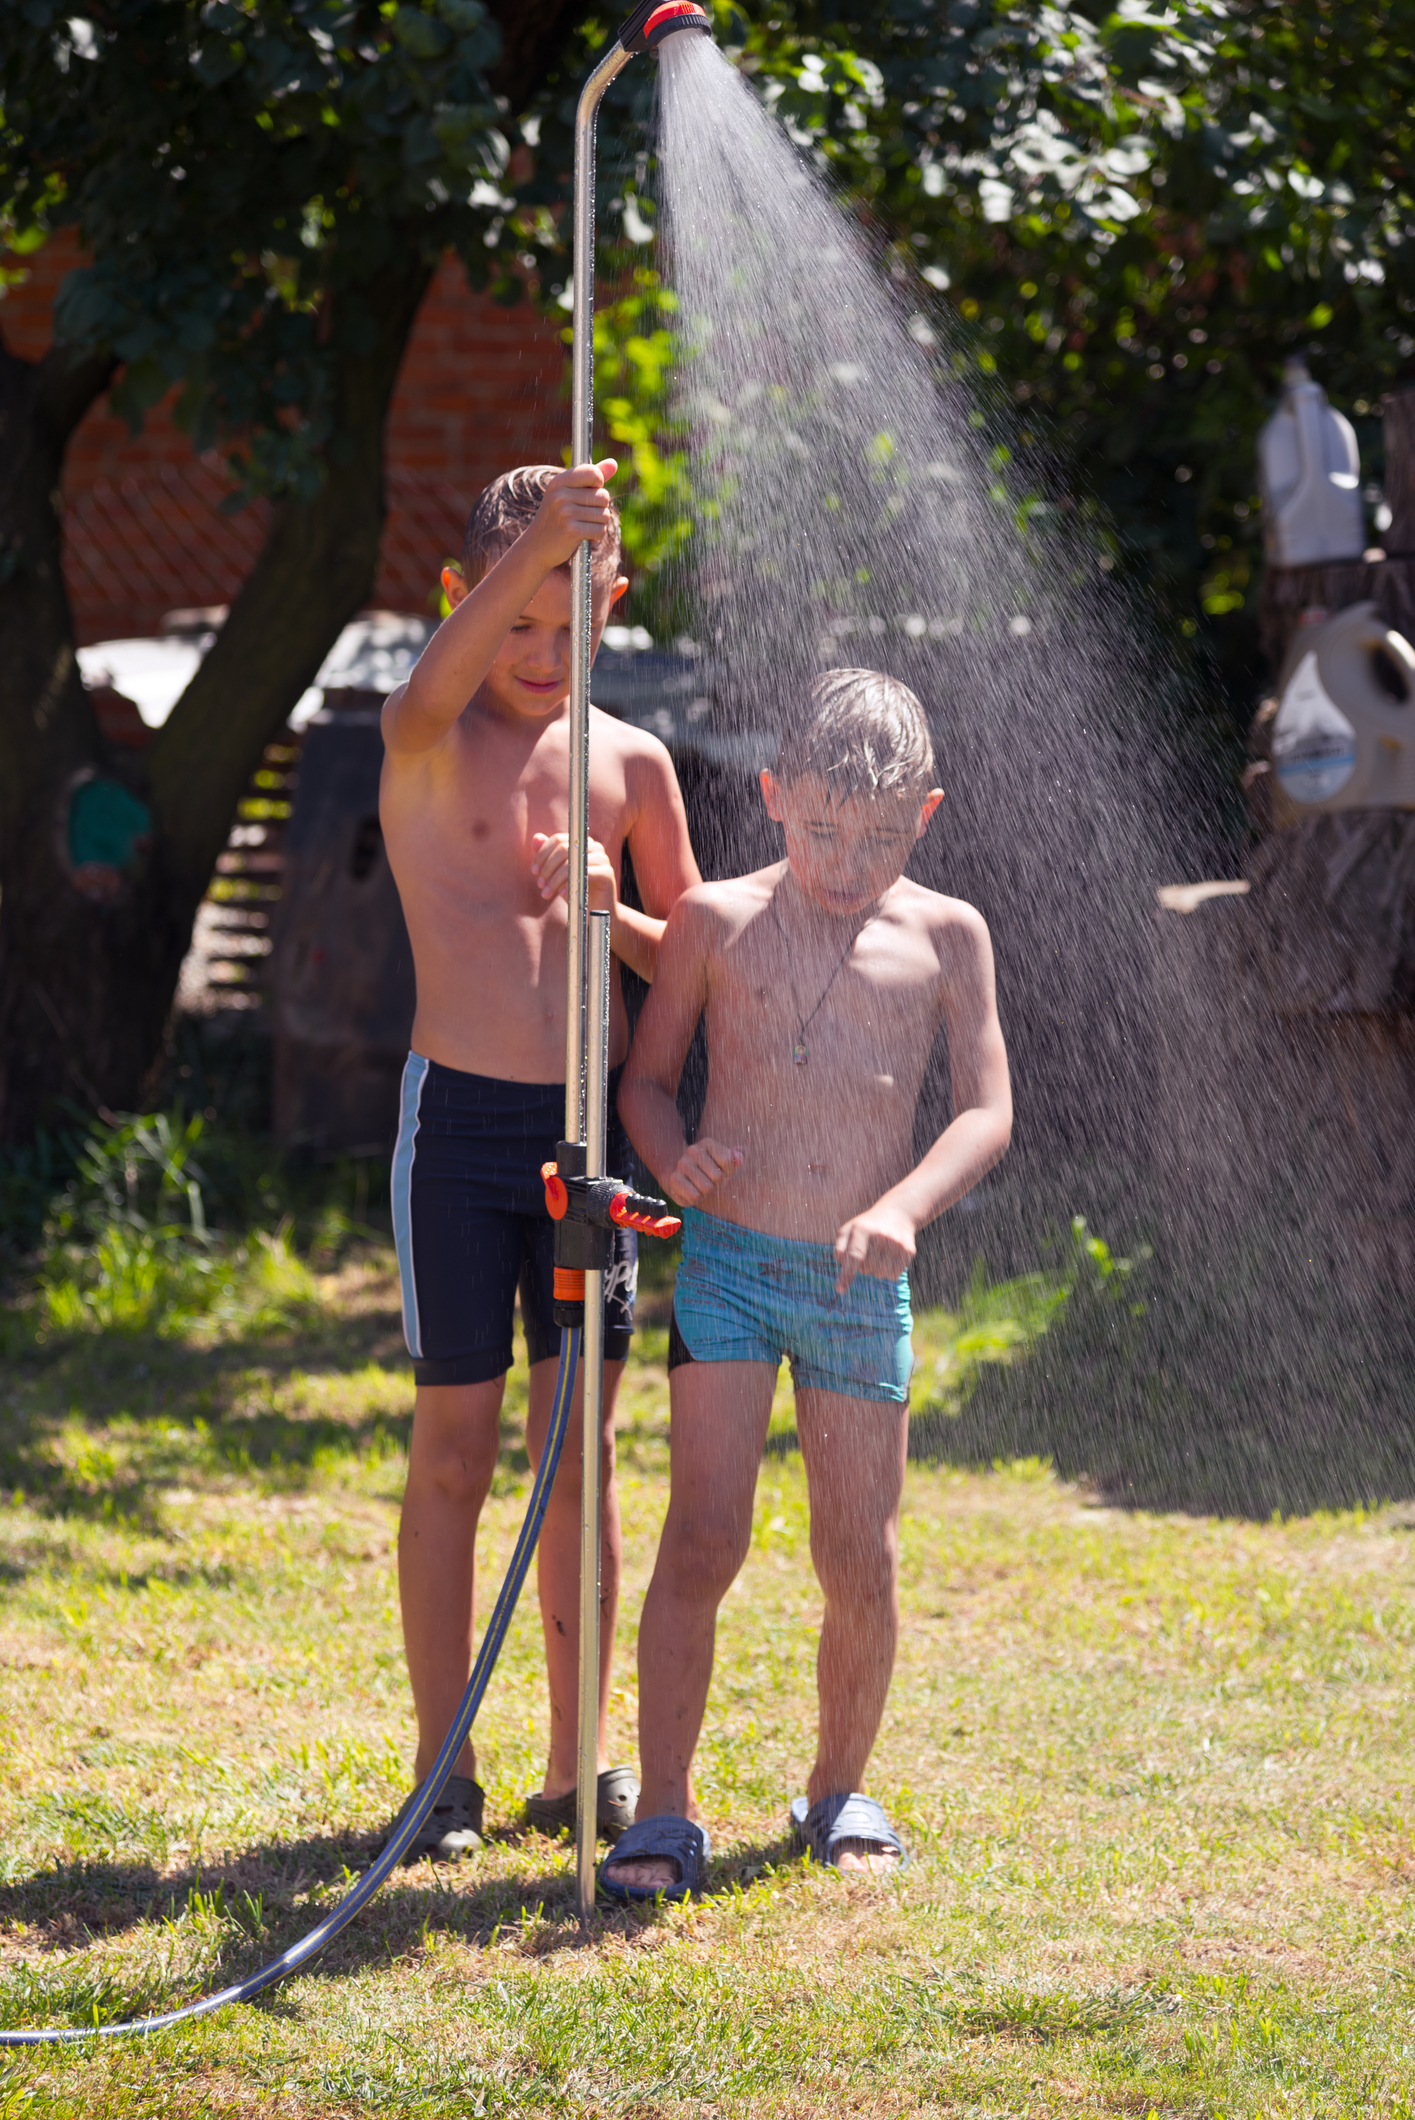
Photo by Photo_Olivia on Shutterstock
At the same time, these showers aren’t normally designed to provide hot and cold water, so the water coming out will be the same temperature as the water normally emitted from your hose (AKA: cold).
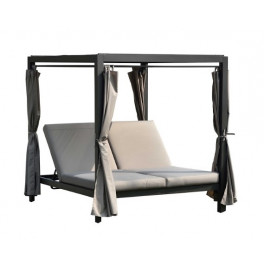
Fixed Plumbing Shower: This wall-mounted design is ideal if you want a more permanent fixture, so you must plan ahead considerably. Since you may be interested in adding privacy walls and a shower floor for drainage purposes, this shower design has the potential to be a bit more aesthetically pleasing.

Roman Cosolapov on Shutterstock
Keep in mind that fixed plumbing showers can get pricey and they require substantially more sweat equity to get the job done.
2. Lay Piping, Cover, and Prepare Floor
If you’re building your shower away from the hose connection site, lay flexible sprinkler piping down to connect your water to the shower site. To do this, attach the sprinkler hose to your hose connection and lay the piping 6 inches underground, ensuring you install it the entire distance from the connection to where you intend to install the shower. To be on the safe side, leave an extra 2-3 feet at the end. While keeping the piping taut, backfill to cover the underground piping.
Drainage is also something to consider. If you’re installing a hose-fed shower, you don’t necessarily need an entire drainage system. However, if you plan to shower directly next to your home or even underneath your elevated home (if you live on the coast), then think about adding drainage rocks or possibly even a French drain to help protect your home’s foundation and siding from any excess water.
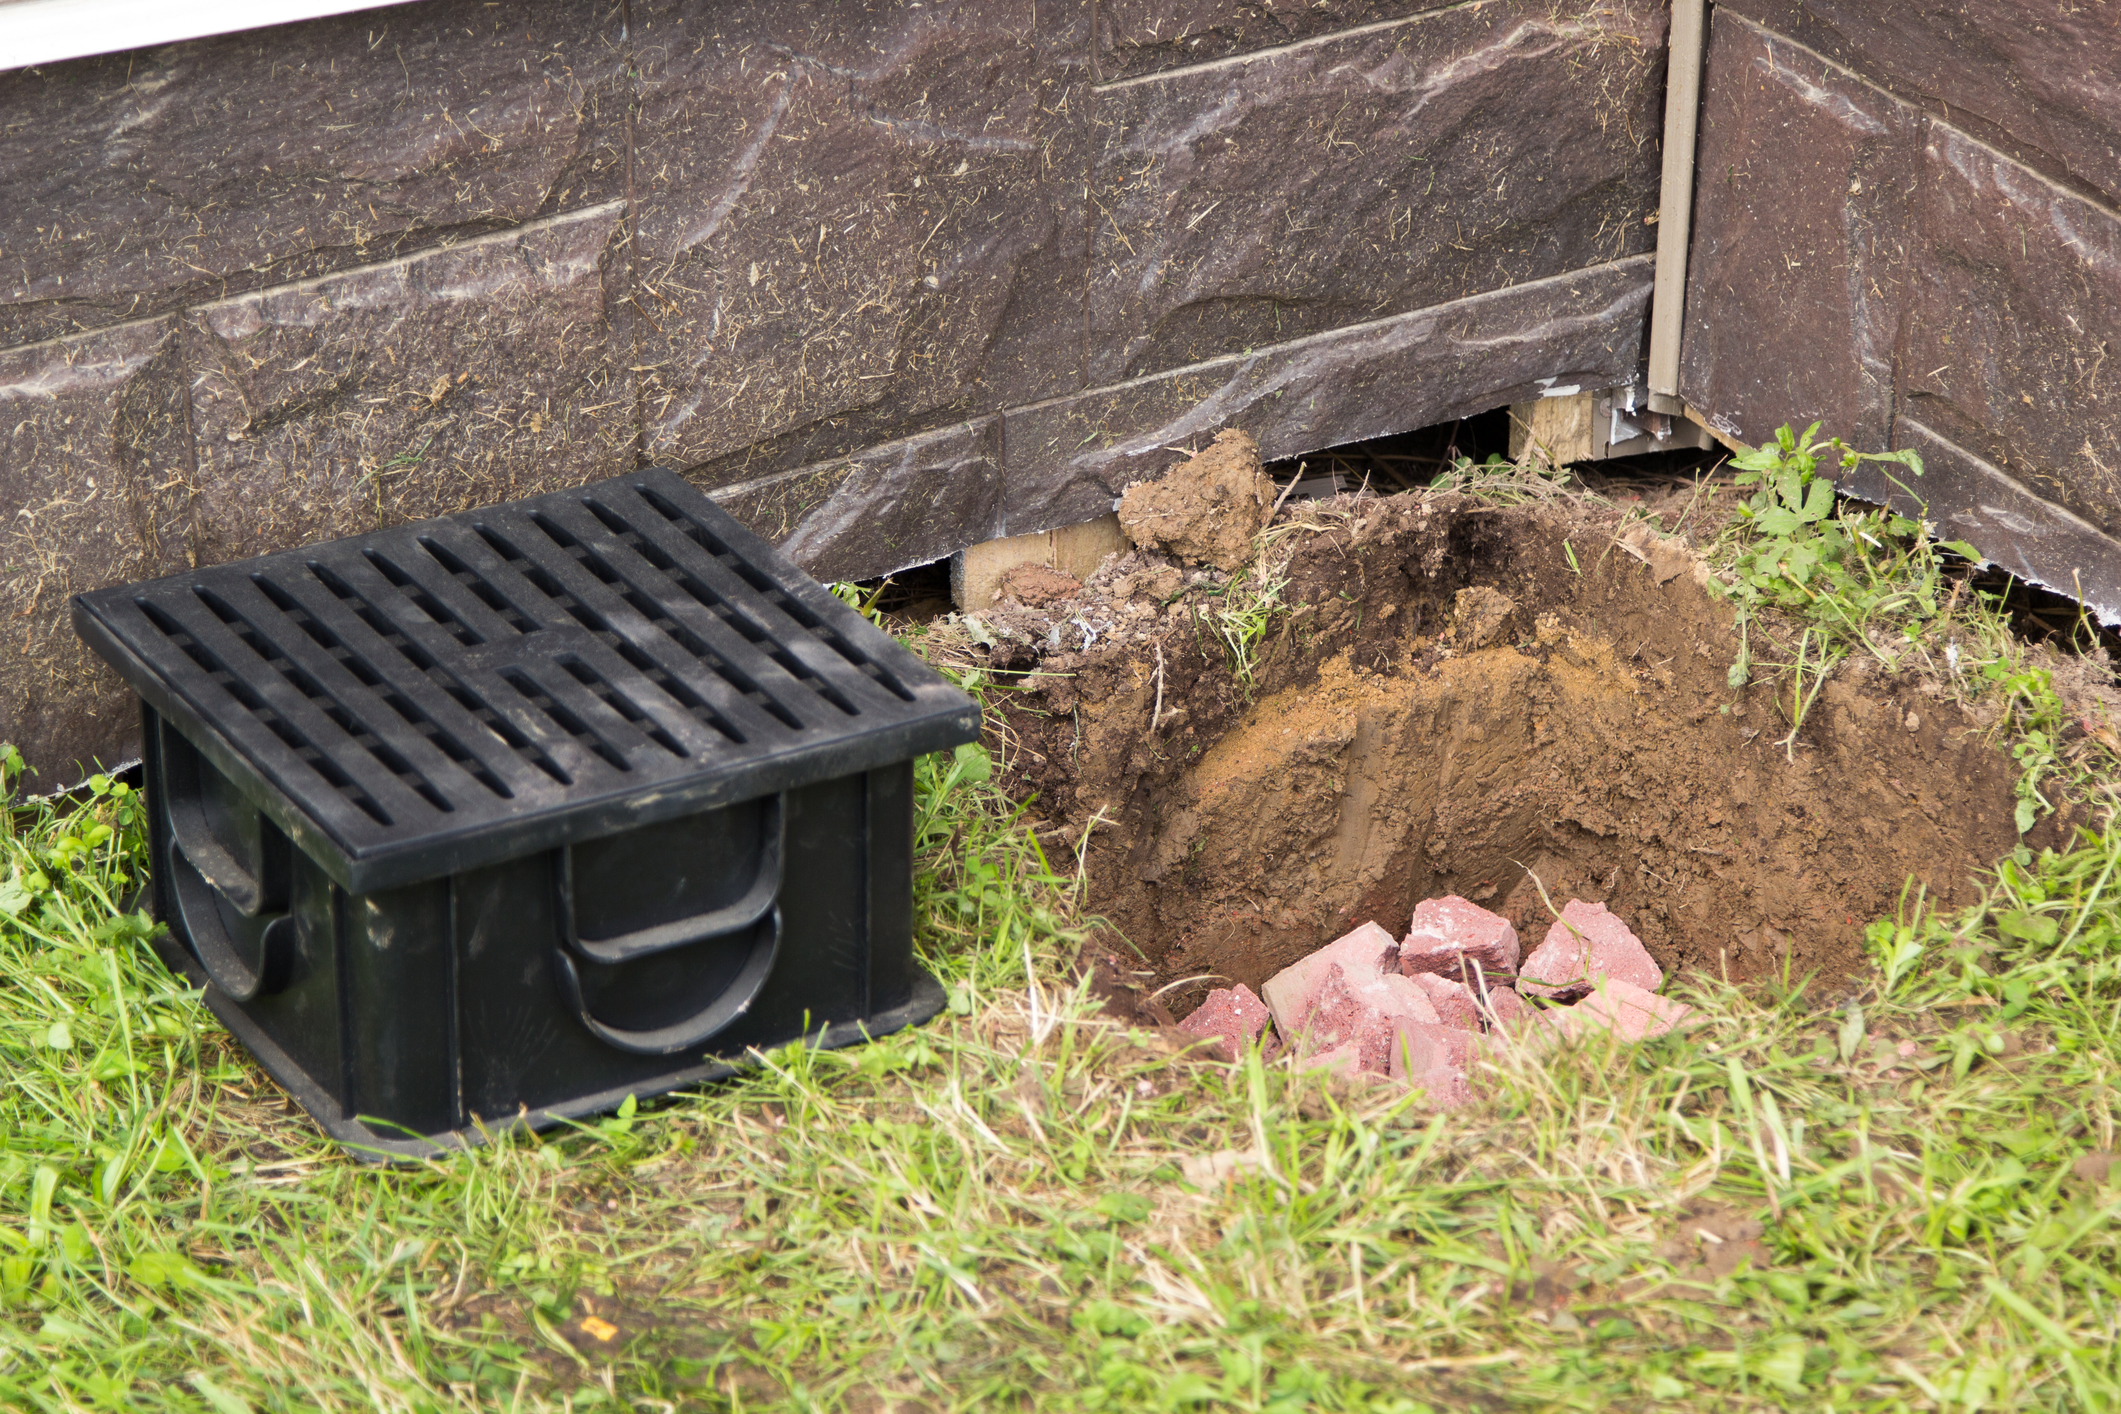
Photo by Dmitry Trubitsyn on Shutterstock
3. Attach and Secure Your Piping/Hose
For fixed shower projects that used the sprinkler pipe, it’s best to secure that pipe to your permanent copper pipes using fittings.
Otherwise, install a dual hose bib (so you can still use a hose for other projects) and connect to your soon-to-be secured copper pipes. If you’re uncomfortable securing those pipes directly to your home using C-clamps, then first install solid wood beams that you can later paint or weatherproof.
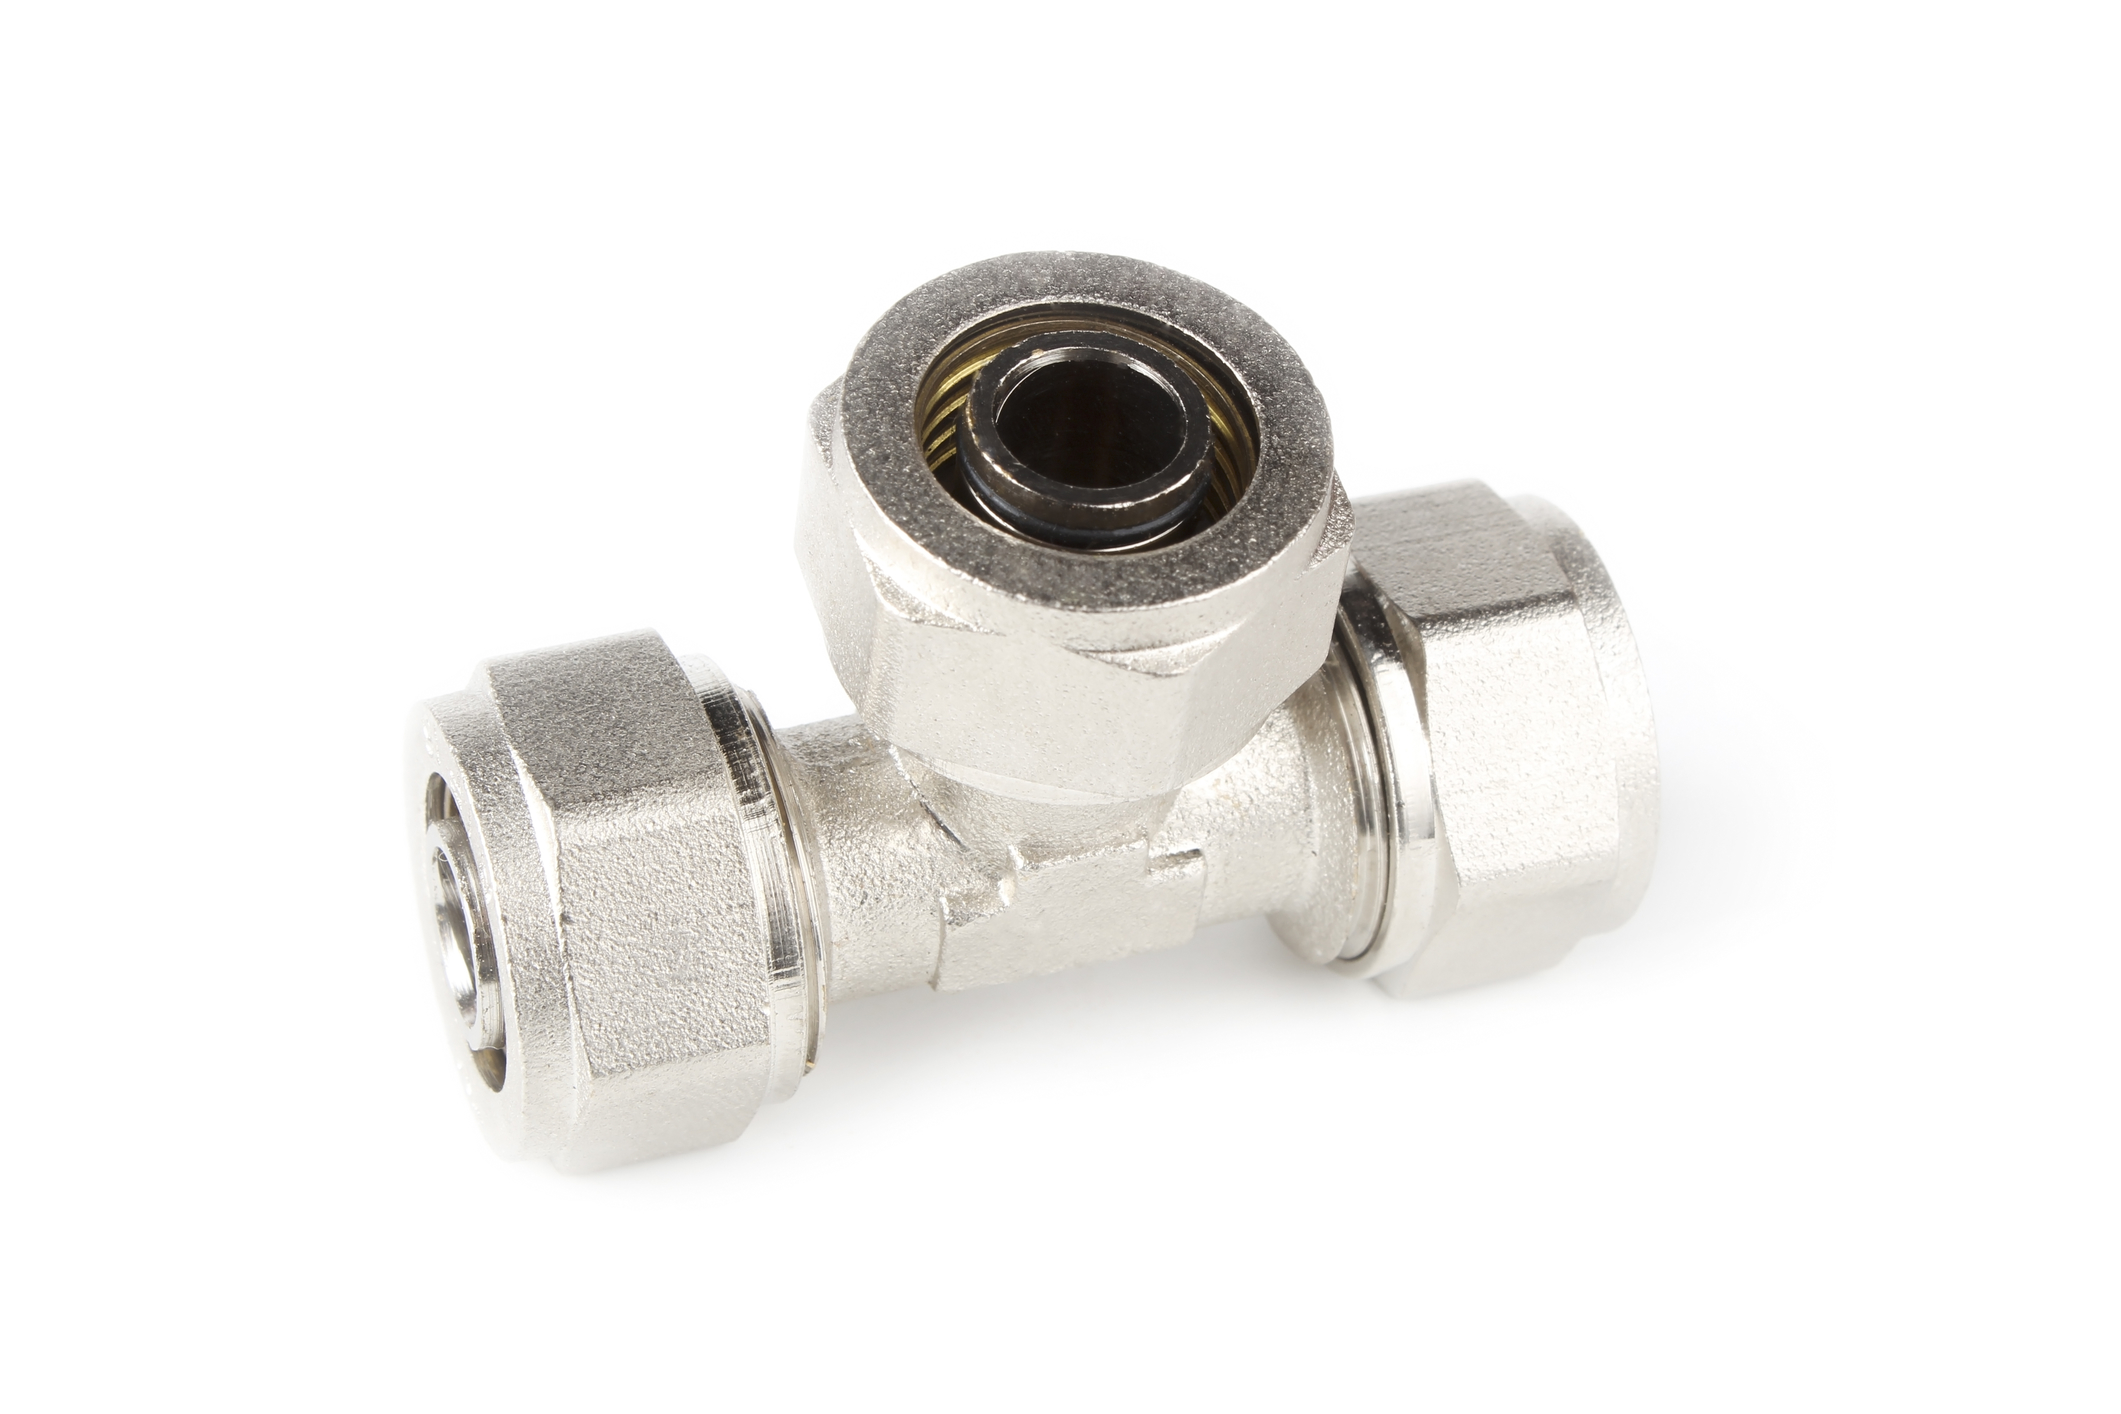
Photo by Vinokurov Alexandr on Shutterstock
4. Add a Showerhead
You’re almost done! Now, it’s time to add a showerhead. There are so many possibilities depending on your taste. For something simple, look for a simple design with an extended arm so you’re not brushing up against the side of your home.
Round disc shapes are popular with outdoor showers, but square ones are an attractive alternative. Just remember to check to make sure the showerhead you choose is rated to be installed outdoors!

Photo by vichie81 on Shutterstock
5. The Finishing Touches
To ensure privacy, add features such as a privacy wall or large potted plants. Not many plants grow in water-saturated environments, so it’s best to keep all greenery potted to stabilize water intake.
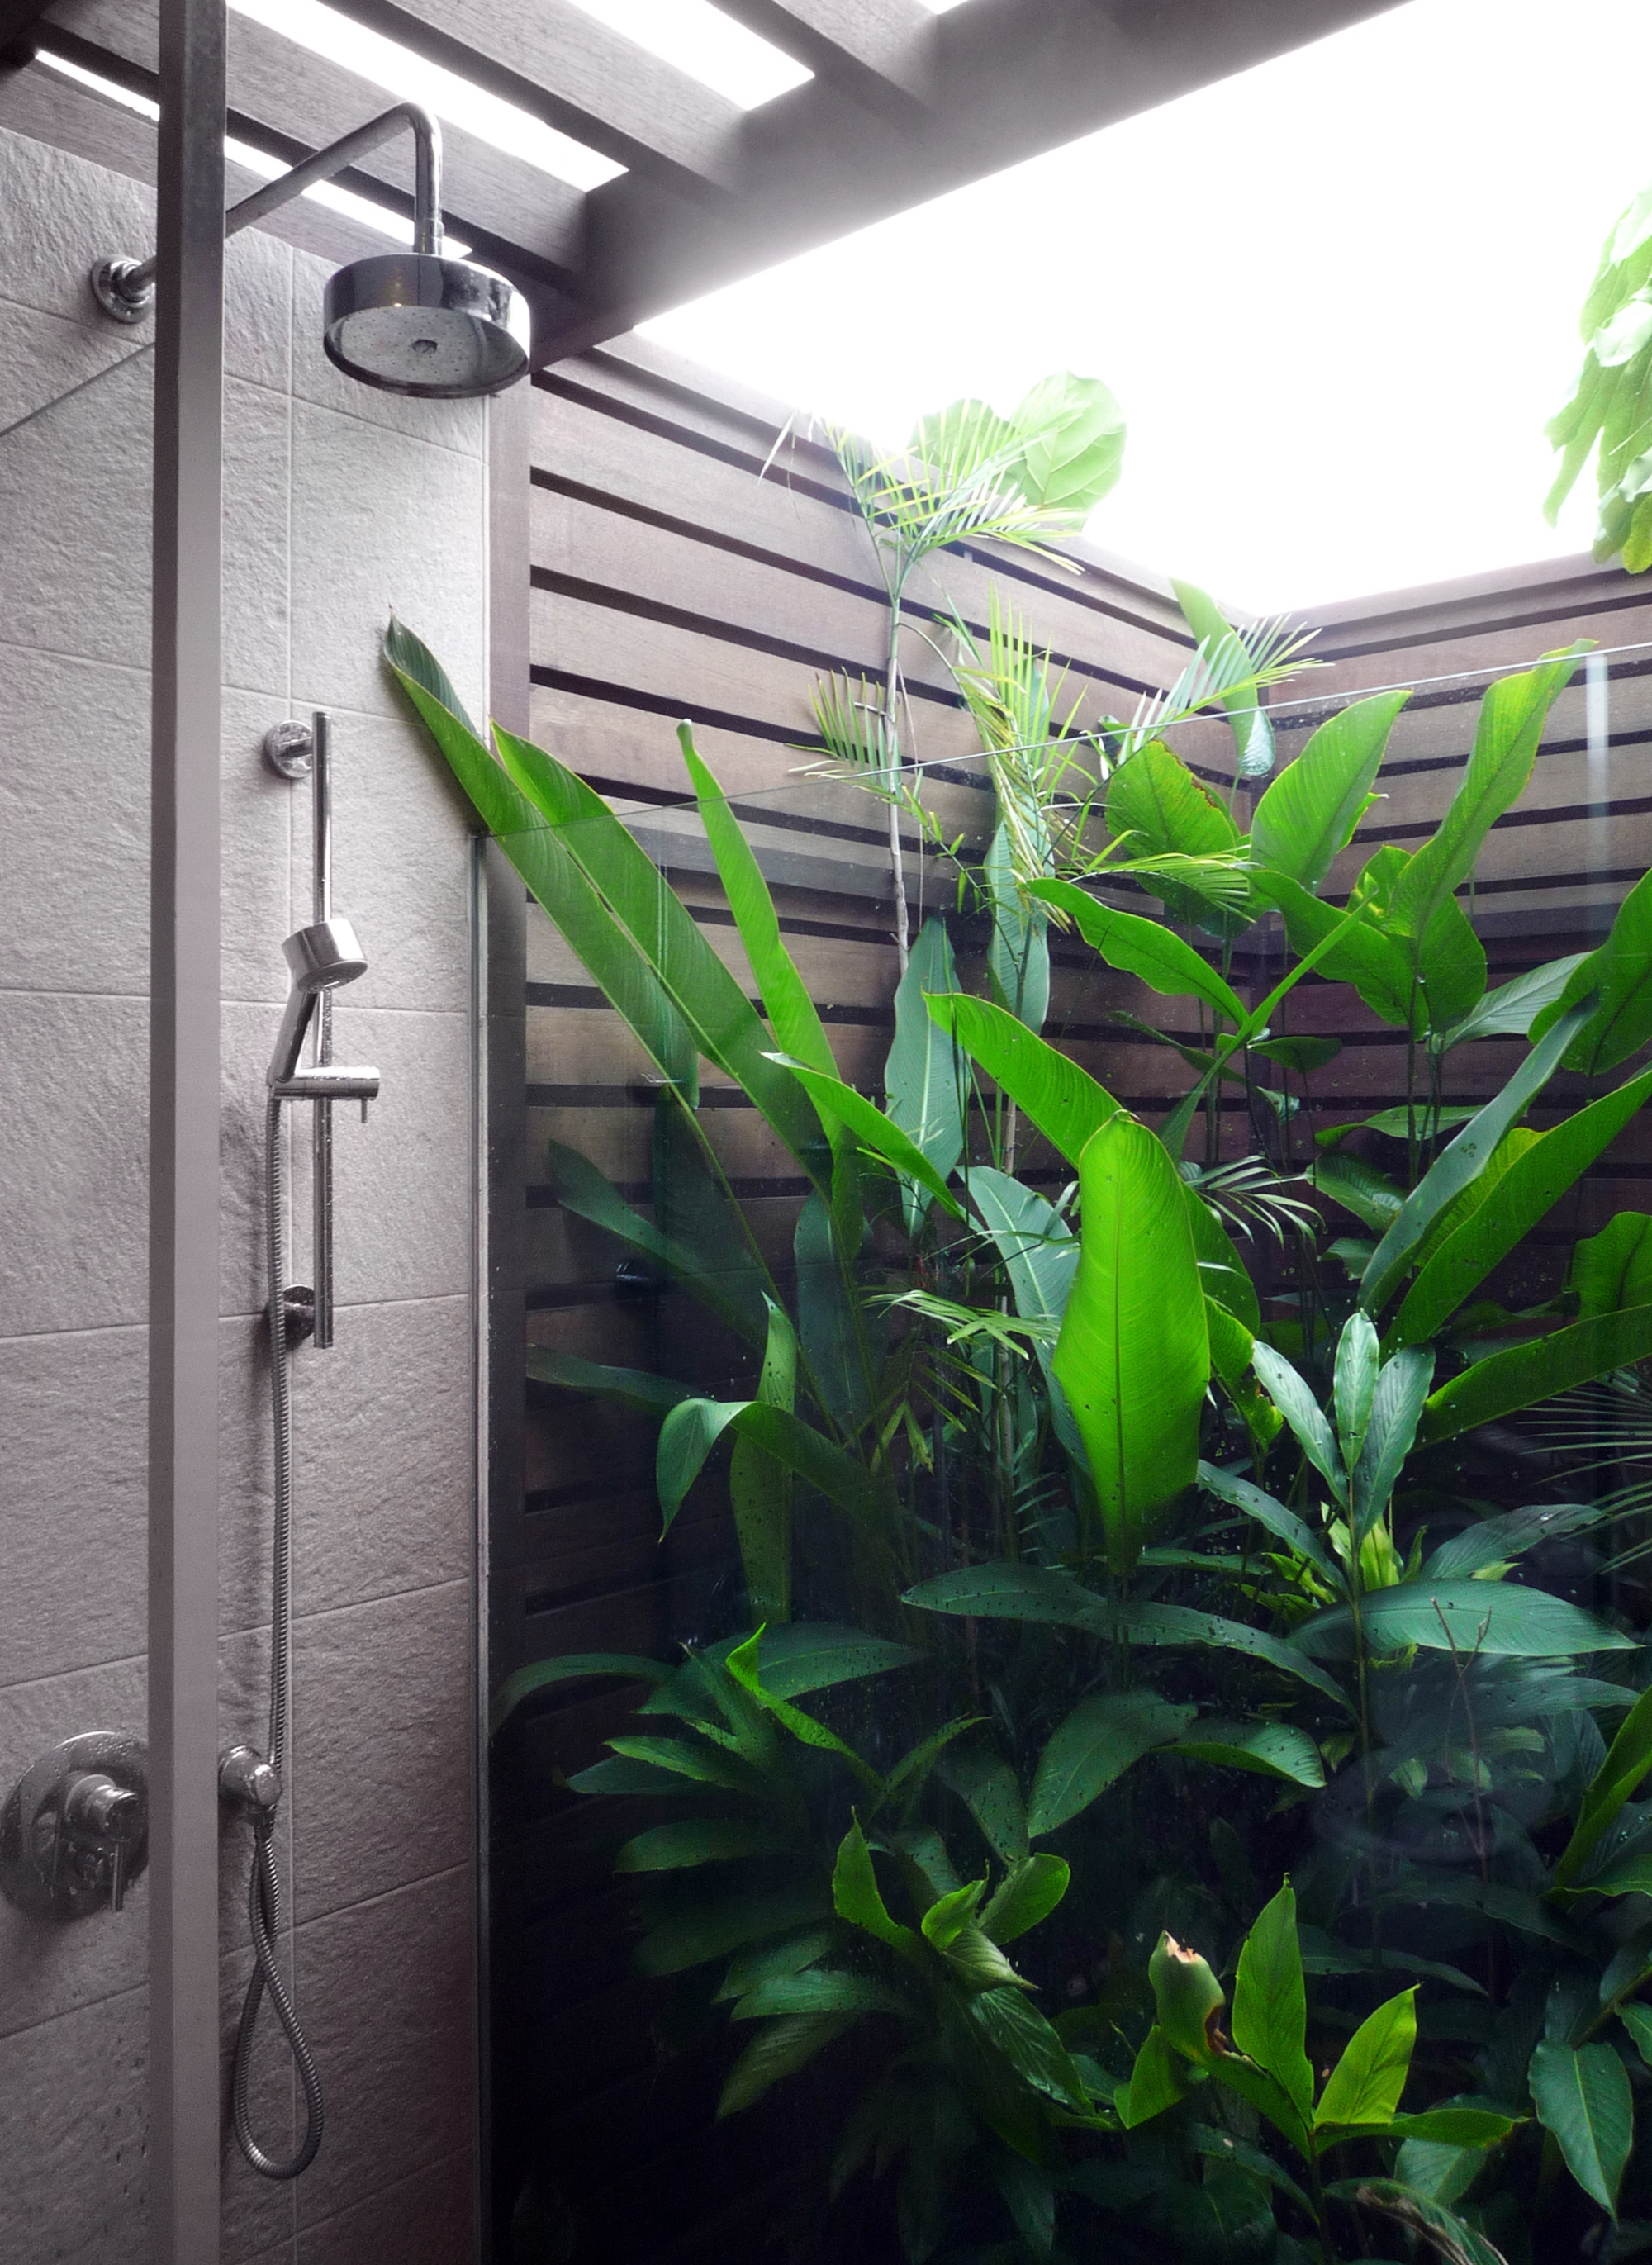
Photo by Joanne Zhe on Dreamstime
If you added drainage rock, place large stepping-stones, wood panels, or oversized tiles down to make it a bit easier on your feet.
Last but not least, think about all the extras you plan to take in your shower. Add a single towel hook and shelf to store your soap and shampoo.
Installing an outdoor shower is definitely worthwhile, especially if you spend a lot of time outside. Instead of tracking all that sand, dirt, and sweat inside your home, make it easy on yourself and devote a day to this project.
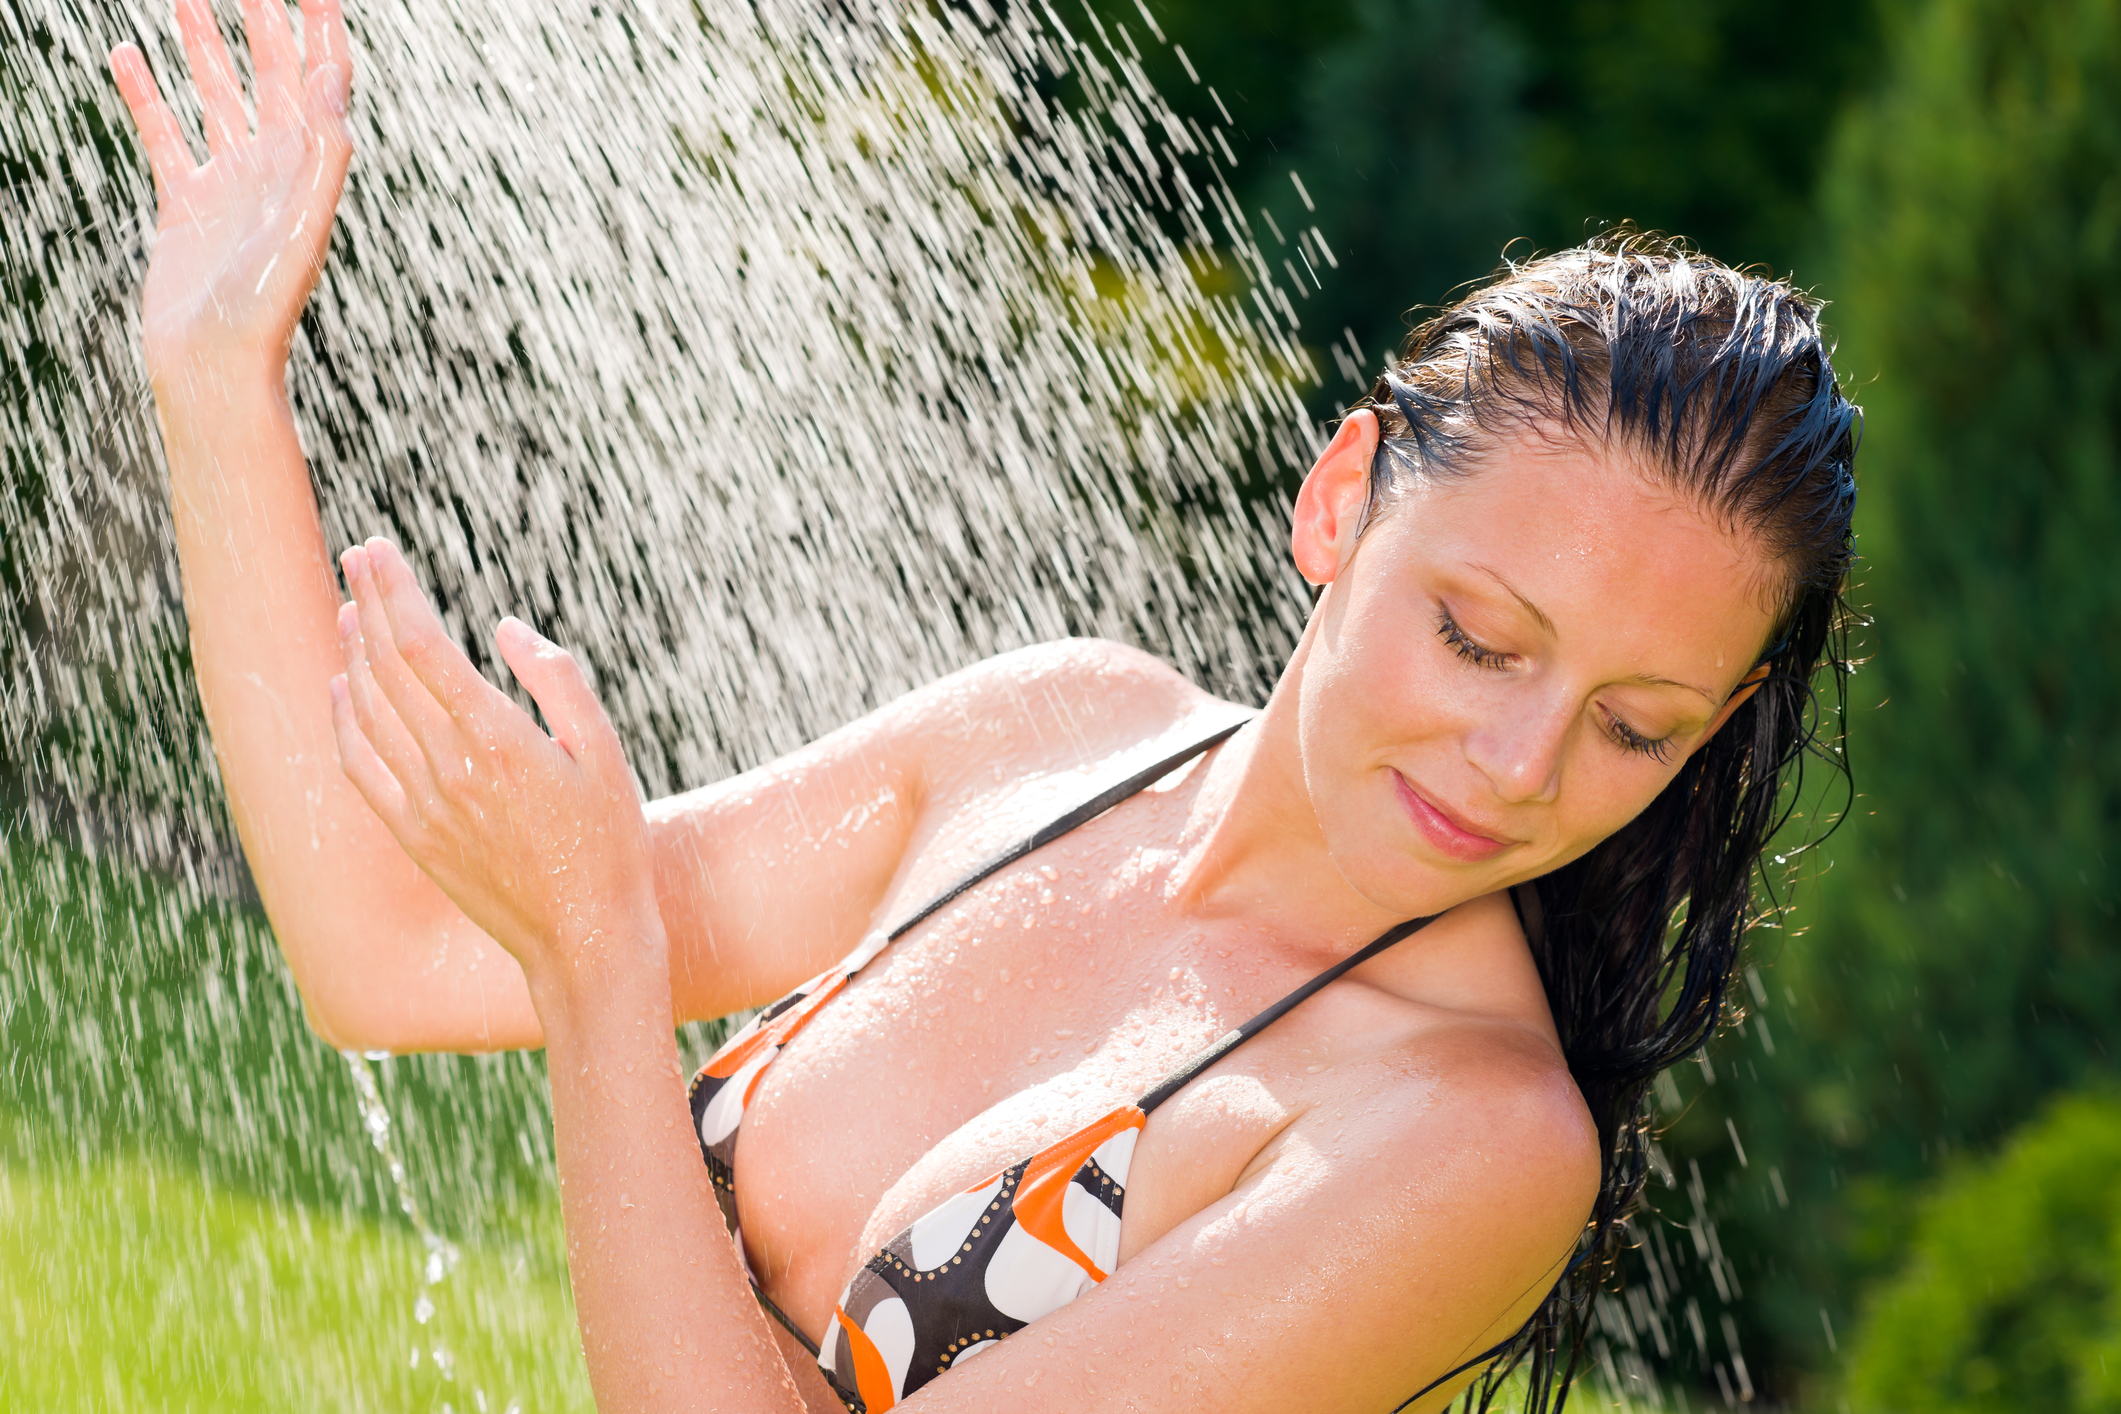
Photo by CandyBox Images on Shutterstock


