


So, you’re just about ready to transform your living room into a true family entertainment room. You’ve got the big-screen TV and a decent Blu-ray player. Now it’s time to really ramp things up with a new surround sound system. You want to ensure that you, your family, and your friends enjoy the most immersive experience possible, and that means doing more than just installing a sound bar or a few speakers below the television. Not sure how to do that without damaging your walls, while still ensuring that you’re getting the right speaker placement? The following guide will help.
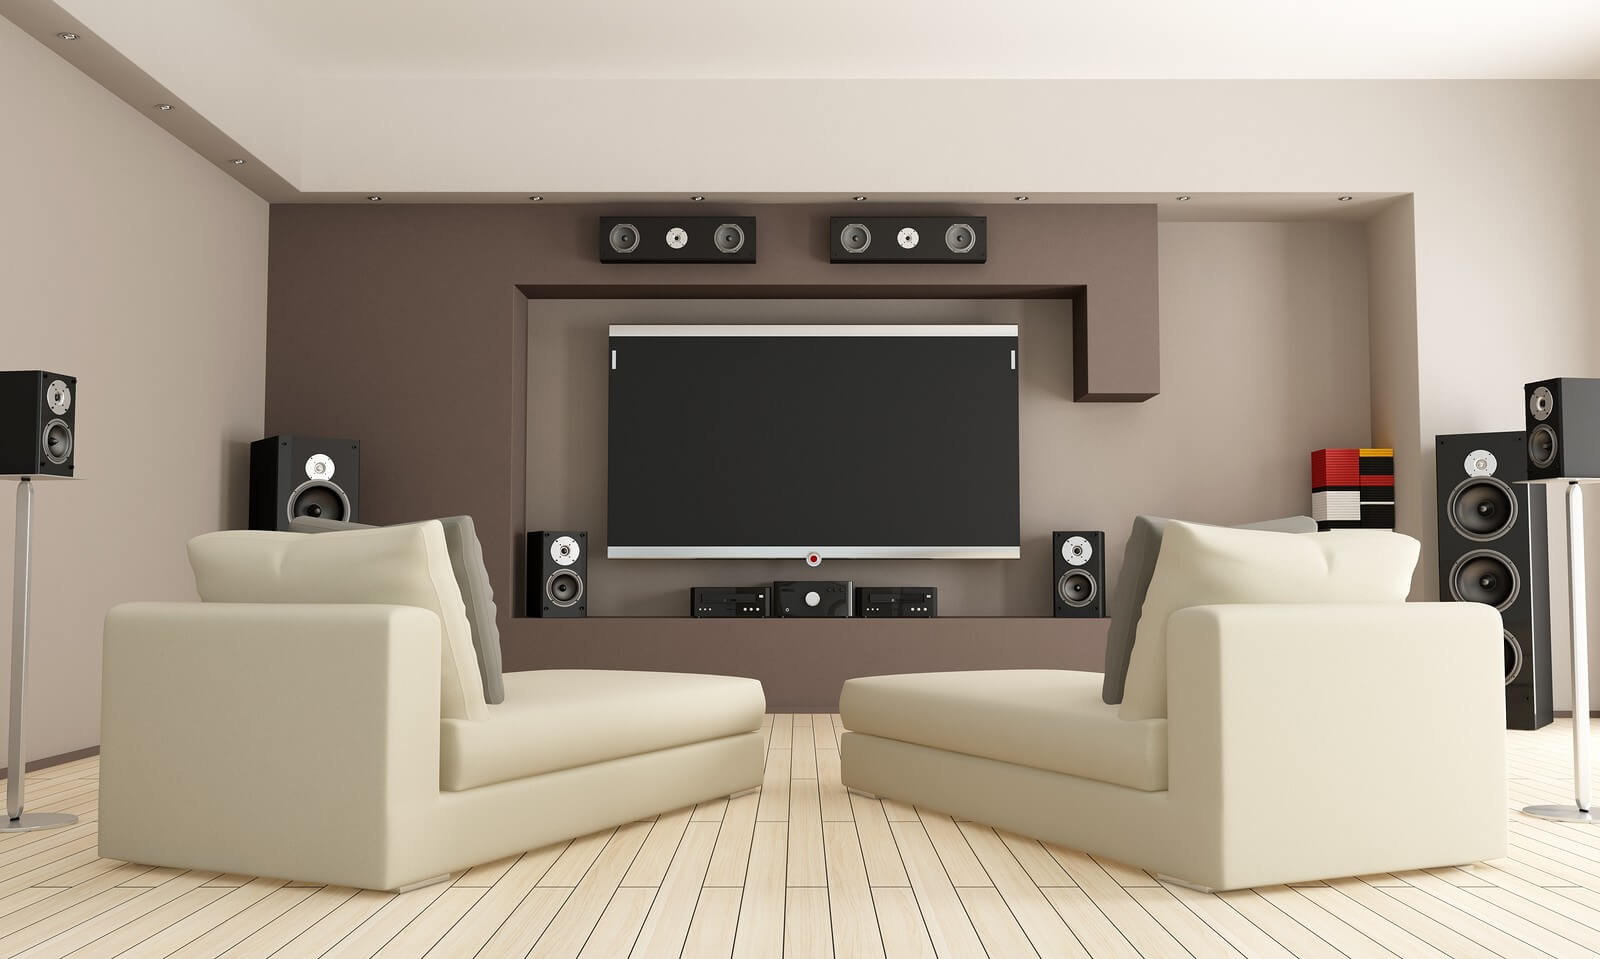
Photo by archideaphoto on Adobe Stock


Plan It First
Before you drill a single hole or turn the first screw, you need to plan everything out. Base your installation on the type of system you’ve purchased. Depending on your setup, you’ll have either five or seven speakers counting the subwoofer. Plan where you’re going to put them. The subwoofer should be somewhere toward either the front or the back of the setup (the front tends to work best for most people, but some prefer it in the rear.)
Don’t set it off to one side though, as this will give your audio a lopsided feel. Arrange the rest of the speakers around the room. In an ideal setup, you’ll have one speaker directly in front of the seating area in the 12:00 position (your larger, main speaker), and then one at 1:00 or 2:00, another at 4:00 or 5:00, another at 7:00 or 8:00, and the final speaker at 10:00 or 11:00.
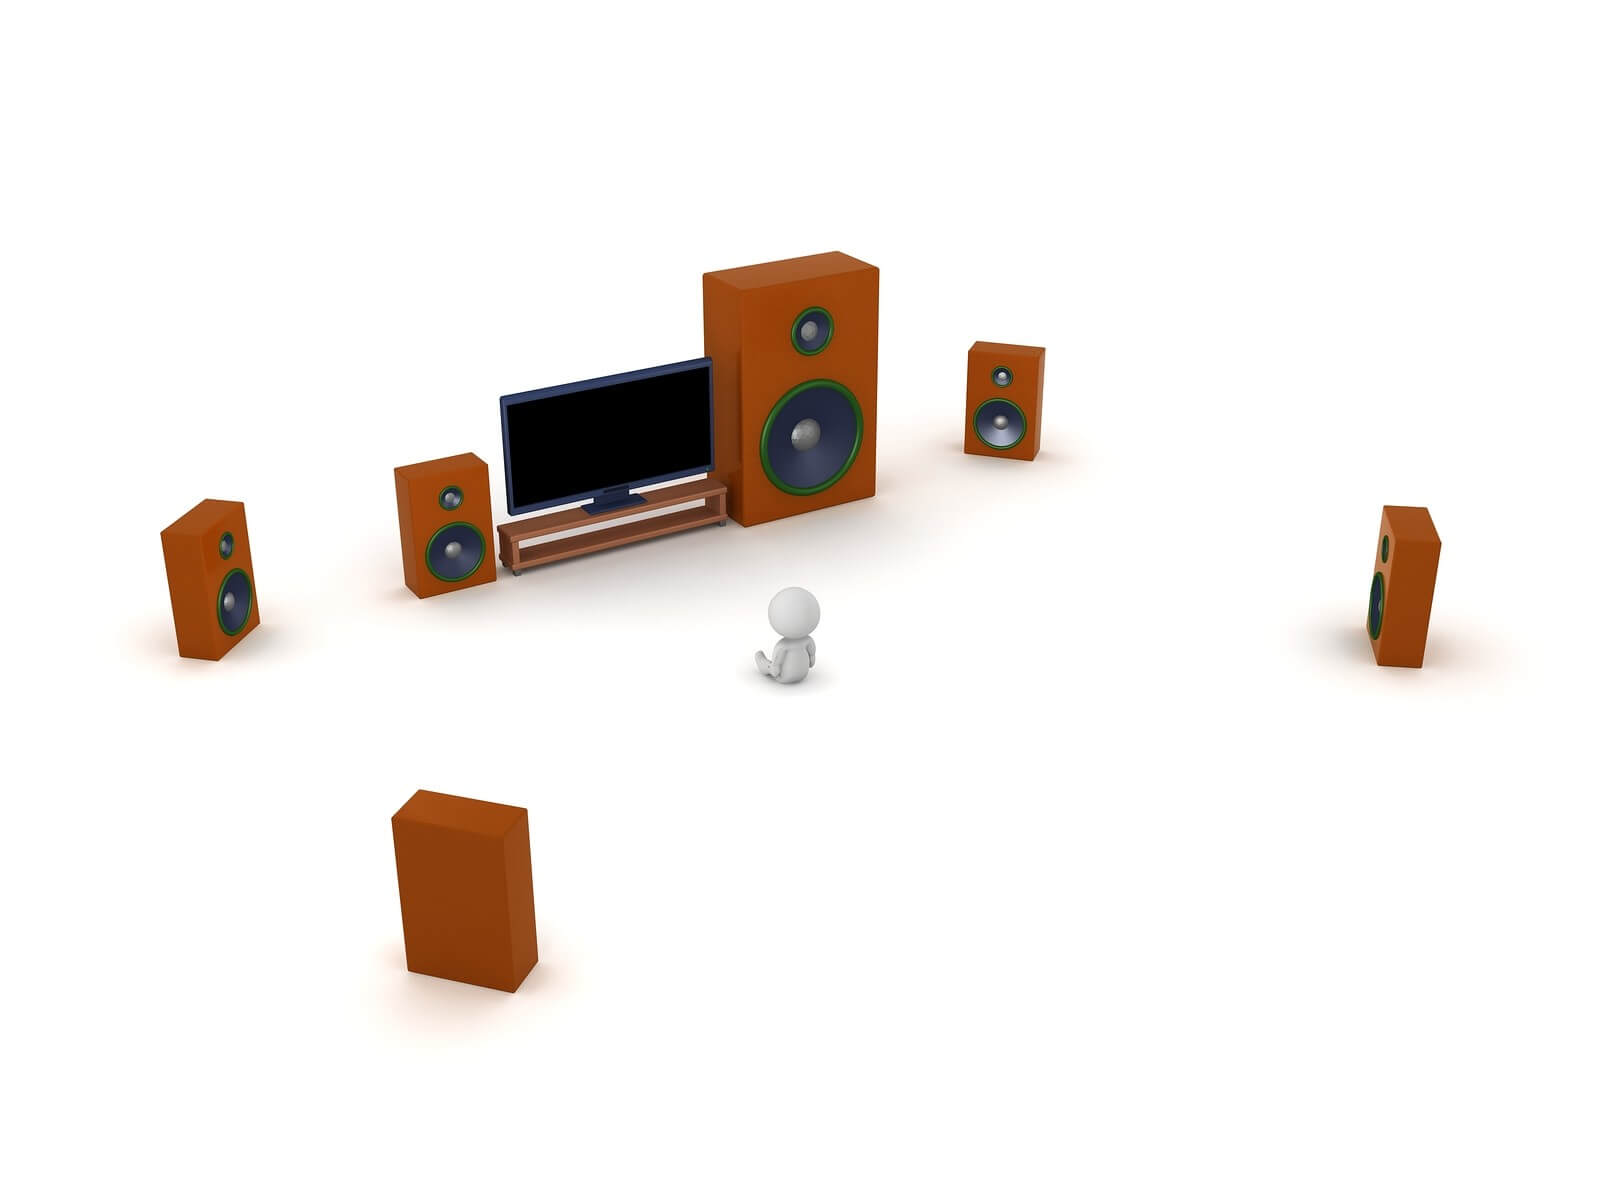
Photo by lucian3d on Fotky-foto
Double Check Your Speaker Directionality
Check each speaker for its designated location. Some systems only label the center speaker, which should go under the TV at the 12:00 position. Others label each speaker as to whether it should go on the left or the right. Note that these won’t make that much difference if you swap them – the most important aspect will be the cabling. With that being said, if your speakers are wireless, you need to pay very close attention to the location.
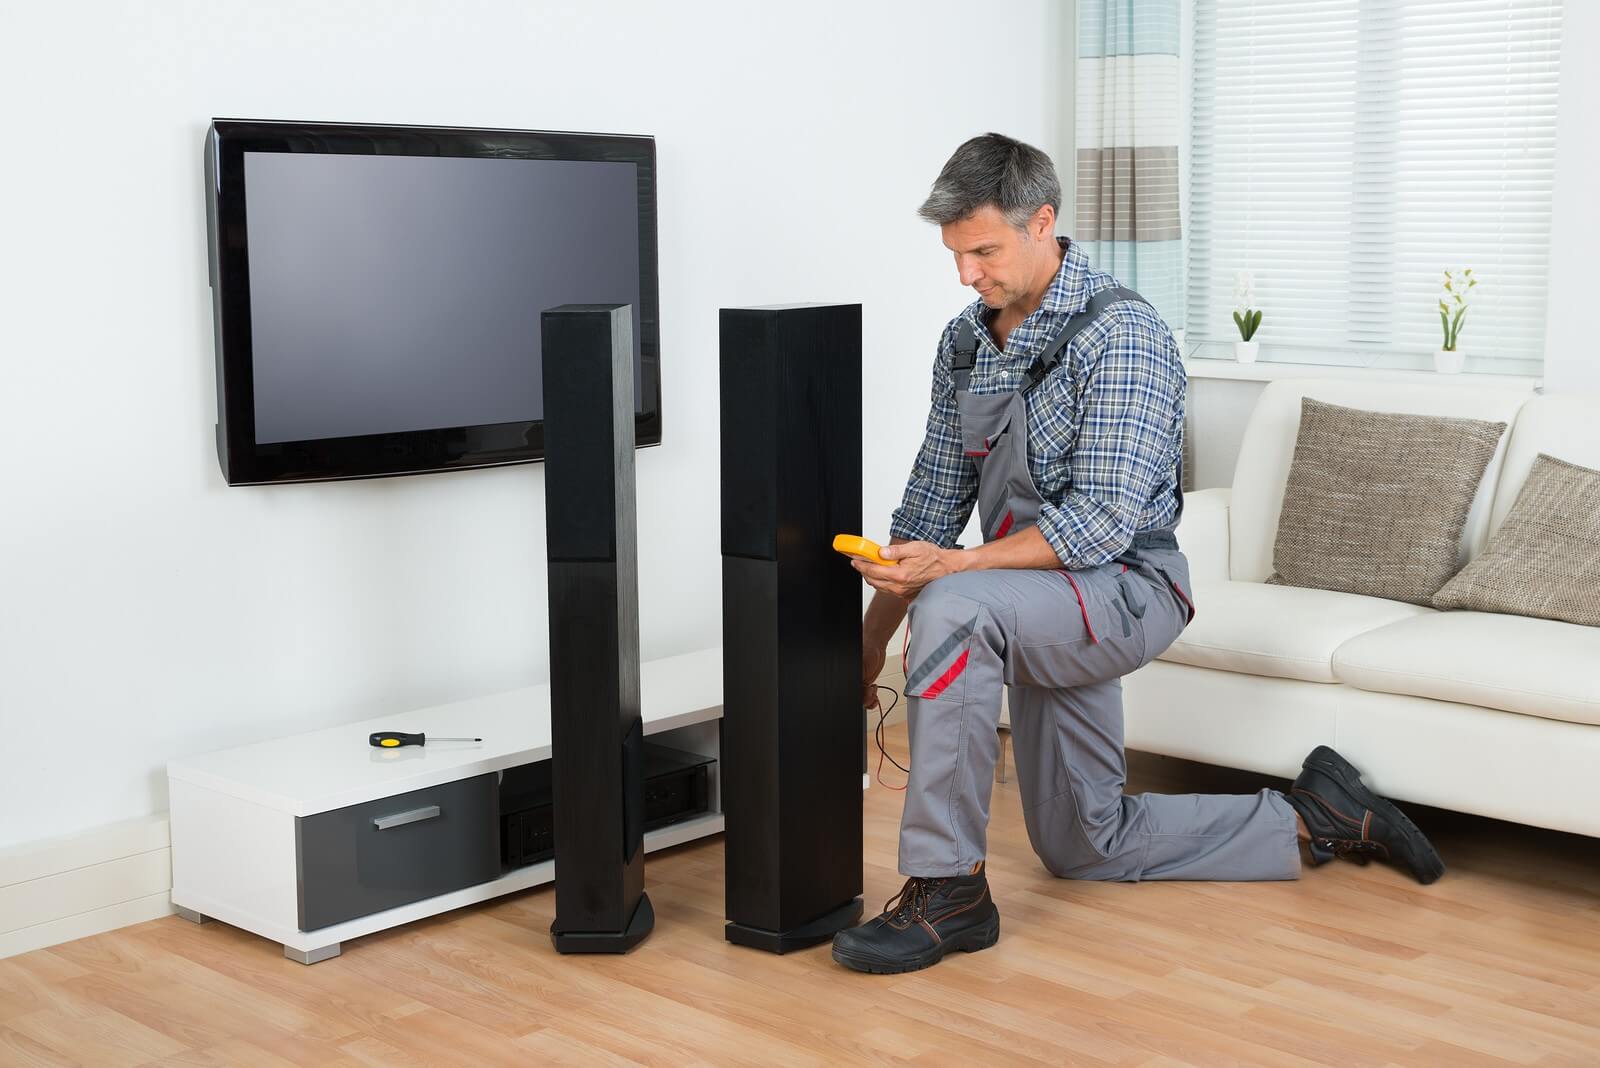
Photo by Andrey Popov on Adobe Stock
Plan Your Wiring
Now it’s time to plan your wiring layout. If you have wireless speakers, you can skip this section, though you’ll need to ensure that you’re installing them in an area where there’s access to an outlet. For wired systems, though, you’ll have cables that run from each speaker back to the surround sound system. This can be problematic, as no one wants heaps of wires running across their living room floors. You can route them along the baseboards and hold them in place with staples, and then route them up and over doorways, too. Ideally, you’ll be handy enough to run them through the ceiling, although this will require more planning. You can also run your wires under the floor if you have a basement.
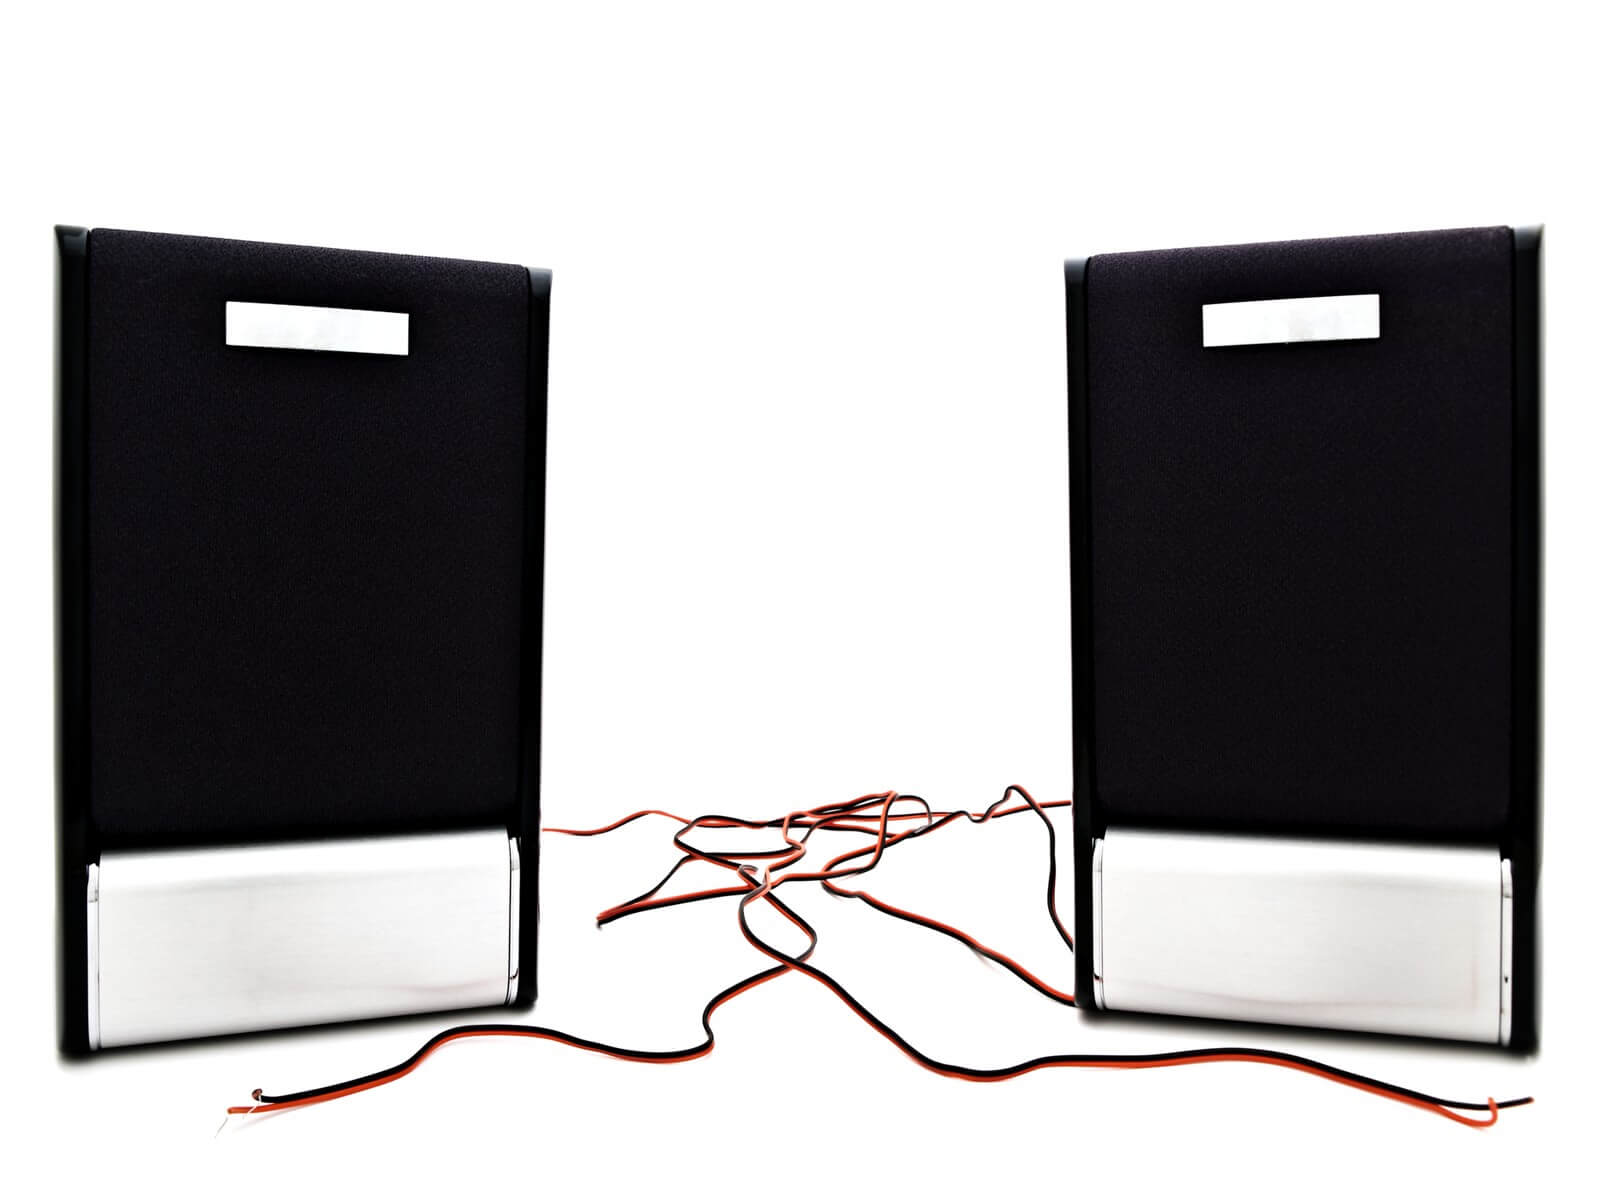
Photo by Sergei Razvodovskij on Dreamstime
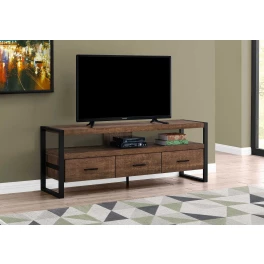
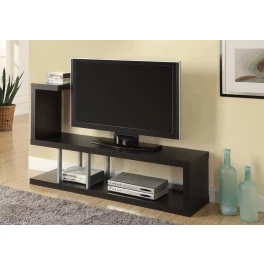
Mount Your Speakers
While the center speaker will be fine sitting on your entertainment center, and the subwoofer on the floor, the peripheral speakers should be mounted to either the wall or the ceiling. You’ll need speaker mounting kits to do this. Most systems come with at least rudimentary mounting kits, but you might need to purchase upgraded kits. The kit needs to attach securely to a wall stud – never anchor it straight to the drywall. A stud finder will be your best friend during this portion of the install. Note that you’ll probably want to connect the wiring before mounting your speakers, as most connections are on the back and it can be impossible to connect the wires once the speakers are mounted (without taking them back off, of course.)
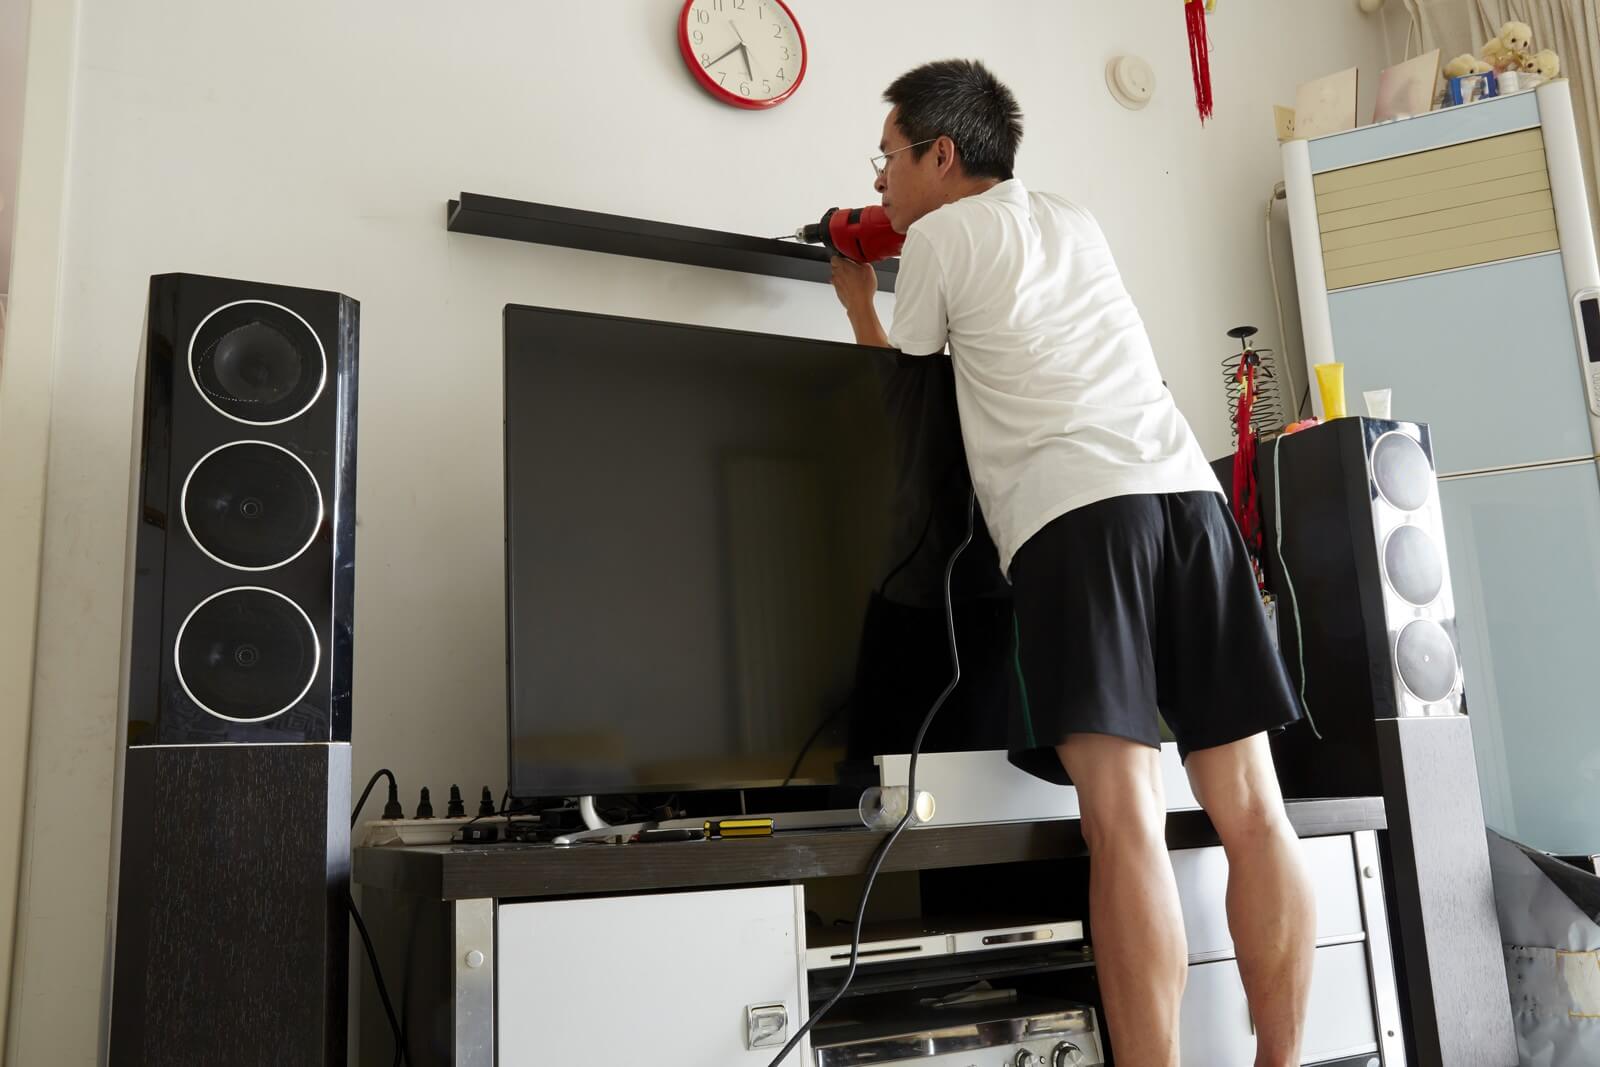
Photo by Xiaoyong on Dreamstime
Test the System
Once you have all the speakers mounted and all the wires connected, test your system. Many surround sound systems come with a tester disc that will play a single tone or series of tones through each speaker, allowing you to ensure that everything is working correctly. If you notice that one speaker isn’t working, check the connections and test it again. If it’s still not working, the problem is most likely with the wiring, although there could be a problem with the speaker itself. Once you’ve tested each speaker individually, test the system as a whole to make sure that you get the immersive listening experience you want.
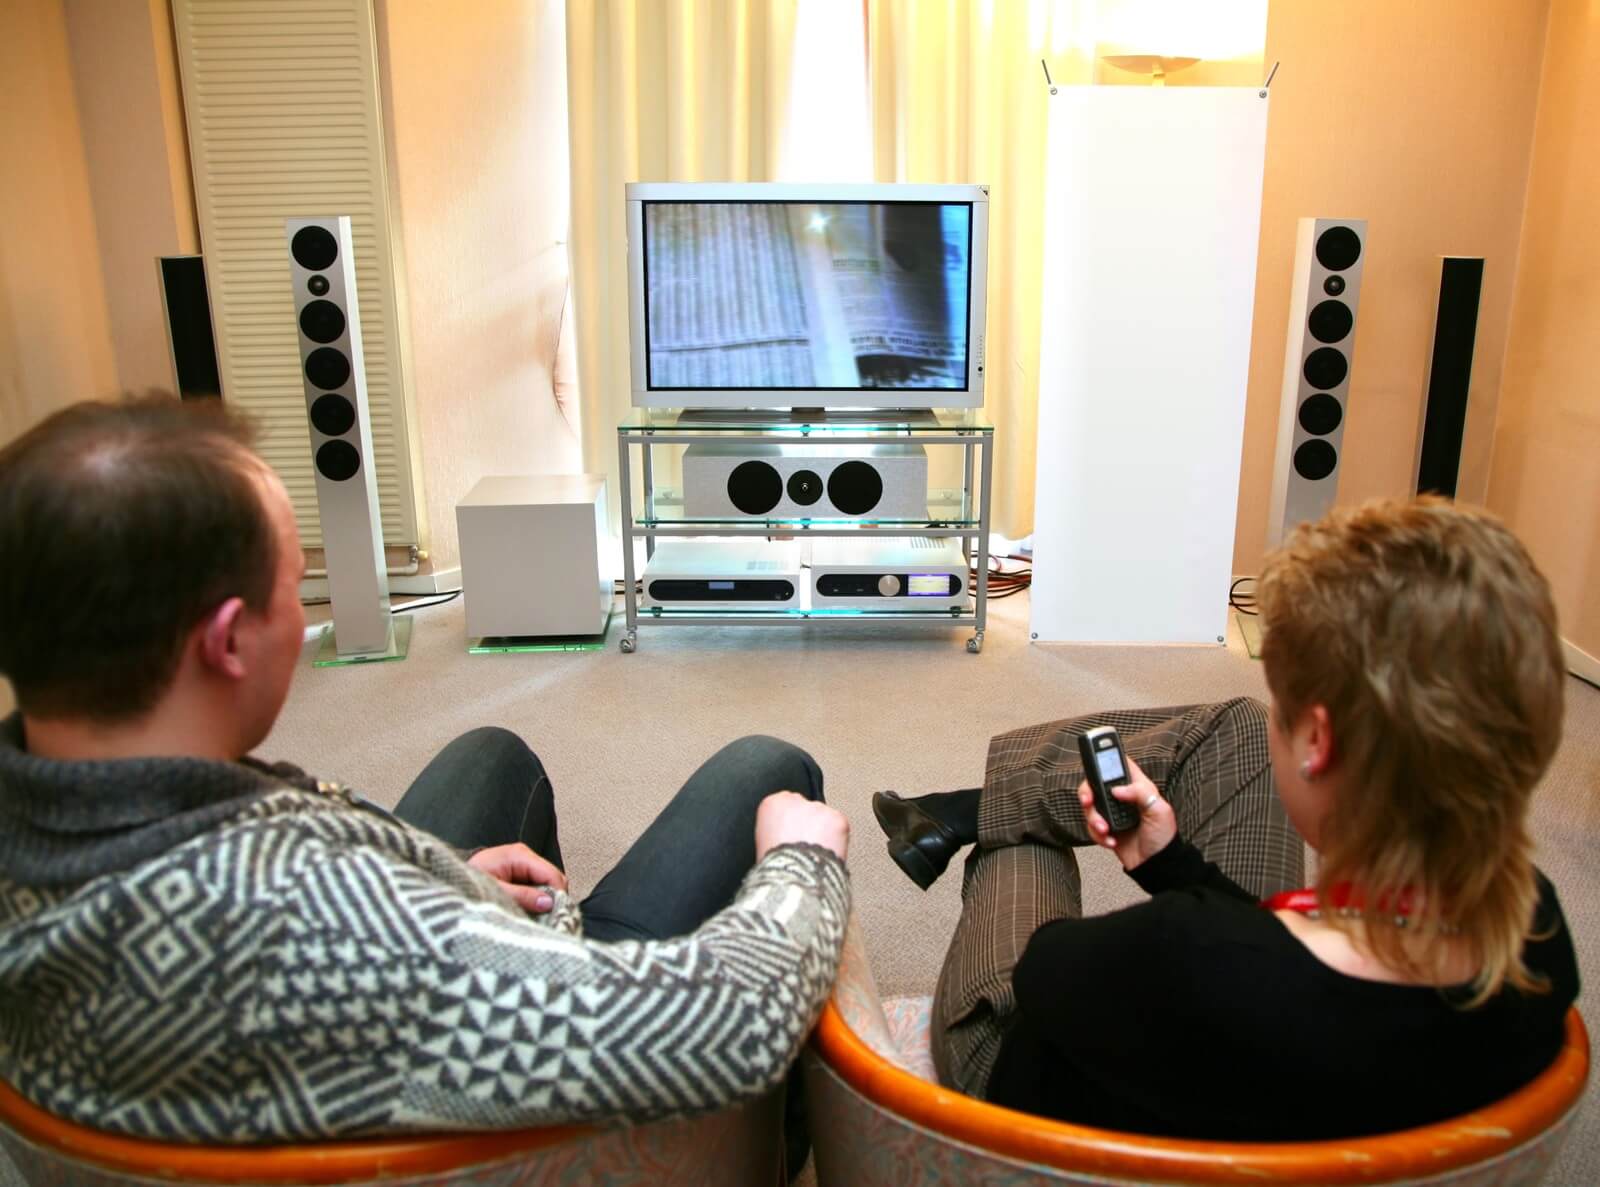
Photo by Paha_L on Depositphotos
DISCLAIMER: Readers should keep in mind that any accounts of renovation presented in this blog are written accounts of events taking place at individual homes, and are not necessarily endorsements of do-it-yourself home improvement. You proceed at your own risk if you attempt to replicate any activities described here.
Teaser: Ready to turn that boring, drab family room into the entertainment room of your dreams? Once you’ve done your due diligence and bought a system that fits your entertainment preferences and budget, it’s time to get down and dirty with the install. Thankfully, it’s not that complicated, so long as you follow a few simple tips and tricks. Read on to learn more about how to enjoy a hassle-free installation process.


