


A kitchen island is a wonderful thing. Not only does it provide you the dual functions of a workspace and a dining spot, but it can be an attractive way to store just about anything you need out of the way or within easier reach. Naturally, there is a seemingly endless number of kitchen islands available, but not all fit your needs or your budget. Fortunately, it is a lot easier than many might realize to create an entirely custom island from scratch.
Even if you are not the best DIY person you know, or have no DIY skills at all, you can still find a few easy methods for constructing an attractive, functional, affordable and long-lasting island. In fact, we have three simple approaches that even a novice DIY enthusiast can easily tackle.
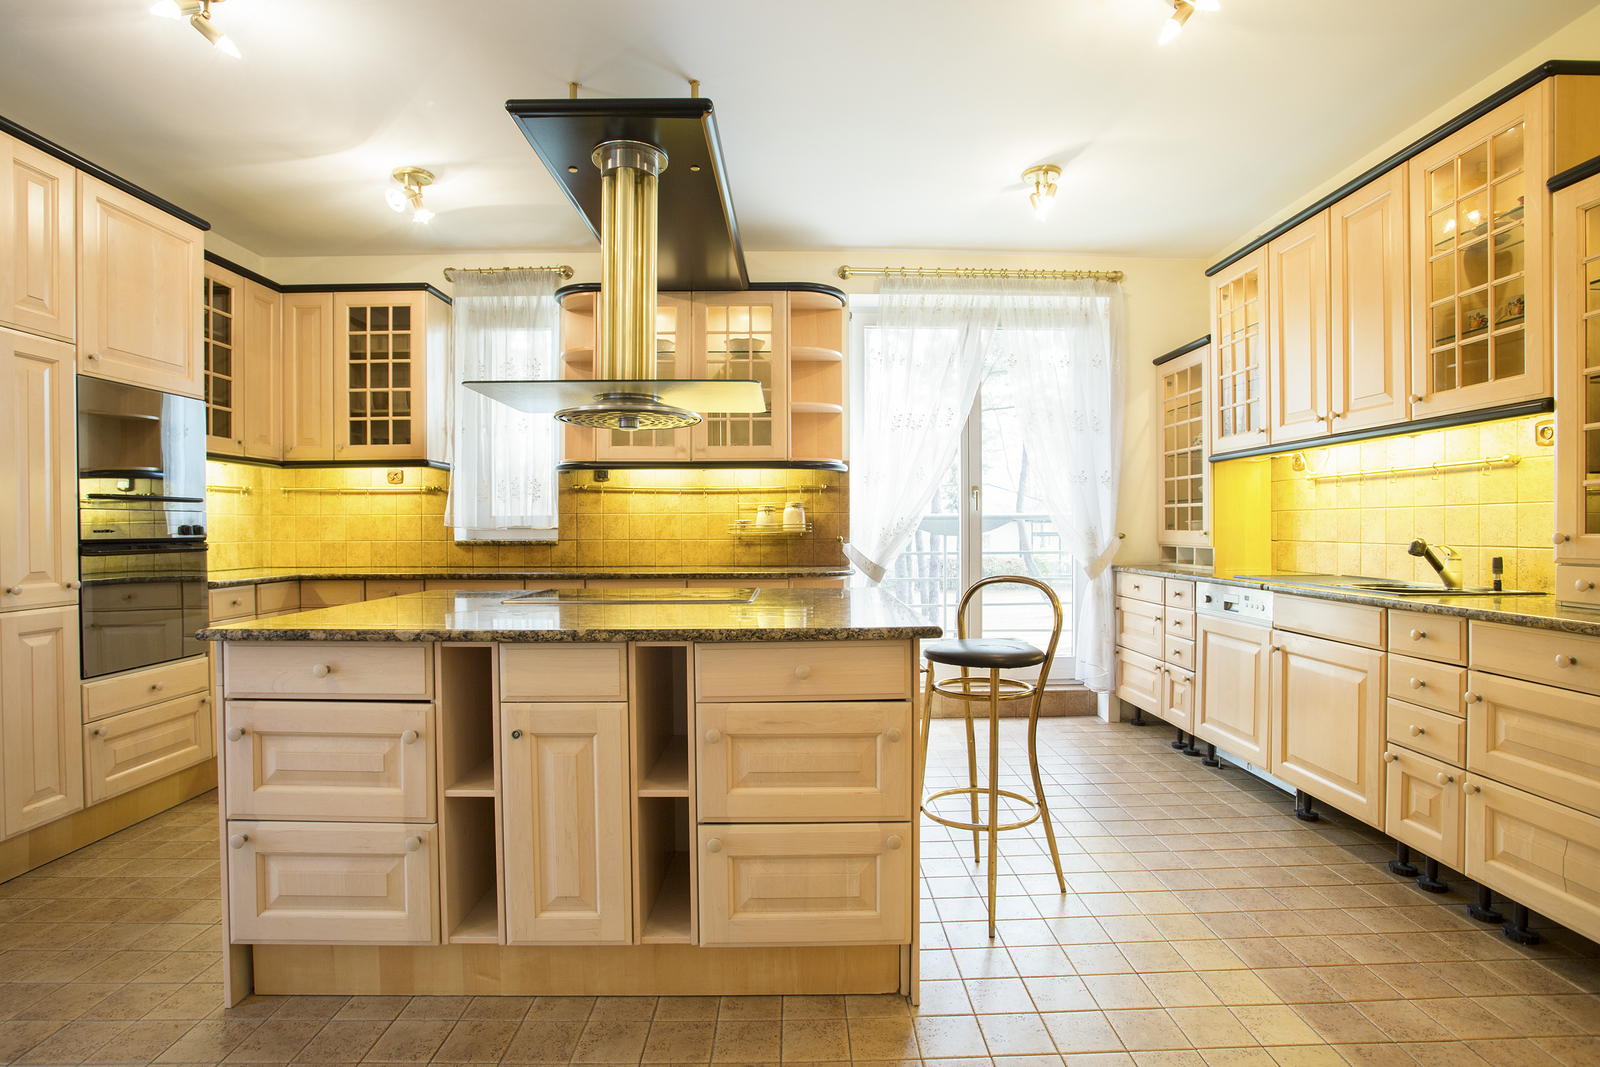
Photo by Photographee.eu on Shutterstock


1. Two Base Cabinets and Some Patience
Your local home improvement store is going to have a large number of unfinished cabinets on hand. You need only invest in two of them (a good size is 15"x30") and an assortment of boards and molding to create a very appealing and attractive kitchen island.
The premise for this is simple - you build a base frame on which you will install the two base cabinets. This is then trimmed with an appealing base board finish, and the cabinet ends are also decorated with molding to create a more architectural finish. Between the two case cabinets, you can create several fixed shelves at your chosen dimensions, and just finish the island with a stock countertop purchased at the same improvement store.
This is a commonly described method for a DIY island, and the better home improvement stores make instructions available using their products.
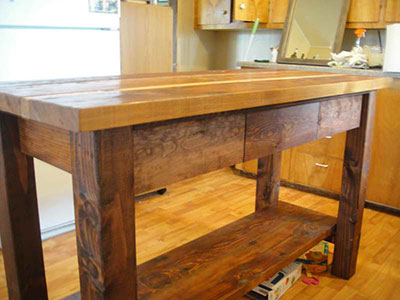
Photo by Ana White on Pinterest
2. A Table, Some Wheels, and a Few Boards, and Bit of Paint
One of the simplest DIY kitchen islands is also easy to create and customize. In essence, this one involves only the use of a smaller table that is mounted on durable, locking wheels. Using brass or other aesthetically pleasing wheels is the best option, as they also lift the table to the standard countertop height.
You can install one or two shelves if desired, using horizontal nailers and standard boards, and then finish it in your chosen color. Some plans also suggest adding a paper towel holder or basket for storage at one end, and staining the tabletop and shelves in natural hues while painting the rest of the table in a coordinating color.
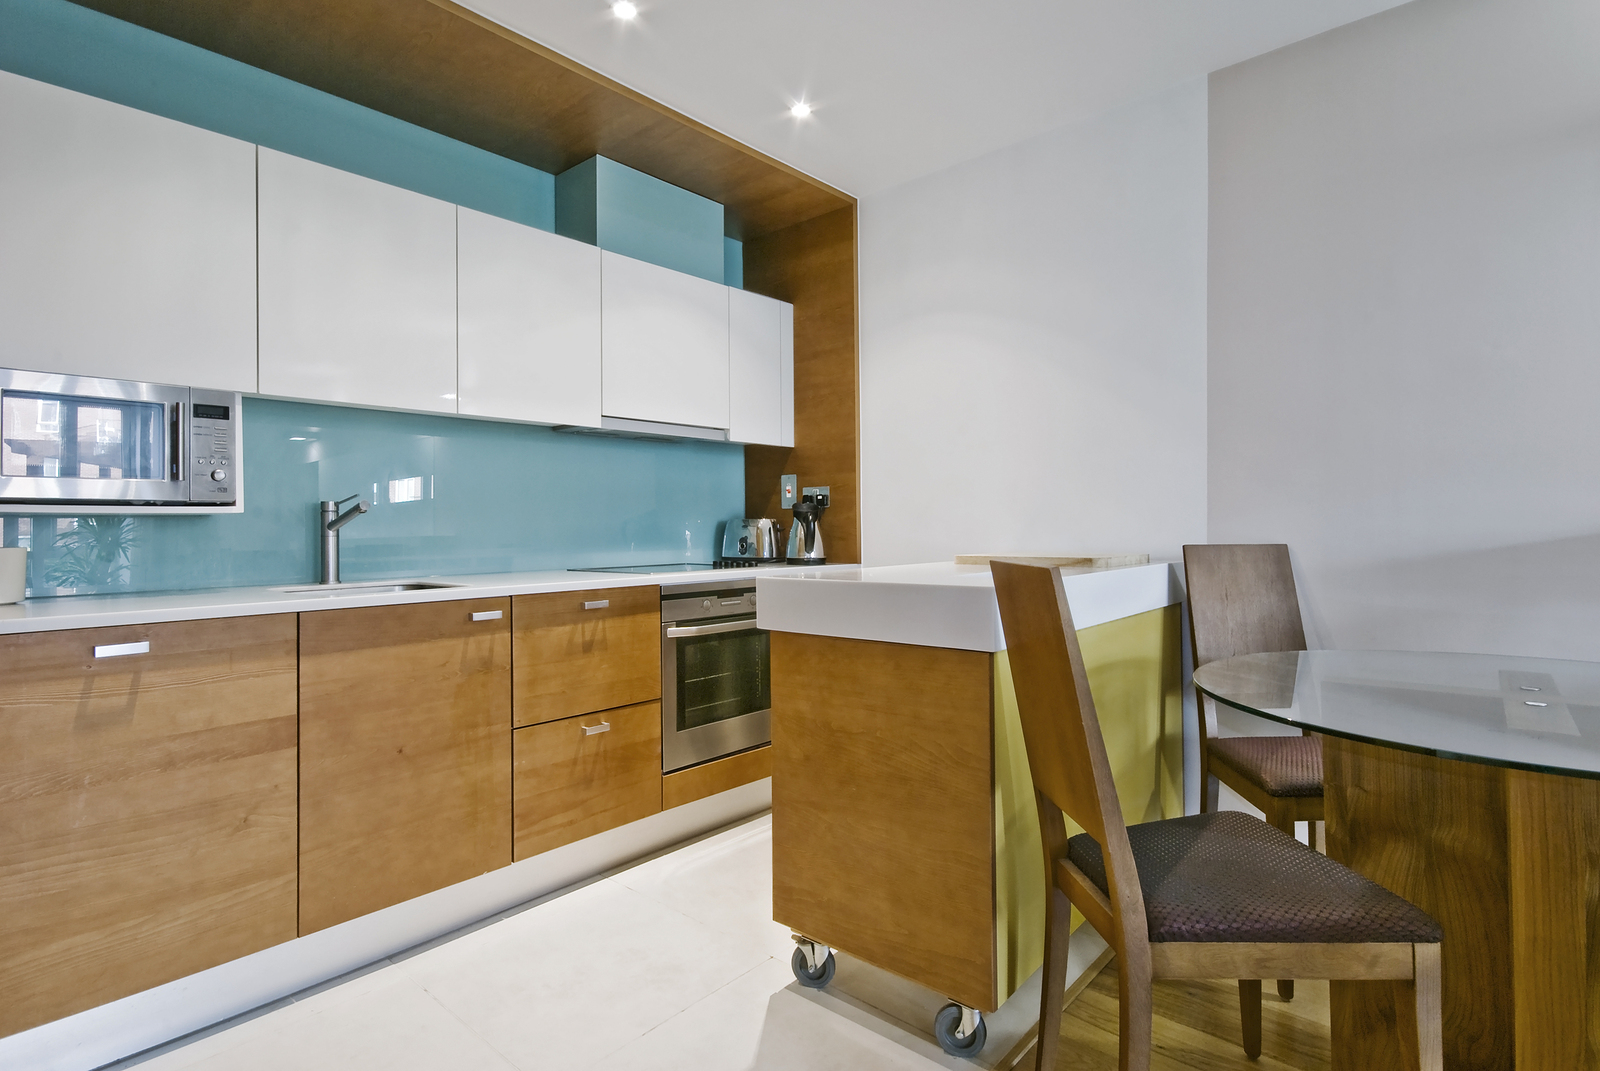
Photo by yampi on Shutterstock
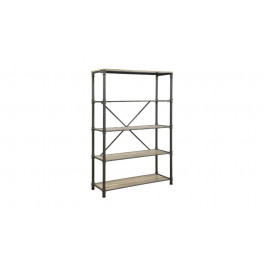
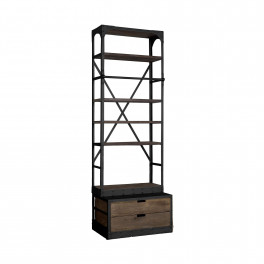
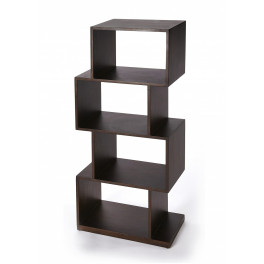
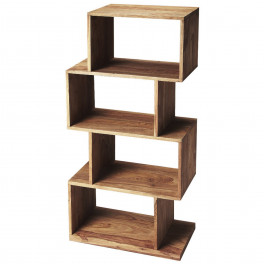
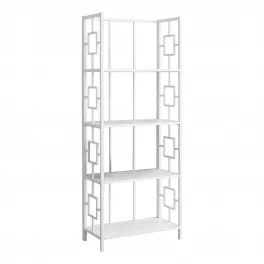
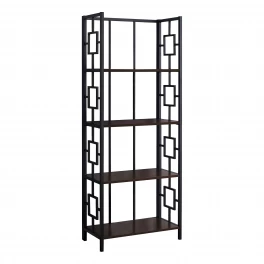
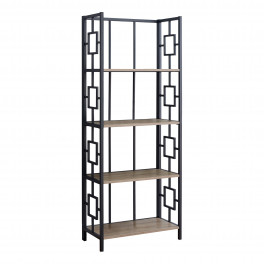
3. Bookcases and Shelves
One of the simplest approaches to a kitchen island is to simply repurpose new or old bookcases into a free standing island. Lining up two or more shelves and fitting them with a pre-made countertop can provide you with instant storage and a functional workspace.
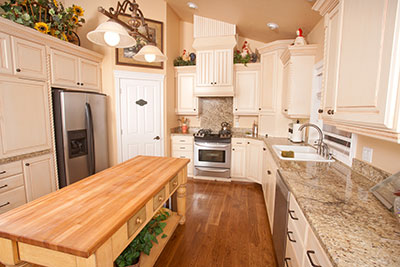
Photo by sligar on Adobe Stock
Rather than keeping it narrow, however, you can mount several cases back-to-back and secure them to the floor, finishing with base board molding. You can top them with a manufactured countertop and finish the ends of the cases with a unifying bit of bead board that is painted or stained to match.
Don't forget that re-purposing items can work with many decorating styles. For example, those bulky old wooden dressers can be transitioned into kitchen islands by mounting some hardware wheels and sealing the top. Additionally, old-fashioned kitchen carts can be updated with a bit of paint and a new top to do the trick. The same can also apply to old filing cabinets or industrial lockers can be cut to size and topped with a counter.
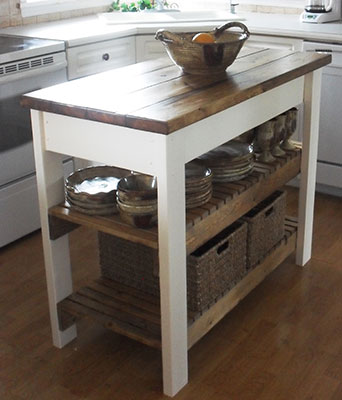
Photo by Dee Shut on Pinterest
Don't let anything limit your imagination when looking for a simple DIY kitchen island plan. There are many ways to get the dining, working, and storage you need.
DISCLAIMER: Readers should keep in mind that any accounts of building a home presented in this article are written accounts by the authors, and are not necessarily reflect the opinions of the owners of this website. You proceed at your own risk if you attempt the activities described here.


