


Do you love the look of tile but fear it may break your budget or exceed your DIY skills?
The QEP’s LASH Tile Leveling System can help by tackling one of tiling’s biggest problems: lippage.
According to the Tile Council of North America, lippage is a variation in the height of adjoining tiles. Too much lippage can compromise your flooring.
The QEP - LASH Tile Leveling System was designed to help conquer lippage due to uneven edges. It can be a big help with all tiles, including decorative and large tiles.
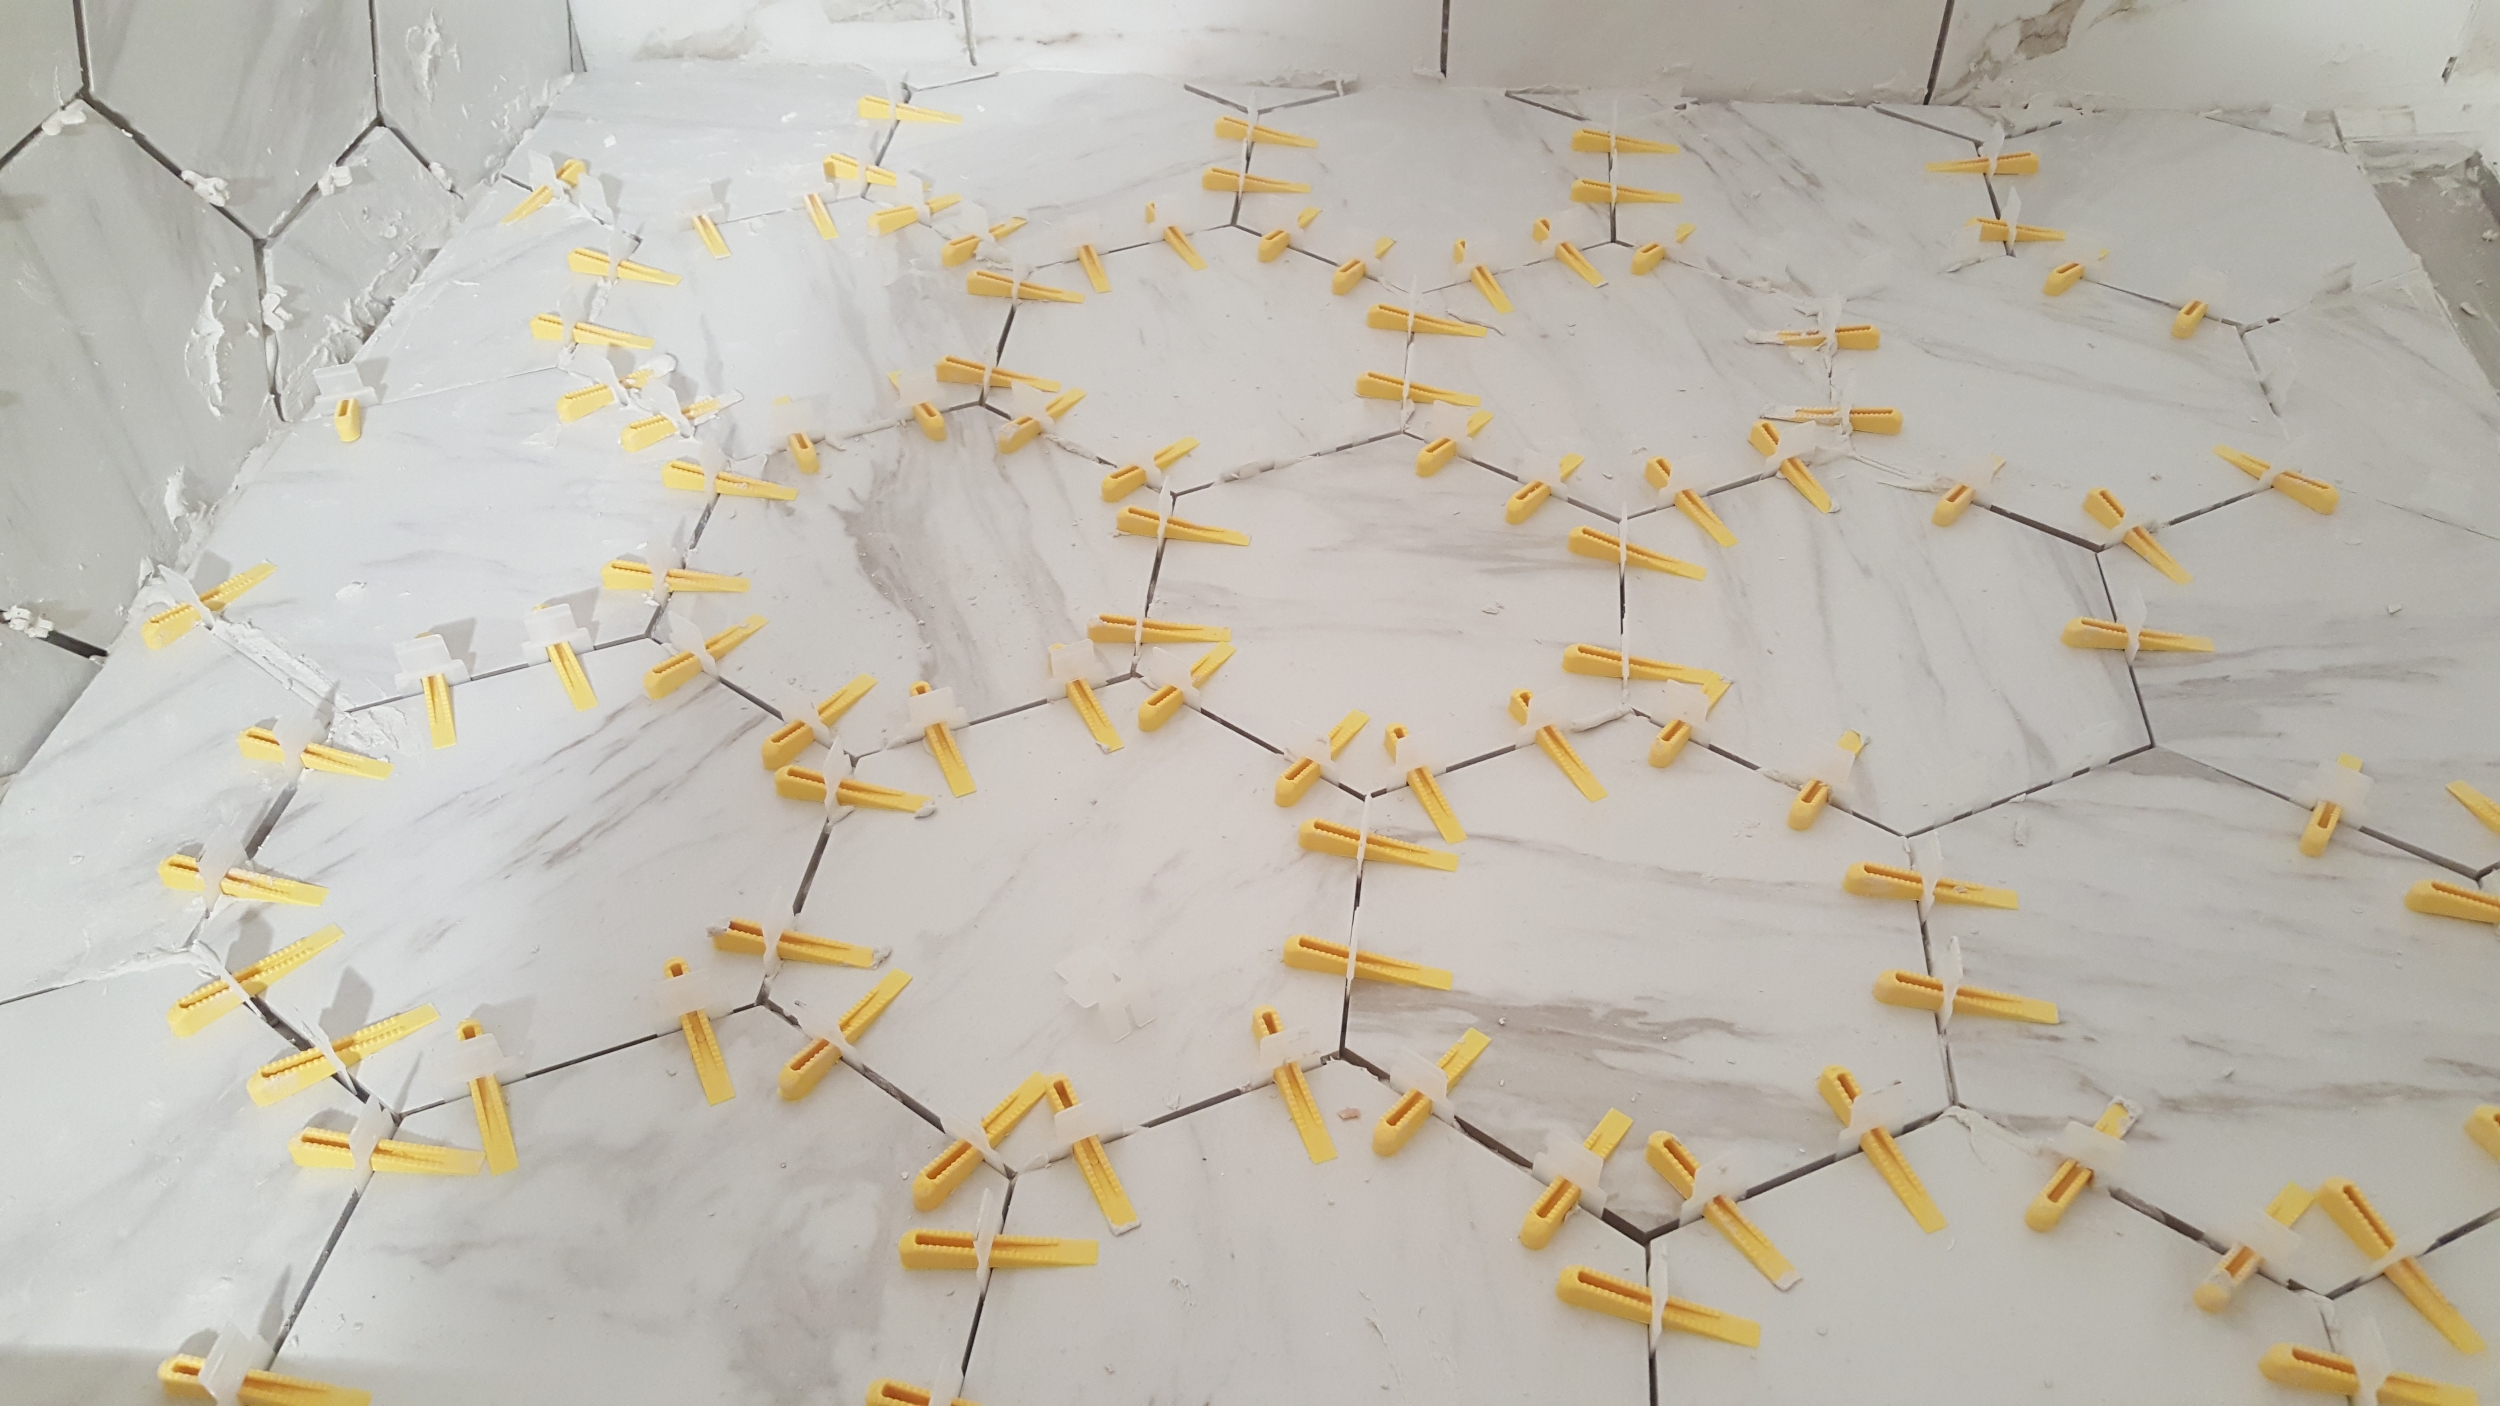
Photo by www.hocindustrialco.com


Those using the LASH tiling system can expect to save both time and money because there are fewer mistakes. The job gets done faster because the LASH system takes the guesswork out of whether a tile is level. This product also keeps costs under control by preventing tile waste due to poor installation.
Ease of Installation
The LASH system is easy to use because you don’t have to throw out what you already know about tiling. If you’re already familiar with how to tile a new floor, the LASH system doesn’t change the following crucial steps:
1. Make sure the floor is level.

Photo by StockphotoVideo on Shutterstock
2. Start by applying the thinset mortar on a cleaned surface. Thinset mortar is made up of cement, finely graded sand, and a water retention compound that allows the cement to hydrate.
3. Place your chosen tile on the thinset mortar using pressure to fix your tile in place.
4. Align your tile but instead of inserting your usual spacer, try the LASH self-leveling spacer.
The spacer will be housed between each tile as usual. What QEP changed is the yellow wedge attachment.
5. The top of the spacer with the LASH system has an opening. Simply insert the yellow wedge through the opening at the top of your spacer.
6. While inserting the yellow wedge, be sure to push the wedge through the opening so that’s it tightly secured, applying pressure to the tile and creating a level surface.
7. Continue to the next tile using the same process.
Once all tile is installed, the next step to traditional tiling is the removal of the spacers for the purpose of grouting the tile. This traditional process is time-consuming and requires additional tools to complete. Well….QEP has this covered too.
8. QEP created a break-off point on the spacer to save time and allow ease to the next step. Simple break-off each spacer, just under the opening where the wedge is housed. Throw away the extra spacer, but keep the yellow wedge for your next tiling job.
9. Lastly, grout your tile. Grout is a mortar used for filling crevices or gaps between tiles. Using a large sponge and water, clean your tile and enjoy an effortless, professional looking tile.
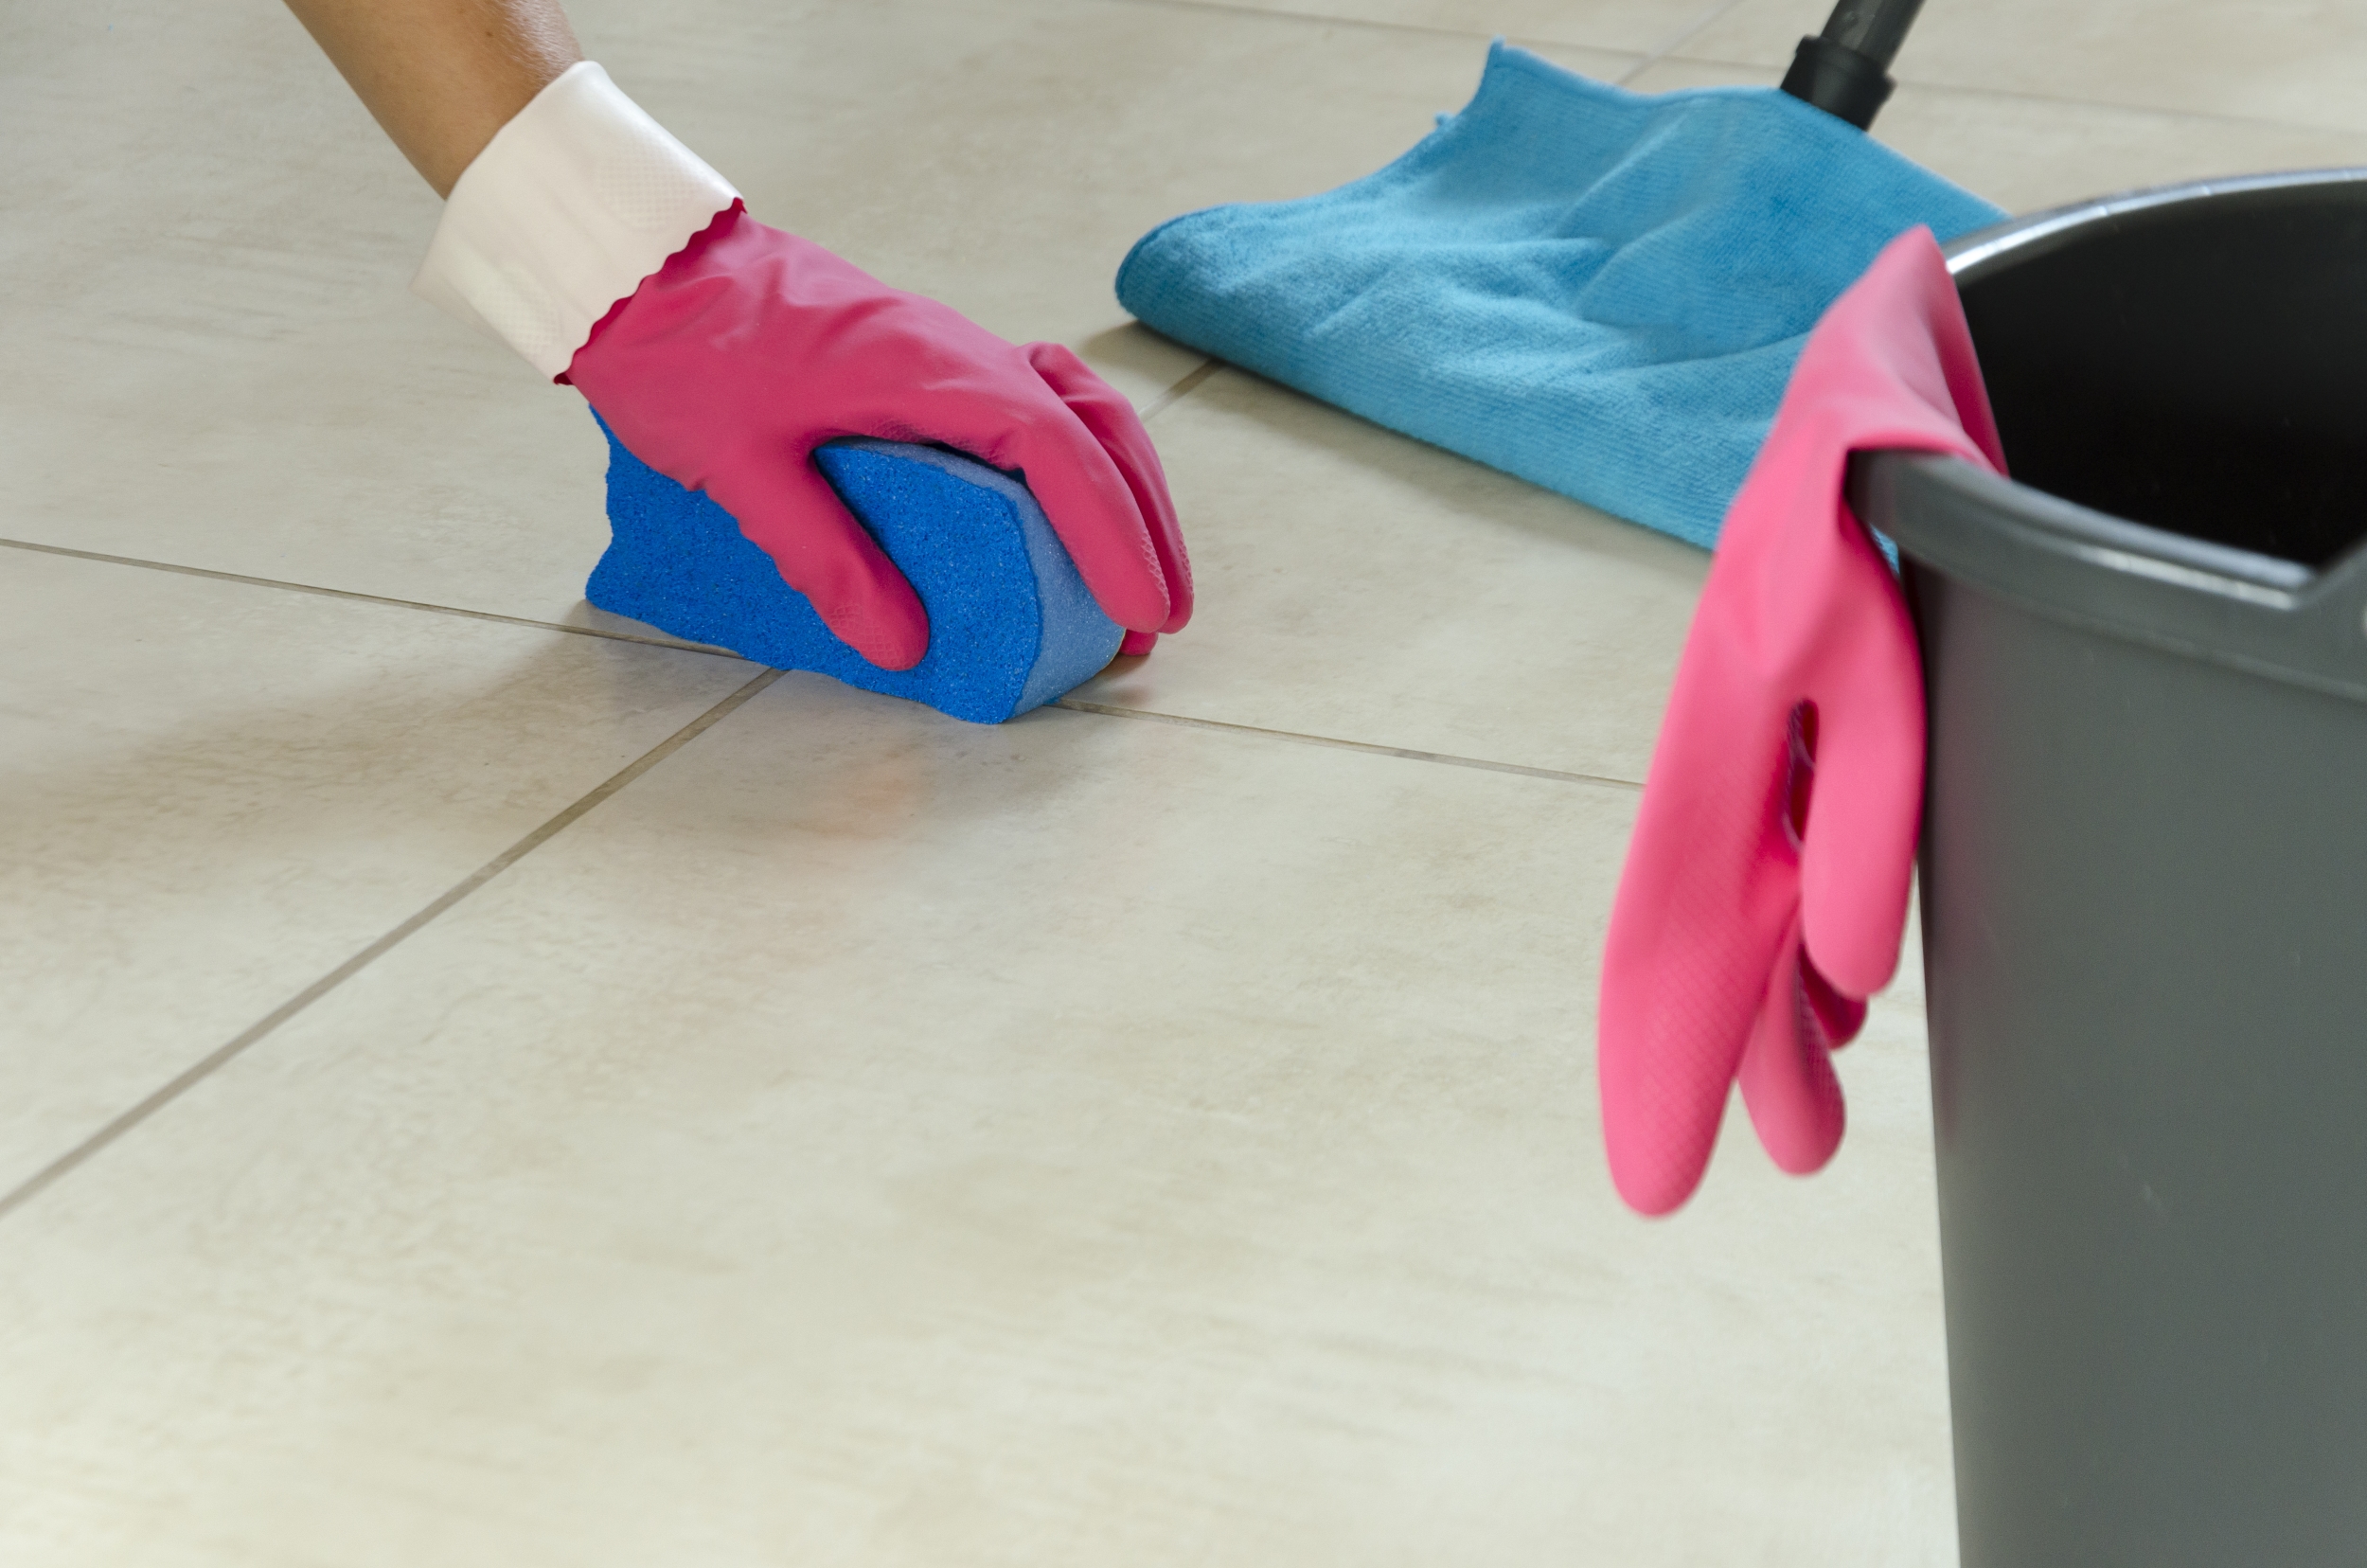
Photo by Piotr Debowski on Shutterstock
Now that we know how to install the LASH tile spacers, how do they work? The spacers have a curved edge that sits under your tile. When the spacer is fixed to the yellow wedge, pressure is applied to push down on the tile. This step places both edges of the tile at an even point and holds them in place throughout the curing process.
A Faster Finish
Time is important when thinking about remodeling a room in your home. You want it completed as soon as possible. The LASH system helps save time in many ways. The wedge is used to level tile-to-tile edges while holding the tile in place throughout the curing process. Save time by not having to consistently check the evenness of each tile installed and adjusting tile that has moved during the installation.
Another shortcut afforded by the Lash Tile Leveling System comes before the grouting process. QEP built in a snap off point on the clips, eliminating the need to remove or cut spacers before the grouting process.
Using multiple tiles in one space can result in uneven surfaces due to variations in tile thickness. With other tiling systems, you have to figure out how to level the two different tiles. This can be very time consuming, as well as confusing and frustrating. The LASH system has you covered. This product is great for leveling out different tiles used in the same space. Additionally, this product can be used to merge tiles from two different rooms. This prevents the need to install thresholds between rooms and offers a cleaner look.
Saving you Cost
The LASH system reduces cost on all levels of the tile installation process. Having tile installed in your home can be costly, not because tile is expensive, but the cost of labor is. With the LASH system, you can install tile yourself, saving over 50%. In addition to labor cost savings, the LASH system’s ability to secure the tile in place saves you cost from having to replace tile because they moved or the joints are uneven.
The LASH system is the least expensive, most cost-effective tiling system on the market today. In addition to its competitive price tag, QEP made their products recyclable. The yellow wedge used to level and hold the tiles in place, are reusable, decreasing the cost of purchasing new materials. While the yellow wedges are reusable, what about the cost of having to purchase the LASH specific spacer to fit the yellow wedge? QEP has that covered too. The yellow wedge can be fitted to any spacer, allowing you to choose the width in which you wish to have your tiles spaced, as well as choosing the price you pay for them.
The next time you want to add some decorative tile to your space, remember it can be completed without the financial burden and the drawn out process of having it installed. Your tile dream can become reality with QEP’s brilliant LASH system.

Photo by Nagy-Bagoly Arpad on Shutterstock


