


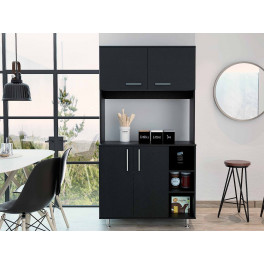
Curious how to build a floating nightstand? It's one of my favorite easy DIY projects. Most of us only need to keep our phone, a light, and a book or two next to the bed. So a regular nightstand can be excessive, taking up precious space in smaller rooms.
Building a DIY floating nightstand is a quick and easy project to do on your own. You can adorn as needed to match up with your furniture, or keep it simple with stained wood. It’s all up to you and your sensibilities.
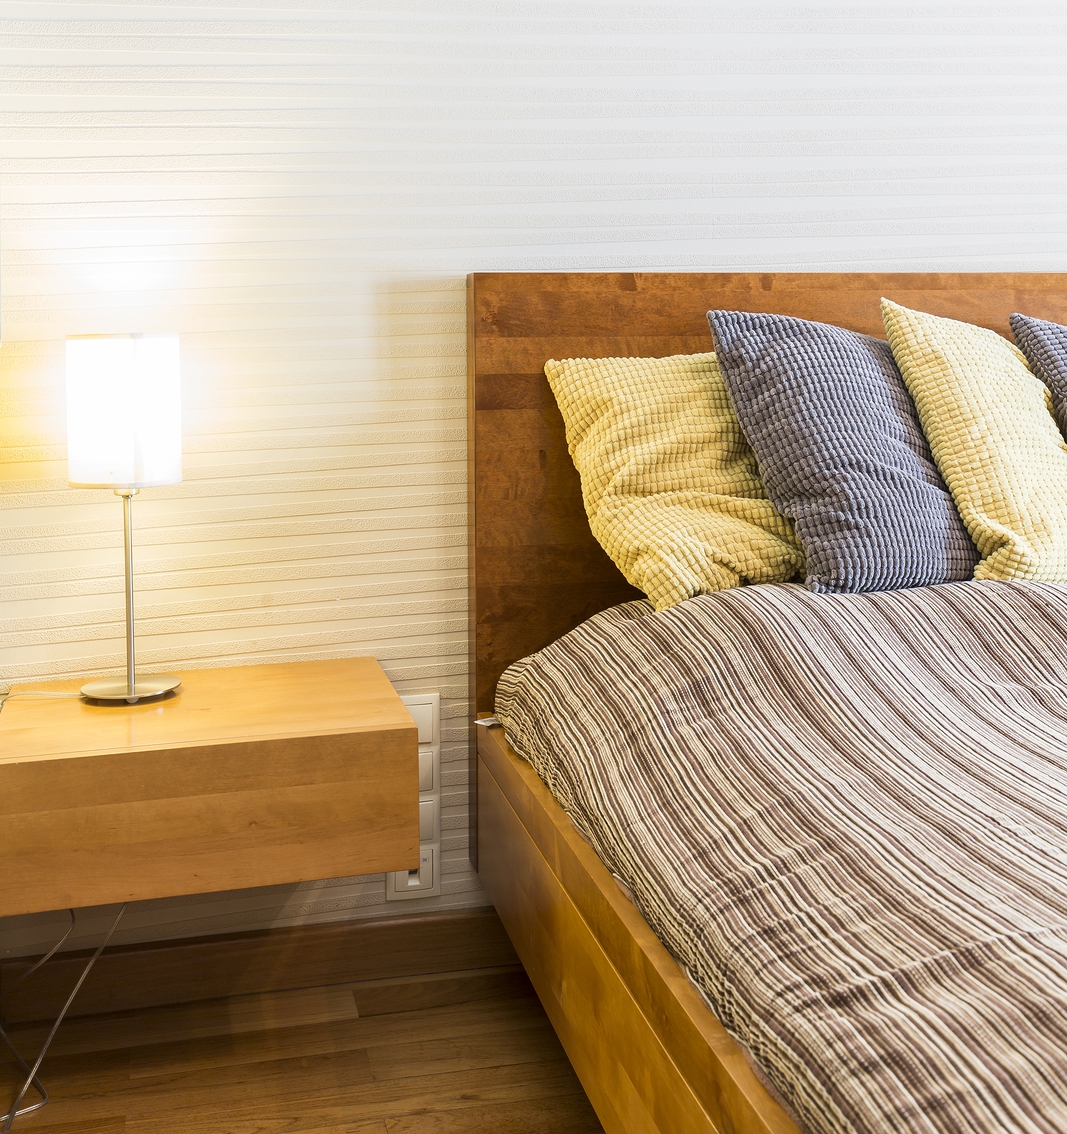
Photo by Katarzyna Bialasiewicz on Dreamstime
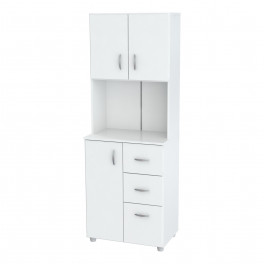
All you need to build a DIY floating nightstand is some wood, L-brackets, wood glue, small finishing nails, and possibly a screwdriver, hammer, and additional hardware.
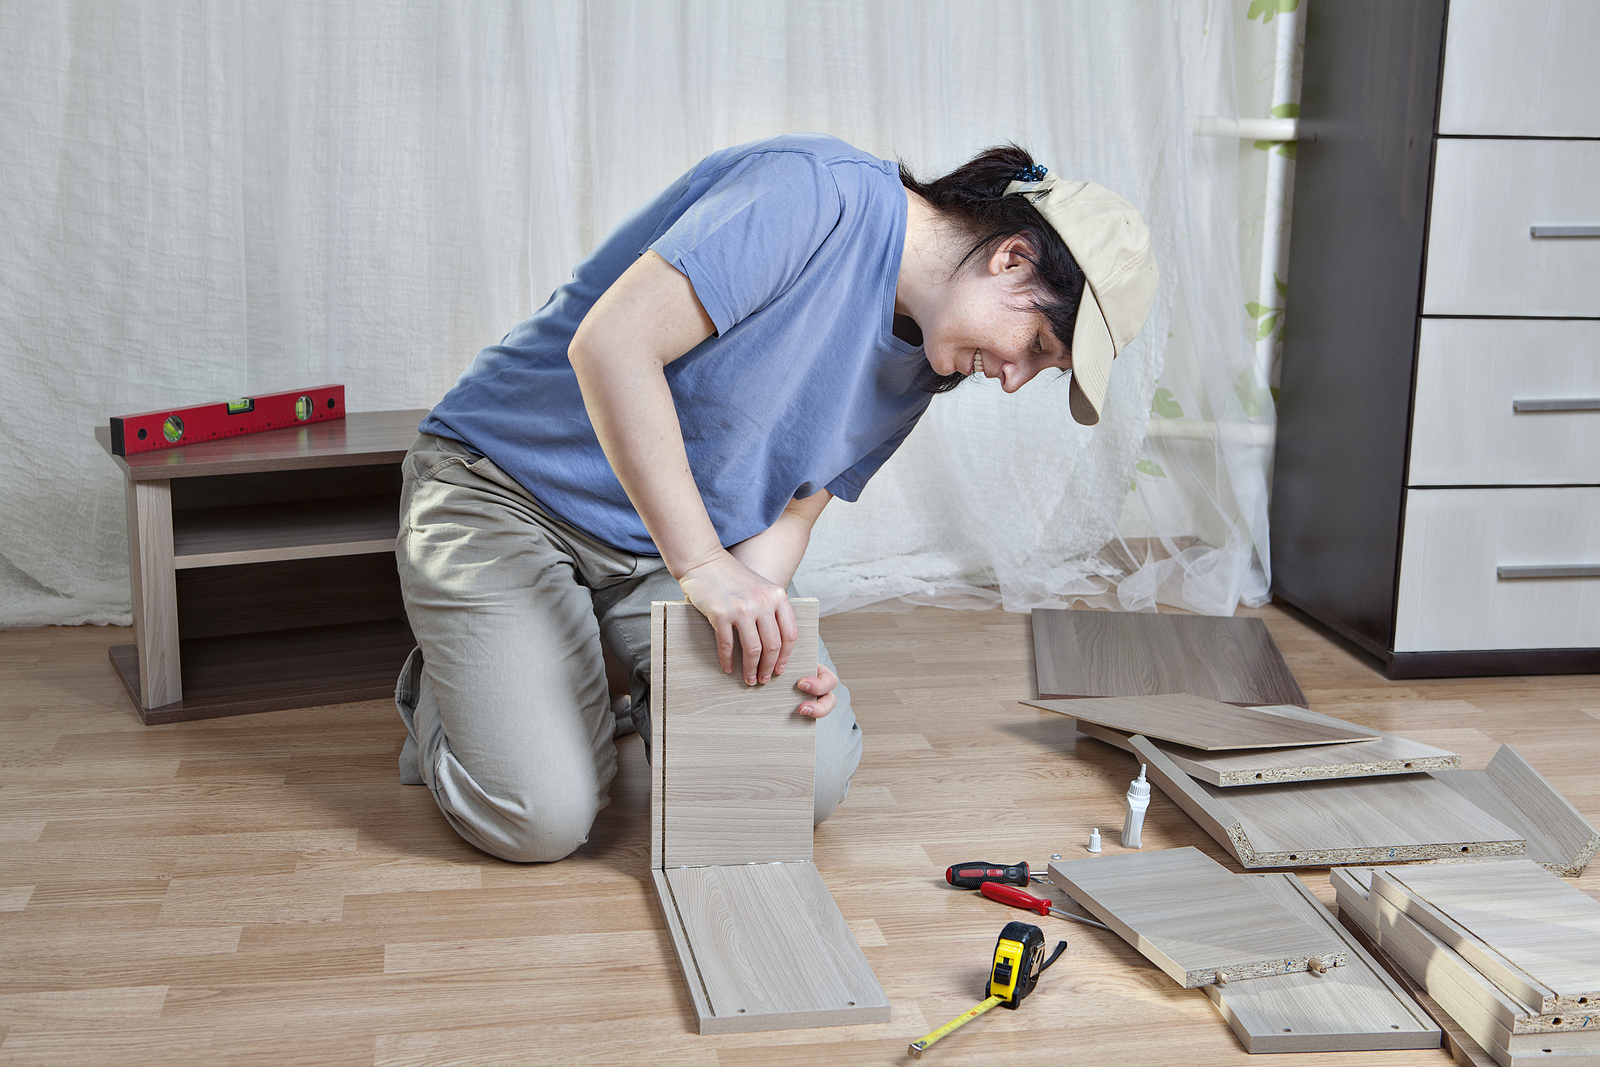
Photo by Grigvovan on Shutterstock
One-Shelf Type
For a cheap nightstand, the shelf type is the way to go. You can even re-purpose wood from a cabinet door or small table and cut it to your desired size.
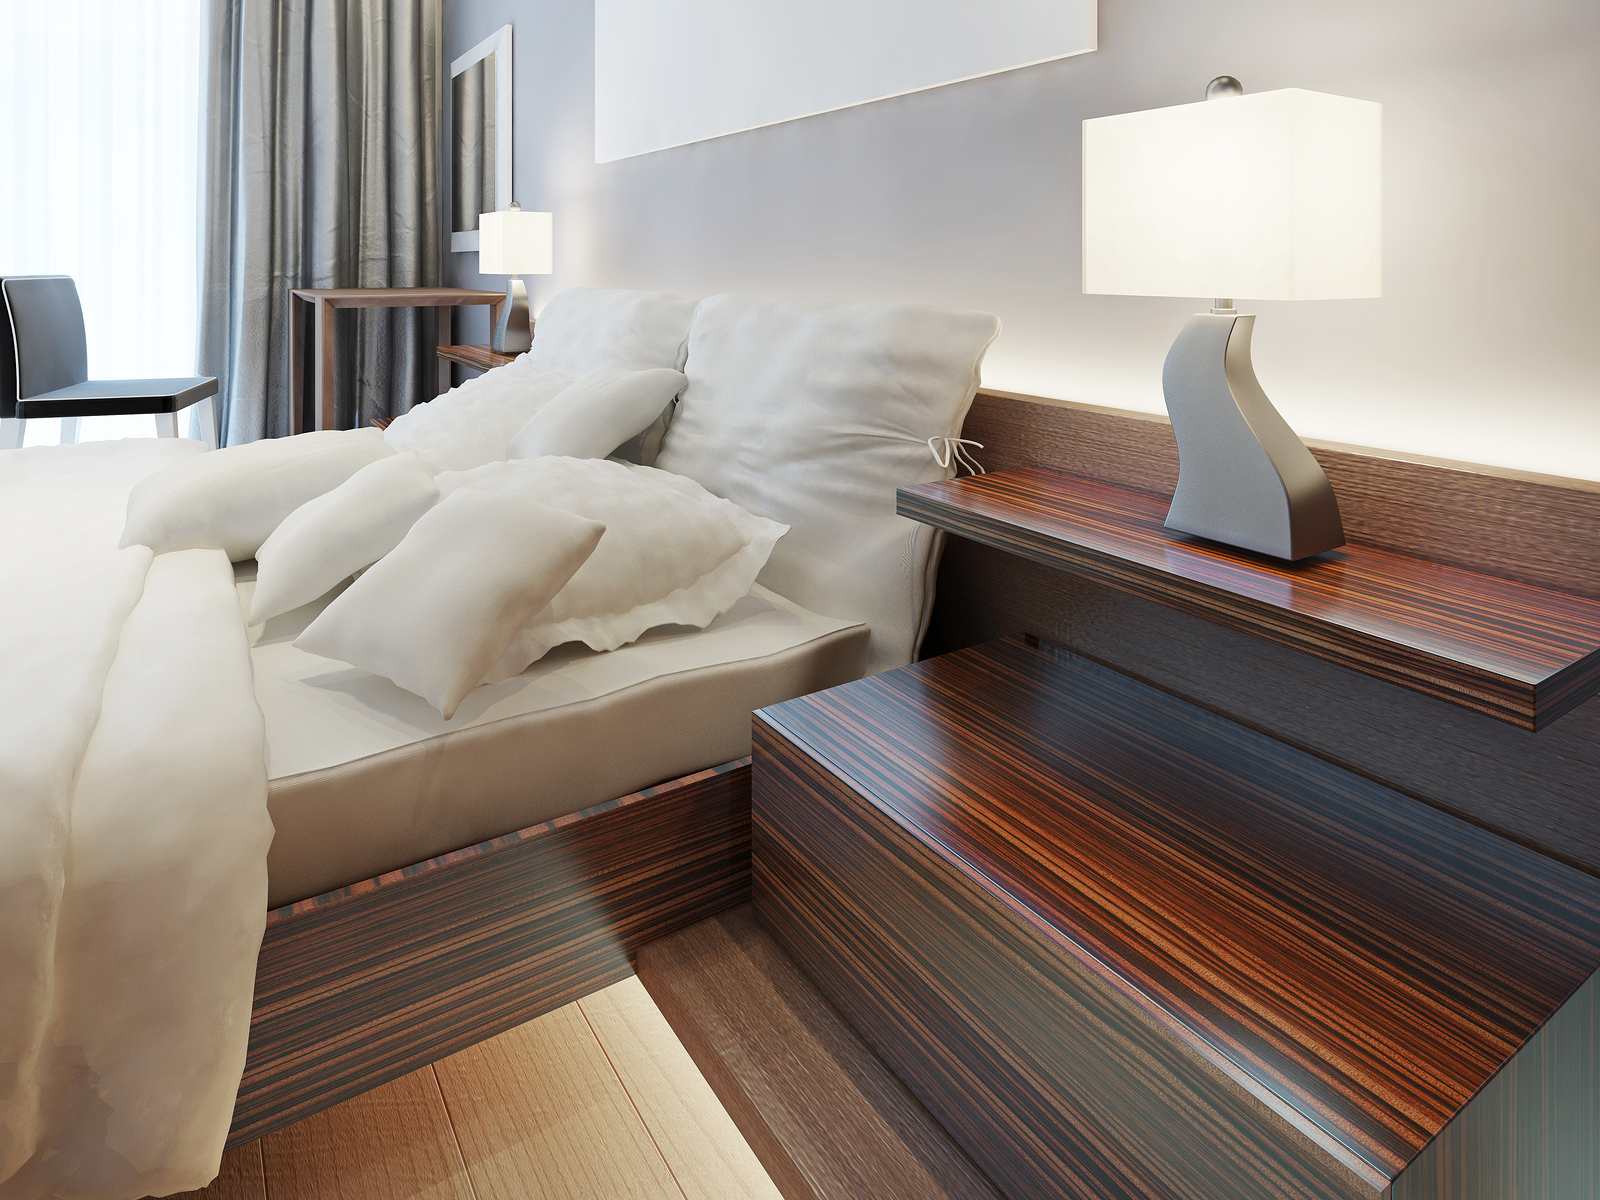 Photo by Kuprynenko Andrii on Shutterstock
You’ll want to keep the length at 24 inches or less, and the depth of your shelf at 6 inches to assure it doesn’t come loose from the wall. The thickness of the wood is up to you, but lightweight woods work best for this easy DIY project.
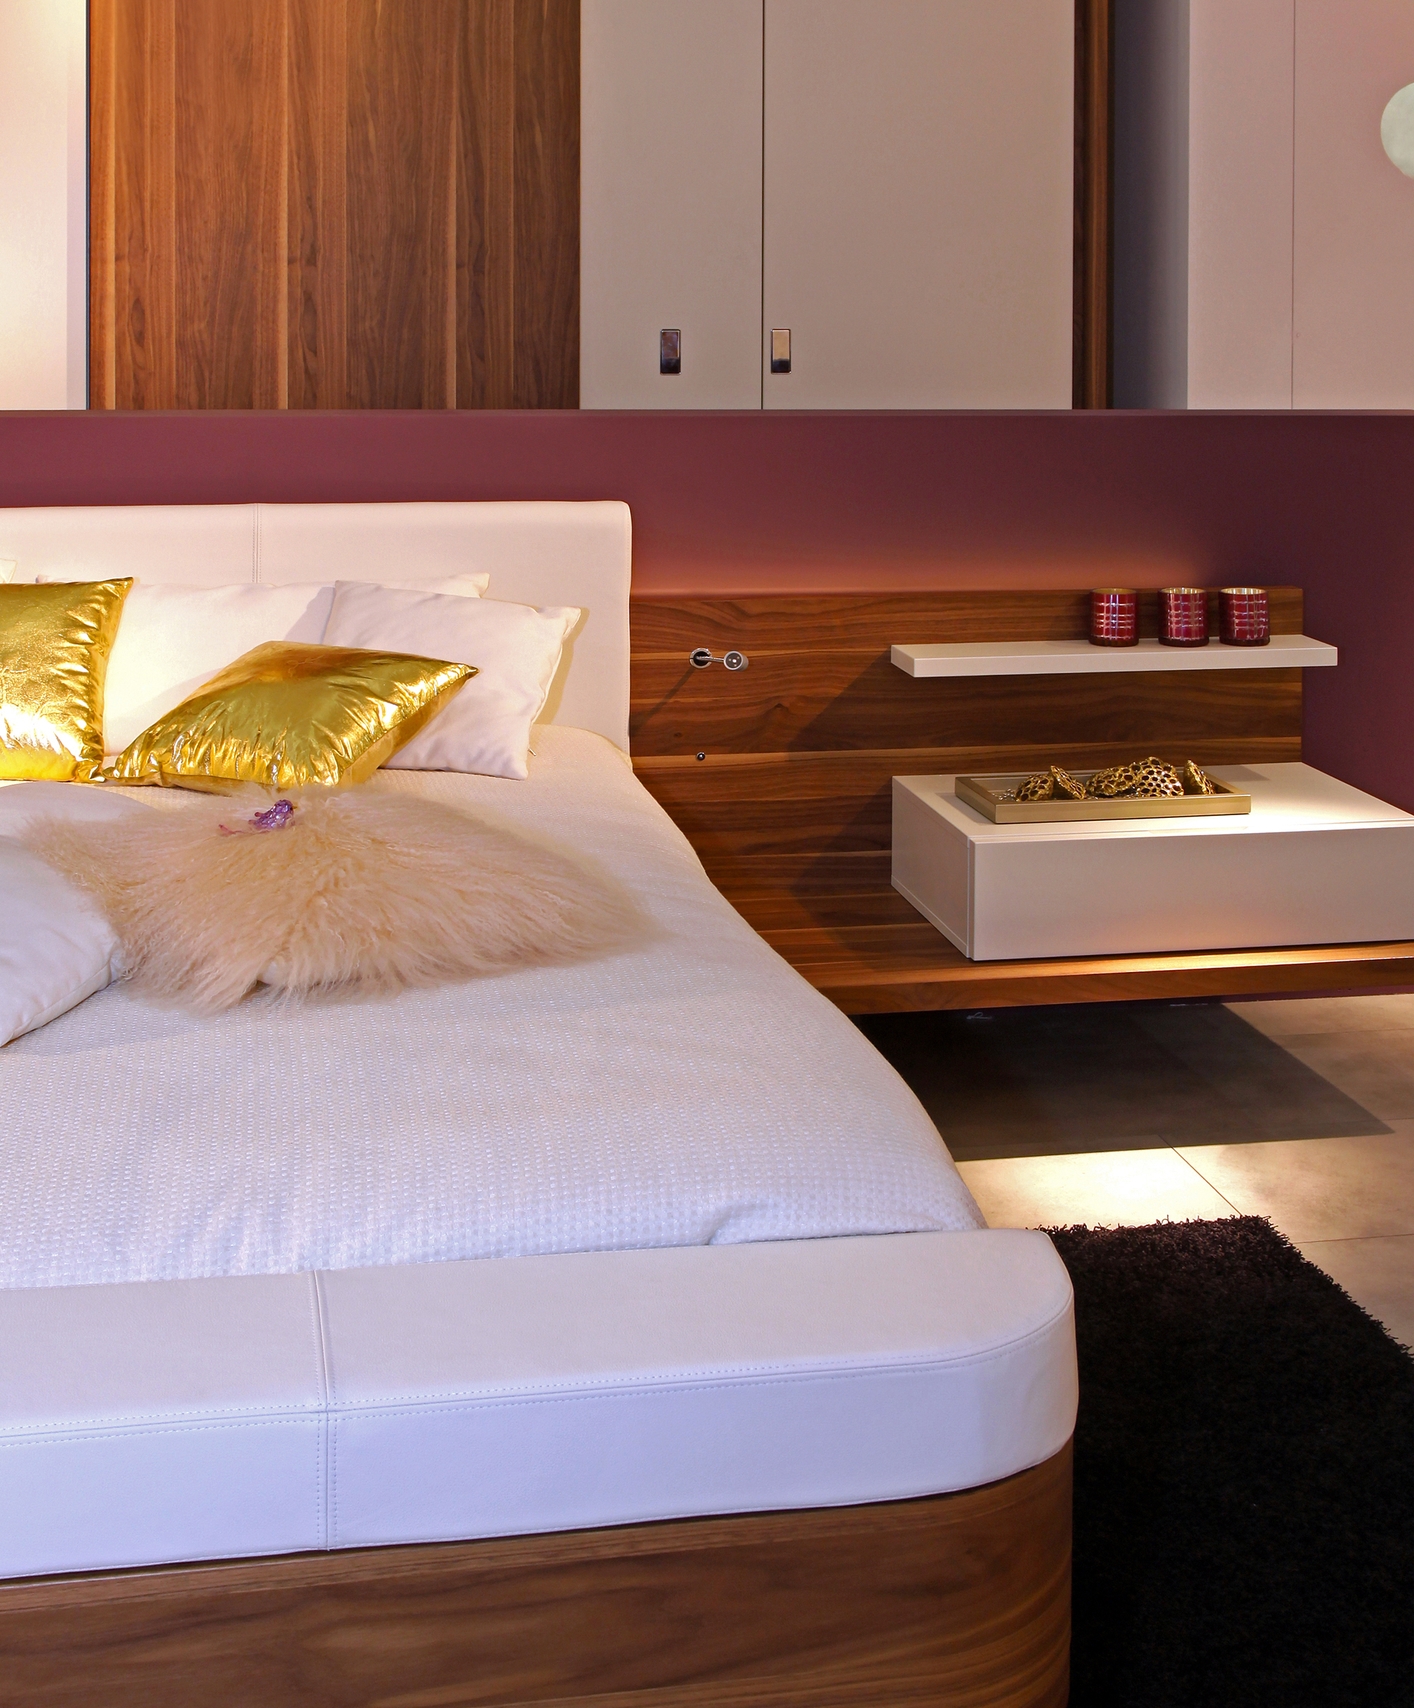
Photo by Baloncici on Shutterstock
If you’re re-purposing the wood, sand the old stain off and apply a color to coordinate you’re your room. You can also choose to paint the nightstand with a contrasting or complementary color.
This is where you can really make it your own, so consider cool details like decorative nail heads around the edge, or paint-stenciled shapes on top of a light stain.
Attach the L-Bracket to the bottom of the shelf using screws that are shorter than the thickness of the wood. The bend of the bracket needs to be flush with the edge of the shelf.
Hold the shelf where you’ll attach it to the wall, and while using a level to assure an even install, mark the holes. Use a drill to form an opening for an anchor at the marks. Once the anchor is pounded in with a hammer, use screws with a wide enough head to hold the L-Bracket and shelf on the wall.
Rectangle Two-Shelf Type
This design allows for more storage options. Speaking of easy DIY projects, the entire piece is an open rectangular box, making it a breeze to assemble. You’ll need two rectangle cuts of wood and two square cuts at identical depths and widths
Once you decide on the height of your nightstand, you’ll need to use the thickness of the wood in your measurement calculations. For example, if you’re using half-inch thick pine, the side square pieces should be cut at 5 inches to make a nightstand of 6 inches in length.
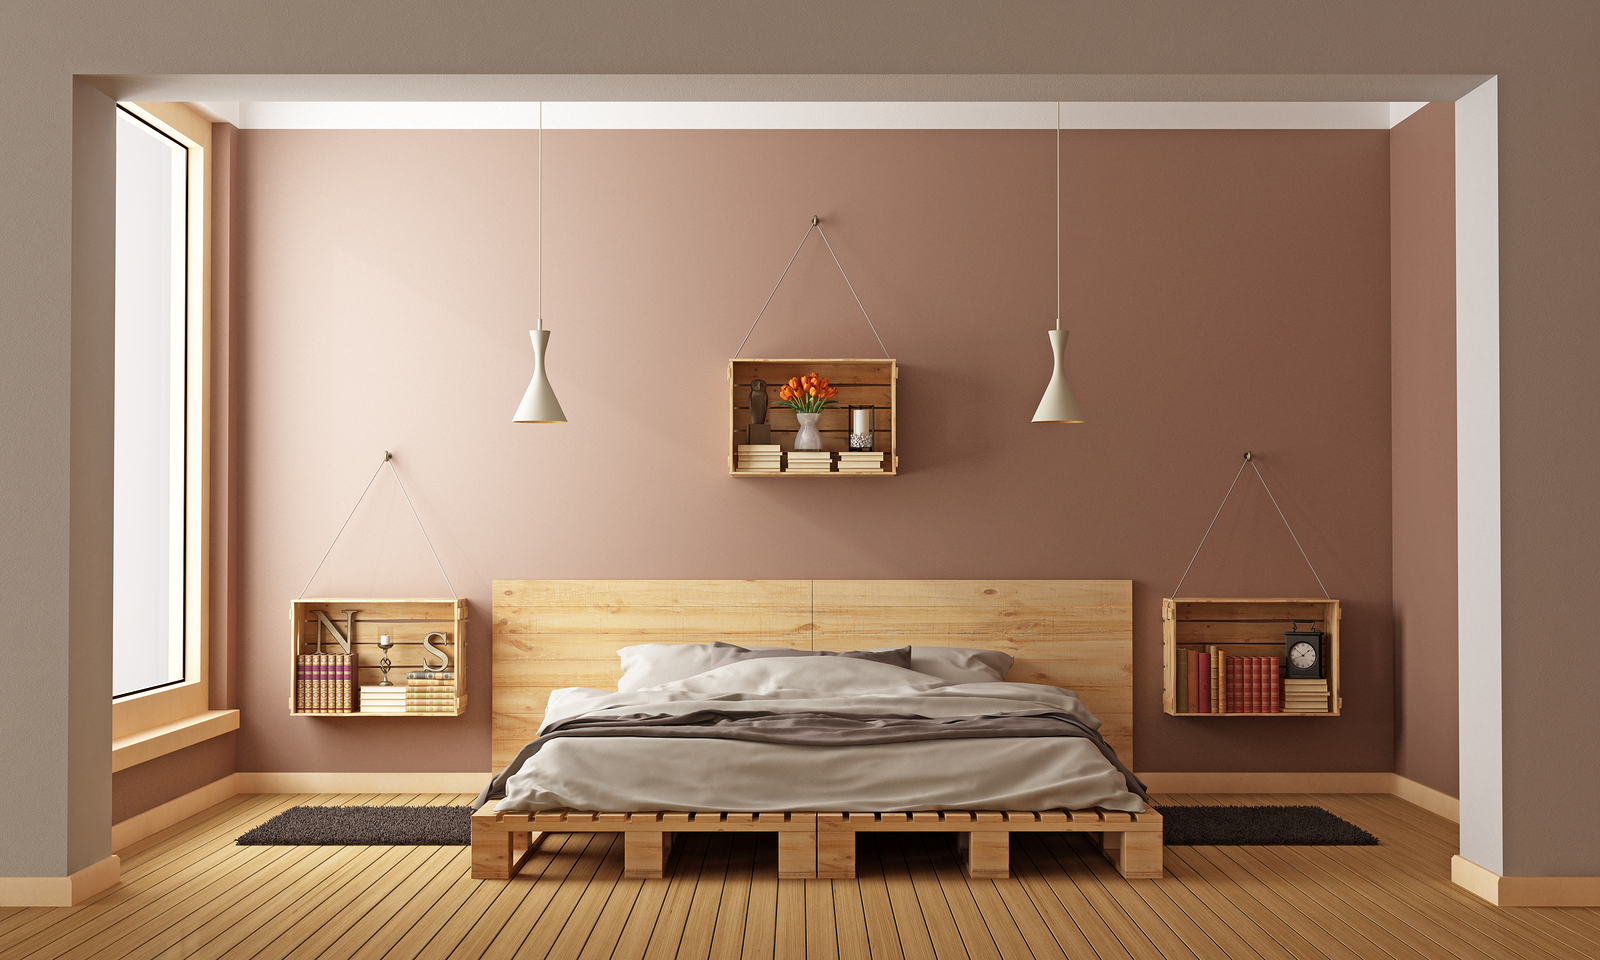
Photo by archideaphoto on Shutterstock
After smoothly sanding each piece of your floating bedside table, attach L-brackets flush to the edge of what will the top of your DIY floating nightstand. Again, make sure to use screws that are shorter than the thickness of the wood so they don’t poke through. The brackets should be at least 16 to 24 inches apart so you can safely attach your wall-mounted nightstand to the wall at the studs. (See below for more info on attaching your nightstand to the wall.)
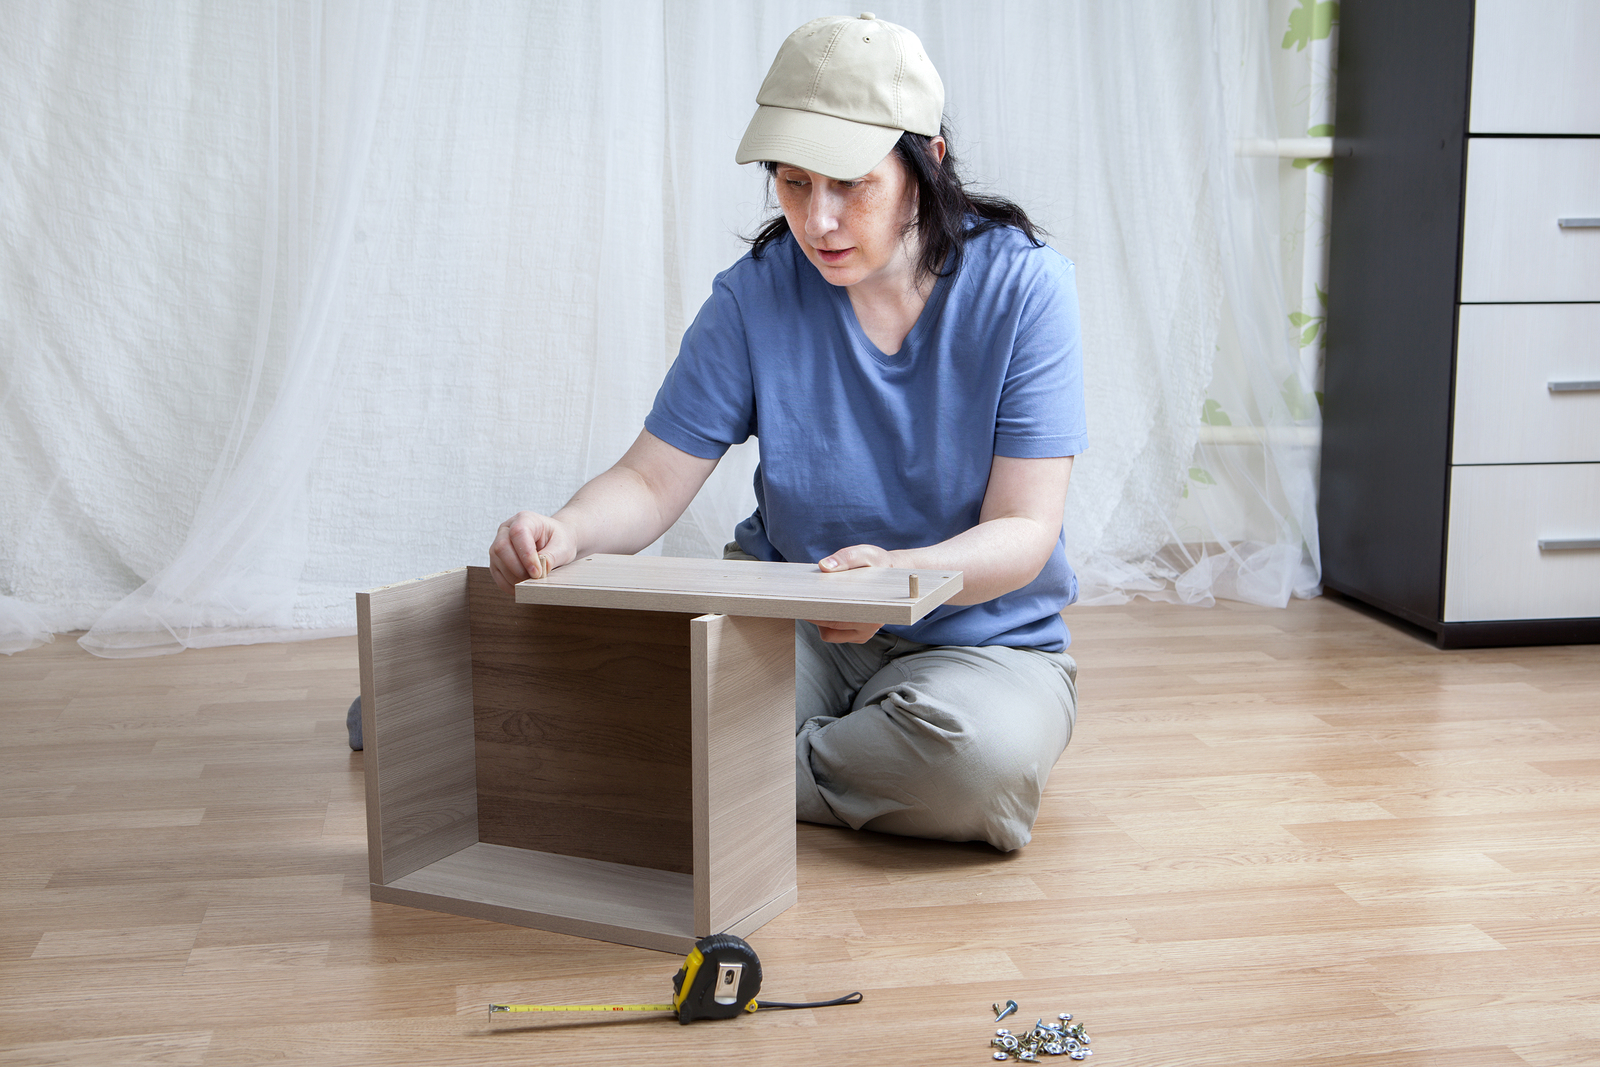
Photo by Grigvovan on Shutterstock
Then use wood glue to attach the side pieces of your soon-to-be wall-mounted nightstand, flush inside the edges of the top and bottom pieces. Professional woodworkers might use clamps, but by putting some weight, like a few unabridged dictionaries on the “box,” it will stay in place while drying overnight.
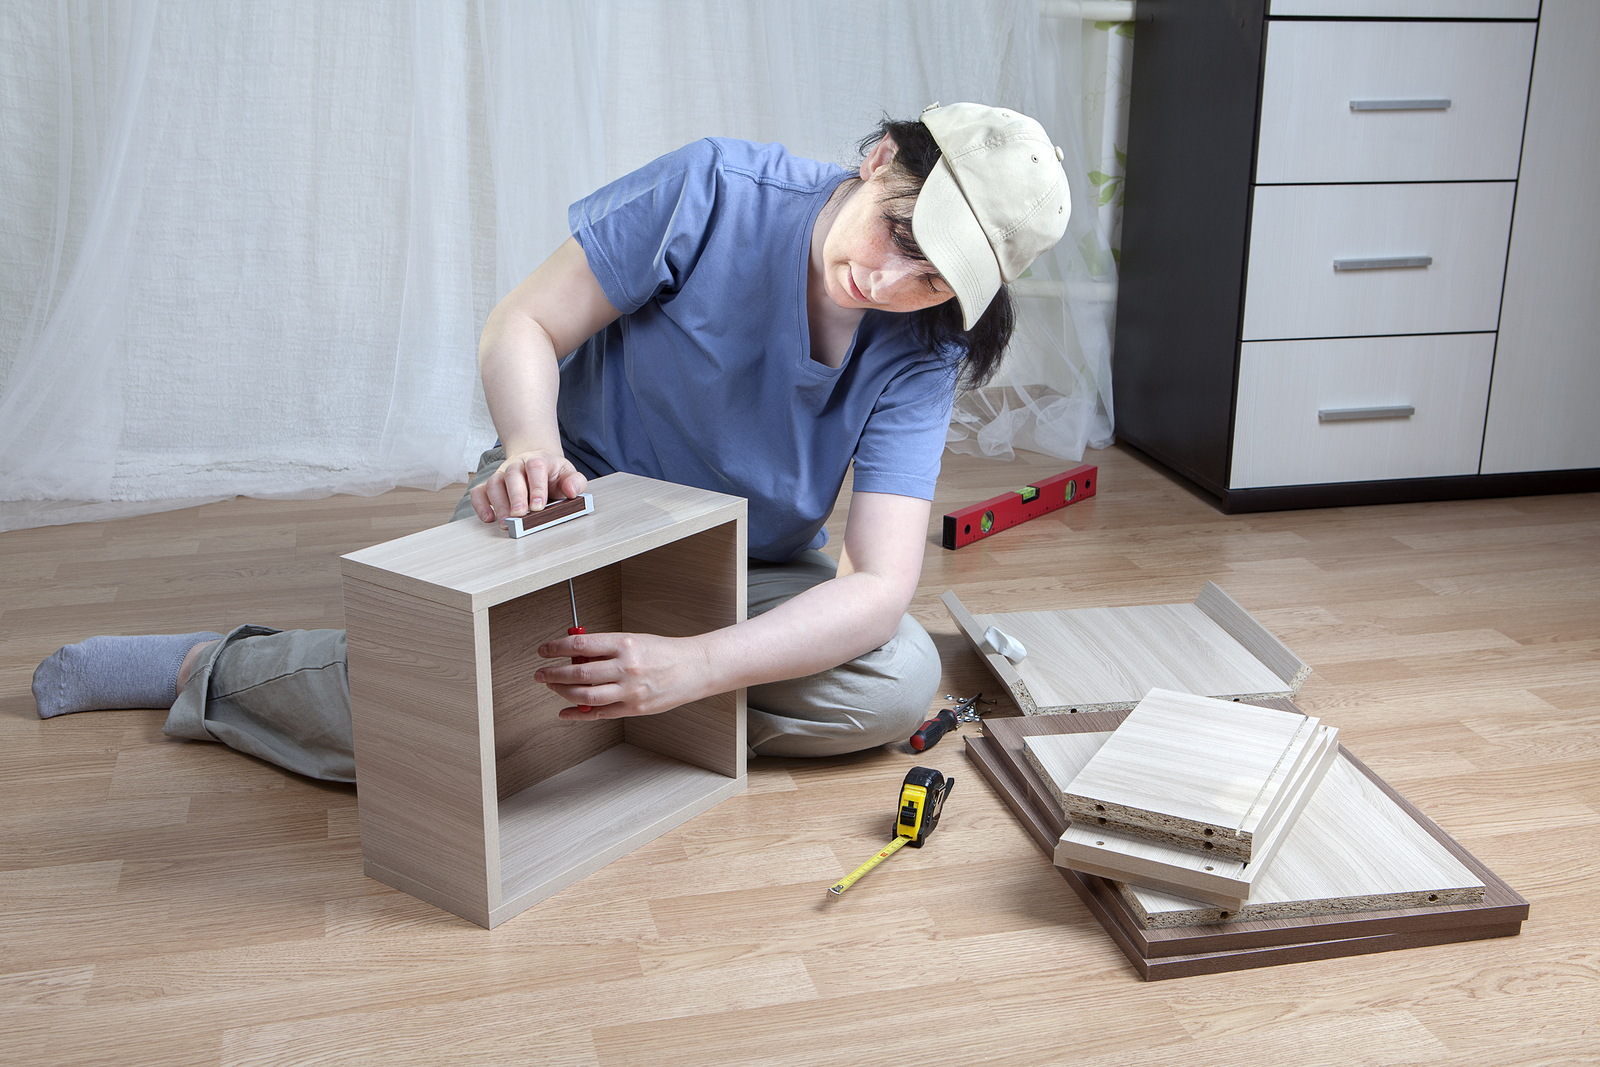
Photo by Grigvovan on Shutterstock
Once dry, use some finishing nails where you’ve glued. At this point, you might want to think ahead to what you’ll have on your nightstand. If there are electric plugs involved, use a wood drill bit to form a small groove on the rear of the nightstand top and bottom edges to accommodate cords.
Now you can use stain, primer and paint, or spray paint to design your nightstand with an original statement. Some design ideas include using a colorful choice of contact paper on the inside of the box to give it the “lined look” of a steamer trunk or hat box. There are hundreds of options.
You’ll want to attach this design to wall studs for extra support. Wall studs are usually 16 to 24 inches apart. Attach your cool new piece with wide head screws, after marking spots on the wall. Make sure to use a level when marking.


