


The upfront cost to install a paved asphalt driveway is oftentimes quite expensive. And it’s not just the material costs that add up — but also all those labor fees. If you’ve gone through the process of driveway repaving from start to finish before (whether with a contractor or by yourself), then you know how frustrating it can be once cracks begin to appear.
Unfortunately, that’s par for the course with asphalt. Plus, winter weather and cold climates can really exacerbate the problem. To save money, many homeowners choose to patch or sometimes even repave a driveway themselves instead of hiring a contractor.
As with any DIY home improvement project, repairing or repaving your driveway takes preparation and a commitment to perfection. Here are considerations and tips to help you repave your asphalt driveway.
Repair or Replace: That’s the Question
First, determine whether you’re going to repair or replace the asphalt.
Repair: For the most part, even the smallest cracks in the surface of your driveway can eventually damage the foundation. So keep in mind that just filling in all those cracks is really only a temporary solution. However, if you’re confined by a strict budget and those cracks are just on the surface, not all the way through to the foundation, and less than a quarter inch wide, then it’s okay to only repair them.
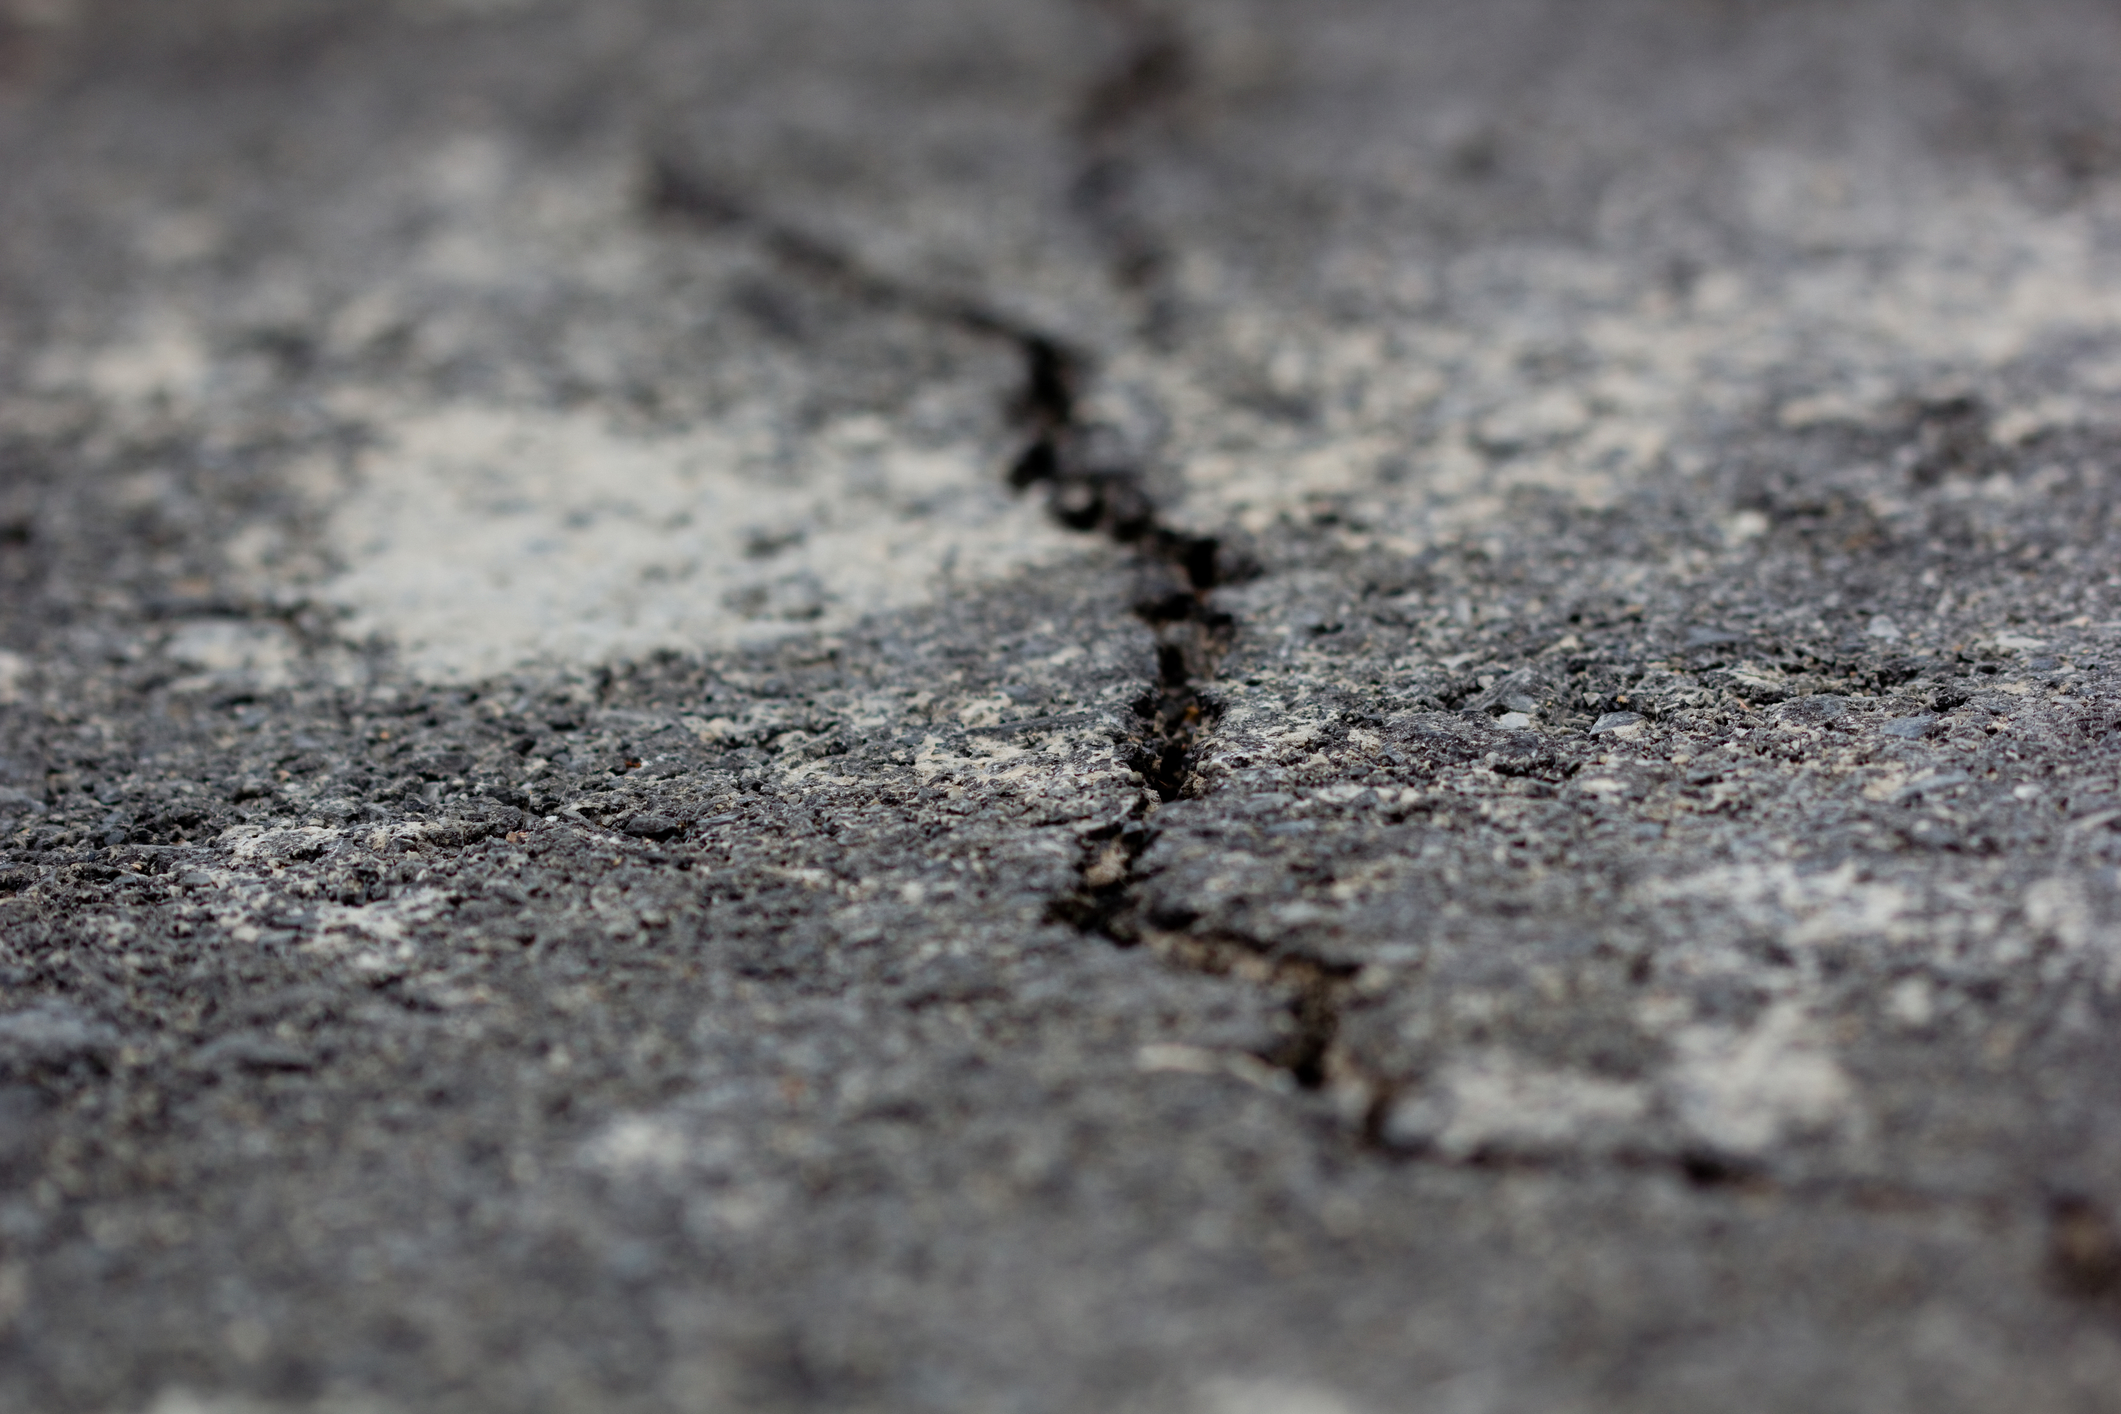
Photo by Juozas Klimauskas on Dreamstime


Replace: I suggest going ahead and tackling the entire repaving project, instead of simply repairing the cracks — especially if the cracks are deep and you believe you may have a compromised foundation. The last thing you want is to have to go back to square one and repave your asphalt driveway in six months.
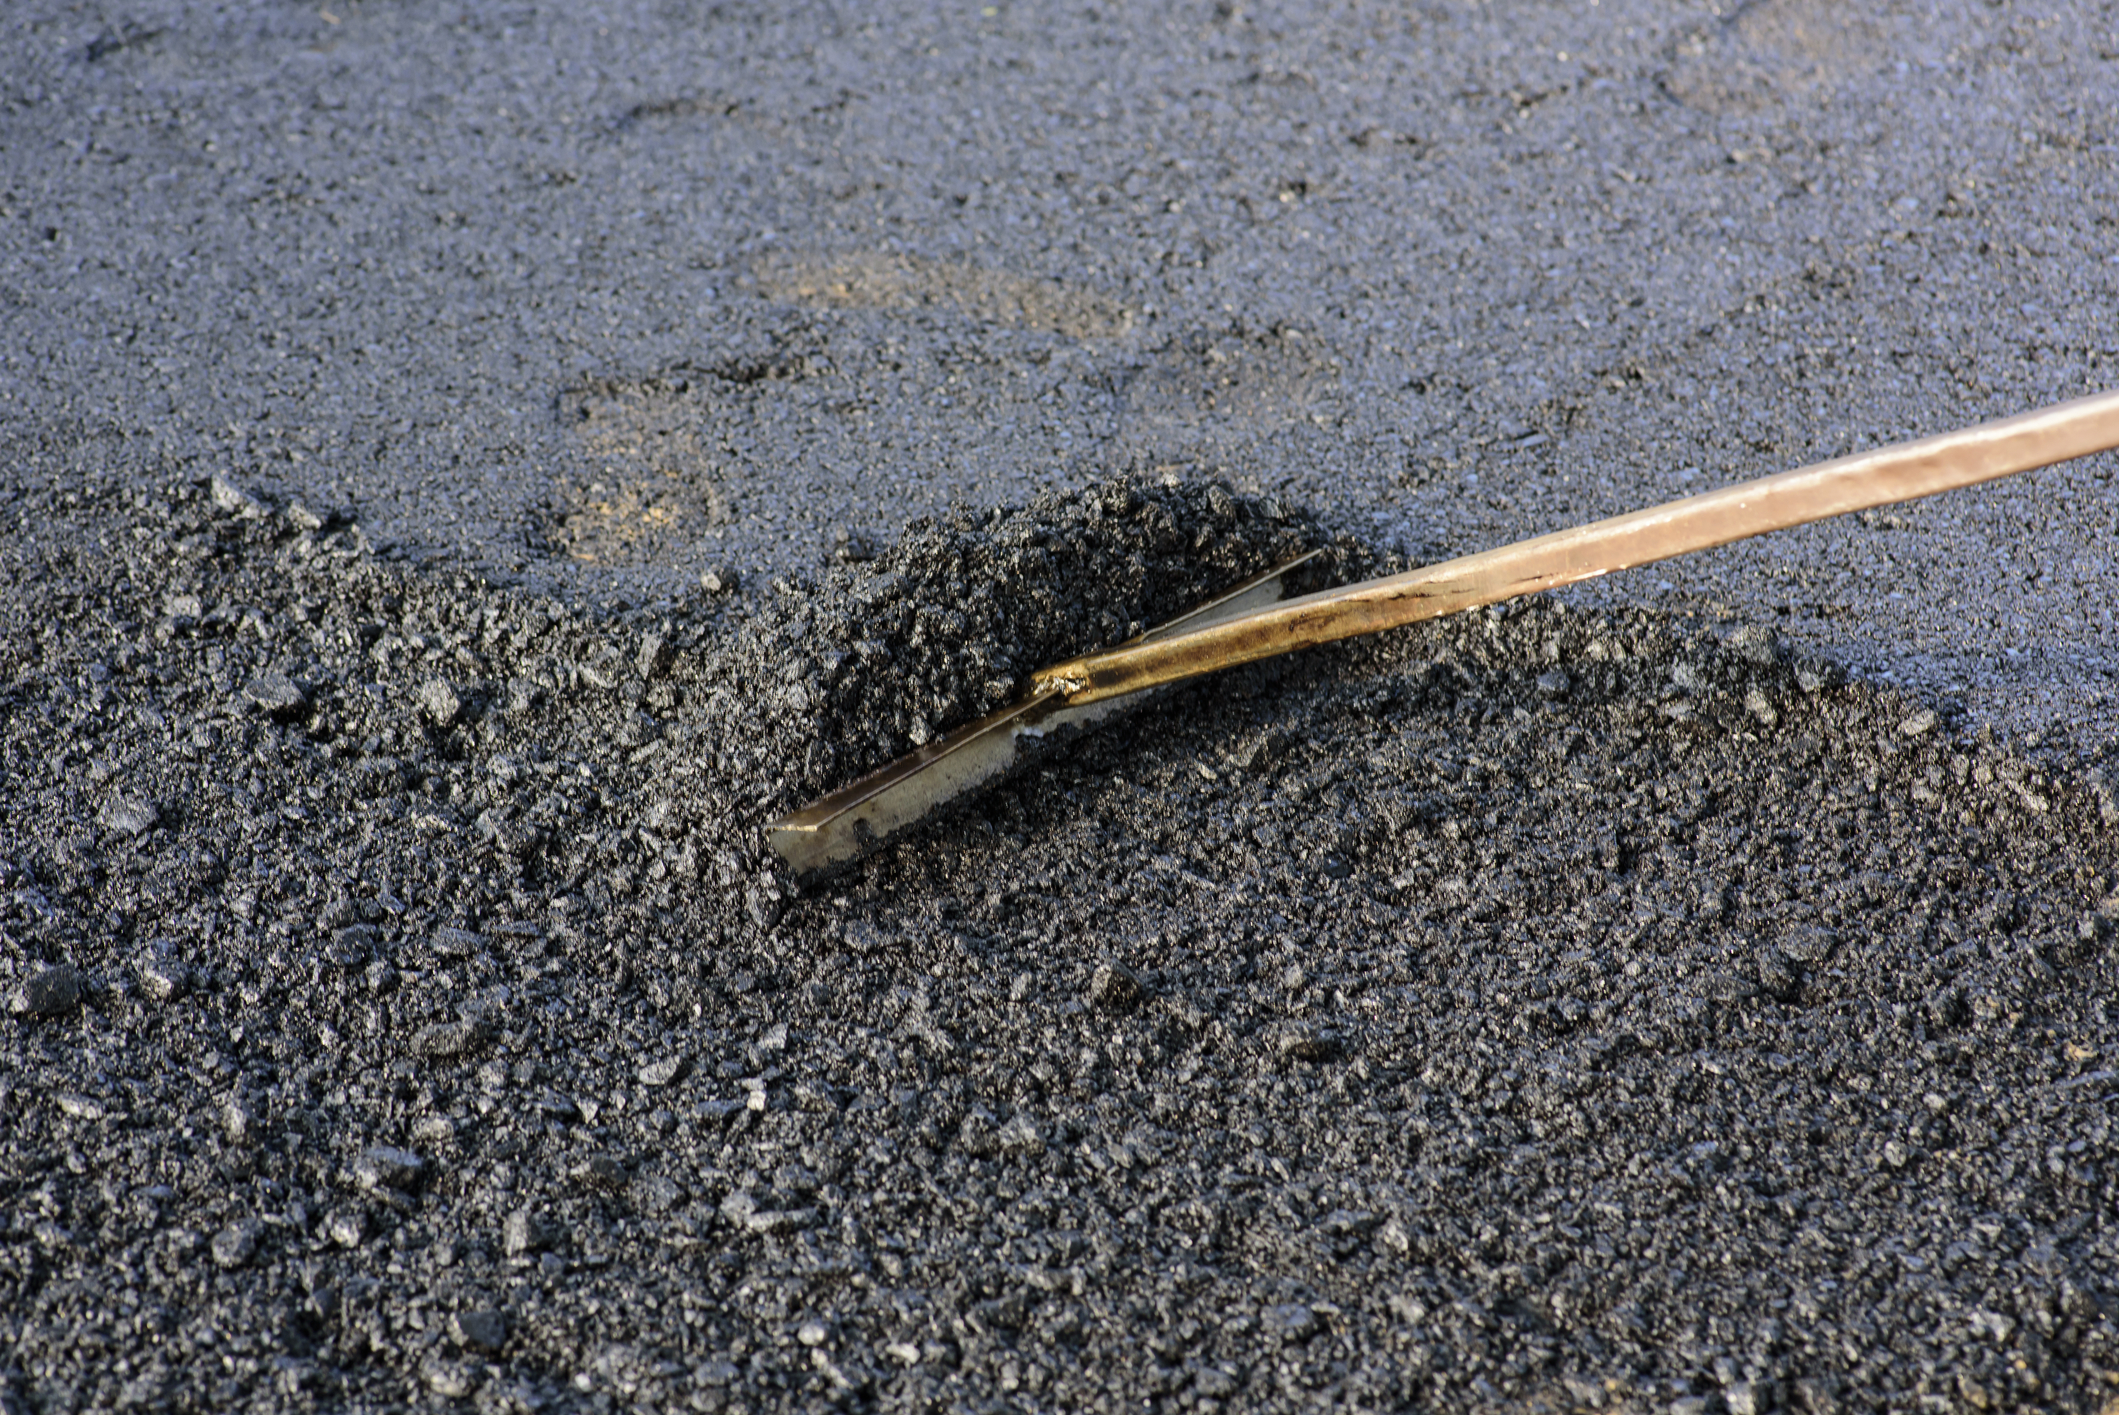
Photo by Freemanism on Dreamstime
Gather the Necessary Materials
Repair: If you’re just filling in the cracks, use an asphalt patch liquid such as Flex Seal or Black Jack Speed Fill.
Replace: Completely repaving a driveway requires a few weeks’ worth of time and numerous materials, including base soil (if your project requires extra), loose gravel, something to tamp down the soil and gravel such as an asphalt tamper, and the actual asphalt materials.
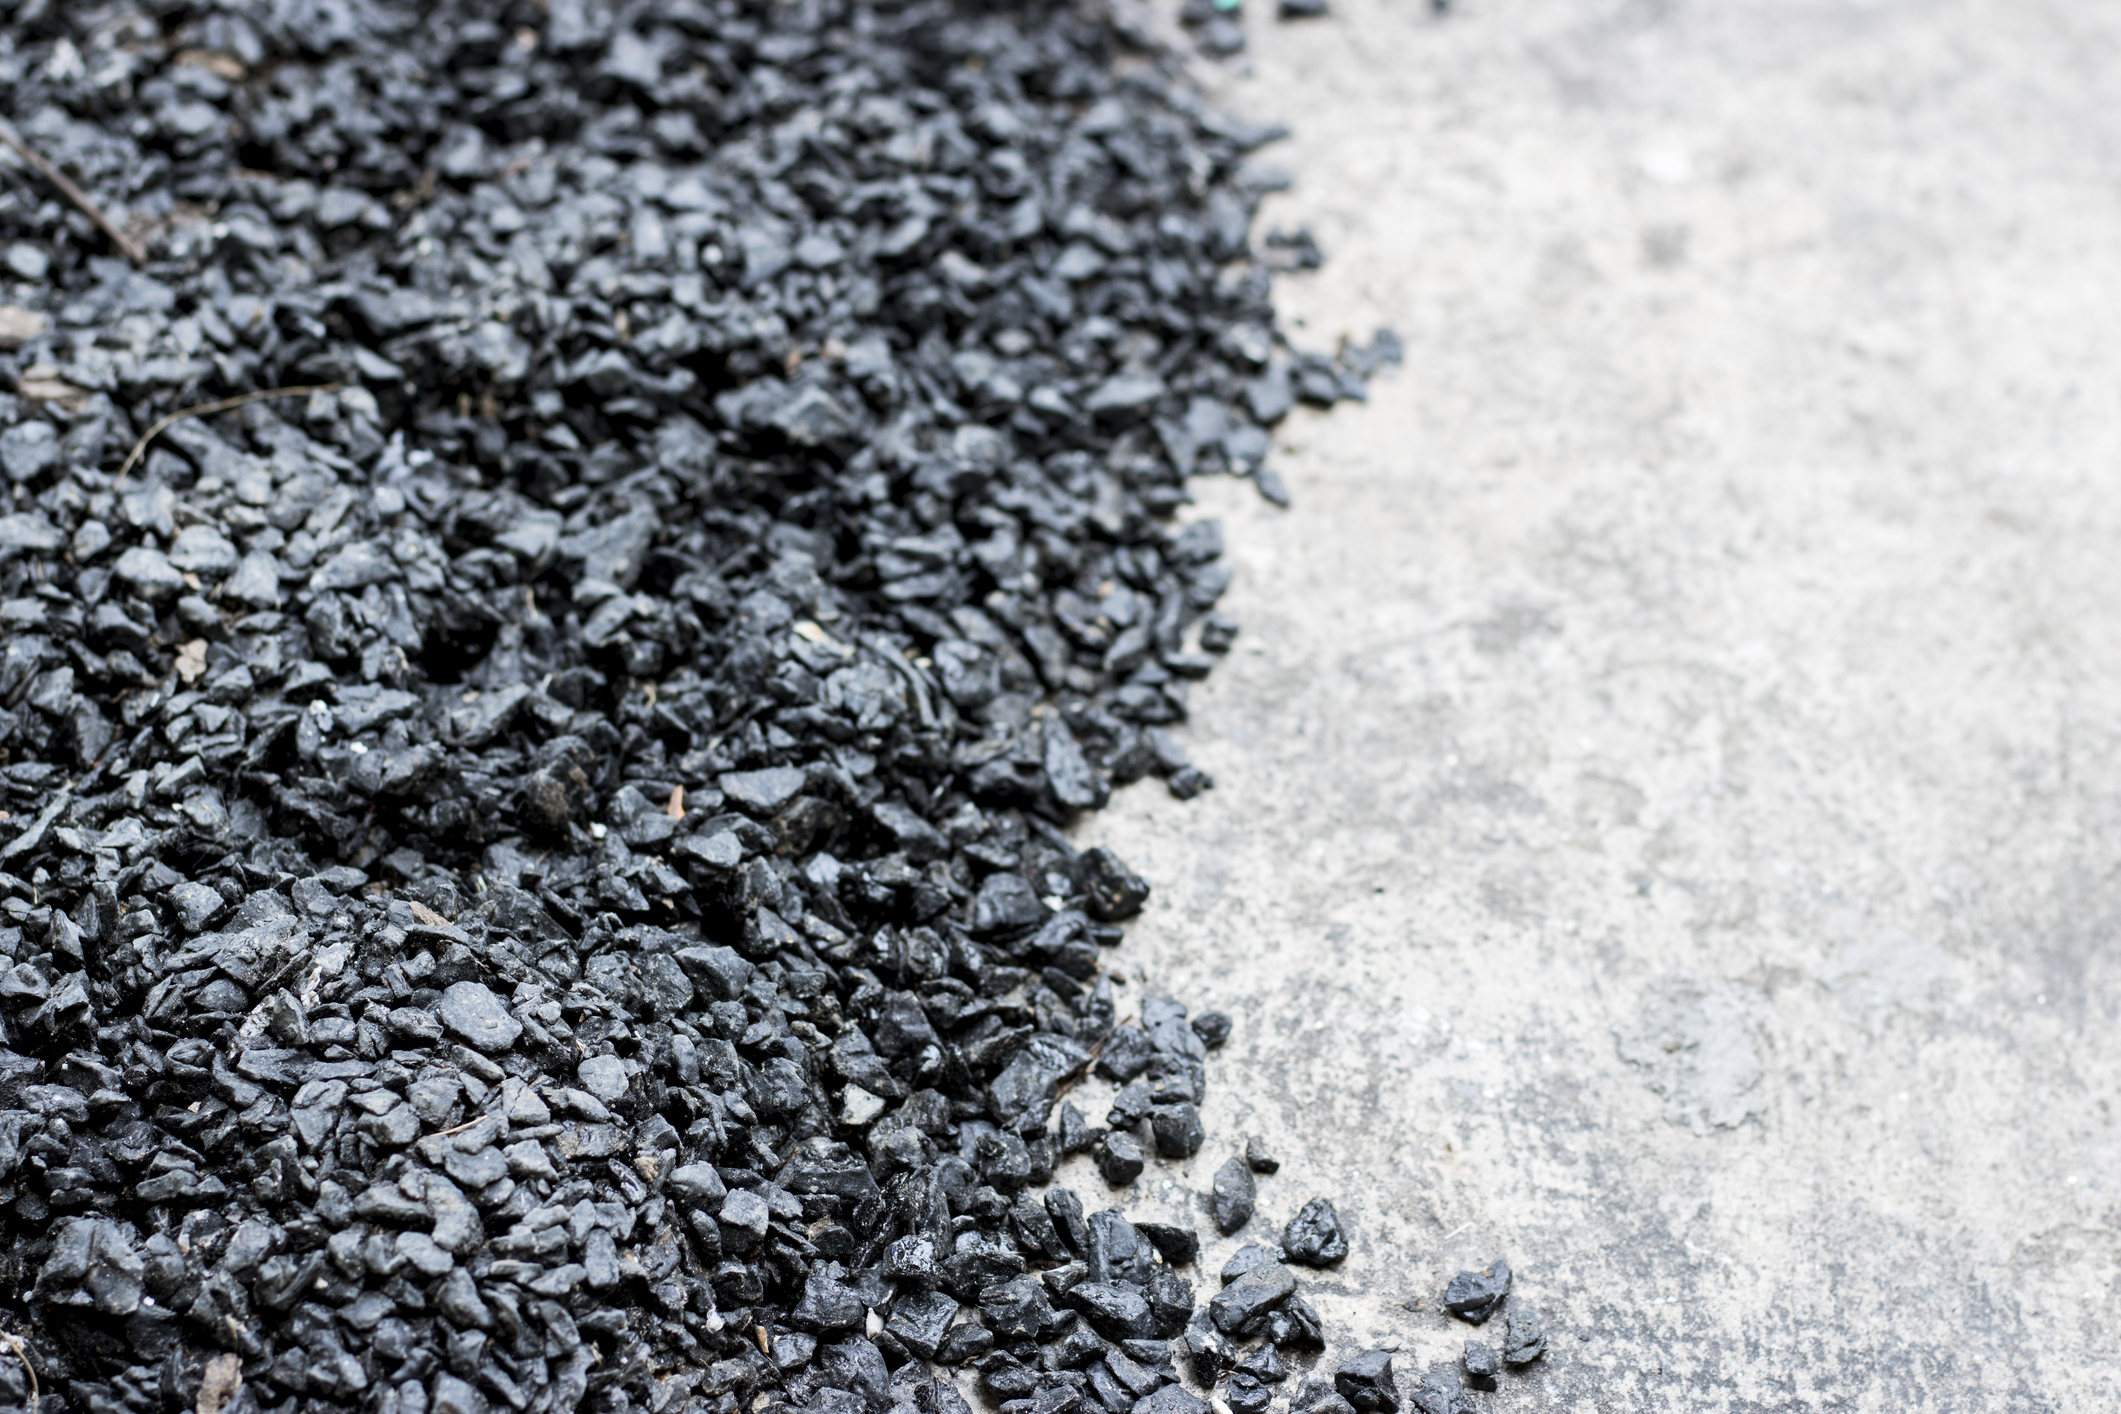
Photo by BY213 on Shutterstock
Removing Your Old Driveway
Replace: First, you must remove the old driveway. Use a sledge hammer, pickaxe, or a jackhammer to break through the asphalt piece by piece.

Photo by J5M on Adobe Stock
Then, use a shovel or a small rental excavator to pick up and remove all the old asphalt. If you plan to have a new driveway set down, you’ll need to remove the old driveway asphalt piece by piece.
Get Working
Repair: Simply use the liquid asphalt to fill in any and all cracks, holes, and dimples.
Replace: When repaving your asphalt driveway, focus on the foundation first. Begin with a thorough analysis of the base soil and gravel. Make sure you have at least 4-inches of gravel with a gradual slope for water runoff. Once you’ve made adjustments for the right amount of gravel, leave the area alone for at least a week, or more, so all the materials have enough time to properly settle.
Once the time has passed, mix and pour the asphalt onto the driveway and spread using an asphalt rake or shovel. Most homeowners choose to have an asphalt thickness of about a half-inch. To create a compressed, smooth surface, use an asphalt tamper or a vibratory plate compactor immediately after laying the asphalt before it cools.
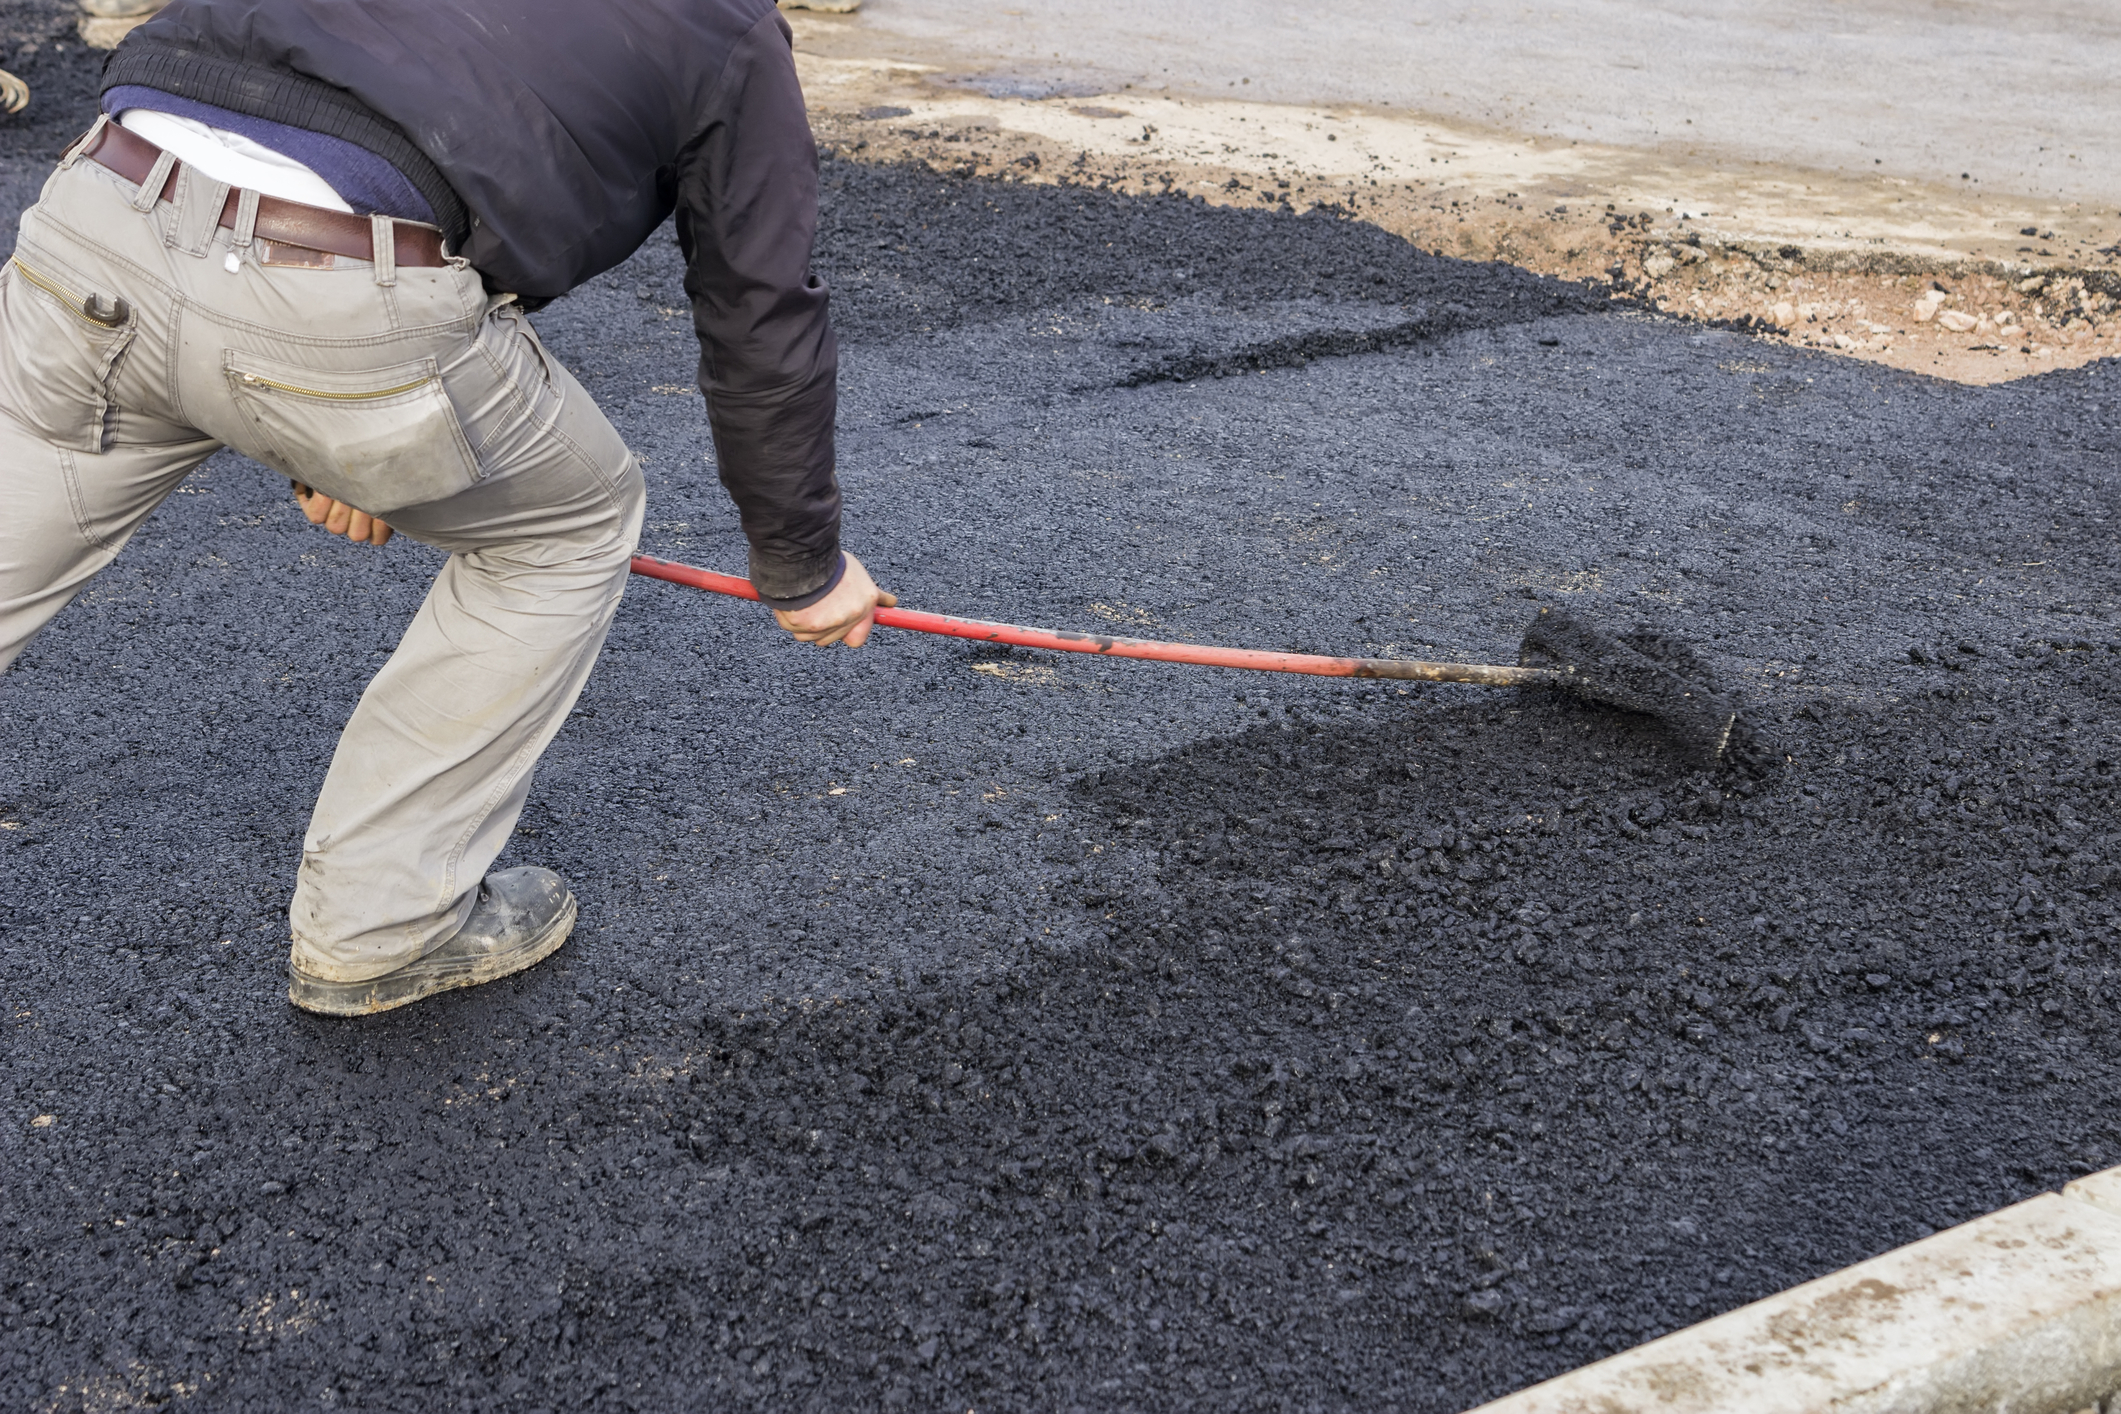
Photo by Spettacolare on Dreamstime
Round the edges at an angle, or install pavers for more visual appeal.
Finally, let the asphalt rest for up to 48-hours to properly cool and set. Now you’re ready to roll!
Keep in mind that repaving an asphalt driveway requires ample time, supplies, and work. Homeowners sometimes complete all or just some of the steps outlined above. Remember, when in doubt, it’s always best to talk with a professional.
For more helpful DIY driveway tips read on to Here’s the Deal on Sealing Your Asphalt Driveway.


