


Your driveway is the invitation to your home. Its appearance and condition can make or break your overall landscaping design. There are many different types of driveways from dirt to gravel to concrete – and even to grass. Asphalt, however, is one of the most common materials that homeowners choose for their driveways.

Photo by Spike Design on Shutterstock


An asphalt driveway can last up to 30 years but will eventually need a little TLC to maintain its pristine appearance. House Tipster has many home improvement professionals to help reseal your asphalt driveway, but if you’re a DIY pro, here’s our guide for resealing your driveway. As a note, if you’re unsure you can reseal your driveway safely and properly, be sure to consult several driveway sealing companies before choosing one to do the job.
1. Choose Your Sealer
The first step in resealing your driveway is deciding on an asphalt sealer. The best driveway sealer is one that meets your budget and concerns for the environment. There are several types of driveway sealers, all of which have their pros and cons.
The three most common asphalt driveway sealers are:
- Coal tar sealers
- Asphalt sealers
- Acrylic sealers
Coal tar sealers are made from coal tar, sand, clay, polymers, and other additives that add pliability for better application, as well as for long-lasting protection from harsh weather conditions. Coal tar sealers are generally the least expensive and can protect your driveway from gasoline and other vehicle fluid stains for years after their application. Use precautions when applying tar sealers, however, because it could possibly damage the surrounding lawn and plants if it’s not applied carefully.
Using an asphalt sealer on an asphalt driveway sounds like a no-brainer. An asphalt sealer is just as easy to apply as a coal tar sealer, but unlike coal tar sealers, asphalt sealers are not nearly as harmful to your surrounding lawn and plants. Unfortunately, these sealers are just as prone to wear-and-tear as an unsealed asphalt driveway and will usually require resealing within three to four years after application.
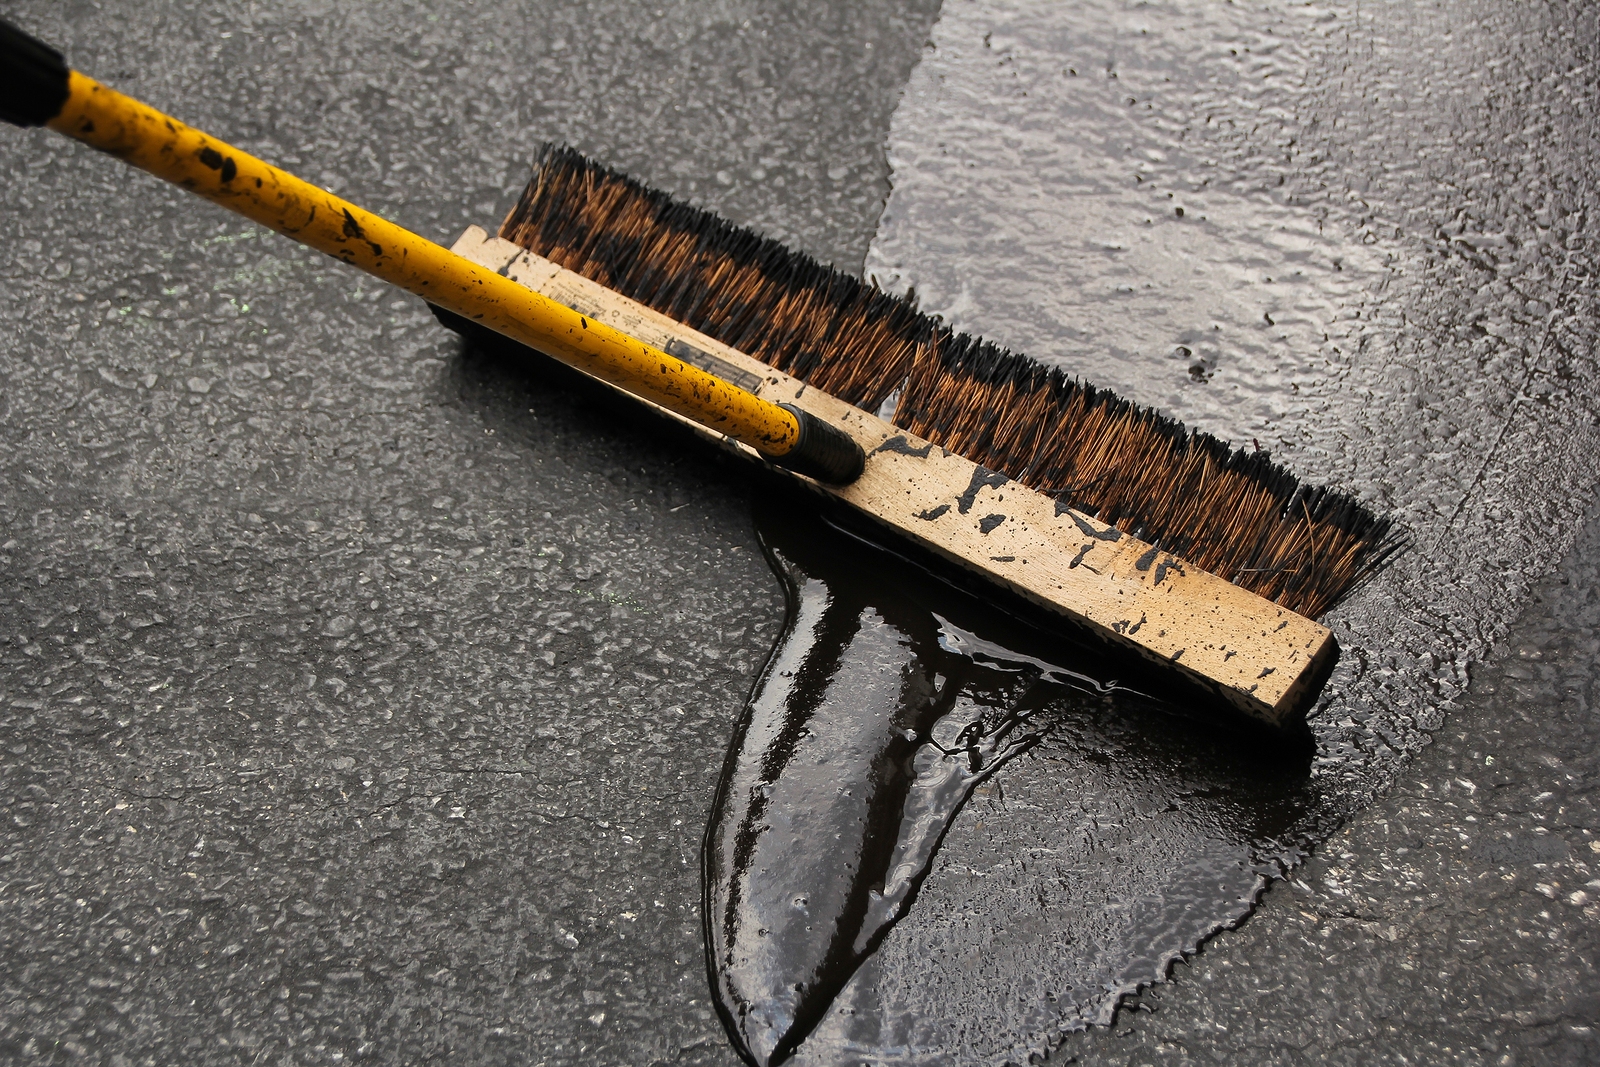
Photo by vm2002 on Adobe Stock
Acrylic sealers are composed of synthetic polymers and acrylics. This composition makes the acrylic sealer the most environmentally friendly option of the three types of asphalt sealers listed above. It also provides the same level of long-lasting protection as the coal tar sealers. With acrylic sealers, you can park your car back in your driveway four hours after sealing; with other sealers, you may have to wait up to 48 hours.The only drawback to acrylic sealers is a much higher price tag.
2. Preparations & Scheduling
Once you’ve chosen your driveway sealer, it’s time to make preparations. Before you begin, make sure you have the right tools and clothes for the job. Workman’s coveralls and rubber rain boots are generally the best clothes to protect your skin from these sealers. Of course, you should avoid wearing shorts, sandals, or any expensive clothes when resealing your driveway.
As far as tools are concerned, a standard paint roller, paint mixer, squeegee, broom, and a few disposable brushes are the required tools for this project. Other helpful tools are a garden-variety leaf blower, weed wacker, and a power washer. Both the leaf blower and power washer will be used to clear away dirt, stains, and debris from your driveway to make sure it’s squeaky clean and ready to be sealed.

Photo by sbw19 on Adobe Stock
If your driveway has cracks and pits, you will need to fill those before you begin sealing. Depending on your budget, you can fill cracks with a caulk-type of asphalt driveway crack filler that you can purchase from any home center. If you live in an area that experiences a lot of freezing and thawing, this method may not last very long as the caulk is prone to shrinking and cracking. A better, more permanent method is to purchase a type of melt-in crack filler and top patch that you can spread with a trowel. You will also need a propane torch to melt the filler and a leaf blower or compressed air gun to remove all the debris from the cracks. Depending on the number and length of the cracks, it can take a full day or more to fill in all the cracks and potholes.
3. Getting Started
First, use the weed wacker to trim the edges of your lawn if the lawn is next to your driveway. Next, take your leaf blower and clear the area of any grass, leaves, or other debris. Finally, you’ll want to pull out any grass or weeds growing through the cracks of the driveway.

Photo by woodnorthphoto on Adobe Stock
Once the weeds and grass have been cleared away, it’s time to give your driveway a good strong cleaning with the power washer to get the deeply-embedded dirt out. Afterwards, sweep away the pools of sitting water, and let it dry.
4. Repairing Cracks and Potholes
Choose a day with no chance of rain in the forecast to begin your driveway repair project. Read all the directions on the crack filler you have purchased. If using the melt-in type, place it in a sunny spot so it warms and softens. While the filler is warming, thoroughly remove all dirt, weeds, and debris from the cracks and potholes. Hairline cracks may need to be widened with an angle grinder and diamond wheel blade so there is enough space to fill them with crack filler.

Photo by EvgeniiAnd on Adobe Stock
Asphalt sealer alone will not be enough to fill hairline cracks and they will eventually widen on their own. Use a leaf blower or compressed air to remove all debris from cracks and potholes. Once clean, push the melt-in filler into the cracks. Use a utility knife to cut any excess that protrudes from the crack. Use a propane torch to melt the crack filler. It burns easily, so don’t stay on one section for too long. Once the crack is filled, allow it to cool to the touch. Use a trowel to cover the filled crack with patch material. Let the patch material dry overnight. You may need to apply a second coat of patch material if you can see a depression in the crack. With all the cracks and potholes filled, your driveway is ready to be sealed!
5. Sealing the Deal
Before you start resealing your driveway, check the weather forecast. Depending on the type of sealer, you may need up to three solid days of dry weather for the sealer to totally set. If there is even a hint of rain clouds, you should wait for a clear forecast to reseal your driveway. Begin by making sure you have enough pails of sealer to cover the entire driveway. A gallon of driveway sealer covers approximately 80 square feet. You can use a driveway sealer calculator to determine just how many pails you will need. Protect the garage door with plastic sheeting and use duct tape or plastic sheeting to keep the sealer from getting on sidewalks or other surfaces or structures that meet with the driveway. Thoroughly mix the sealer according to the directions on the pail.

Photo by K Quinn Ferris on Dreamstock
You want to cut-in all four edges of your driveway first. Use a disposable brush or one that can be cleaned to carefully coat the edges of your driveway. Be careful not to get any sealer on your grass. Once the edges are cut-in, move to the top left or top right edge of the driveway and pour the sealer across the driveway in a U-shaped pattern. Spread the sealer with a squeegee, roller, or broom. Check the manufacturer’s directions to see which tool is recommended. Pour out enough sealer to maintain a small puddle in front of the applicator tool. Continue pouring and spreading the sealer until the entire driveway is covered. Set the empty pails at the bottom of the driveway to keep anyone from walking or driving on the driveway until the sealer is completely dry. Read the manufacturer’s recommendation for how long you need to wait until you can walk or park your car back in your driveway. Some sealers require a second coat to completely seal the driveway.
Sealing a driveway is a lot of work, but not only will your driveway look like a freshly paved stretch of asphalt, it also will be protected from wear-and-tear for years to come. If you’re not a DIY weekend warrior, House Tipster has a ton of local professionals in your area to help get the job done.


