


For most areas of the home, water damage isn’t that much of a likelihood. However, there are two areas that could possibly see significant exposure to water: the bathroom and exterior doorways. Over time and with continued exposure to moisture, the subfloor can begin to rot out. Once that process starts, it’s essential to replace the subfloor as soon as possible. Otherwise, it’s possible that the flooring will give way. Not sure how to replace a rotting sub-floor in your home? The following tips will make things simpler.
Fix the Leak
Before you do anything else, find and fix the leak. If the water is coming in from an exterior door, then the door seal needs to be replaced. You might also need to install an awning, or a storm door to prevent wind-driven rain from leaking under the door. If the leak is in the bathroom, things get a little more complicated. You’ll need to determine if there is a leaking pipe somewhere, or if the water is from a damaged or failing faucet, or somewhere else. In all cases, find and fix the leak before you replace the sub-floor.
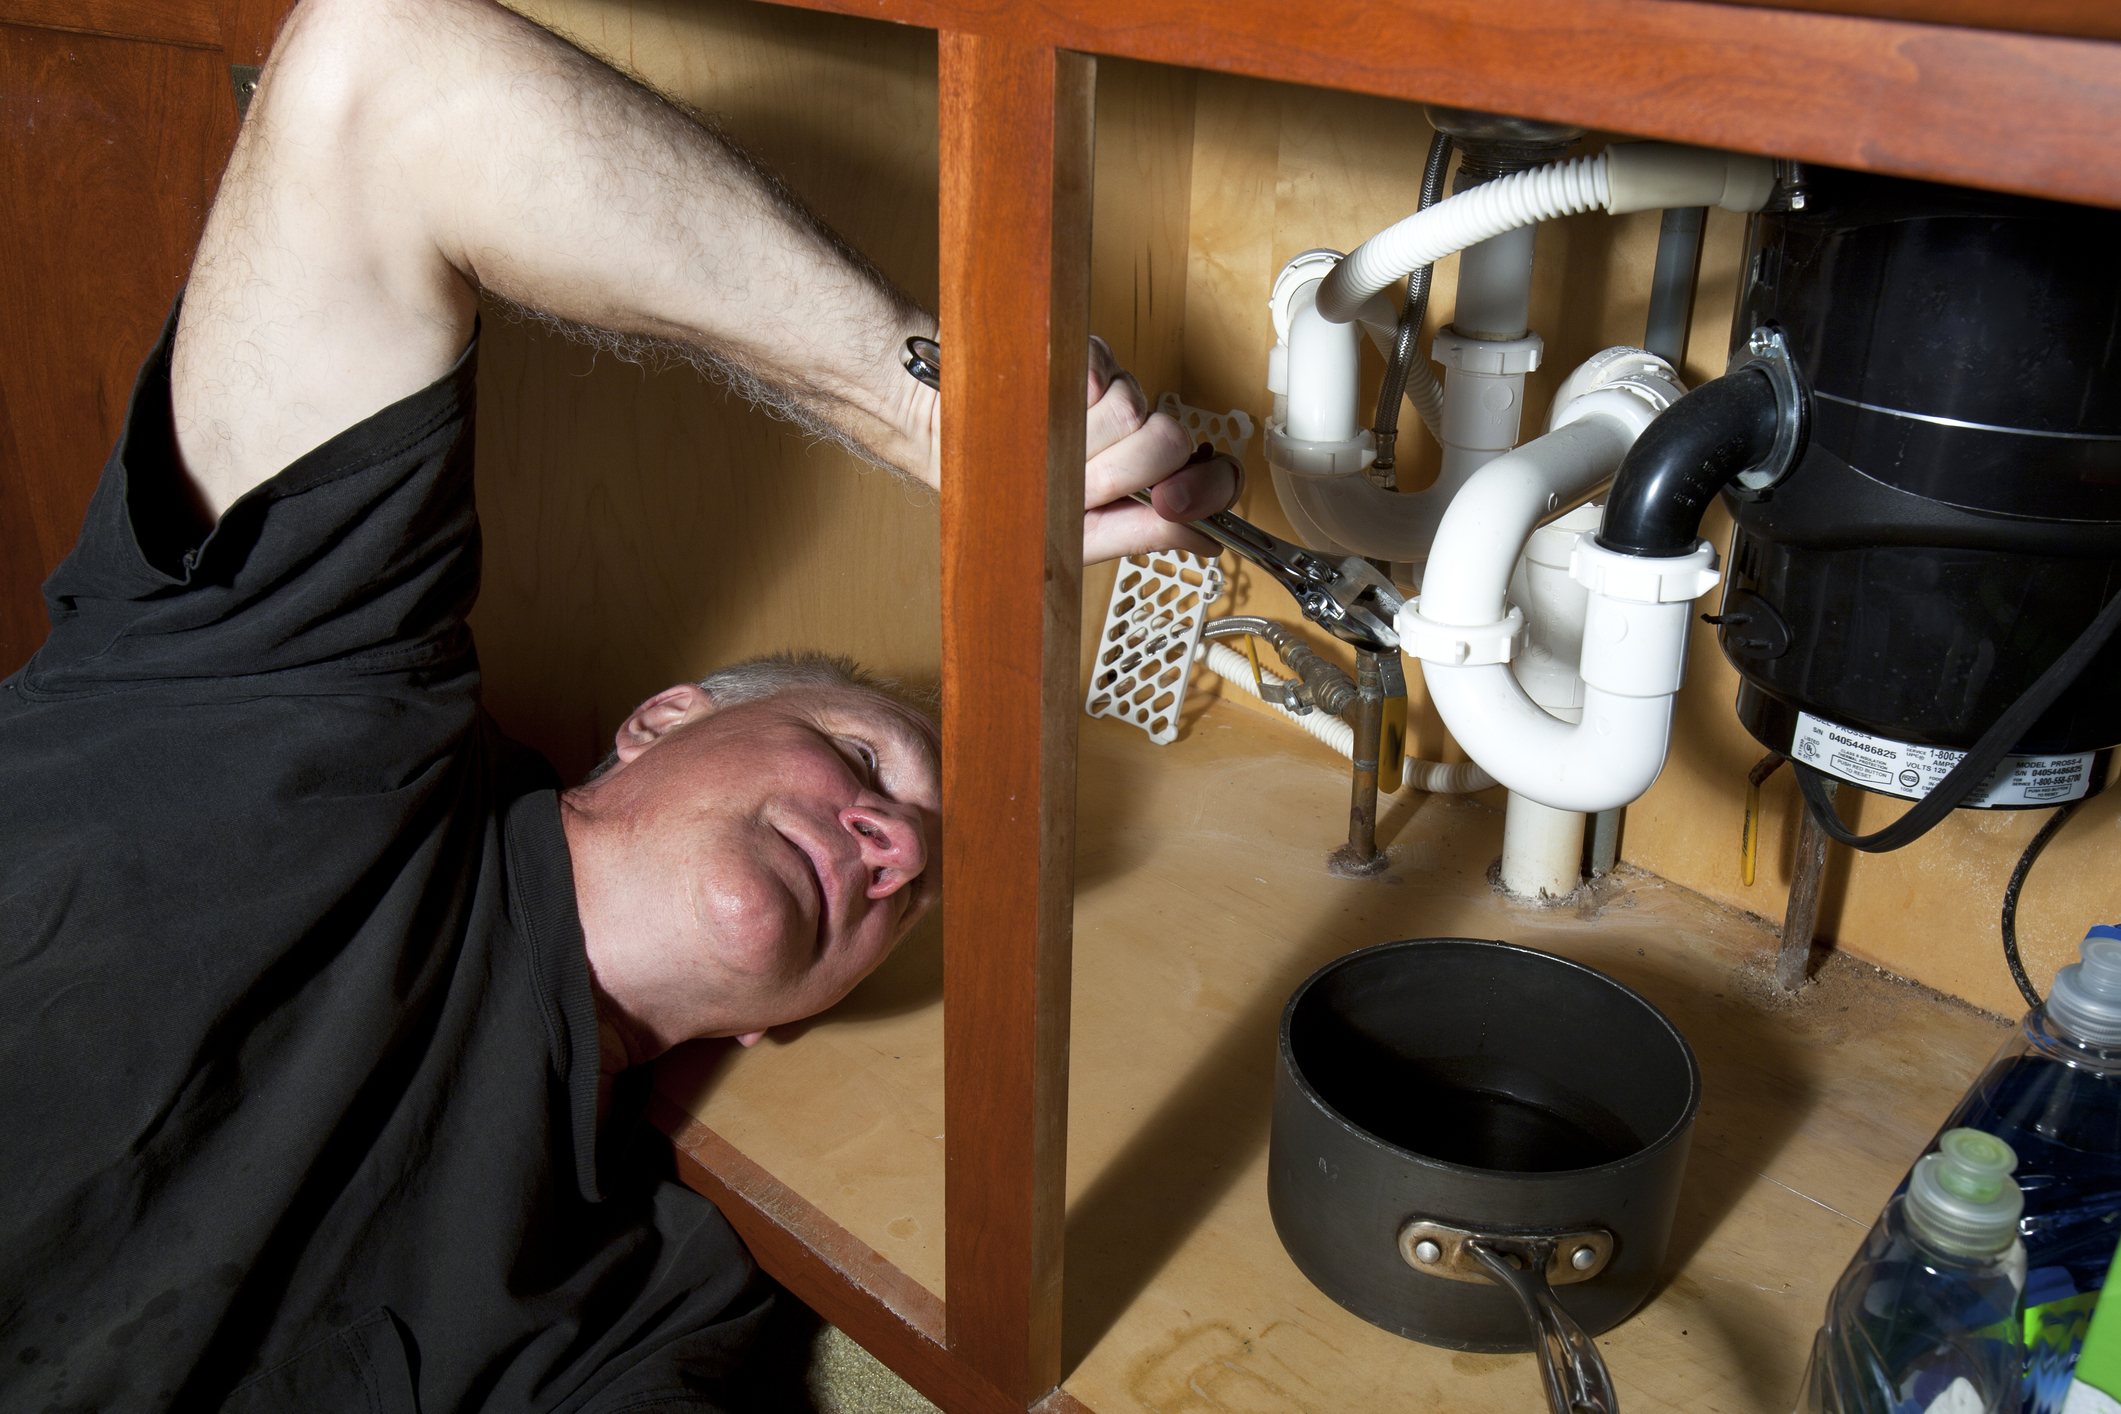
Photo by karenfoleyphoto on Adobe Stock

Remove Flooring Material
The next thing to do is to remove the flooring from the area where the repair will take place. If it’s carpet, pull it back from the nearest wall (you may need to remove baseboards to do this). If it’s vinyl, it’s more than likely that you’ll need to cut the flooring out, which means you’ll also need to replace that. This might be a good time for any re-flooring project you had waiting in the wings.

Photo by bane.m on Shutterstock
Determine the Amount of Damage and Mark It Off
Once the flooring material has been removed, you should be able to see the scope of the damage to the subfloor. Water damaged and rotting subfloor will be obvious – it will be discolored, perhaps buckled, or even “eaten” through in places. Mark around the entire area to be removed with chalk, and make sure to locate the underlying floor joists. This can be done by finding the seams where the subfloor is nailed down. Always remove the subflooring to both nearby floor joists.

Photo from Pixabay
Cutting It Out
Now’s the time to remove that old subfloor. Use a circular saw with the blade set to one-inch depth, and cut along the lines you marked previously. Make sure to cut the wood all the way up to the joists.

Photo from Pixabay
Remove It
Once you’ve cut the subflooring, remove the damaged section. This is easiest with a pry bar. Make sure to also remove the old nails from the joists before moving on to the next step. Nails can be removed with either the pry bar or with a claw hammer.

Photo from Pixabay
Double Up On the Supports
Cut several pieces of 2’ x 6’ to double up the floor joist support under the exposed area. If the joists are wet, let them dry out before you replace the damaged subfloor. This will help prevent further degradation.

Photo by CSNPhotography on Shutterstock
Replace the Subfloor
Now, it’s time to measure the hole and cut the replacement piece of plywood subflooring. Make sure that you measure and cut accurately, but don’t fit the replacement too tightly to the existing subfloor. Leave a slight gap (about an eighth of an inch) to allow expansion to take place. Once the piece is cut, go ahead and install it.

Photo by zoosnow on Pixabay
Replace the Floor
Now that you have a solid subfloor, it’s time to replace the flooring over the top. If you were able to move the old floor out of the way (like rolling the carpet back or removing linoleum tiles), this should be an easy process. If you’re planning to replace the floor in the room entirely, now’s the time.

Replacing rotting or damaged subflooring really isn’t that difficult, as long as you have a few tools on hand, and are able to fix the leak before you begin.
DISCLAIMER: Readers should keep in mind that any accounts of renovation presented in this blog are written accounts of events taking place at individual homes, and are not necessarily endorsements of do-it-yourself home improvement. You proceed at your own risk if you attempt to replicate any activities described here.


