


Are you tired of never having enough room to work when applying makeup? What about the space required to store all the compacts and palettes you accumulate when building a collection of eyeshadows, blushes, and bronzers?
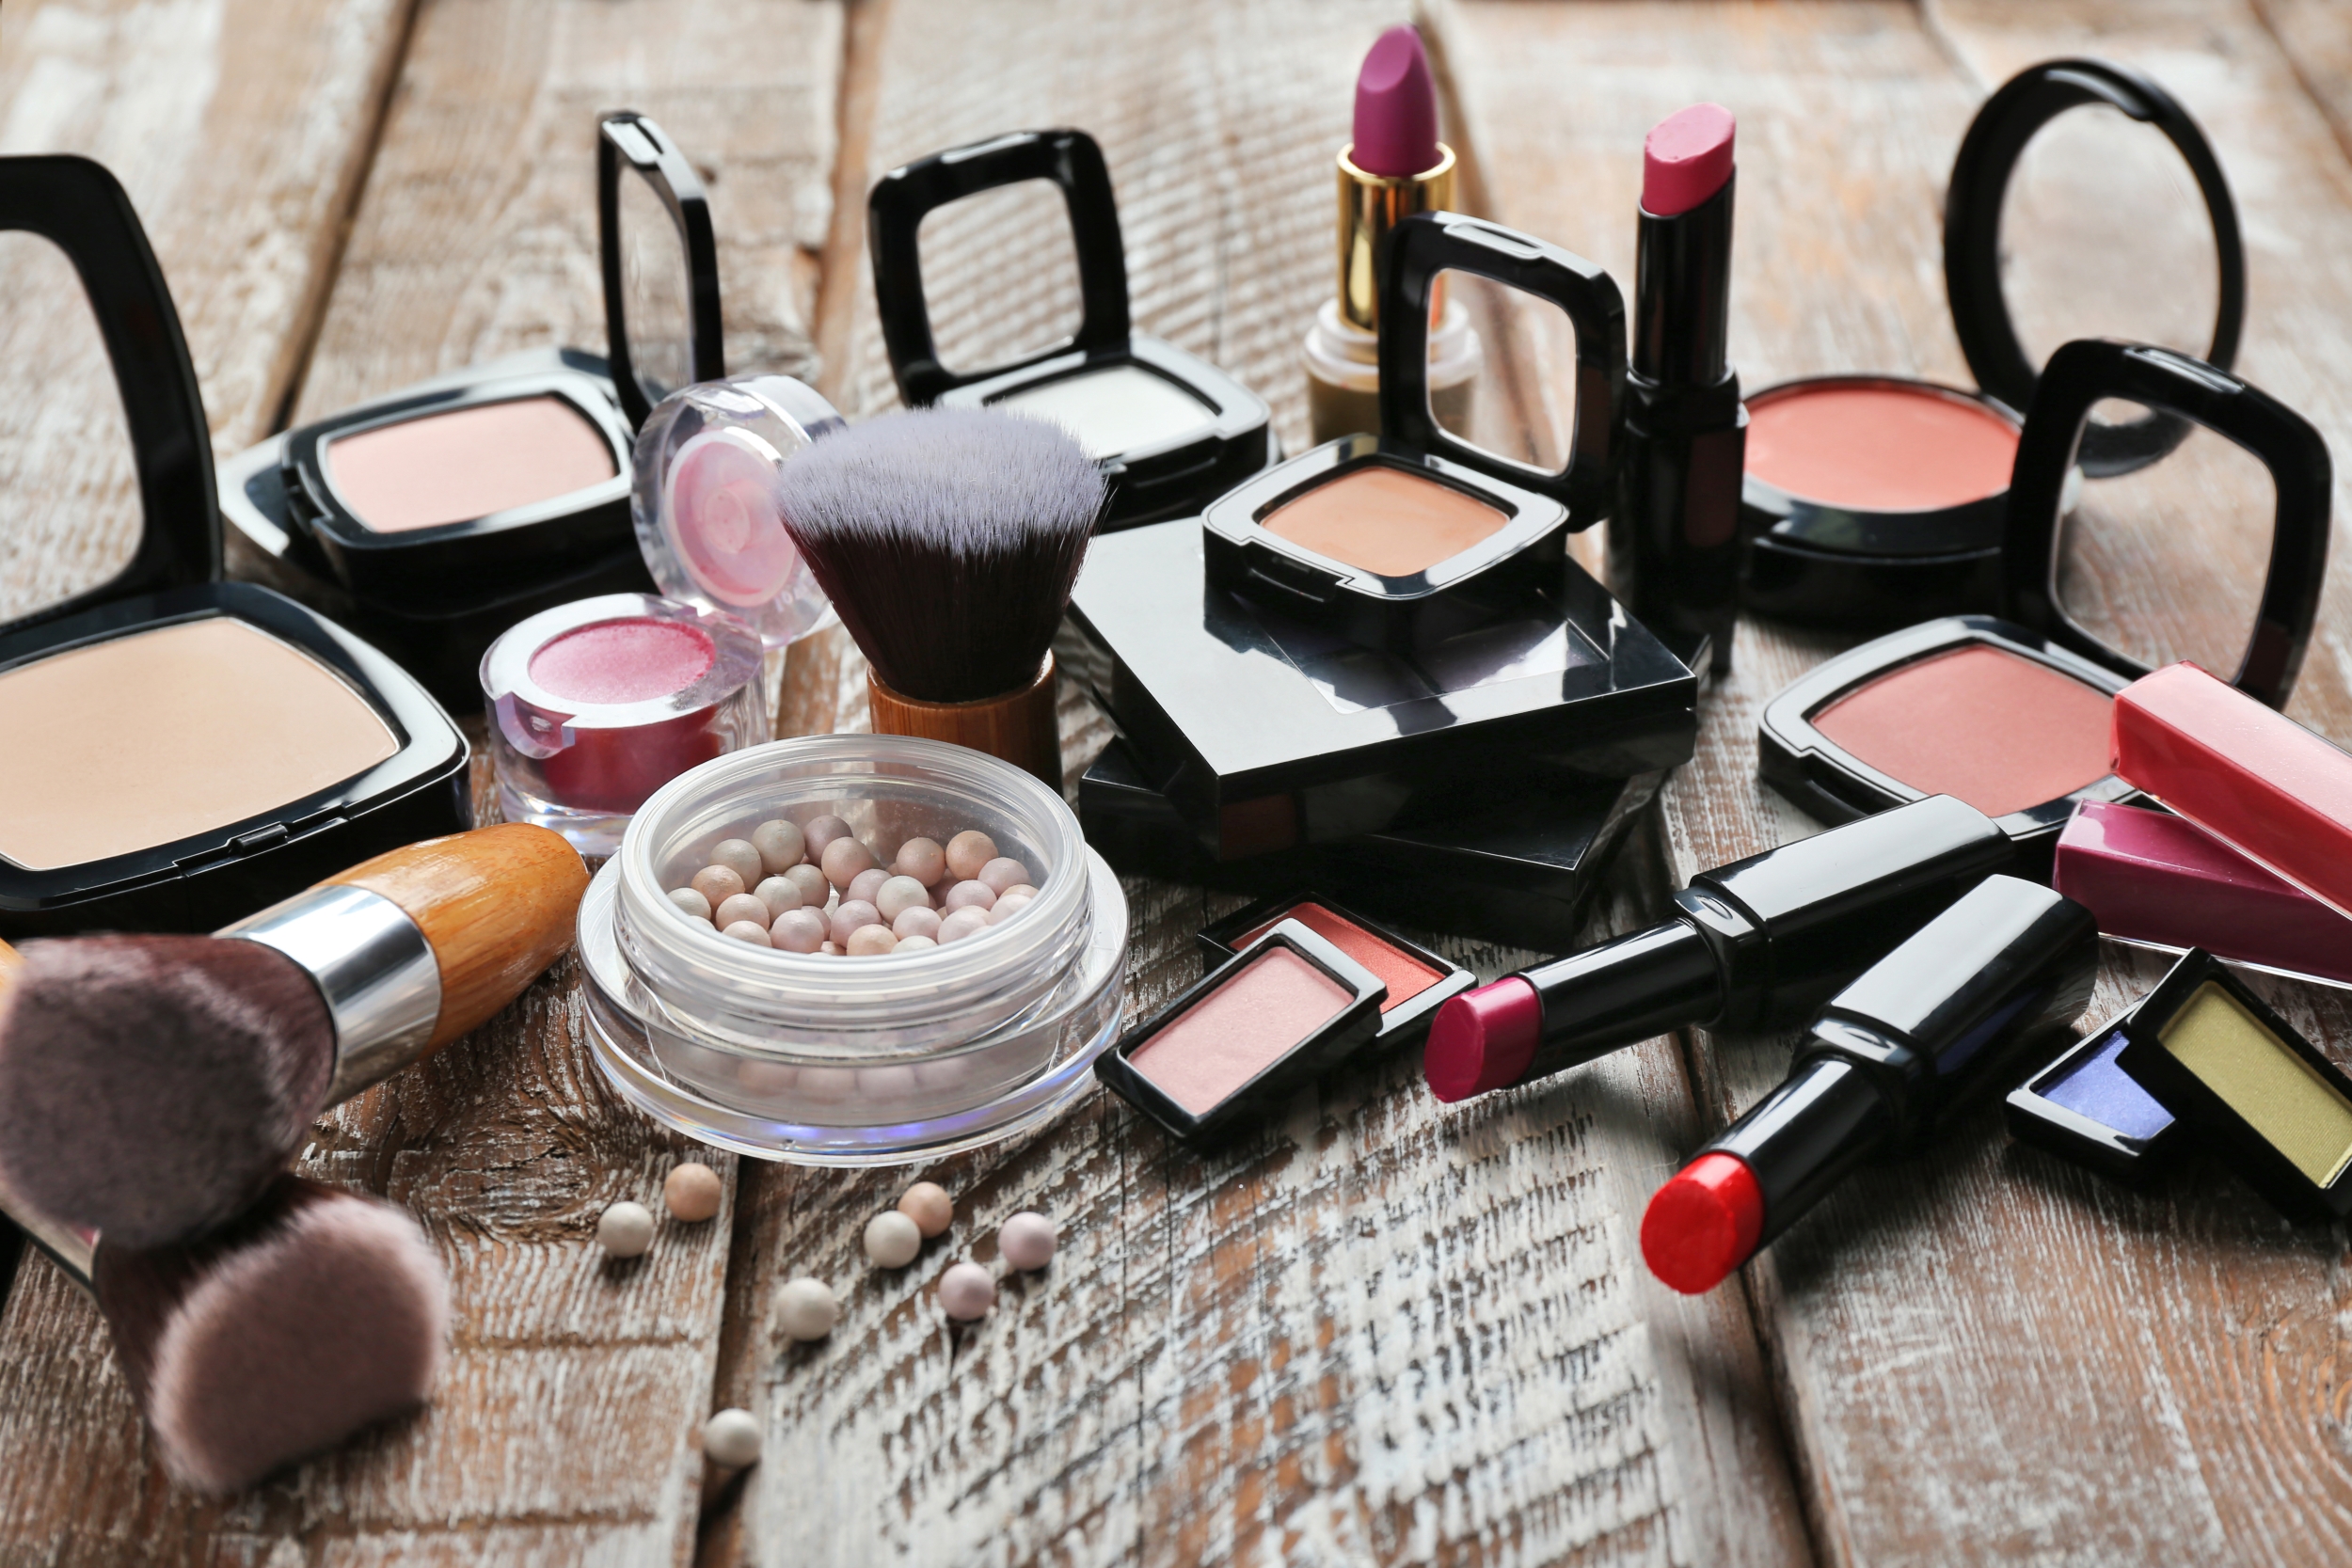
Photo by Africa Studio on Shutterstock
If you’re frustrated by all the space your makeup consumes, either above or below the counter, it’s time to consider depotting your collection. Depotting makeup is the practice of separating the product from manufacturer's’ packaging and condensing products in one place. I’ll walk you through this process and give you several storage options.
Be aware some baked products can’t be depotted if they’re packaged completely in plastic or cardboard, and cream products can be iffy too because of the heat involved in the process. Most of the time, however, powder shadows and blushes contained in metal pans can be safely removed from their bulky plastic outer packaging.
When depotting makeup, you’ll need to make sure you have several items ready:
- rubbing alcohol
- cotton balls
- a flat iron
- either a thin knife or a spatula designed for this process (I purchased mine through Z Palette - www.zpalette.com.)
- a fine-tipped permanent marker
- magnetized stickers
- container for your makeup.
Tips for choosing a new makeup container:
Look for a storage container with a magnetized bottom. Many makeup pans are magnetized and will stick on their own, thereby ensuring they don’t slide around during travel. You can use your magnetized stickers to convert the ones that aren’t.
You’ll also need to make sure your container is high enough to accommodate all the makeup you wish to depot. Z Palette makes a domed option that stands a little taller than the typical box and is designed for baked products. Other options for normal-sized pans include the Unii Palette, Trish McEvoy makeup pages, Makeup Forever boxes, and MAC empty palettes. Most of these brands sell containers in different sizes — obviously the larger the size, the more makeup pans the box will accommodate.
How to depot makeup:
1. Heat your flat iron to about 200 degrees. Make sure to place it on a flat surface where pets or children can’t reach it.
When you start your depotting process, go ahead and warm up your flat iron to about 200 degrees.
2. Select the metal-pan makeup you wish to remove from plastic and place the compact on the heated iron so the side containing the makeup is nearest the heat. Be careful not to burn your fingers here as you’ll be in close proximity to the hot portion of the iron.
Most powder products that have an inner pan, like this bronzer and blush, can be depotted.Most powder products that have an inner pan, like this bronzer and blush, can be depotted.
3. Allow the makeup to sit on the iron for a couple of minutes - time will vary depending on the thickness of the package. Your aim in this step is to melt the glue holding the metal pan to the plastic. Be careful when removing it as the plastic will be hot.
Place your compact on the flat iron for one to two minutes to melt the glue that holds the pan in place.
4. Remove the pan and carefully insert your knife (watch your fingers here) or depotting spatula between the metal pan and the surrounding plastic. Begin wiggling the tool to loosen the glue. If you’ve left the makeup on the iron for long enough, it should come loose without much effort. If you have trouble, return the makeup to the iron for another minute and try again.
Insert your knife or depotting spatula between the metal pan and plastic packaging. Wiggle your depotting tool until you can get it under the pan and lift the makeup out.
5. Once you’ve pried the makeup away from the plastic, lift it out and turn the pan over. You’ll see the remnants of glue on the bottom side of it. Use the rubbing alcohol and cotton balls to remove it.
Remove the glue using rubbing alcohol and a cotton ball.
6. Now that you’ve got a clean pan, you’ll be able to determine whether the metal is magnetized by placing it on the bottom of your new makeup container. If you find that it doesn’t adhere, you’ll need to add one of your magnetized stickers to the bottom of the pan.
If your depotted makeup pan doesn’t stick to the bottom of your magnetized container, you’ll need to place a magnetized sticker like these on the back of the pan. When you’re actually removing the pan from the plastic, you can use a specialized depotting tool like this one from Z-palette.
7. Use your fine permanent marker to label the bottom of the pan with the brand and shade of the makeup in case you want to repurchase it.
Don’t forget to label the back of the pan with the brand and shade of the makeup.
It helps to have an outer pouch to store your palettes in, especially if you have several. You can also store your brushes and other tools in the same place this way.
Consider placing your makeup palettes in a larger pouch to keep them together and to have a place to store tools like brushes.
Once you’ve begun condensing your collection, you may find that the process becomes second nature. For me, it turned out to be quite a sleek storage look, and once you’ve had a bit of practice, the process of depotting makeup will become fairly easy and enjoyable. Just remember to have the correct tools ready each time and to work slowly so you don’t end up breaking often-pricey powder products.


