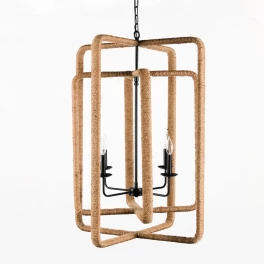
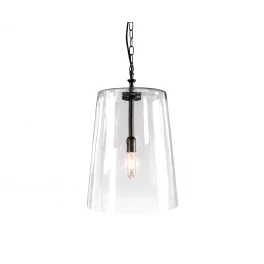
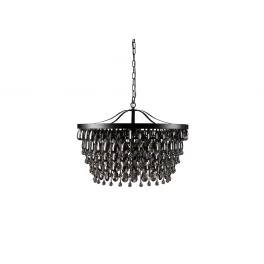
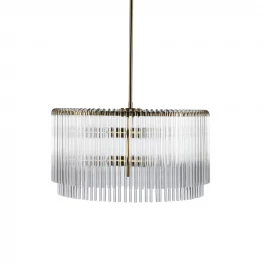
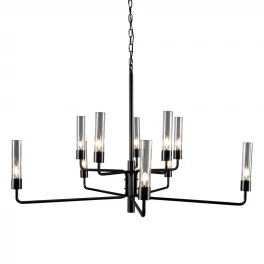
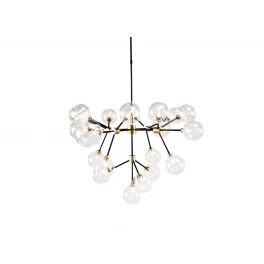
One of the most impactful changes you can make to a room is switching up the types of lighting in the space. One of these lighting types will probably be a ceiling fixture. This means that when you’re updating a room, at some point, you’re going to want to know what the steps are for installing a ceiling light.
Here’s a step-by-step guide on how to install a light fixture in the ceiling:
Step 1: Be Sure
There are three things you need to make sure of before you undertake this project:
First, be absolutely sure you feel confident in your ability to take on this job. “Trying to figure out” how to install a light fixture the first time you do it’s never, ever a good idea. Before taking on this project, thoroughly read this article and others like it. Also, read the instructions that came with your new ceiling light. Then ask yourself if you’re sure you can do this job. With any electrical repair job, from simply replacing a plug to installing a complex light fixture, if you have any doubts, call an electrician. Electricity isn’t something you want to mess around with.
Second, being sure includes knowing if your existing wires are compatible with your new fixture. Most of the time, they will be. However, many new light fixtures can’t be safely used in homes wired before 1985. This will be the case if your new fixture has a warning that says you must use a wire “rated for at least 90 degrees C.” This means that this fixture is going to generate more heat than old wire insulation can handle, which can cause a fire hazard. All wires manufactured after 1985 are required by law to have coverings that withstand the higher temperature. If you know your wiring is pre-1985, don’t use fixtures that require a 90-degree rating. If you’re not sure when your home’s wiring was installed, don’t assume it’s OK. Call an electrician to check it out or use a fixture that doesn’t have this temperature requirement.
Third, being sure includes checking that the light fixture you’re going to install isn’t too heavy for the ceiling outlet box to which it will be attached. Most ceiling boxes, by code, can support up to 50 pounds. But you can never be sure your box is to code. If you’re going to install a heavy ceiling fixture, it’s best to hire a professional to do it because you may also need to install a support that’s independent of the ceiling outlet box. If you feel confident that you can take on that job, you can purchase a “fan brace box” to support the extra weight.
Step 2: Gather Your Materials
To install a ceiling light, you’ll need:
- A ladder
- Safety gloves and goggles
- A flathead screwdriver
- A Phillips screwdriver
- Wire cutters (maybe)
- Wire strippers (maybe)
- Electrical tape
- Your new light fixture
- Light bulbs that fit in the new fixture
Step 3: Turn Off the Power
Shut off the power at your breaker box. Although you can just shut off the power to the zone in which the ceiling fixture will be installed, it’s safer to shut the power off to the entire house.
Step 4: Remove the Old Ceiling Fixture
Take off the cover of the old ceiling fixture, and then remove the fixture base from the ceiling. Before you disconnect the wires from that base, take a photo of the way it’s hooked up. Assuming it has been functioning properly, the photo will give you a good overview of how the new fixture will be connected. But don’t go by this photo alone when you install the new fixture. The photo is just a helper. Follow the instructions that came with your ceiling fixture. Once you’ve taken the photo, you can unhook the wires from the old fixture and remove the mounting strap. What you’re left with is the ceiling outlet box.
Step 5: Look at the Wires
Just to give you a lay of the light fixture land, take a look at the wires in your ceiling outlet box and on your new light fixture. Most light fixture wiring is the same. The fixture and ceiling outlet boxes have three types of wires:
- A neutral wire (the white wire)
- A hot wire (the colored wire — usually black)
- A ground wire (usually brass-colored or green)
One of the reasons you took a look at how the last light fixture was hooked up is to know which wire is which. Never, ever guess at which wires go together. If you have any doubts at all, call an electrician.
Now, check the wires in your ceiling outlet box. Are the ends twisted or damaged? If they are, use your wire cutters to cut off the damaged ends. Then remove about a half-inch of the insulated wire covering with your wire stripper. This will prepare your wires for the installation.
Step 6: Install the Mounting Strap
The new fixture will come with a mounting strap and mounting screws. Before you get on the ladder, install the screws in the strap. Once you have the strap prepared, you can climb up on the ladder. Then, using those screws, attach the mounting strap to the ceiling outlet box. Be sure that all the wires are pushed to one side of the mounting strap.
Step 7: Attach the Ground Wire
One of the most important aspects of the basic wiring of a light fixture is that the ground wire has to be attached to the mounting strap. So, first wrap the grounding wire from the fixture around the grounding screw on the mounting strap. Then connect the end of that grounding wire to the grounding wire that’s coming out of the ceiling outlet box. To connect them, twist the ends of the wires together at least three times. For extra security, wrap them with a piece of electrical tape. Then screw a wire connector over the twisted wires. Most light fixtures will come with wire connectors.
Note: Some old ceiling outlet boxes don’t have grounding wires. Don’t proceed without a grounding wire. It’s not safe. If your box doesn’t have one, call an electrician.
Step 8: Attach Neutral Wires
Attach the neutral (white) wire from the new fixture to the neutral (white) wire in the ceiling outlet box. To do this, wrap the ends of the two wires around each other at least three times and cover them with electrical tape. Then screw the wire connector over the wrapped ends.
Step 9: Attach the Hot Wires
Attach the hot (black or colored) wire from the new fixture to the hot (black or colored) wire in the ceiling outlet box. As with the last two wires, do this by wrapping the ends of the two wires around each other at least three times and cover them with electrical tape. Then screw the wire connector over the wrapped ends.
Warning: Don’t attach a white wire (neutral) to a black or colored wire (hot). This creates a potential shock hazard. If you have any doubts about which wire is which, call an electrician.
Step 10: Install the Base
Following the instructions that came with your light fixture, attach the light fixture base (sometimes referred to as a canopy) to the mounting strap.
Step 11: Put in the Bulbs
Screw the appropriate light bulbs into the fixture’s base. Be sure you don’t exceed the recommended wattage.
Step 12: Assemble and Attach Fixture
Before you get up on the ladder again, assemble your fixture, following the instructions that came along with it. Once it’s assembled, you can get back on the ladder and screw the fixture into its base.
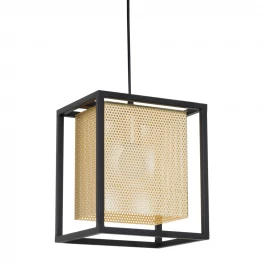
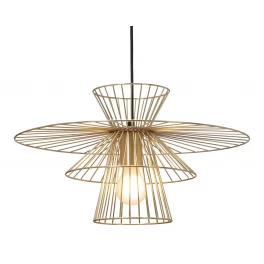
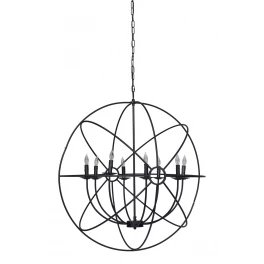
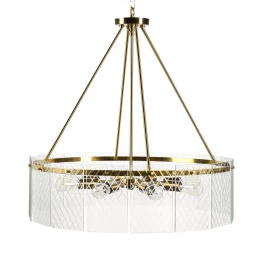
Now that you know the steps for installing a ceiling light, you can add all kinds of design styles to your space using light fixtures that vary from ceiling mount fixtures like the one in this article to hanging fixtures like pendant lights for the kitchen or even chandeliers. But once again, never take on any electrical project if you’re not confident in your abilities to do it safely. When in doubt, call an electrician.


