


Plants need two main things to grow: sunlight and water and inconsistencies in either of these can result in a quick plant death. Fortunately, sunlight is pretty consistent throughout much of the country during the summer months, but rain can be a different story altogether. Depending on where you live, you may be cursed with too little of it.
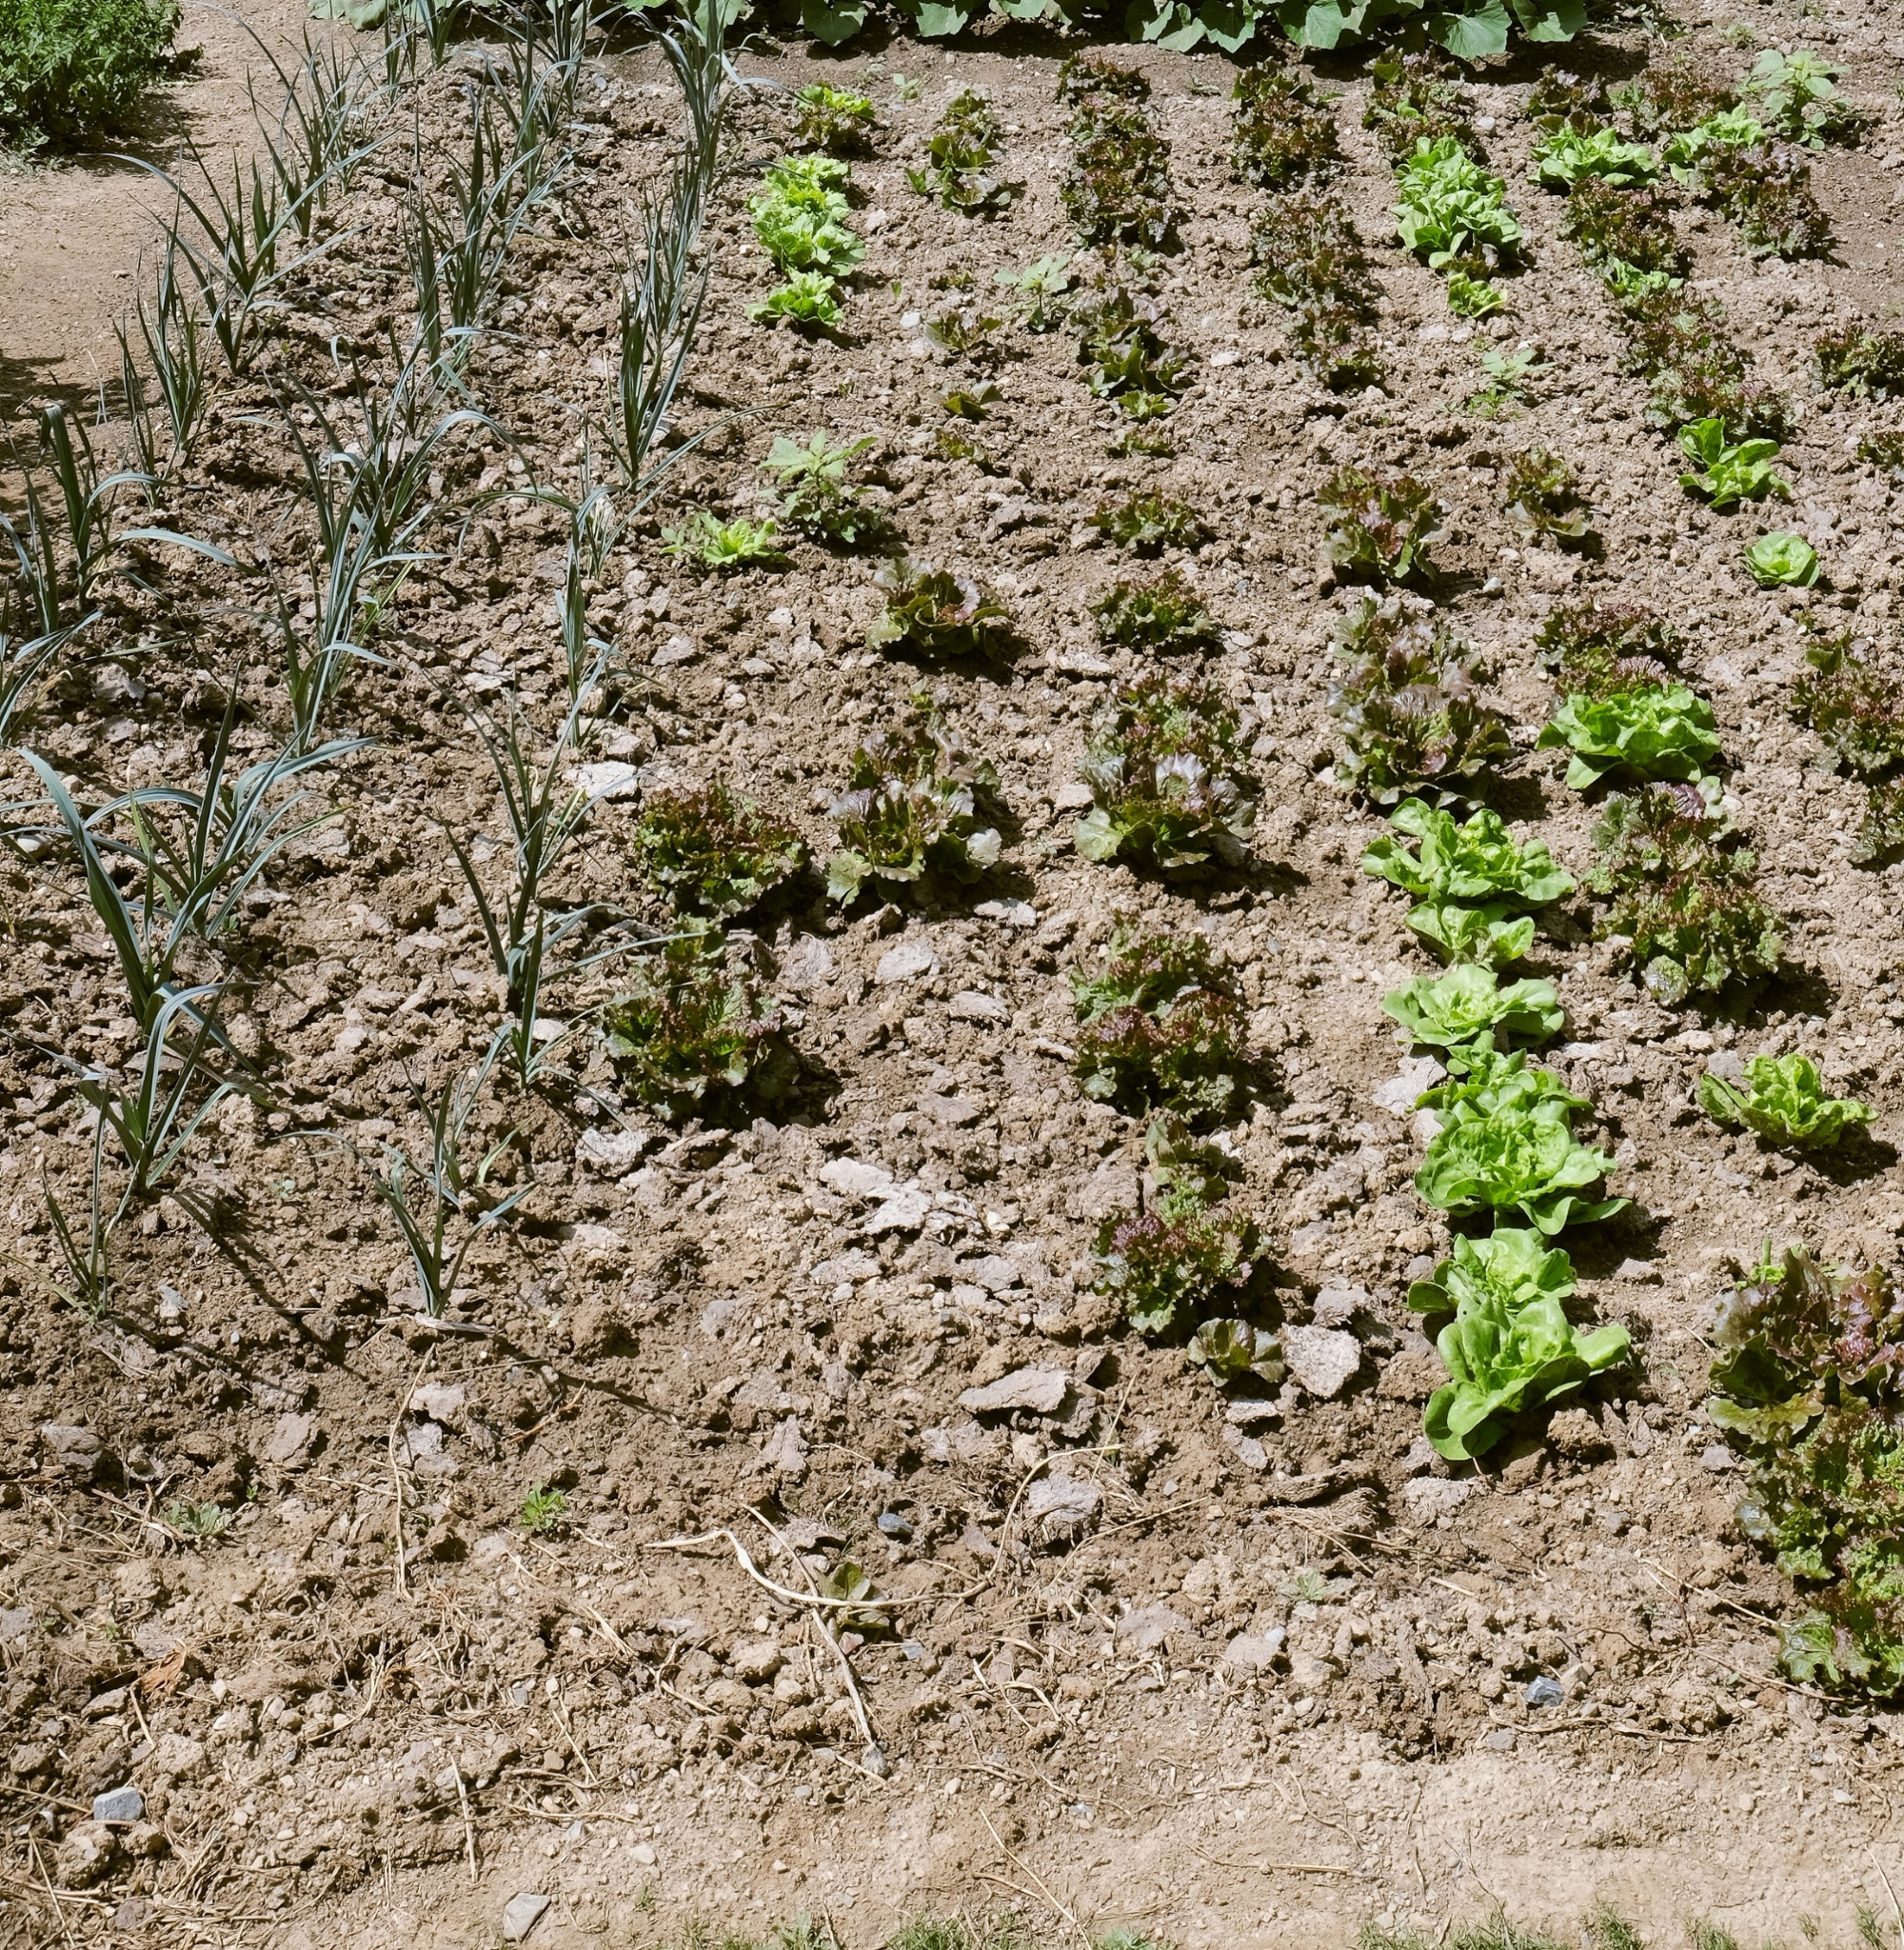
Photo by Niels Kliim on Dreamstime
So what’s a plant lover to do if the weather doesn’t cooperate? Especially if you have trips and other summer activities planned, watering your landscape beds, flowers, trees, and your vegetable garden isn’t always feasible.
Instead of purchasing a full (and possible expensive) whole-home sprinkler system, think about installing a DIY drip irrigation system.
Drip Irrigation 101
Drip irrigation solves many common watering problems experienced by homeowners. A DIY system is surprisingly affordable and it ensures the roots of your plants receive enough moisture to grow and thrive all season long.
As with most home projects, you have options when it comes to drip irrigation.
- Professional Install: Some homeowners choose to hire a professional company to come in and install the irrigation system, but keep in mind that this option will be more expensive than tackling the project yourself. Cost: $750-$1,000+
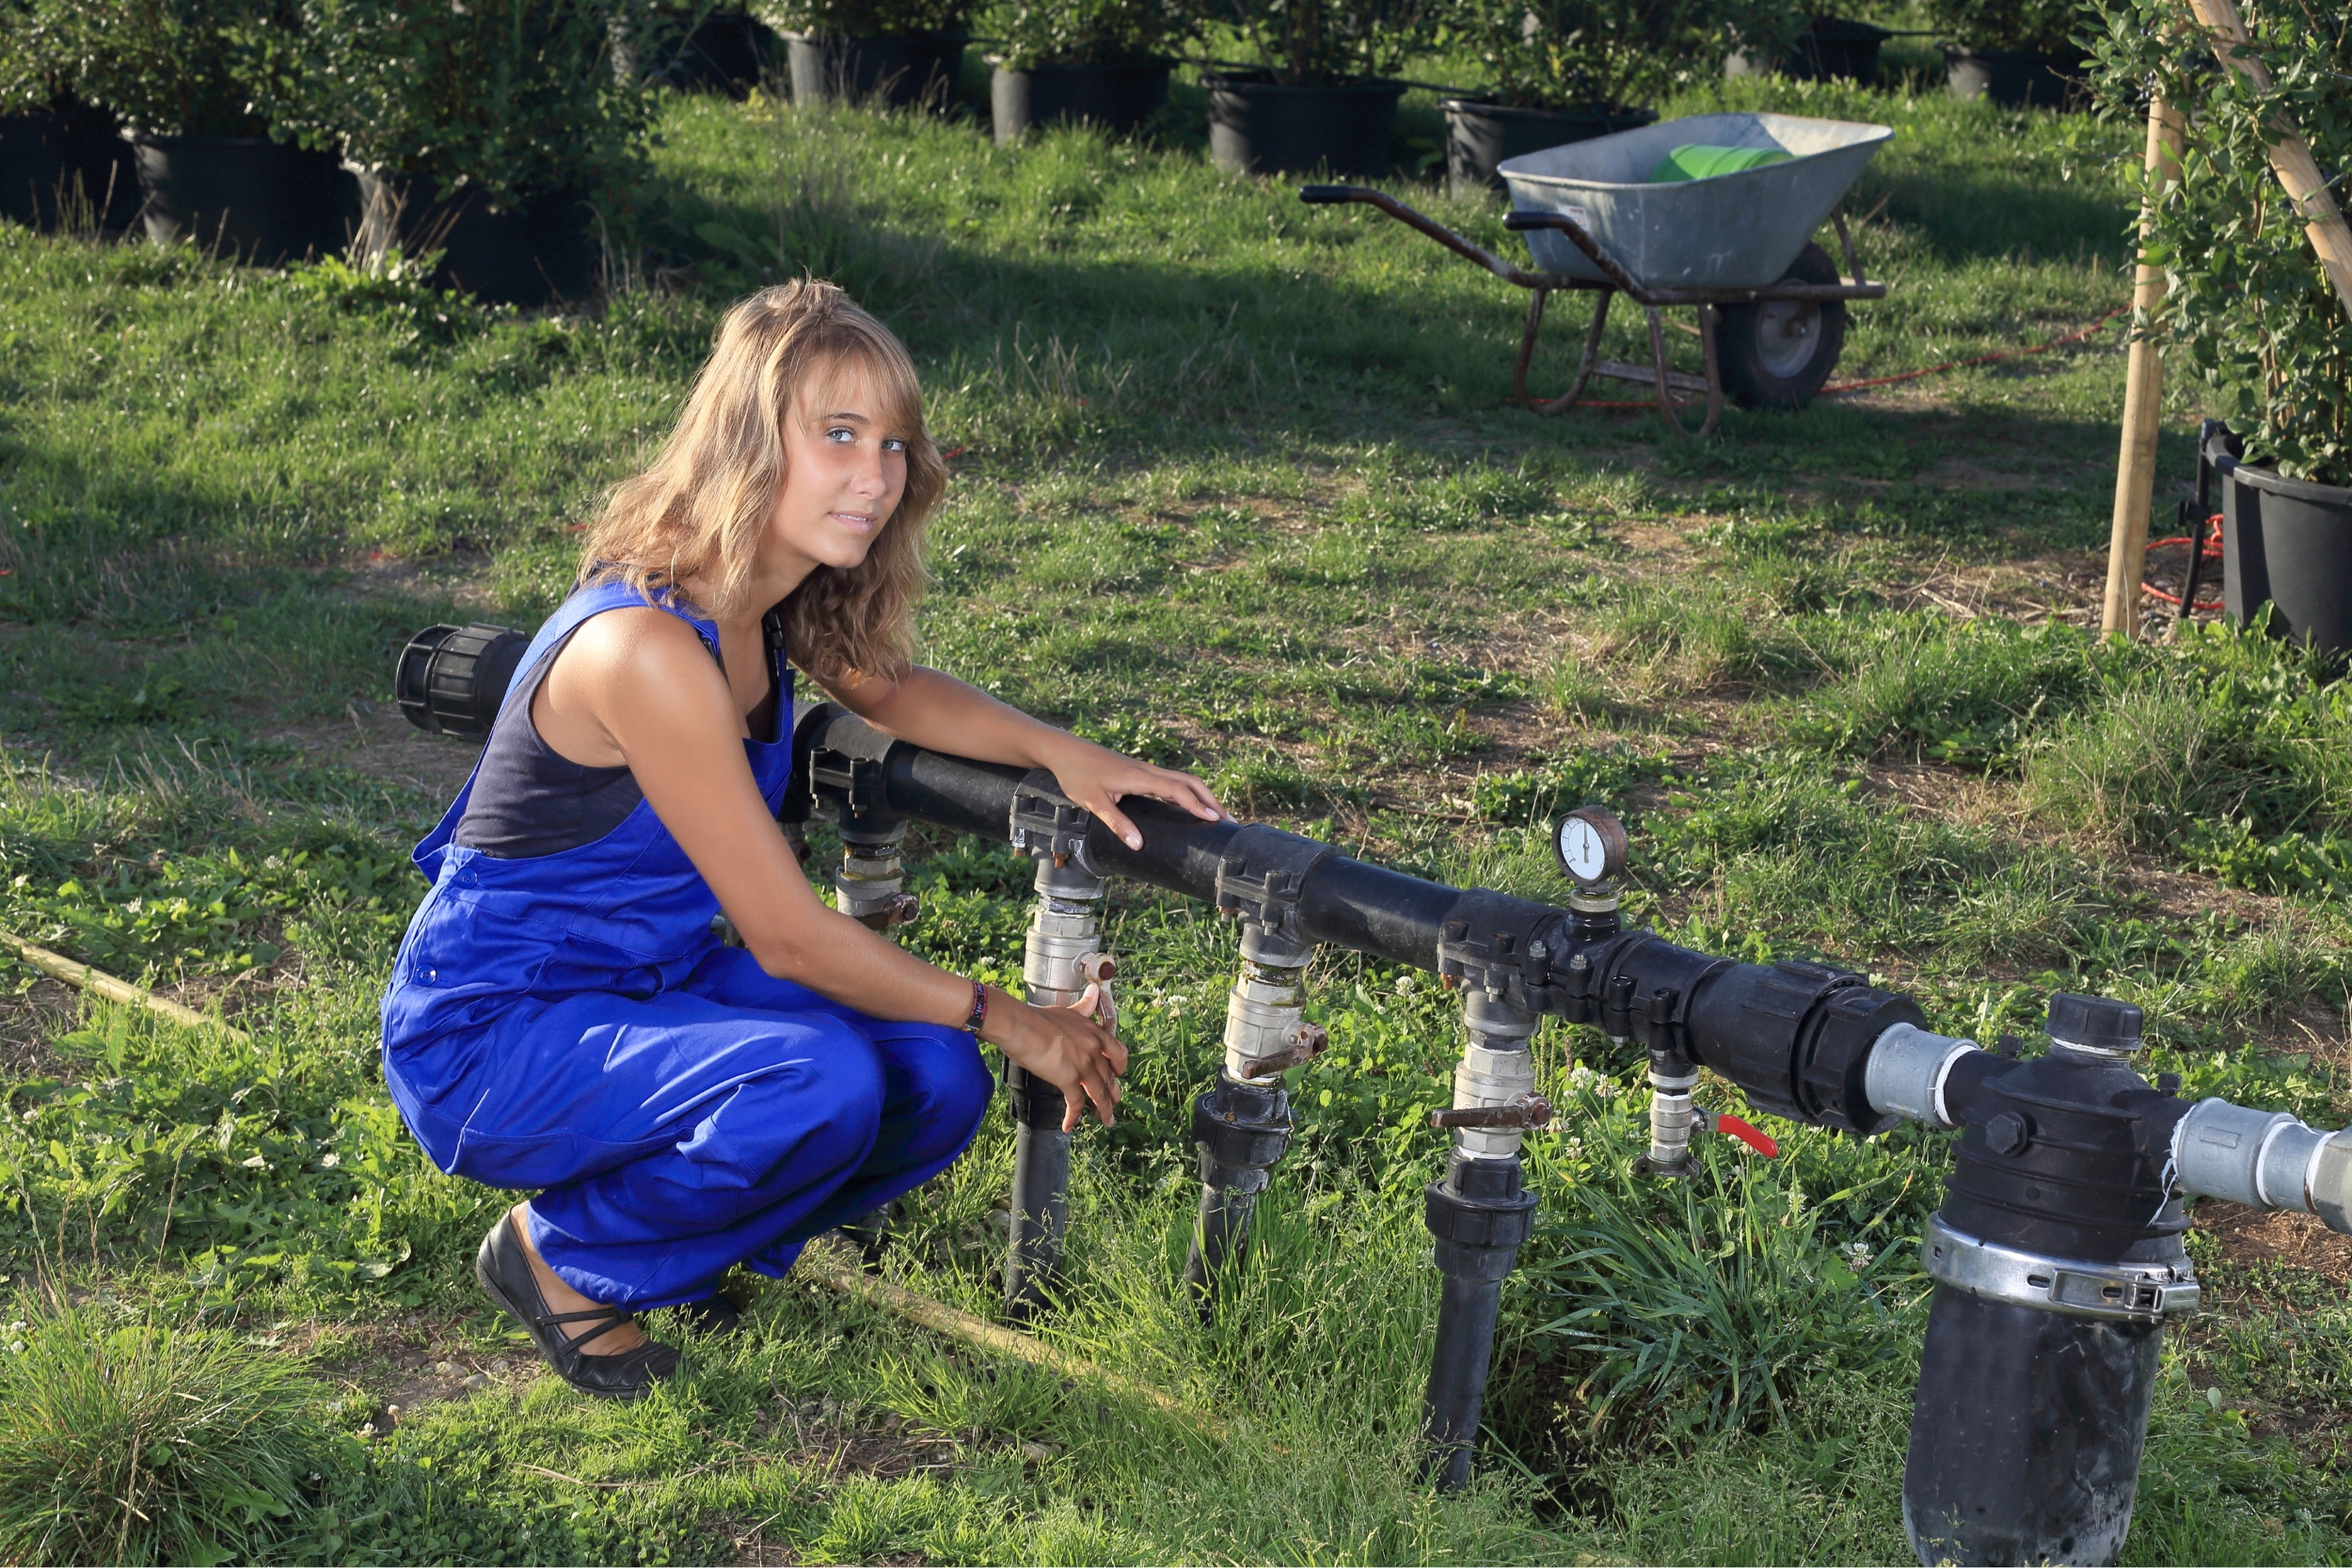
Photo by RioPatuca Images on Adobe Stock
- DIY Install: There are two different types of irrigation tubing homeowners use to create their own irrigation system.
- Soaker tubing: This is the most affordable and easiest option for homeowners. Water seeps consistently through the soaker tubes while the water is flowing. Although the water doesn’t necessarily target the plants roots, there’s generally enough of it that your plants stay moist and healthy.
Bottom Line: Affordable, easy, lacks efficiency
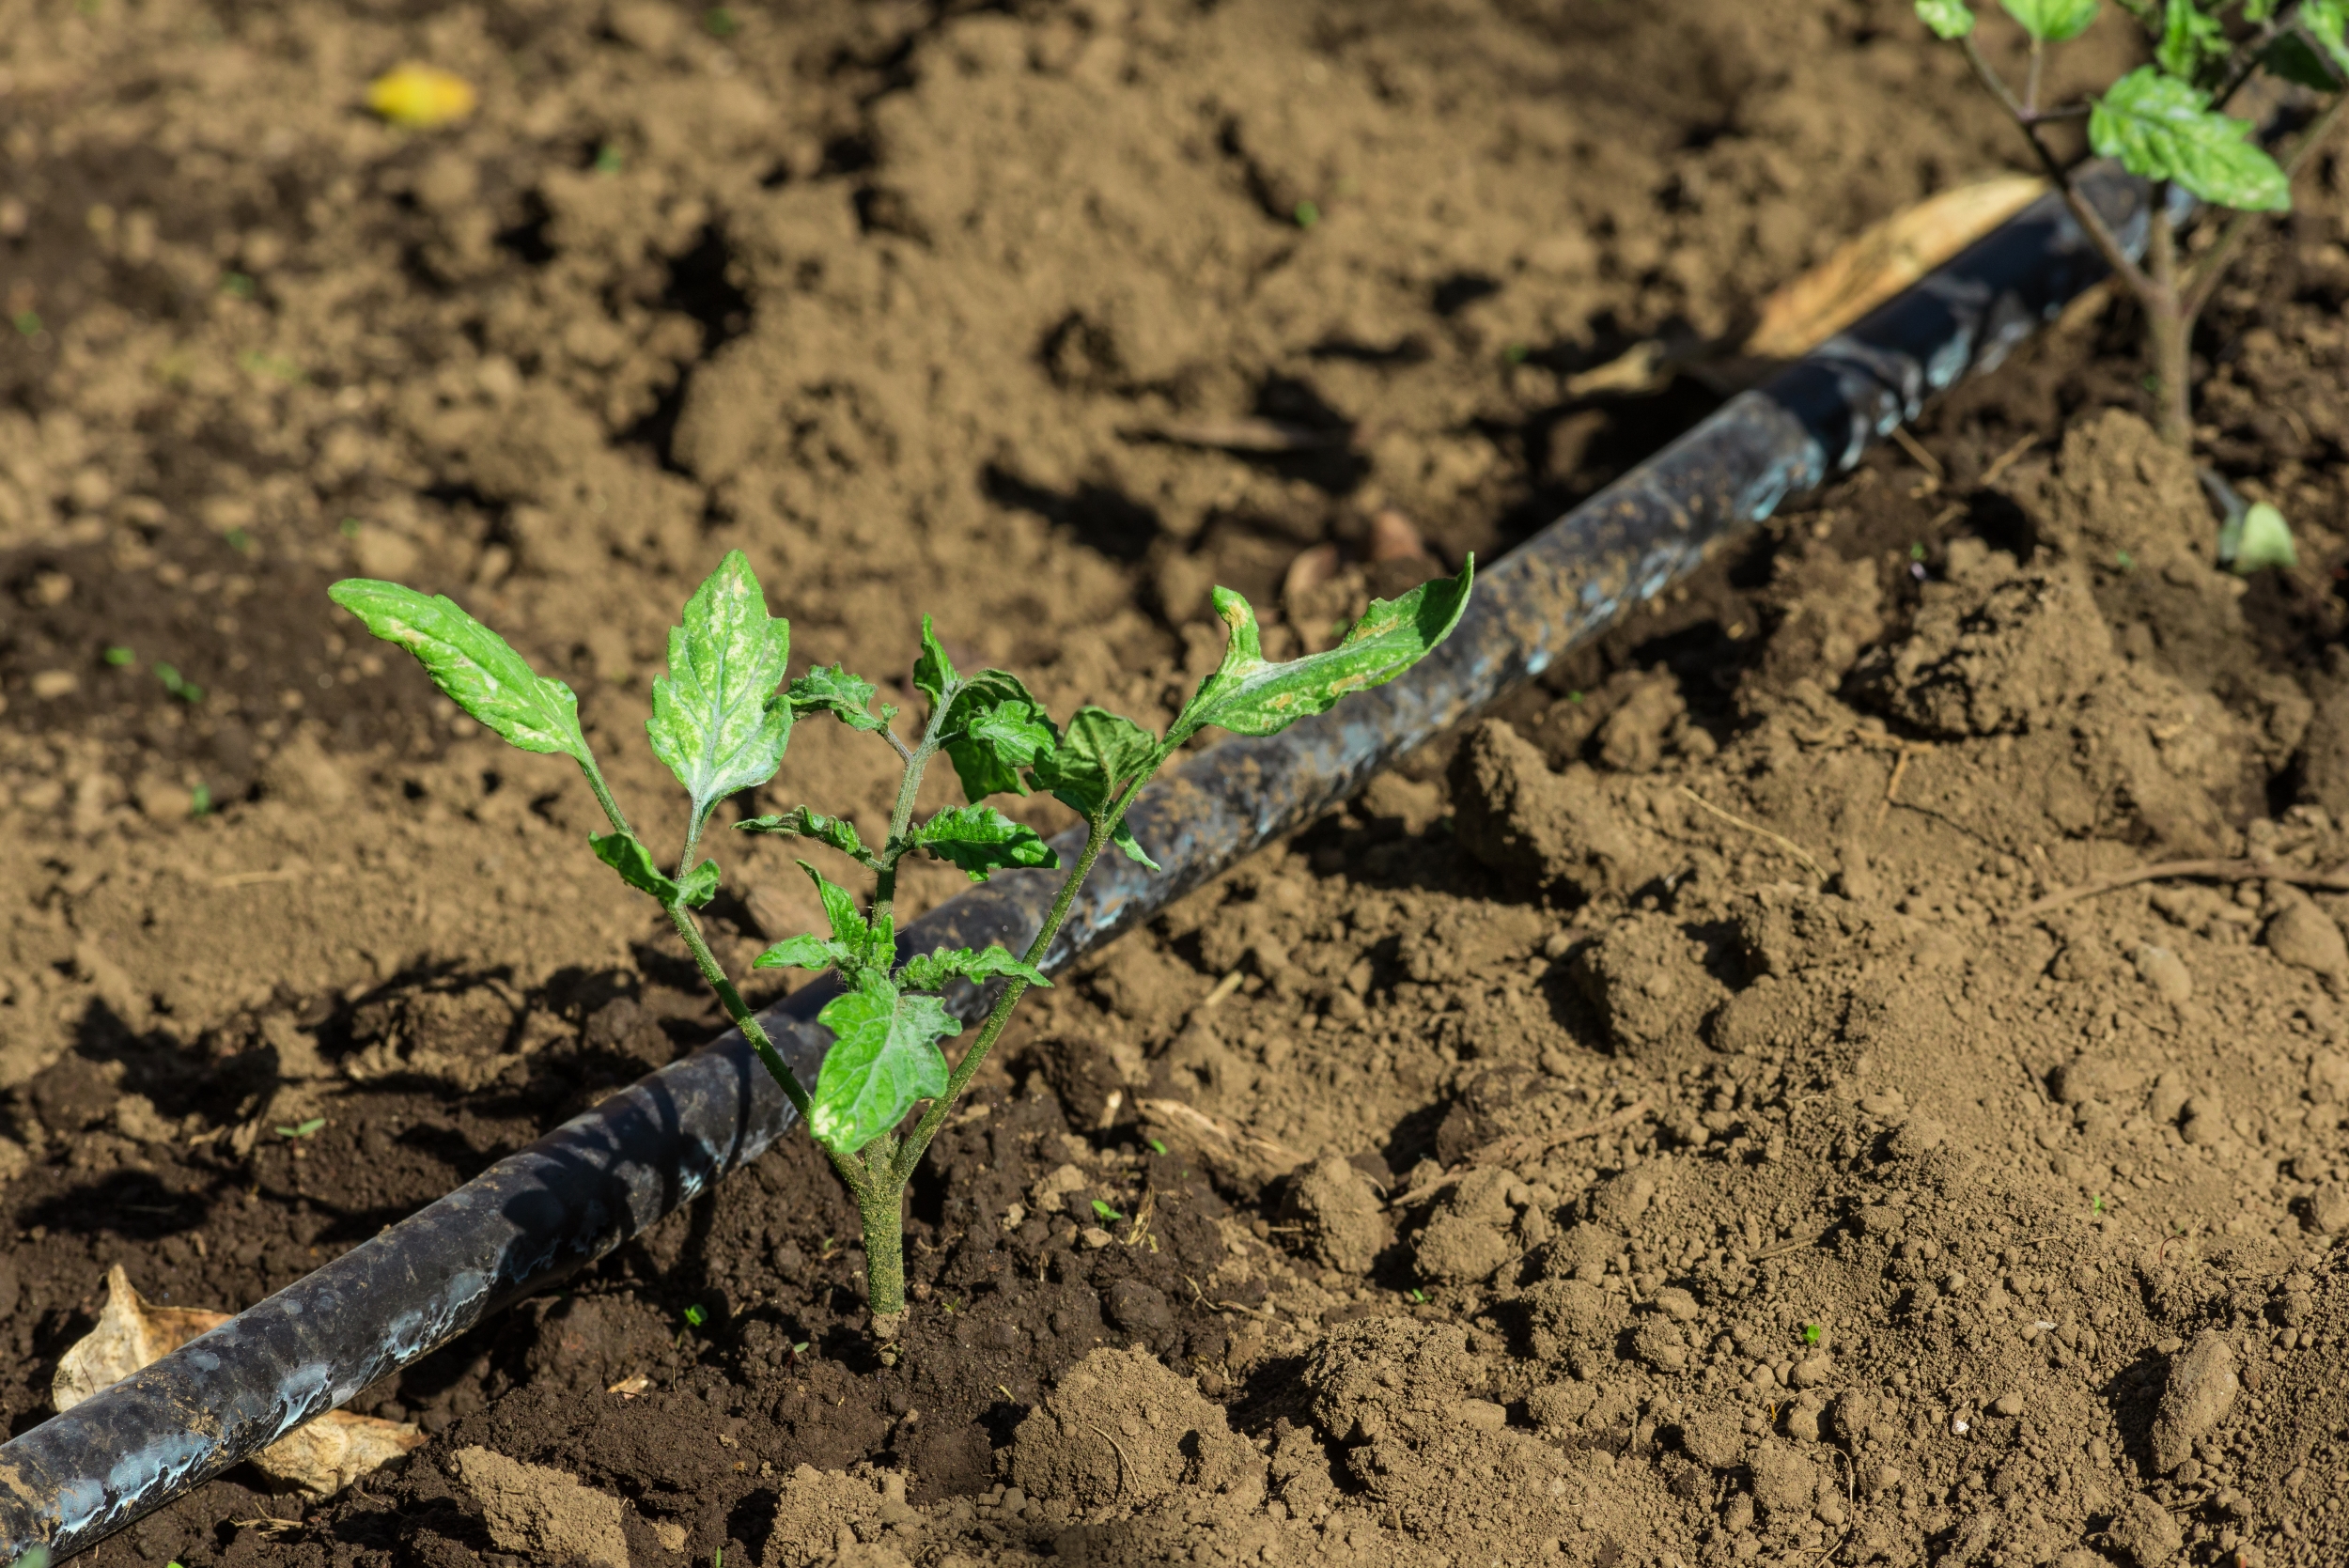
Photo by zoomonpictures.it on Shutterstock
- Polyethylene drip tubes: Installing these drip tubes requires a larger upfront cost and more time than a soaker hose install. However, if you have a large garden or sprawling garden beds, polyethylene drip tubes help keep water costs down while maximizing efficiency.
Bottom Line: More expensive, efficient, additional materials needed
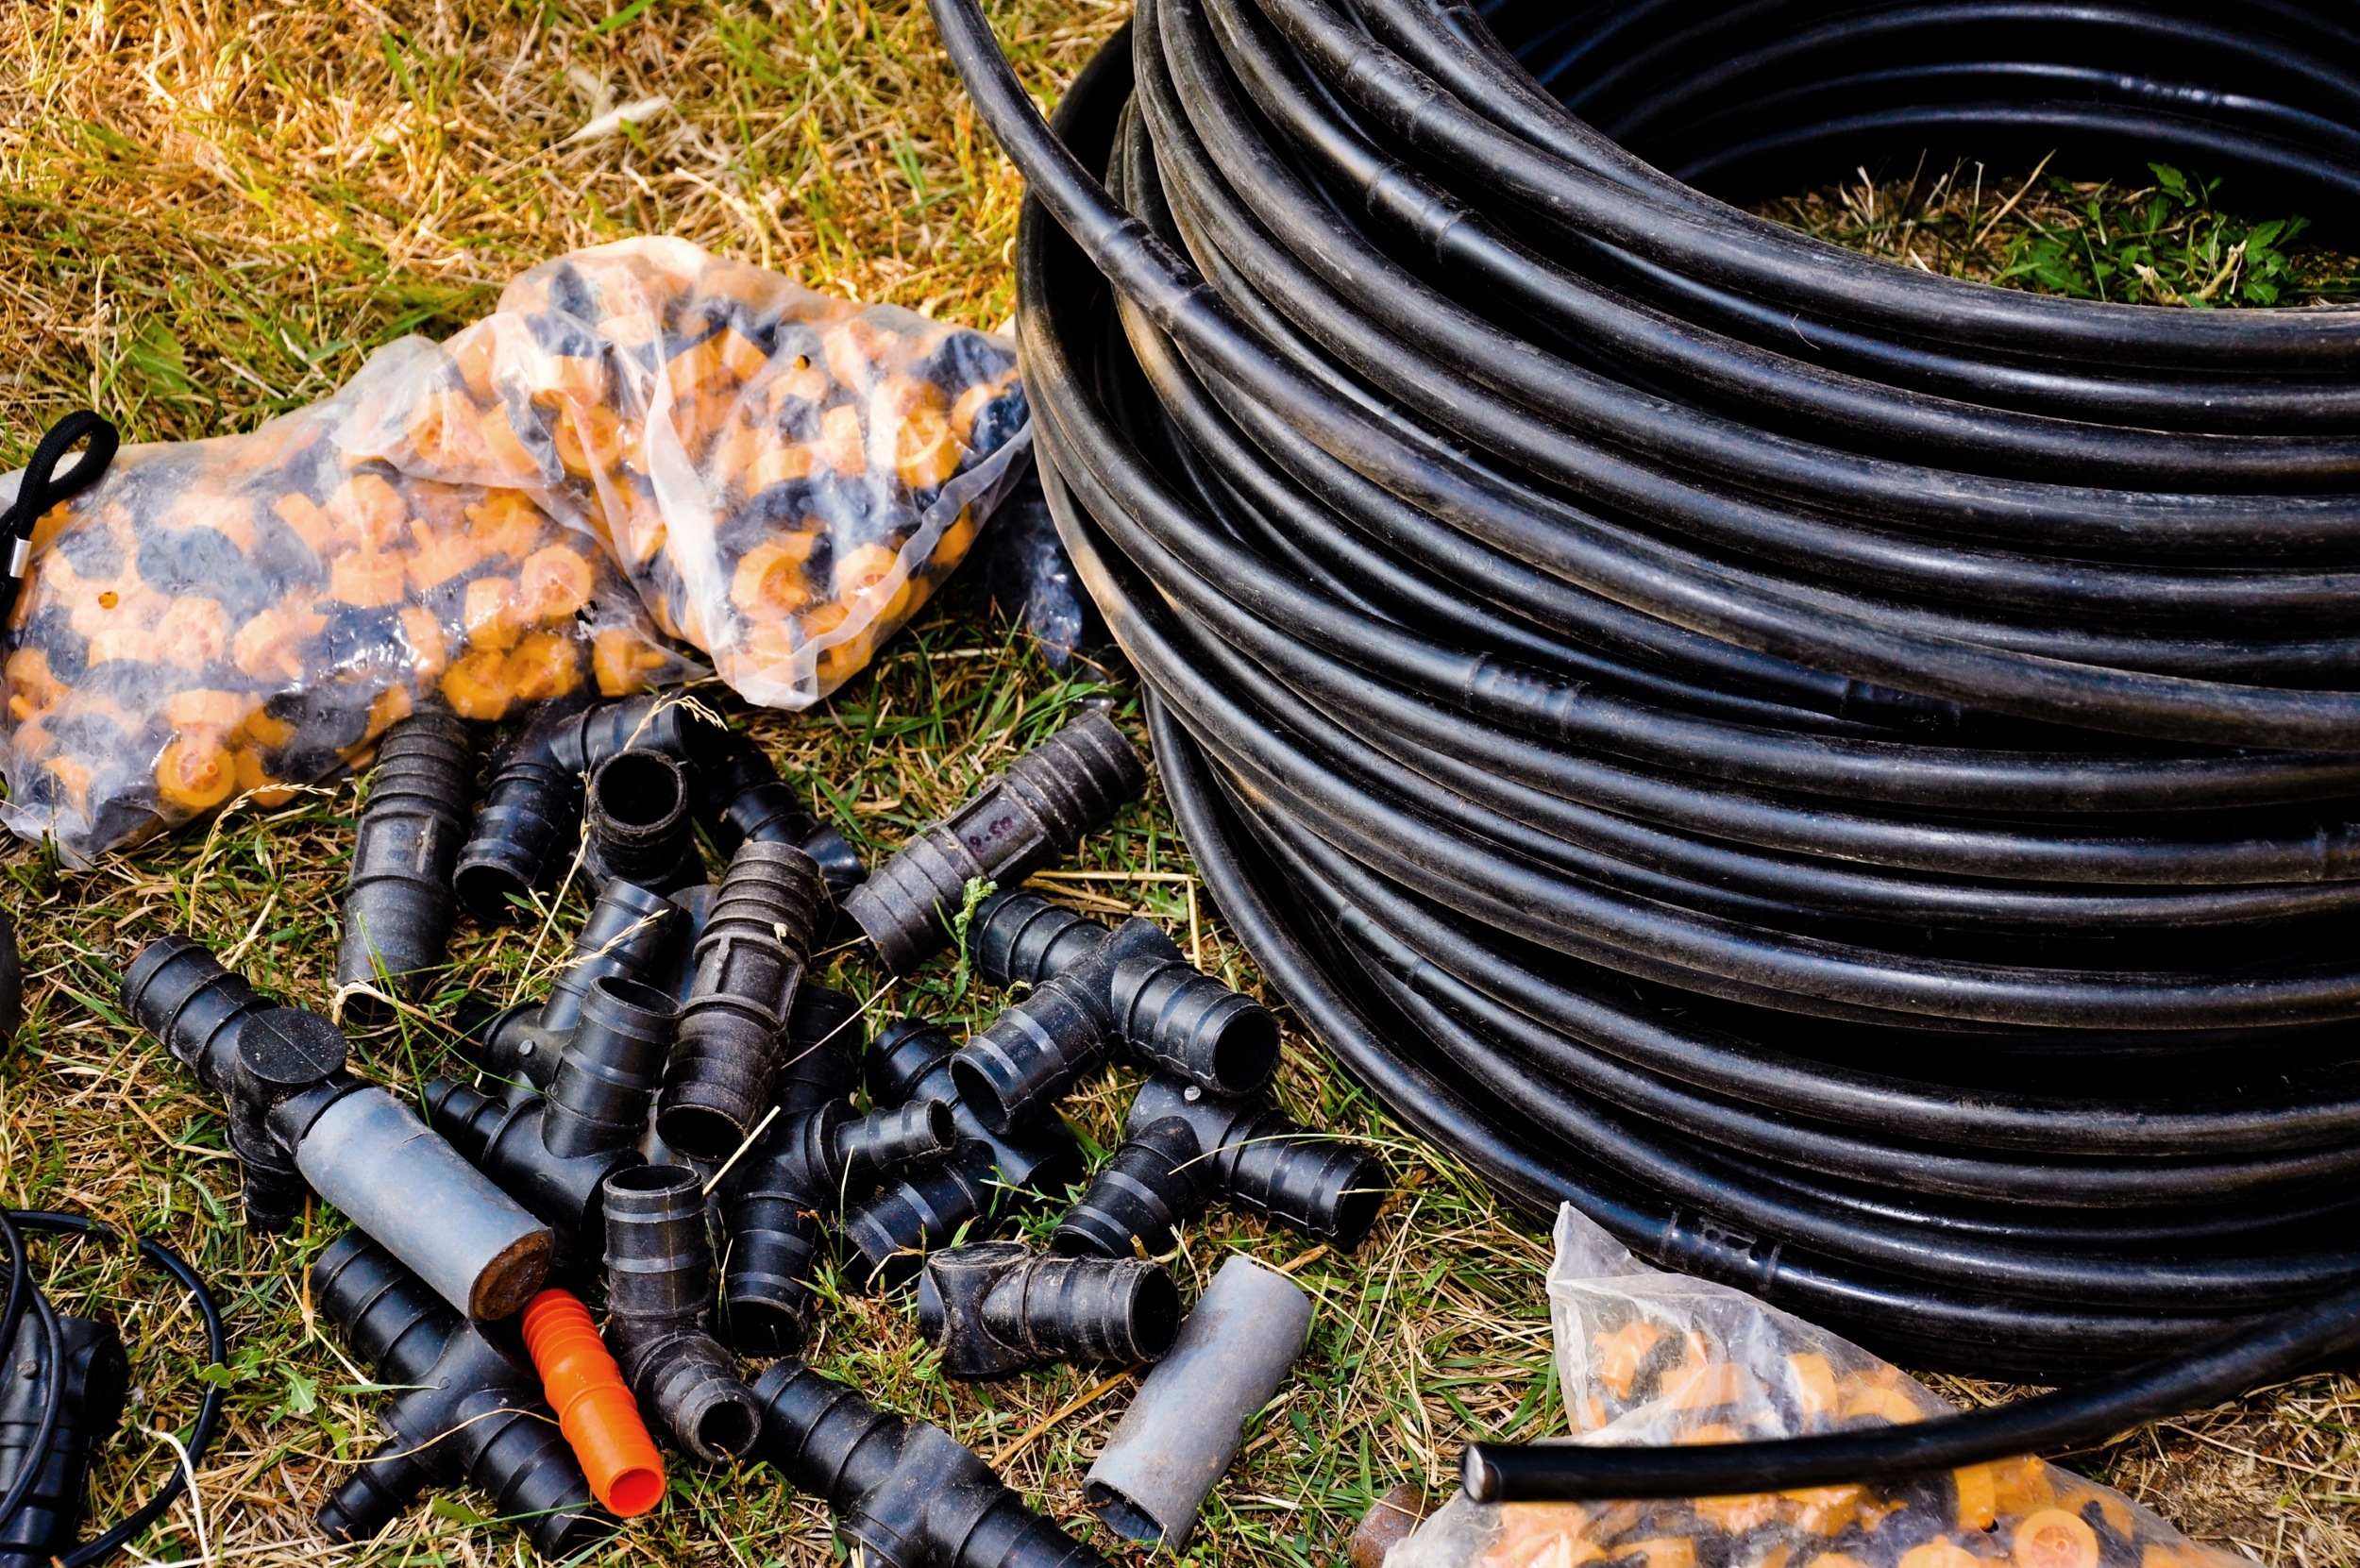
Photo by bunbomi on Shutterstock
Adding Drip Irrigation via Soaker Tubing
After weighing the pros and cons of each option, I chose to install soaker tubing to help irrigate my backyard plants. The entire project took just 90 minutes to complete and cost less than $100.
Materials Needed
- Soaker tubing (50 feet for $8)
- Tubing tees ($1 each)
- A water source
- Automatic timer ($30-$50 depending on the model and capabilities)
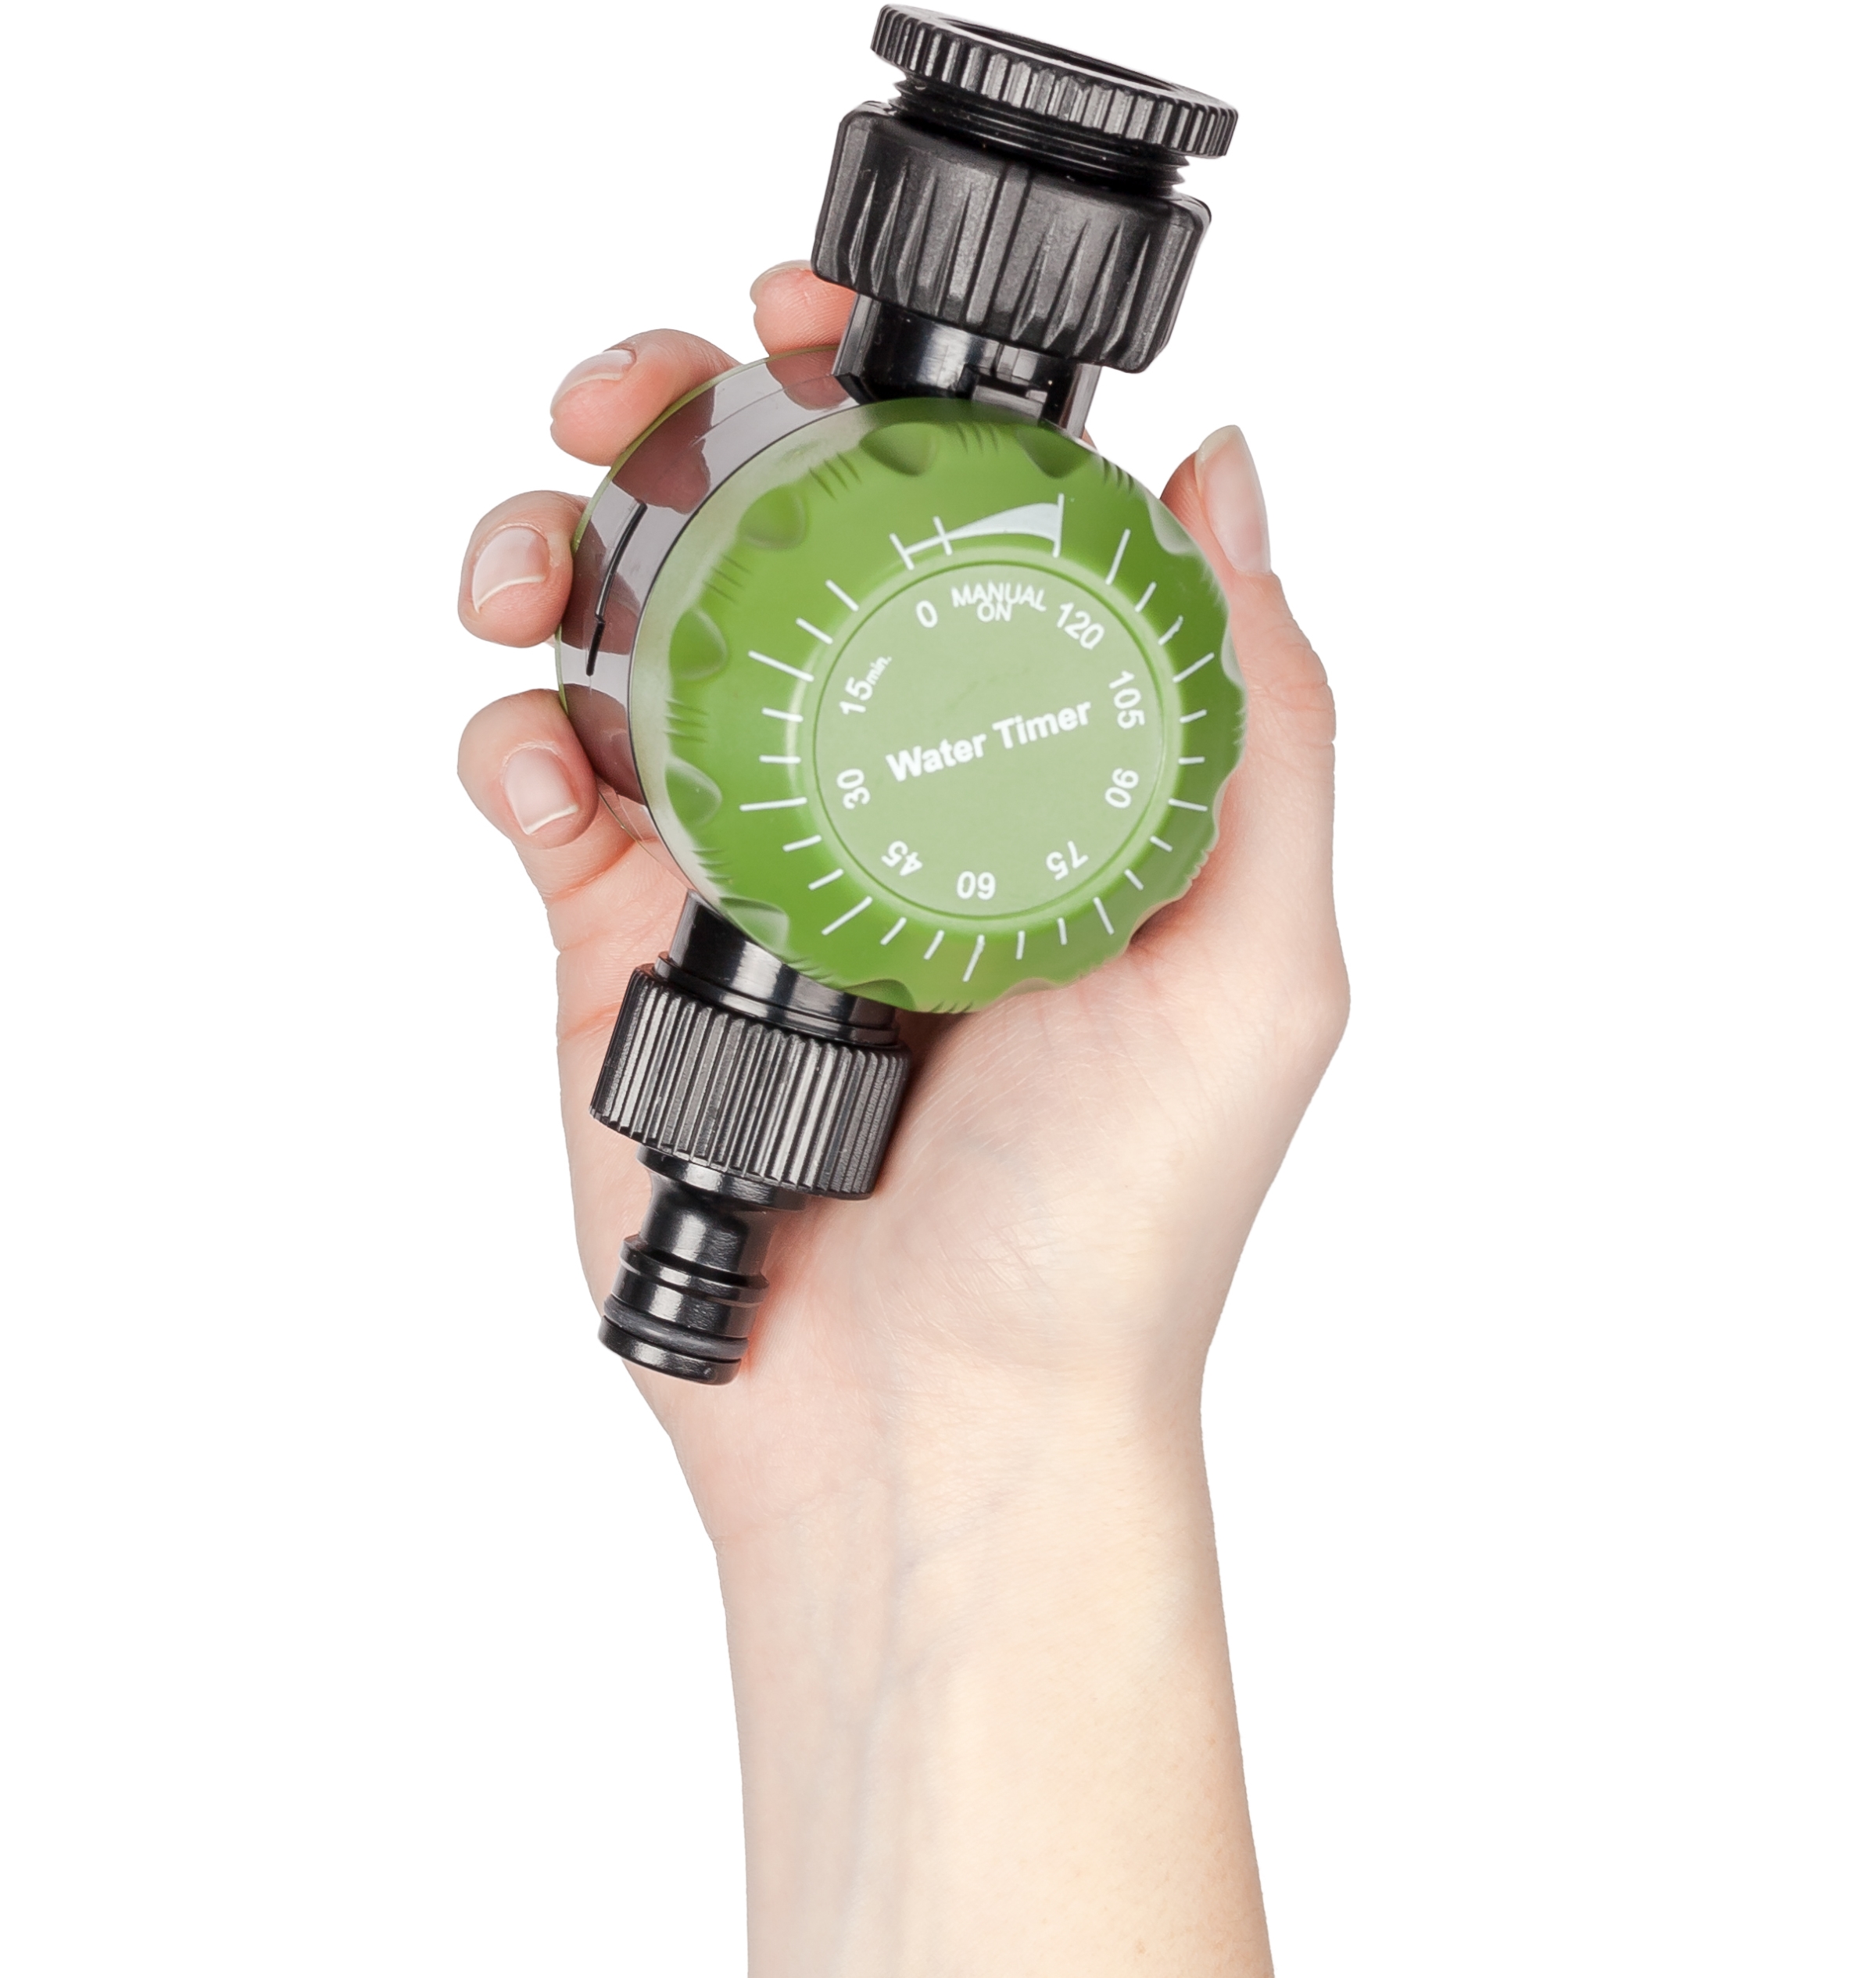
Photo by 123object on Shutterstock
- Hose splitter ($10+)
- Multiple garden hoses, depending on the size of your project ($7+)
- Landscape pins ($9 for 48 pins)
- Mulch of your choosing ($3+ per bag)
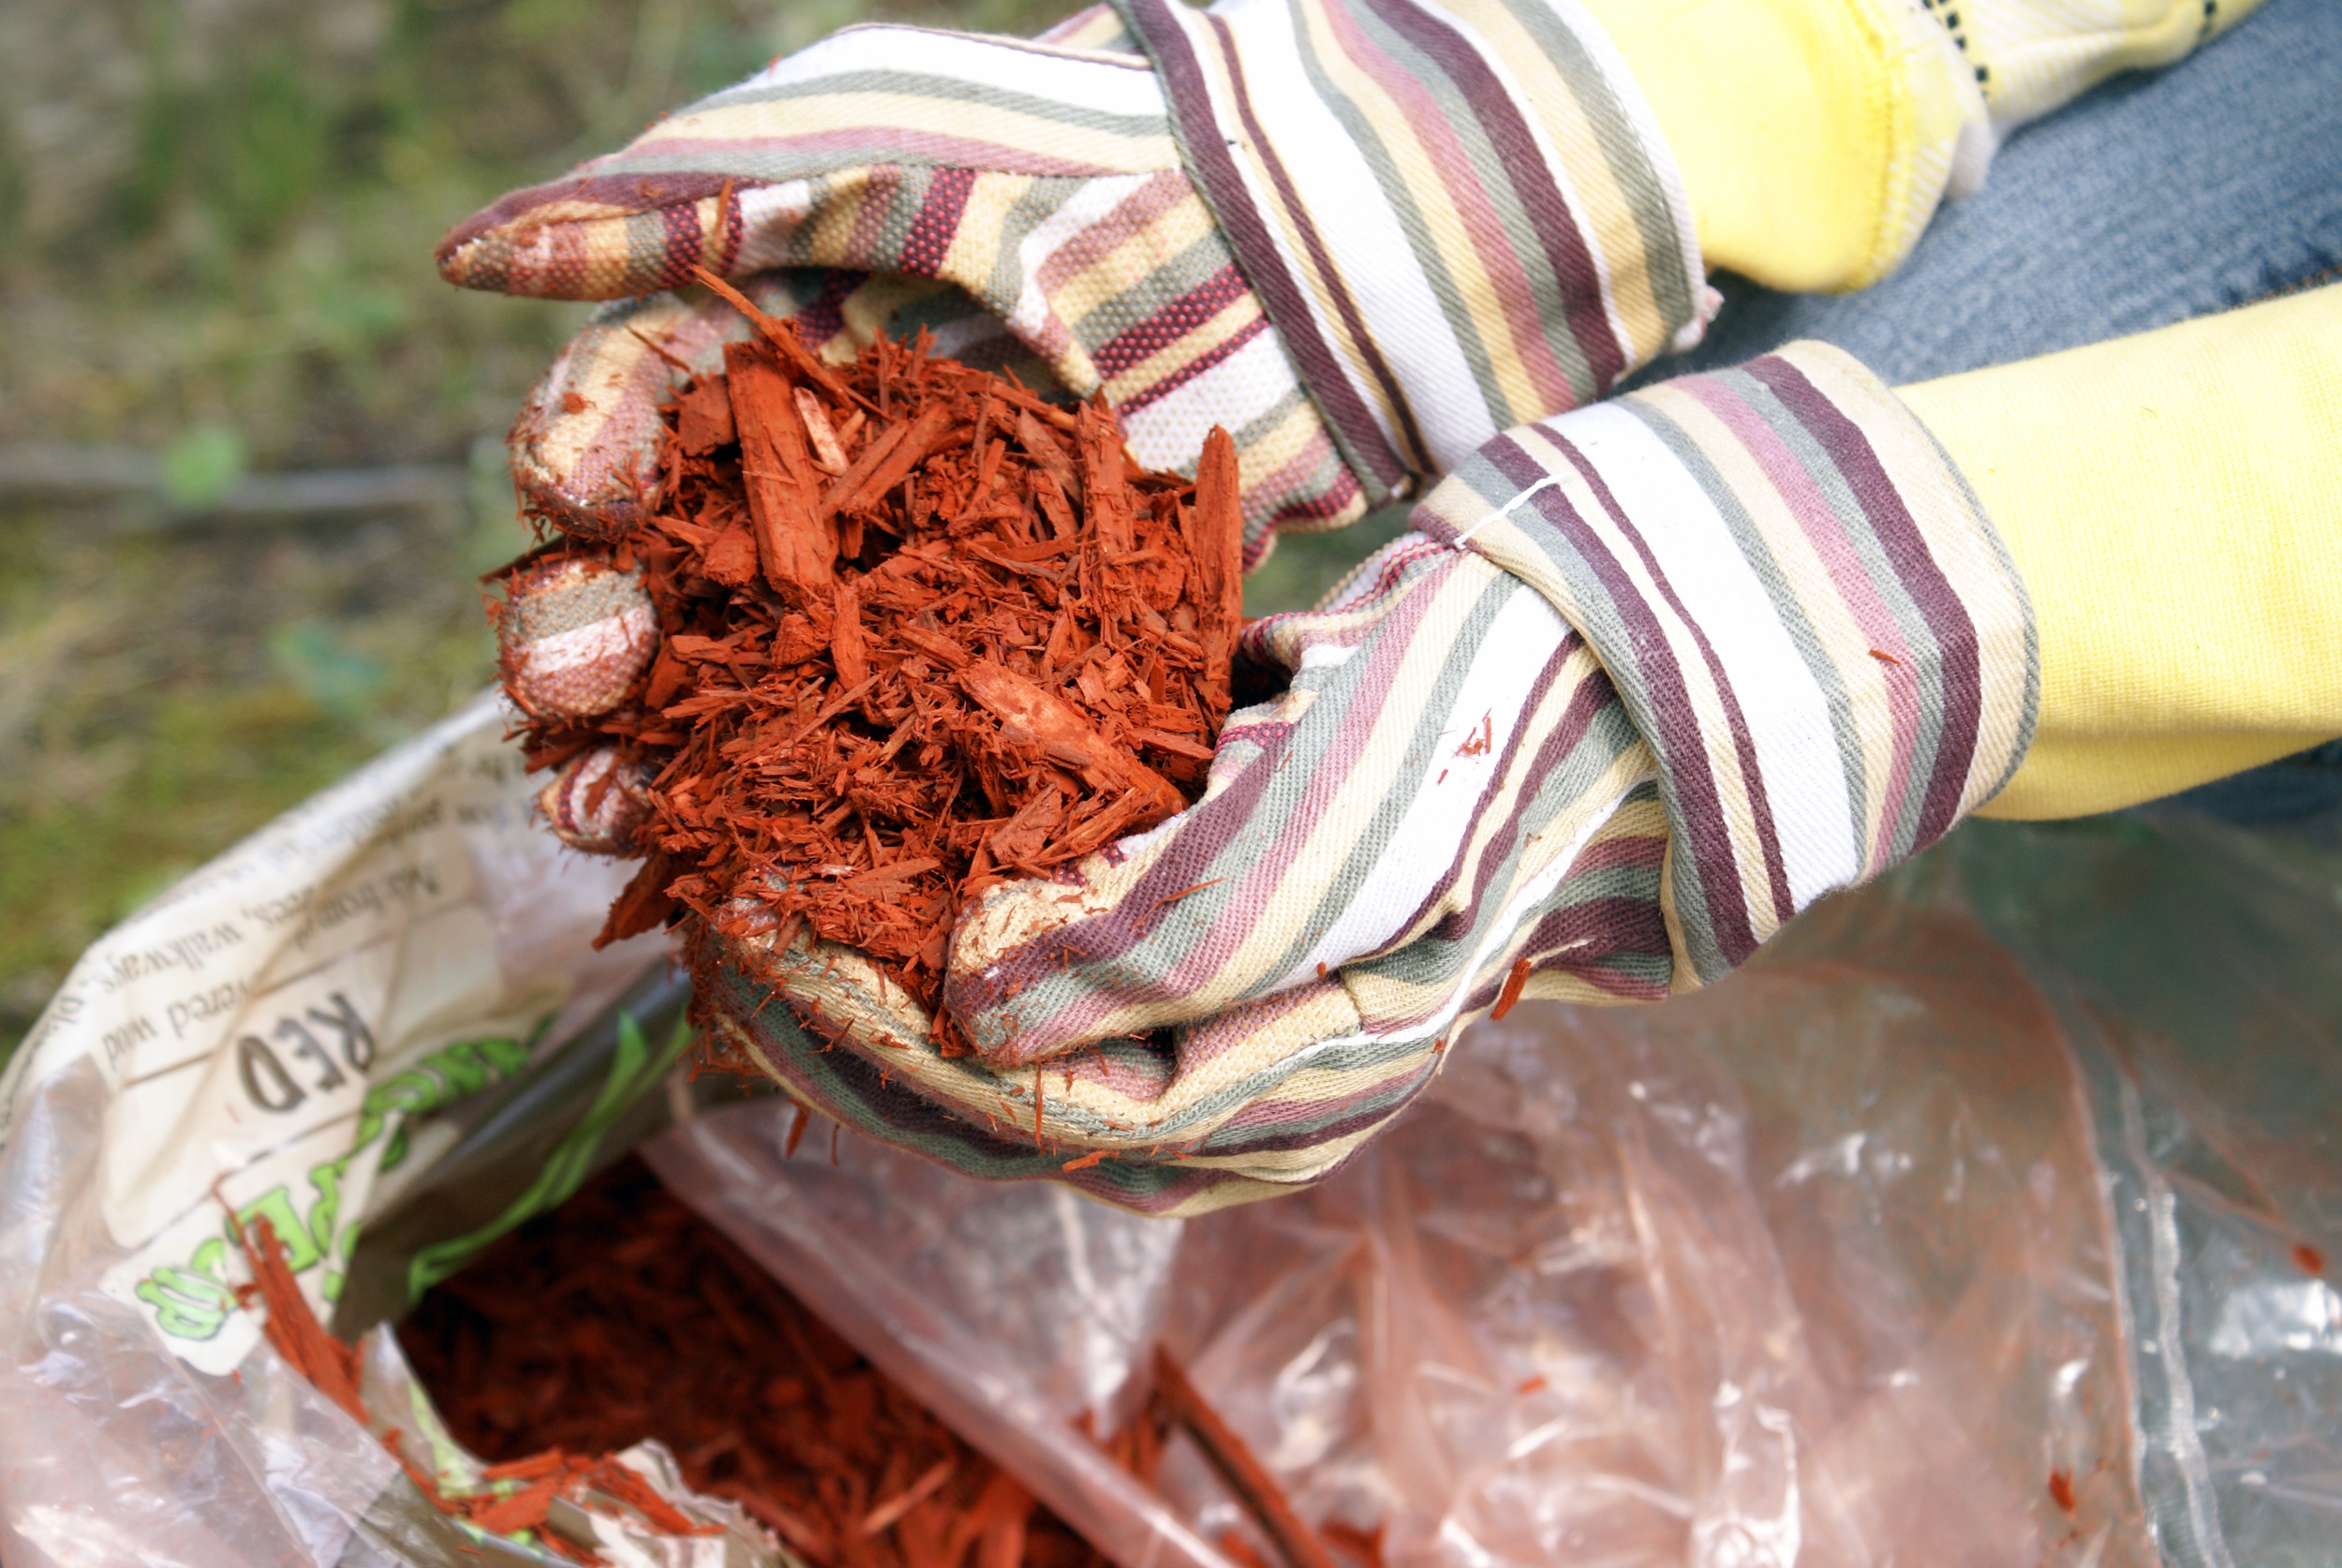
Photo by Matthew Benoit on Adobe Stock
Installation: Step-by-Step
- Begin by snaking the soaker tubing throughout your landscape/garden beds, ensuring that it lies near the base of every plant. If you need to add more soaker tubing, cut pieces to size and use a tubing tee or other fitting to attach them to one another.
- Secure the tubing down in your beds with metal landscape pins
- Attach your soaker tubes to a hose splitter. In my case, I used a four-way splitter so I could add additional soaker tubing to other areas of my garden later in the season.
- To avoid water run-off where it’s not needed, consider using small sections of cheap garden hose. As you can see, I installed soaker tubing in two garden beds with one water source. I connected both systems together with a 12-foot garden hose. Now, water won’t drip between the beds.
- Run a garden hose from your water source to your hose splitter and attach.
- To automate your waterings, consider purchasing an automatic timer. Even as a novice backyard gardener, I quickly learned that I couldn’t live without one. Secure the automatic timer directly to your hose bib and then attach the main garden hose to this source.
- Set the timer to run for a particular amount of time at certain intervals. Many automatic timers give you the option of 2, 4, 6, 8, and 12 hour intervals. For my two garden beds, I run the water for 10 minutes every 12 hours.
Pro-tip: If you have the moolah to spend, look into Bluetooth and WiFi-enabled timers. That way, if it rains and you’re out of town, you can shut off your water for the time being.
- Cover the exposed soaker tubing with mulch.
Final Thoughts
Sometimes, you forget to water your plants. Other times, life just gets in the way and the next thing you know, your tomato plants look sad and droopy. Inadequate water can kill your plants in no time flat, which is why backyard irrigation is so important.
For around $100, you can guarantee a stress-free, well-watered backyard. In a gardener’s eyes, there’s nothing better!
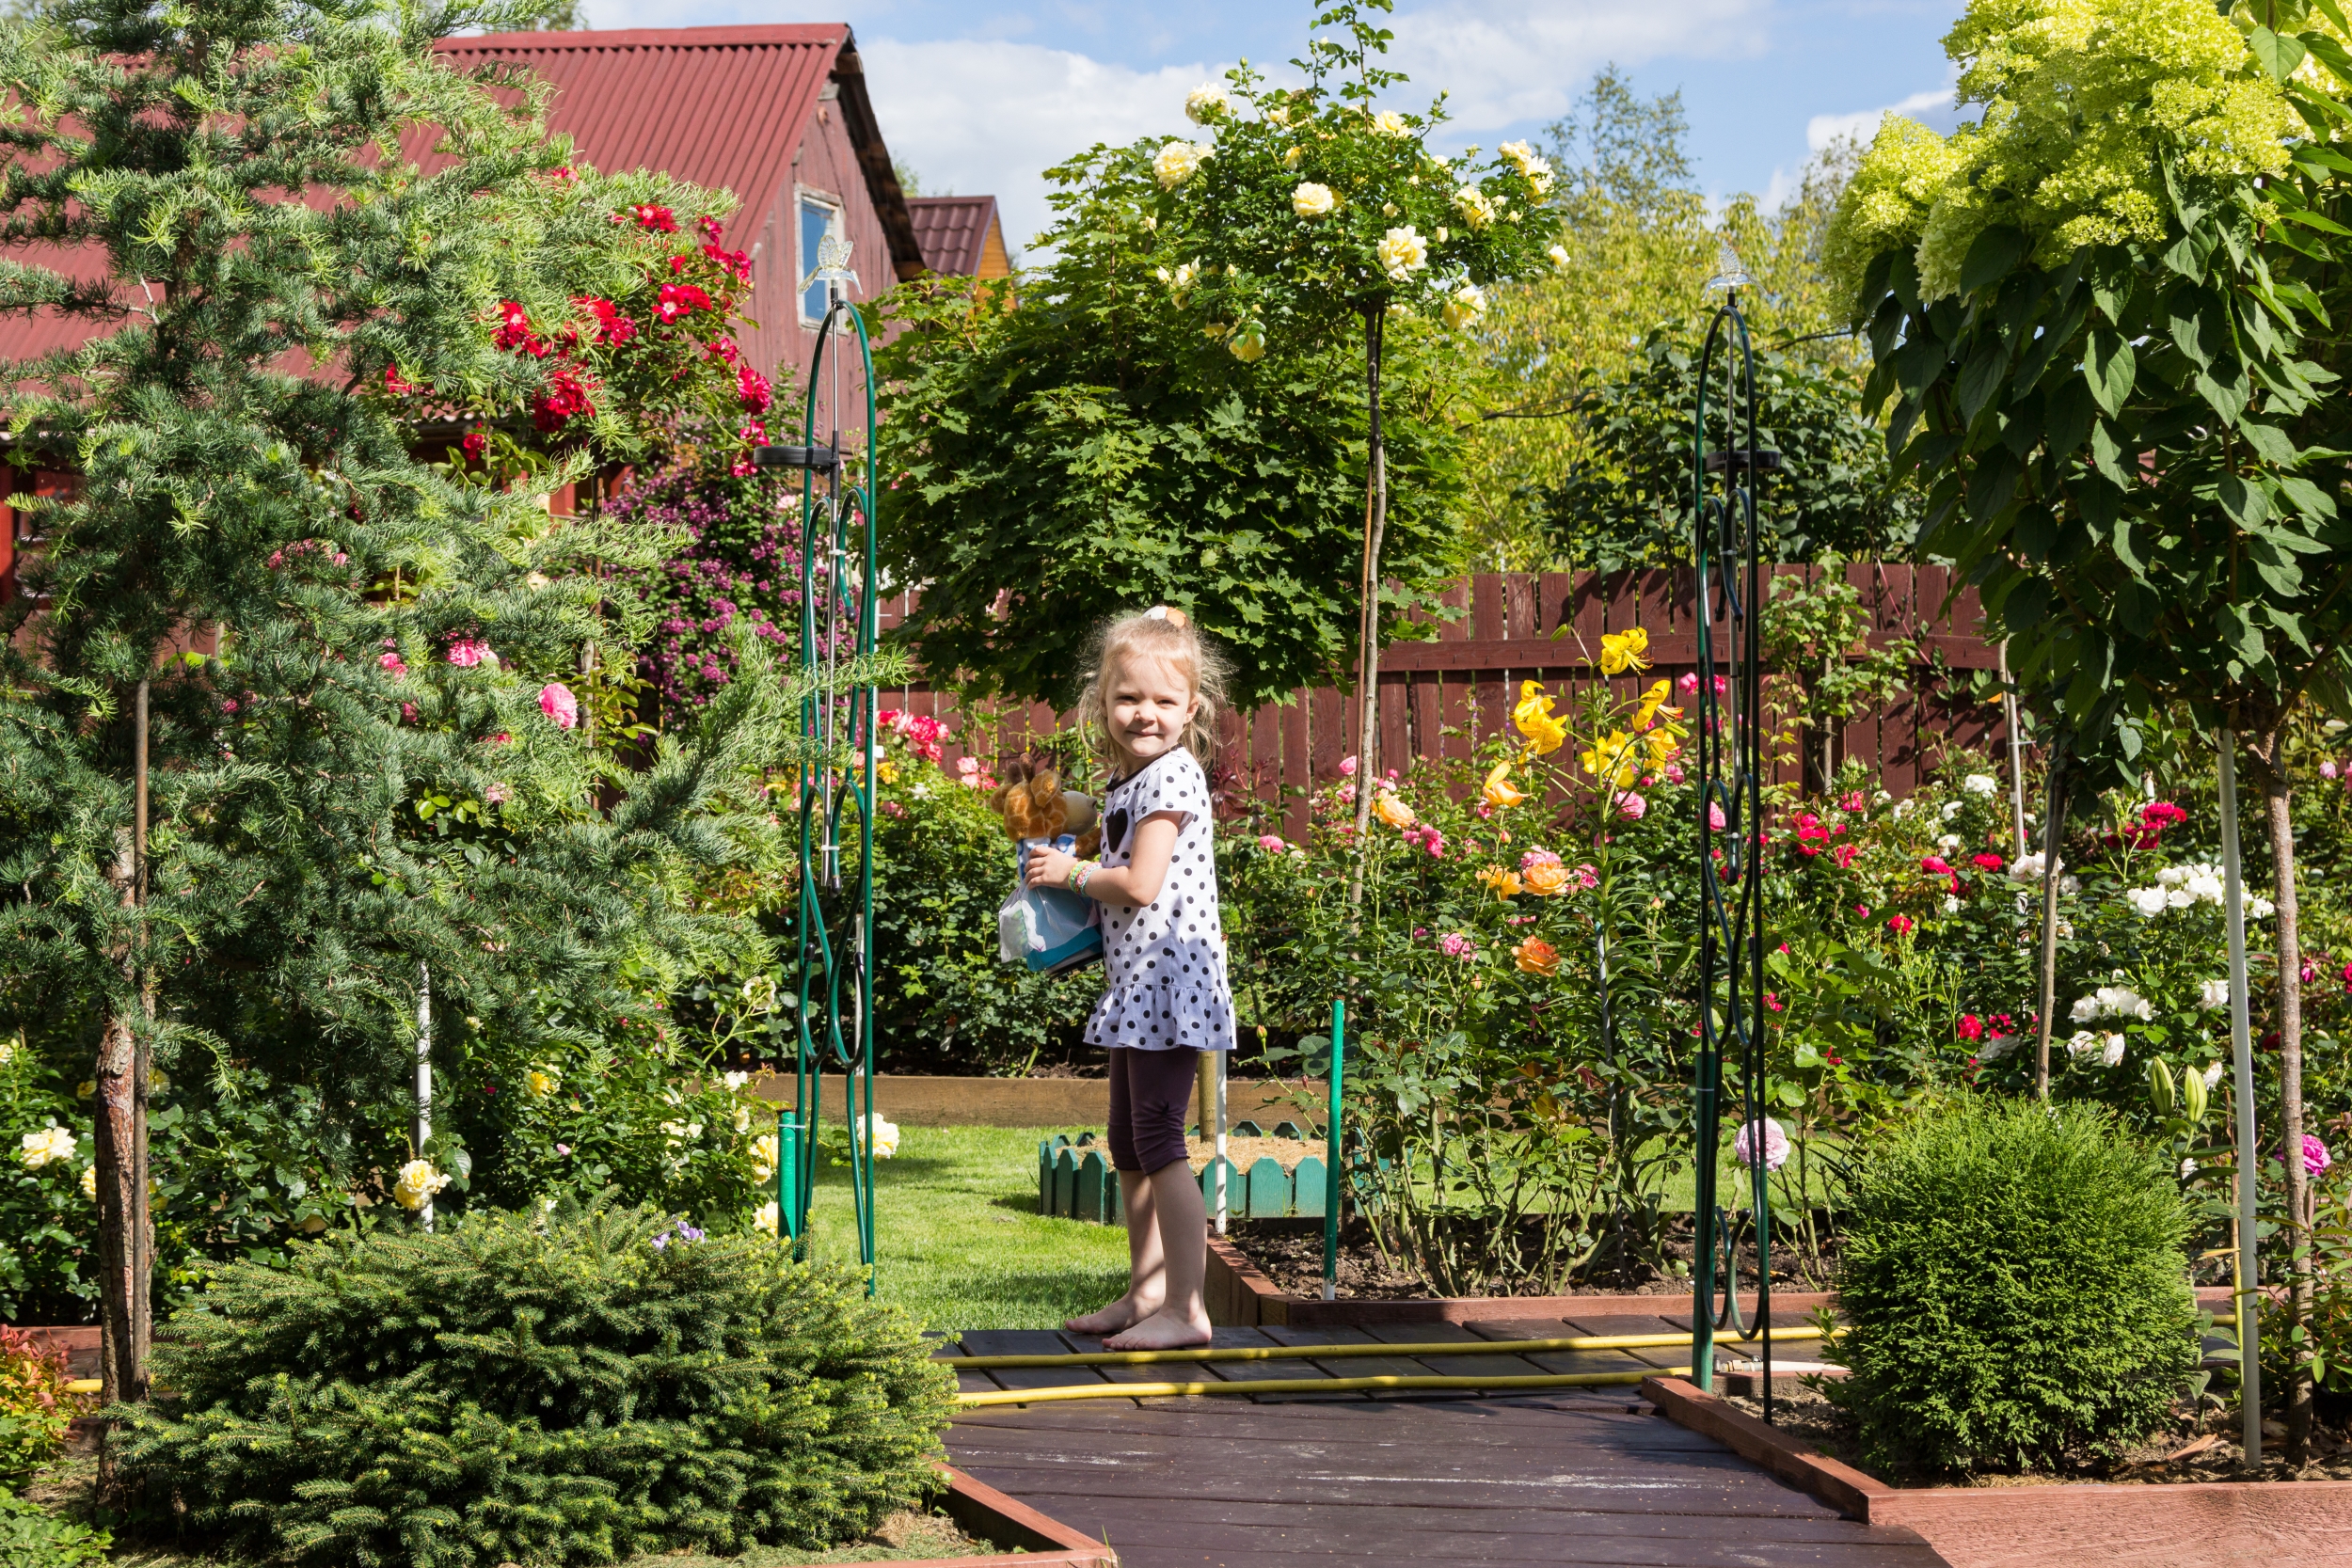
Photo by itry Trubitsyn on Dreamstime


