


How to waterproof a shower isn’t something many of us consider when we begin a bathroom remodel or renovation. You may even be thinking, “Isn’t traditional shower tile already waterproof?”
The answer isn’t so cut-and-dry. In fact, because bathrooms are a naturally steamy, humid room, it’s especially easy for moisture to get trapped in between and even underneath your bathroom tile. This is a surefire way to guarantee mold and mildew issues down the road.
However, there’s a great solution if you haven’t already installed your shower tile: Custom Building Products’ waterproofing membrane, Redgard.
What is Redgard?
Manufactured by Custom Building Products and sold in home improvement stores around the country and online, Redgard is a waterproofing membrane used both indoors or outdoors. It’s the perfect moisture barrier for everything from showers and basements to outdoor pools and water features.
To effectively waterproof a shower, use 1 gallon to cover 50-55 square feet. If you’re interested in the ANSI A118.12 tile crack minimum standard, Custom Building Products recommends using 1 gallon for every 25 square feet of space.
Step by Step: How to Waterproof a Shower with Redgard
Where to Apply: Remember, you only install Regard before tiling a bathroom shower. Therefore, the material you place the Redgard putty on is important. Ideally, it’s best to apply Redgard directly onto concrete or cement backing. However, due to the potential for inadequate seals, don’t use this product over top of plastic and avoid those plastic barriers commonly used when installing tile showers.
Gather Your Materials
If you want to waterproof shower walls, it's simple. To complete this project, gather the following: 1 or more gallons of Redgard, your preferred application tool (brush, roller, 1900-2300 psi paint sprayer, or trowel), and personal protection gear such as a mask, nitrile gloves, and eye protection. The Redgard shower kit actually includes the items and more.

Photo by Dmytro Zinkevych on Dreamstime
Get Started
1. Begin by preparing the surface. Make sure it’s dry and clean of all dust and dirt by wiping with a dry cloth.
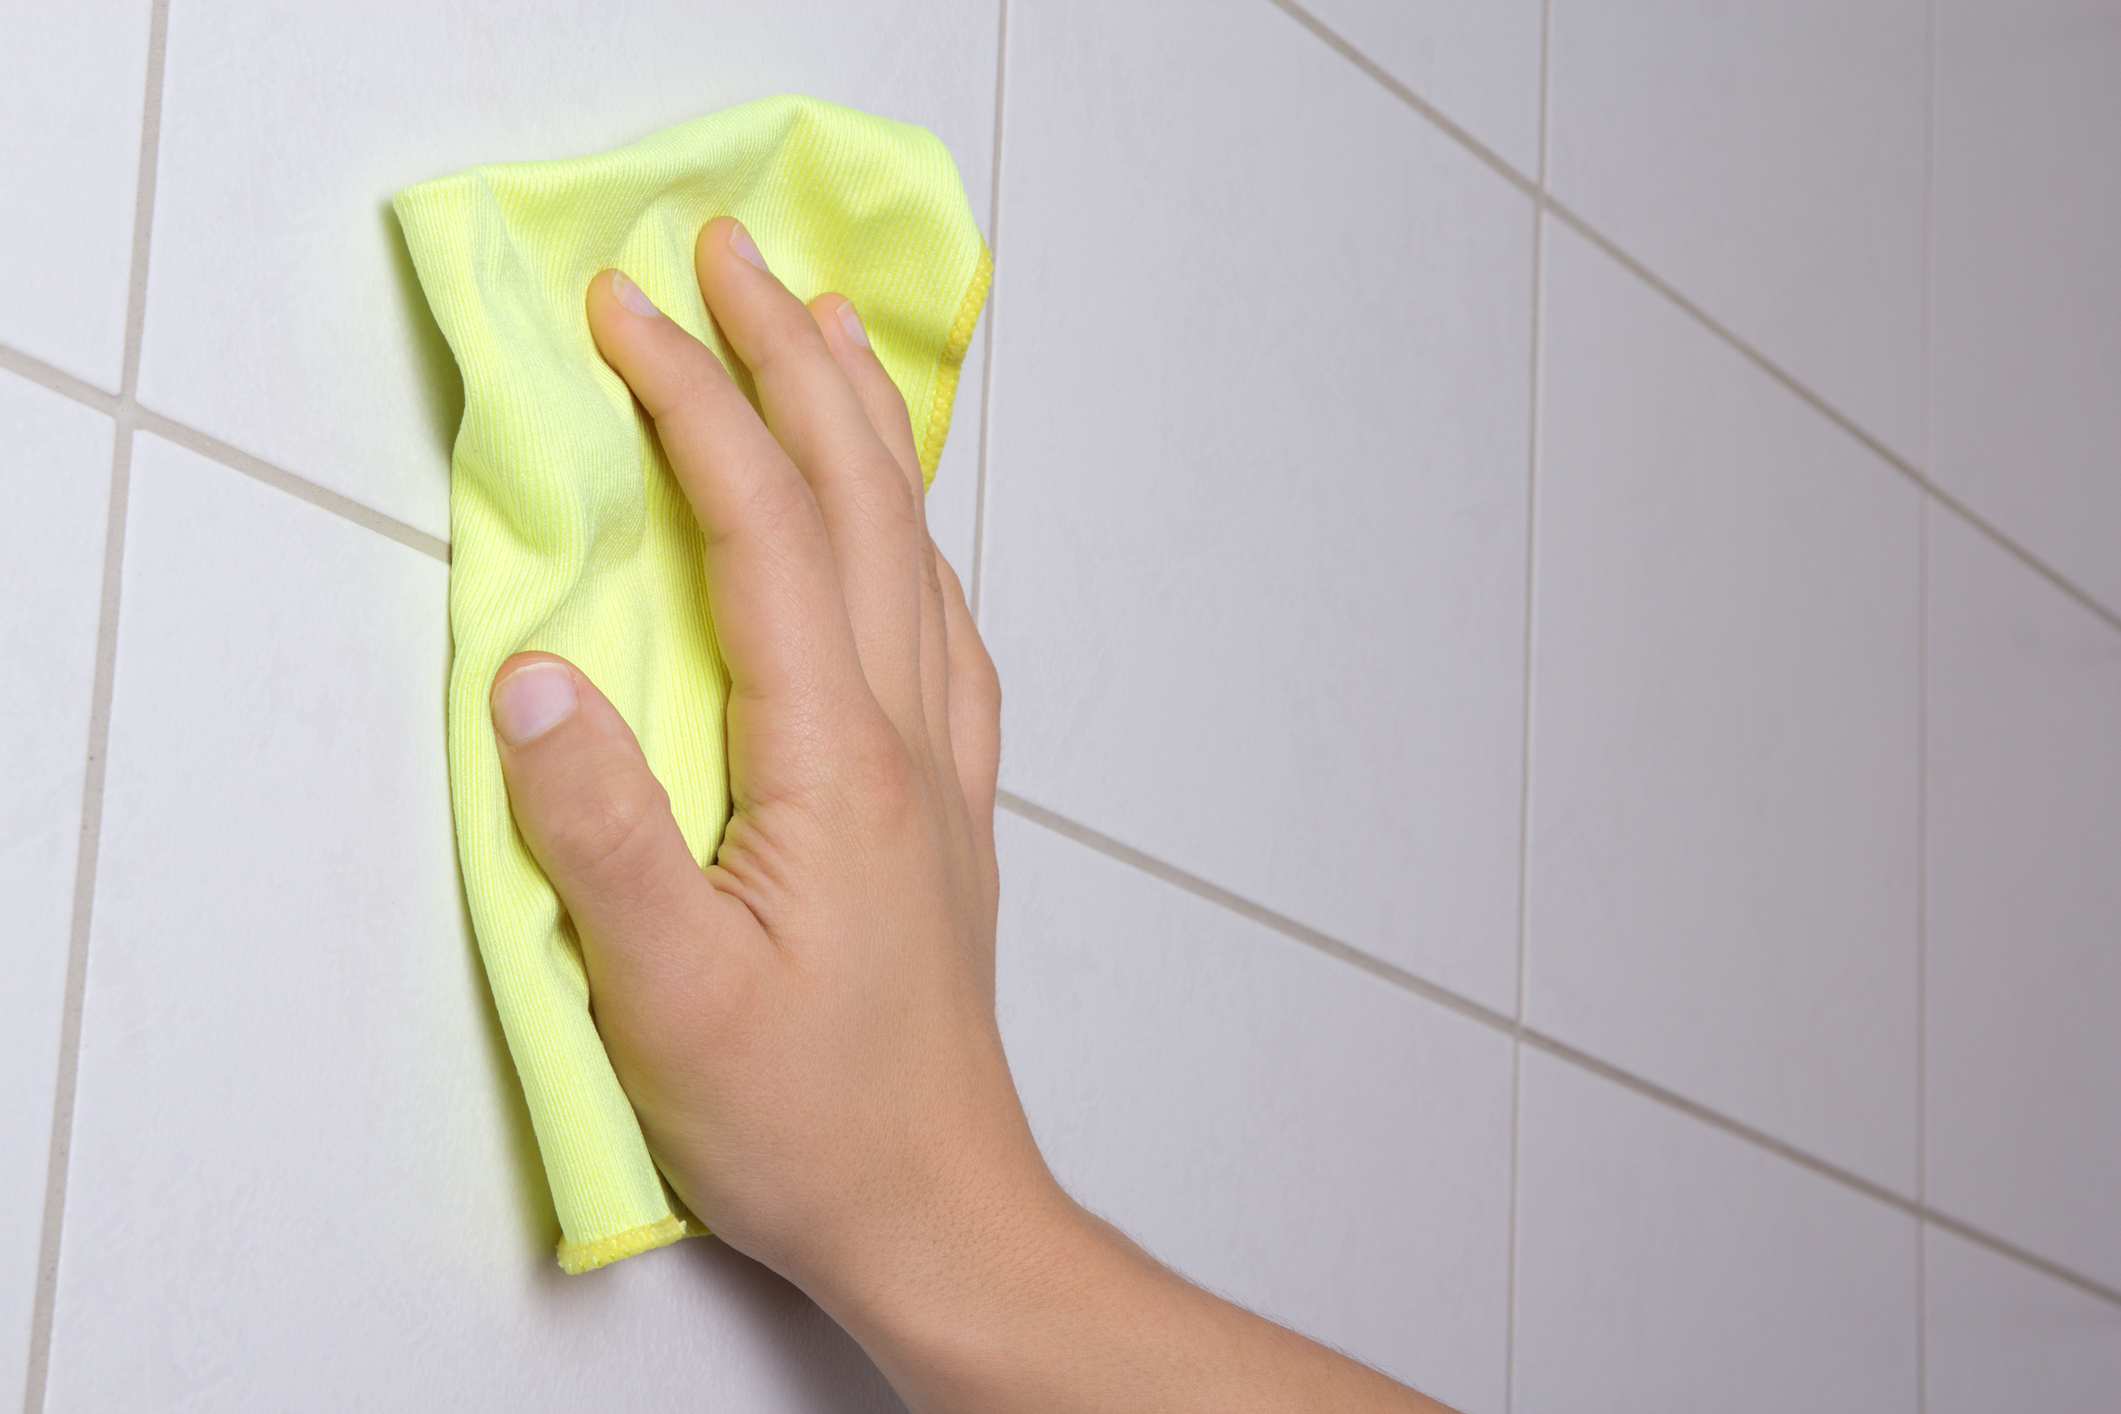
Photo by Diana Eller on Dreamstime
2. If you notice any holes or inconsistencies on the shower wall or floor, use a paintbrush to fill these areas in with Redgard. In optional conditions, the Redgard show waterproofing system dries in 1-2 hours. However, if you live in a particularly cold or warm environment with high humidity levels, expect drying to take upwards of 12 or more hours.
3. Next, using a paint brush, trowel, sprayer (1900-2300 psi), or roller, apply the first full coat of Redgard using horizontal strokes.
4. Allow the first coat to dry. Once the hue turns from bright pink to a deep red, you'll know it’s completely dried.
5. Then, apply a second coat vertically and allow this to dry fully.
6. Adding a third coat is optional, although it may not be necessary. To do this, wait for the second coat to dry and apply another using horizontal strokes. Keep in mind that you should not exceed a Redgard thickness of 125 mils.
7. Once the product has completely dried, you can now begin securing your shower tile using a high-quality mortar.
When it comes to waterproofing a shower, Redgard is a great option. In terms of DIY weekend projects, it’s affordable at around $50 per gallon, widely available, and is relatively easy to install. For cheap DIY home improvements, using Redgard before installing tile in your shower is a no-brainer.


