


I recently ran across a set of dining chairs at my local Habitat for Humanity that I just had to buy. They were old with chipped black paint and worn fabric seats. Although I knew they wouldn’t match anything in our house, they were solid wood (thus, remarkably sturdy) and quite affordable.
So I took my chances and with a little elbow grease and a whole lot of patience, my ugly old chairs became the focal point of my bright kitchen.
Repurposing furniture is time-consuming, but well worth the time and effort. Do you have a set of old dining chairs you’d like to freshen up? Follow these tips!
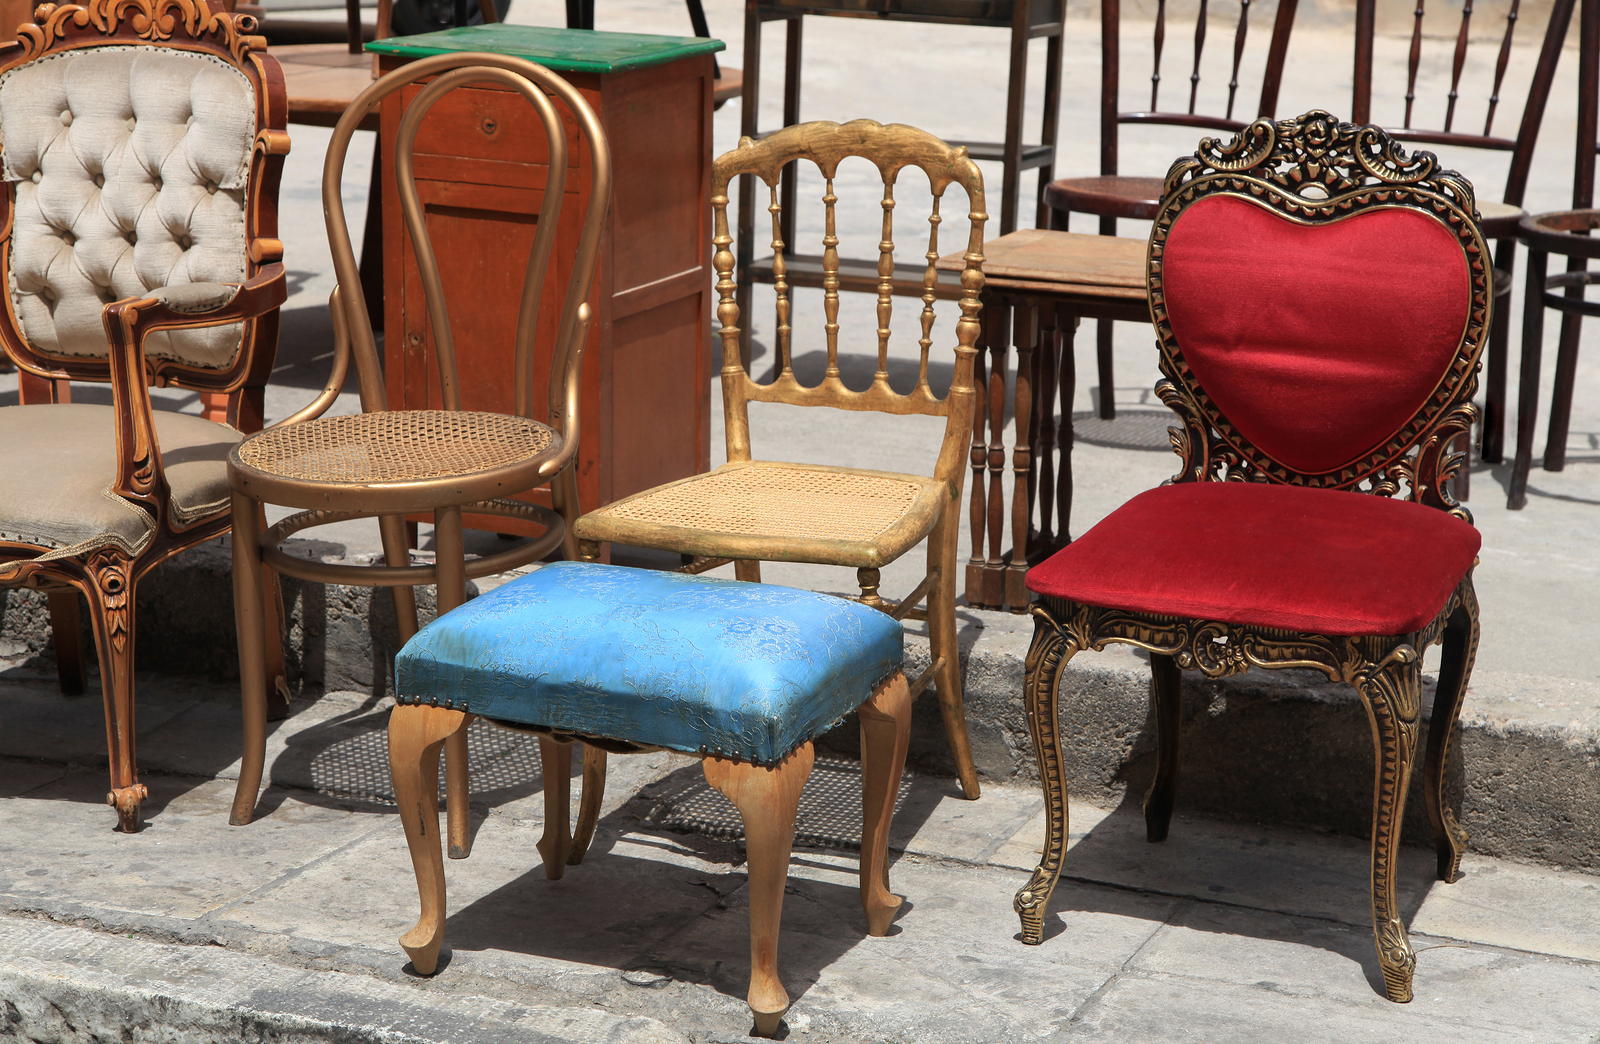
Photo by Janette Dietl on Shutterstock


Disassemble the Seat
It’s impossible to freshen up your dining chairs, especially if it has a cushioned seat, while it’s still assembled. Rest assured, you’ll be surprised at how easy it is to take apart! Plus, it’ll make your job a little easier.
Simply flip over your chair, prop it up against something sturdy such as a wall or workbench, and unscrew the seat from the chair’s frame.
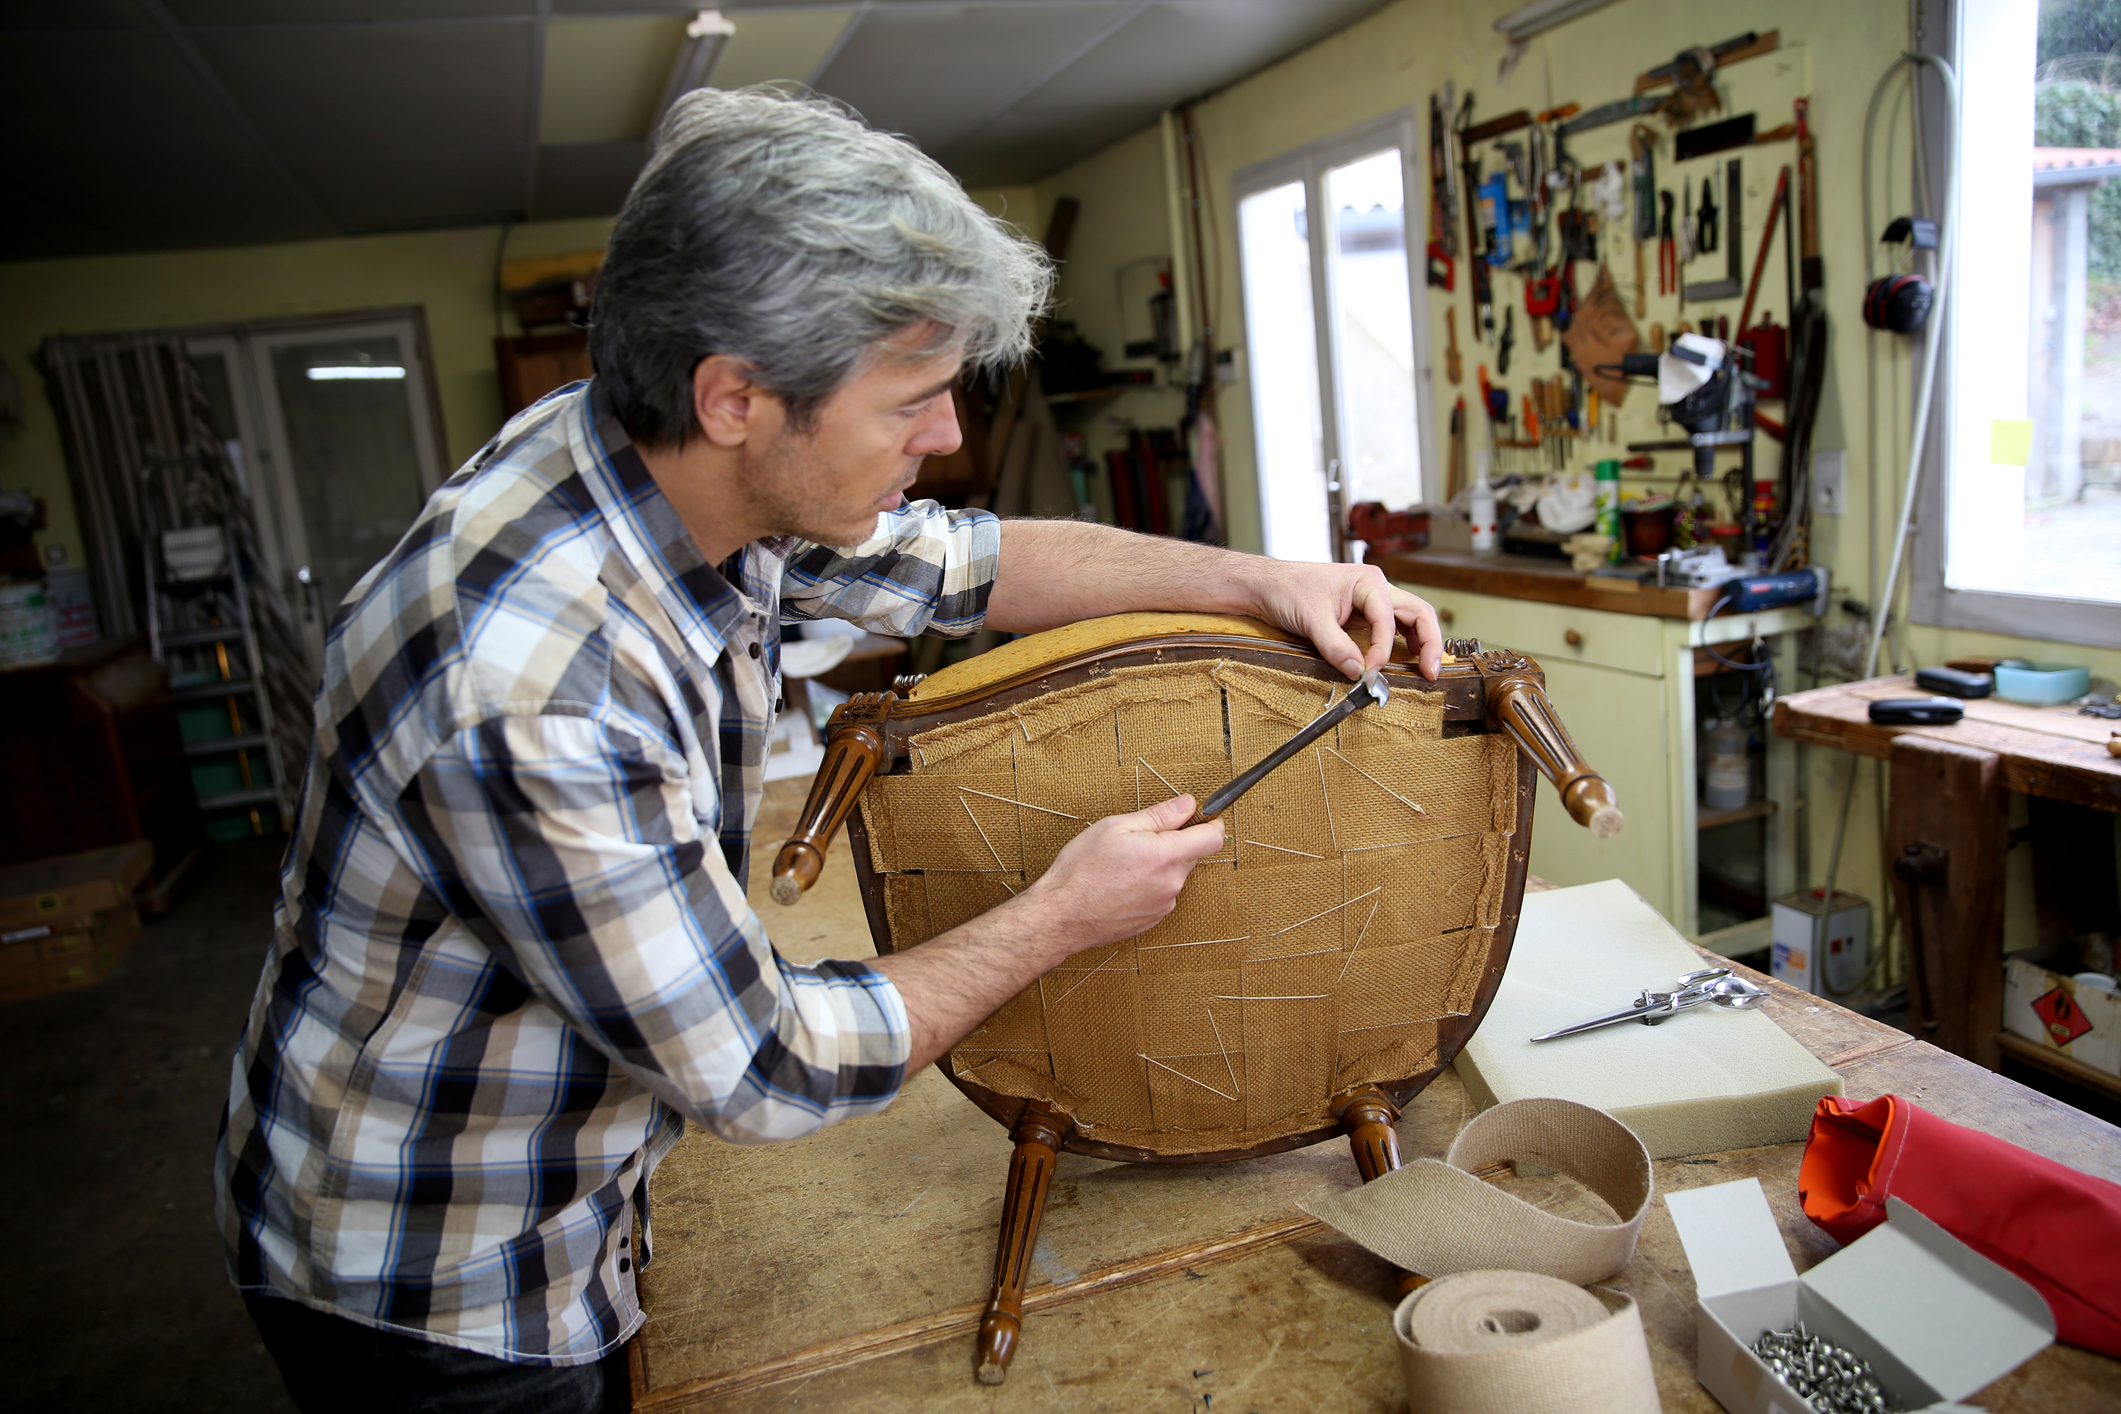
Photo by goodluz on Adobe Stock
Next, use standard pliers remove the staples from the underside of the seat. This will allow you to take off the fabric and foam cushioning without ripping or tearing the materials.
Strip the Wood
I suggest focusing on the chair first and then finishing the process with the seat if you plan to upholster.
Dining chairs plastered with thick coats of paint require stripping. To help speed up the process, use a thicker, paste-like chemical stripper that contains methylene chloride. As always, be sure to read the instructions before proceeding with any chemical such as paint stripper. You’ll definitely need proper personal protection equipment like gloves, masks, and ample airflow.
Coat your chairs with the stripper and let it sit until you begin to notice the paint lifting (sometimes it looks like bubbles are forming under the surface of the paint). At this point, scrape away the paint. Especially if there are multiple layers of paint (such as in my recent experience), be prepared to repeat this step until all the paint is removed and you’re left with the original wood grain.
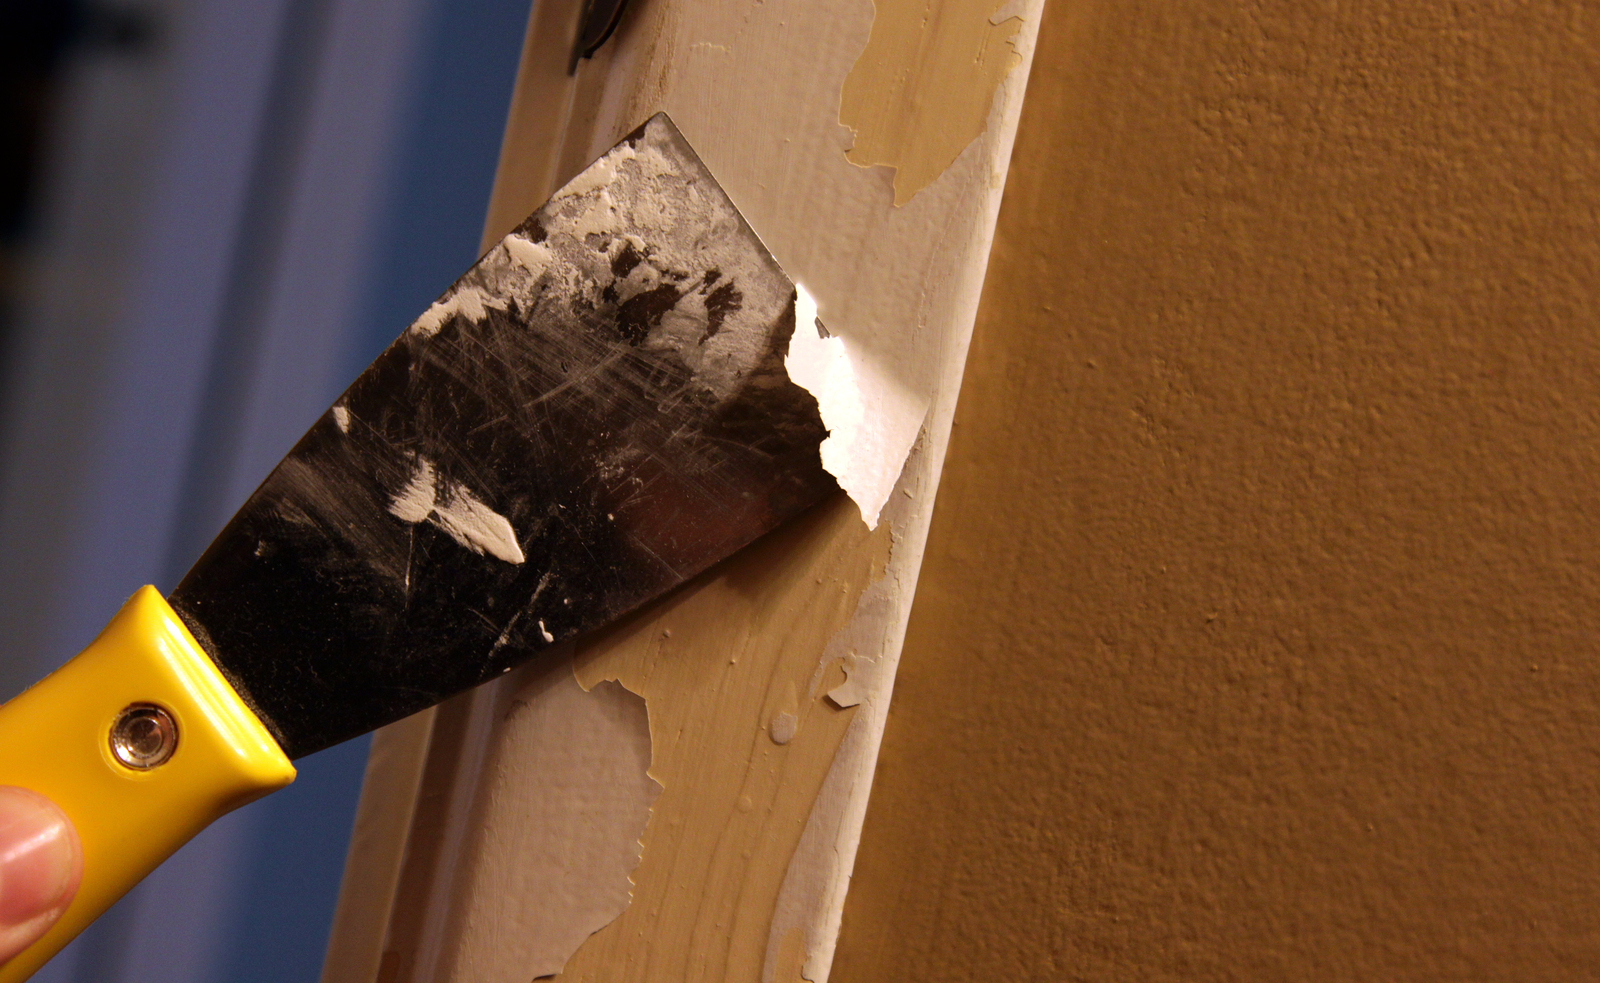
Photo by ca2hill on 123rf
Before you jump into the next step, rub mineral spirits over the wood to remove all traces of the stripper and to ensure you’re working with a clean, prepared surface.
Stain and/or Paint
Depending on the look you’re going for, stain or paint the chairs accordingly.
- Stain is perfect for wood furniture. It naturally matches with other furniture and paint colors around a room. And, in terms of application, it’s the easier option.
- Paint takes longer to apply and may require multiple coats, but if you’re looking to add bold color or to hide signs of the wood’s age, then it’s a good option.
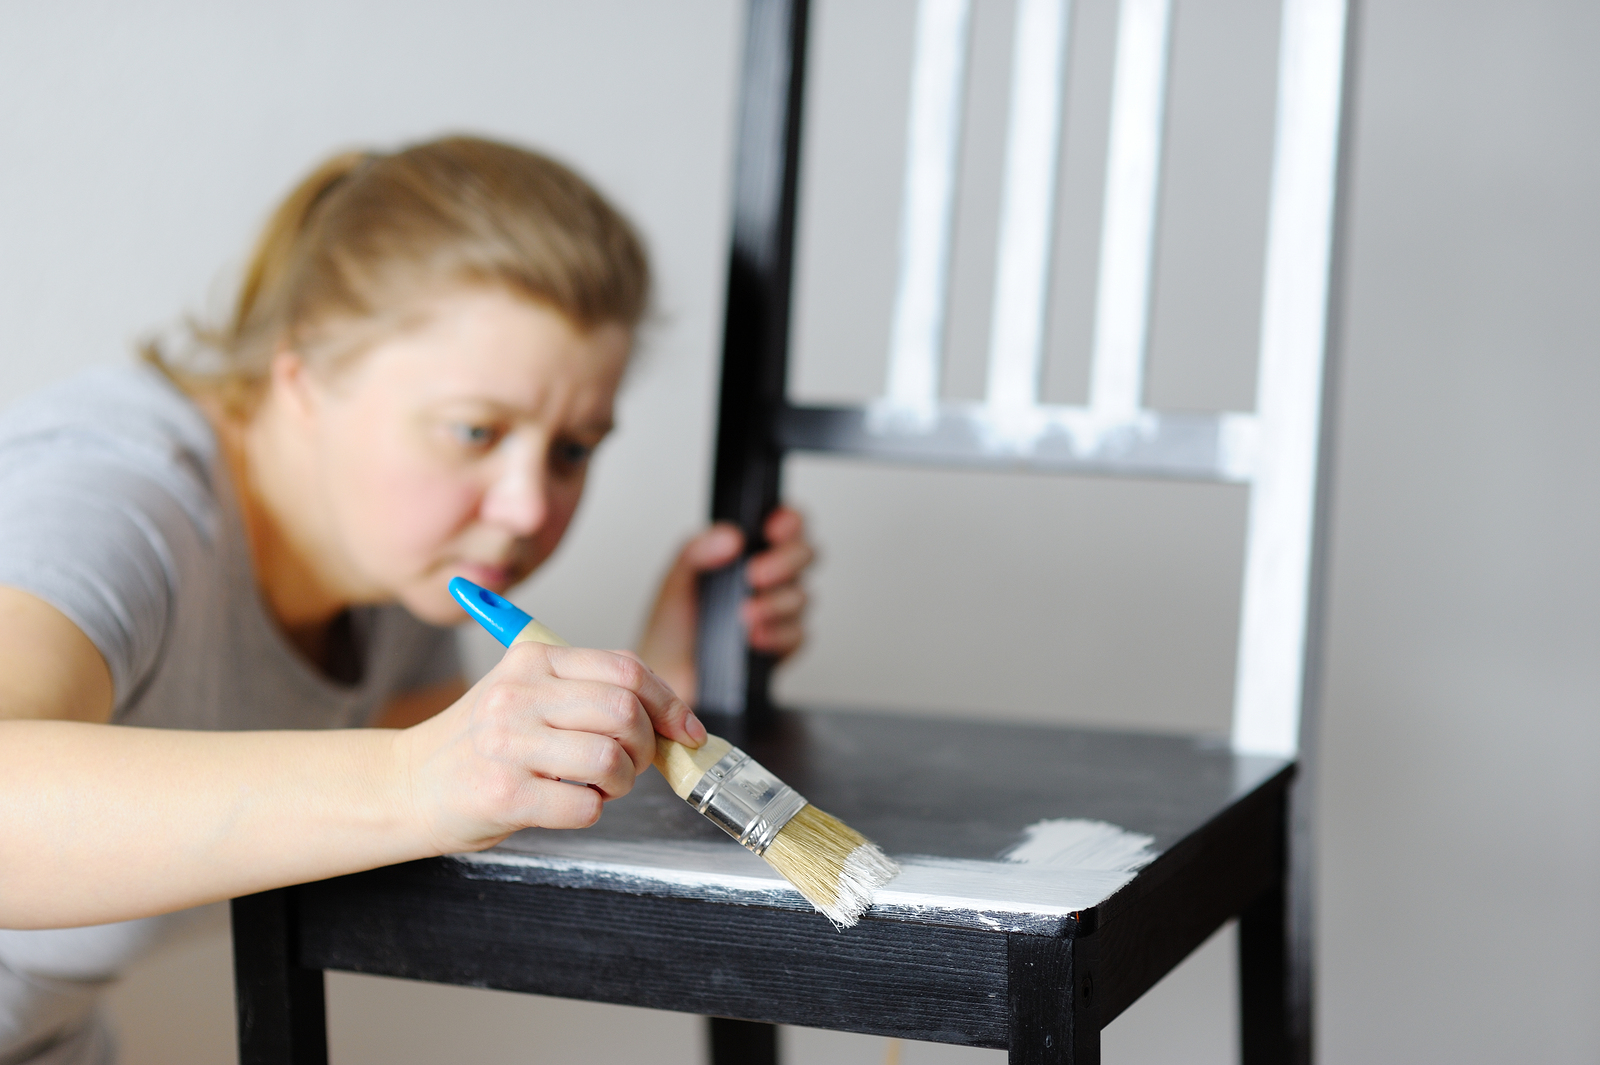
Photo by PAstudio on Adobe Stock
After staining and/or painting, sand your chairs using a fine-grit sandpaper (220 works well) and then clean with a fresh cloth. Finally, you’re ready to seal your stain or add a paint top-coat.
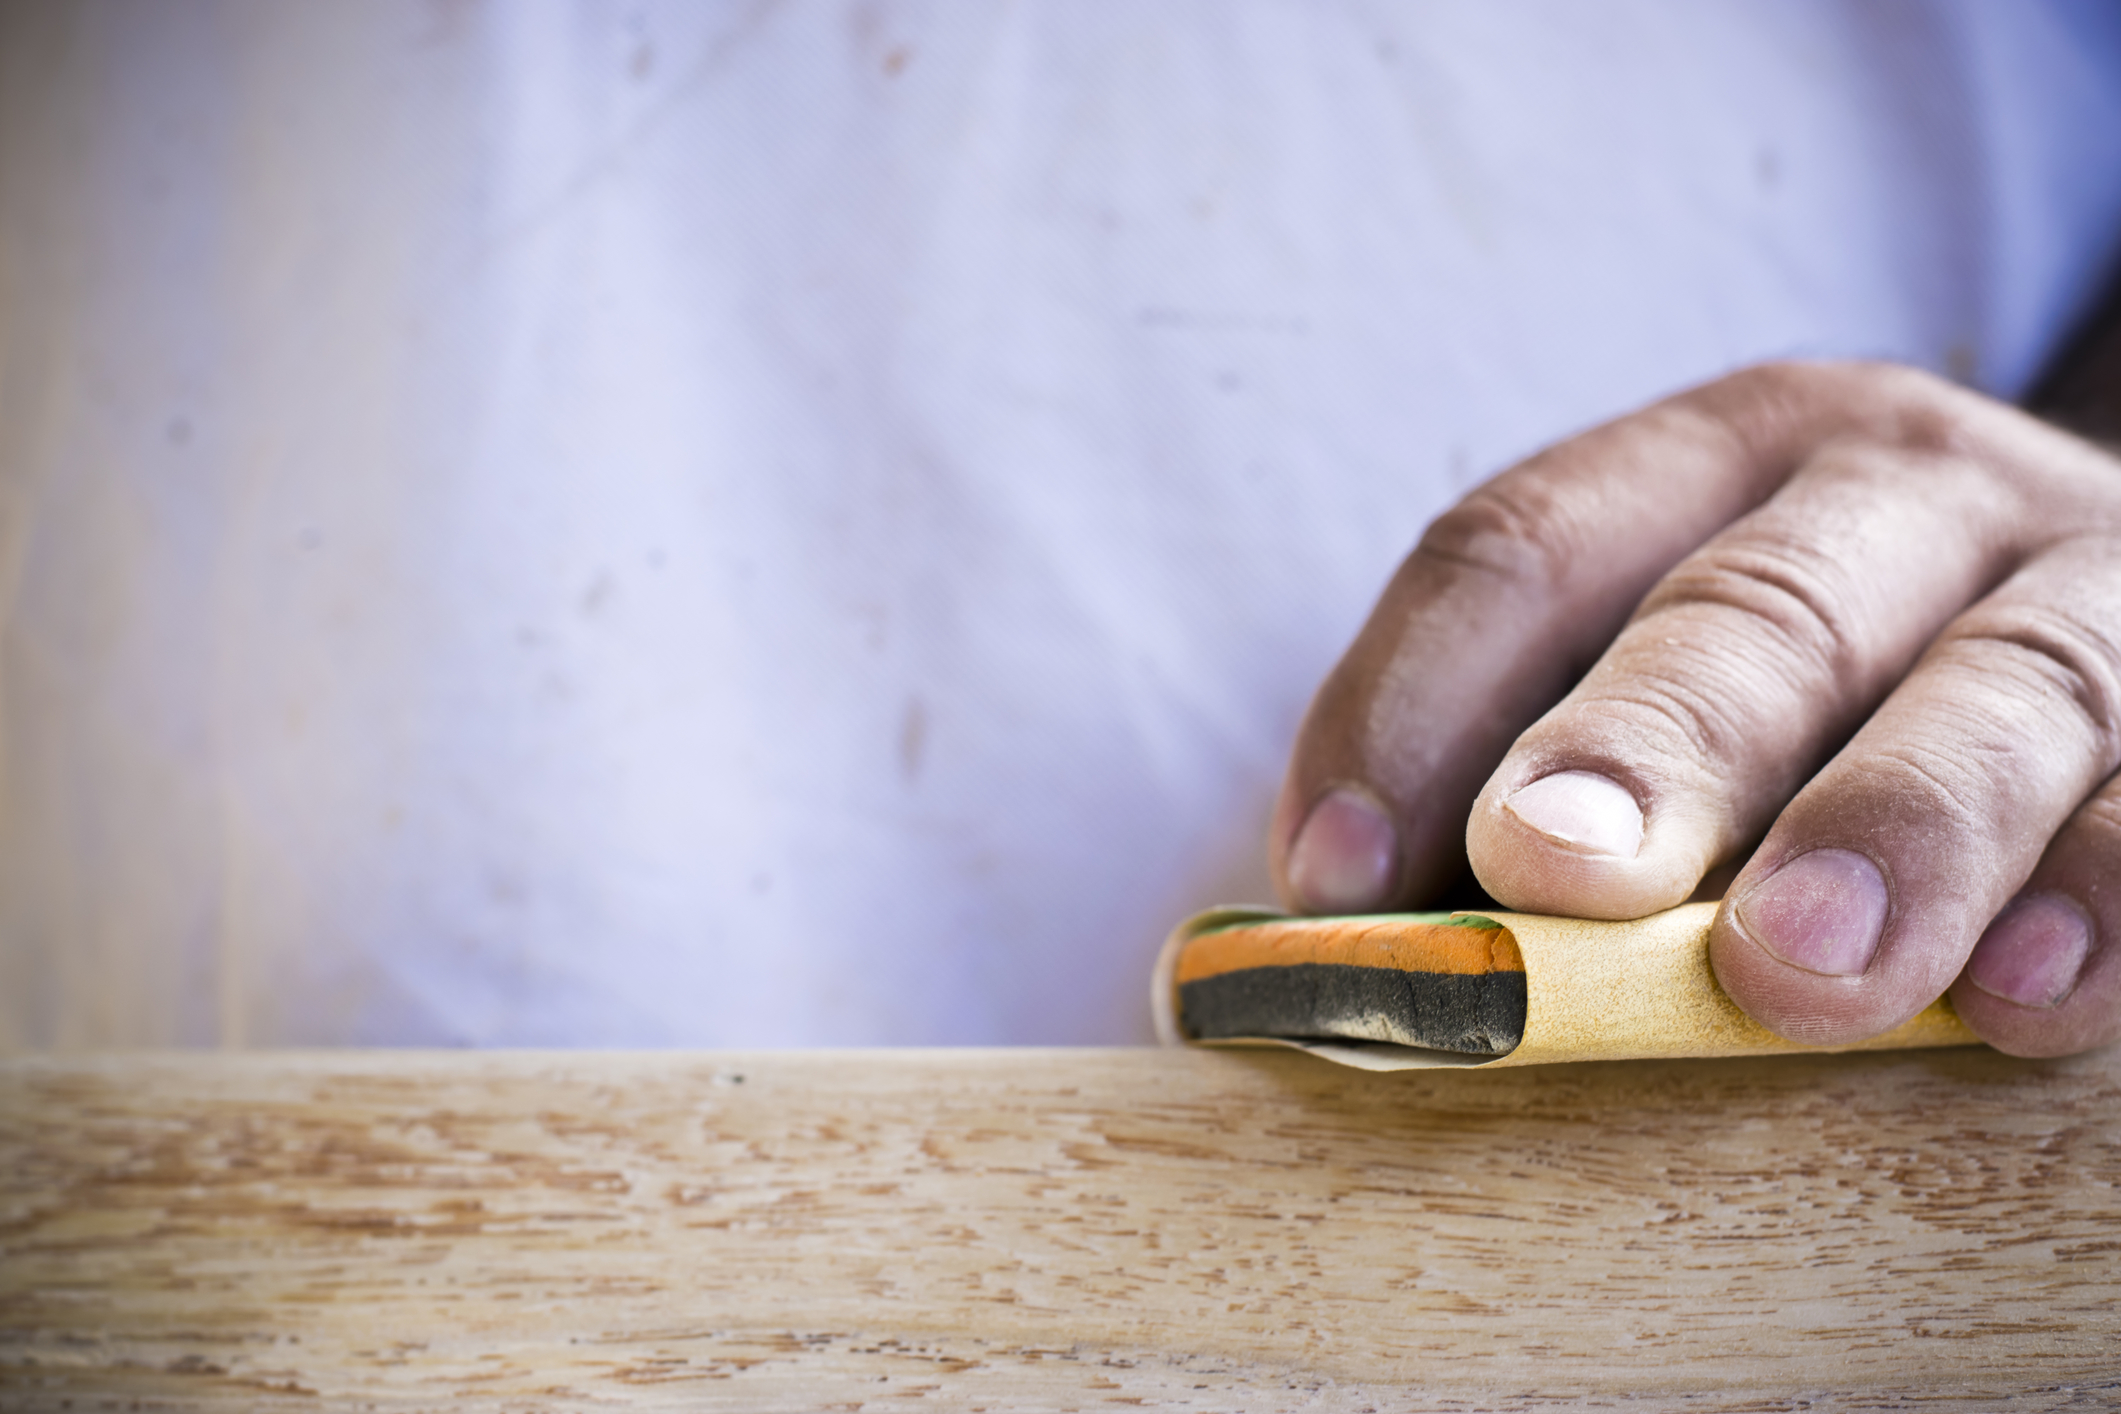
Photo by Natanael Echegaray on Dreamstock
Upholster
If you haven’t already, remove the staples from the bottom of the cushion to loosen the fabric. For seats with worn cushions, replace with a high-density seat foam. Then, choose a nice fabric that matches your room’s decor.
Purchase enough foam and fabric to cover your seats by following this general rule:
- Seat Foam: Measure length and width of seat (at longest/widest points), then add 1”
- Fabric: Measure length and width of the chair (at the longest/widest points), then, add 4” to account for the foam and for stapling. It’s worth noting that most fabric comes 54 inches wide.
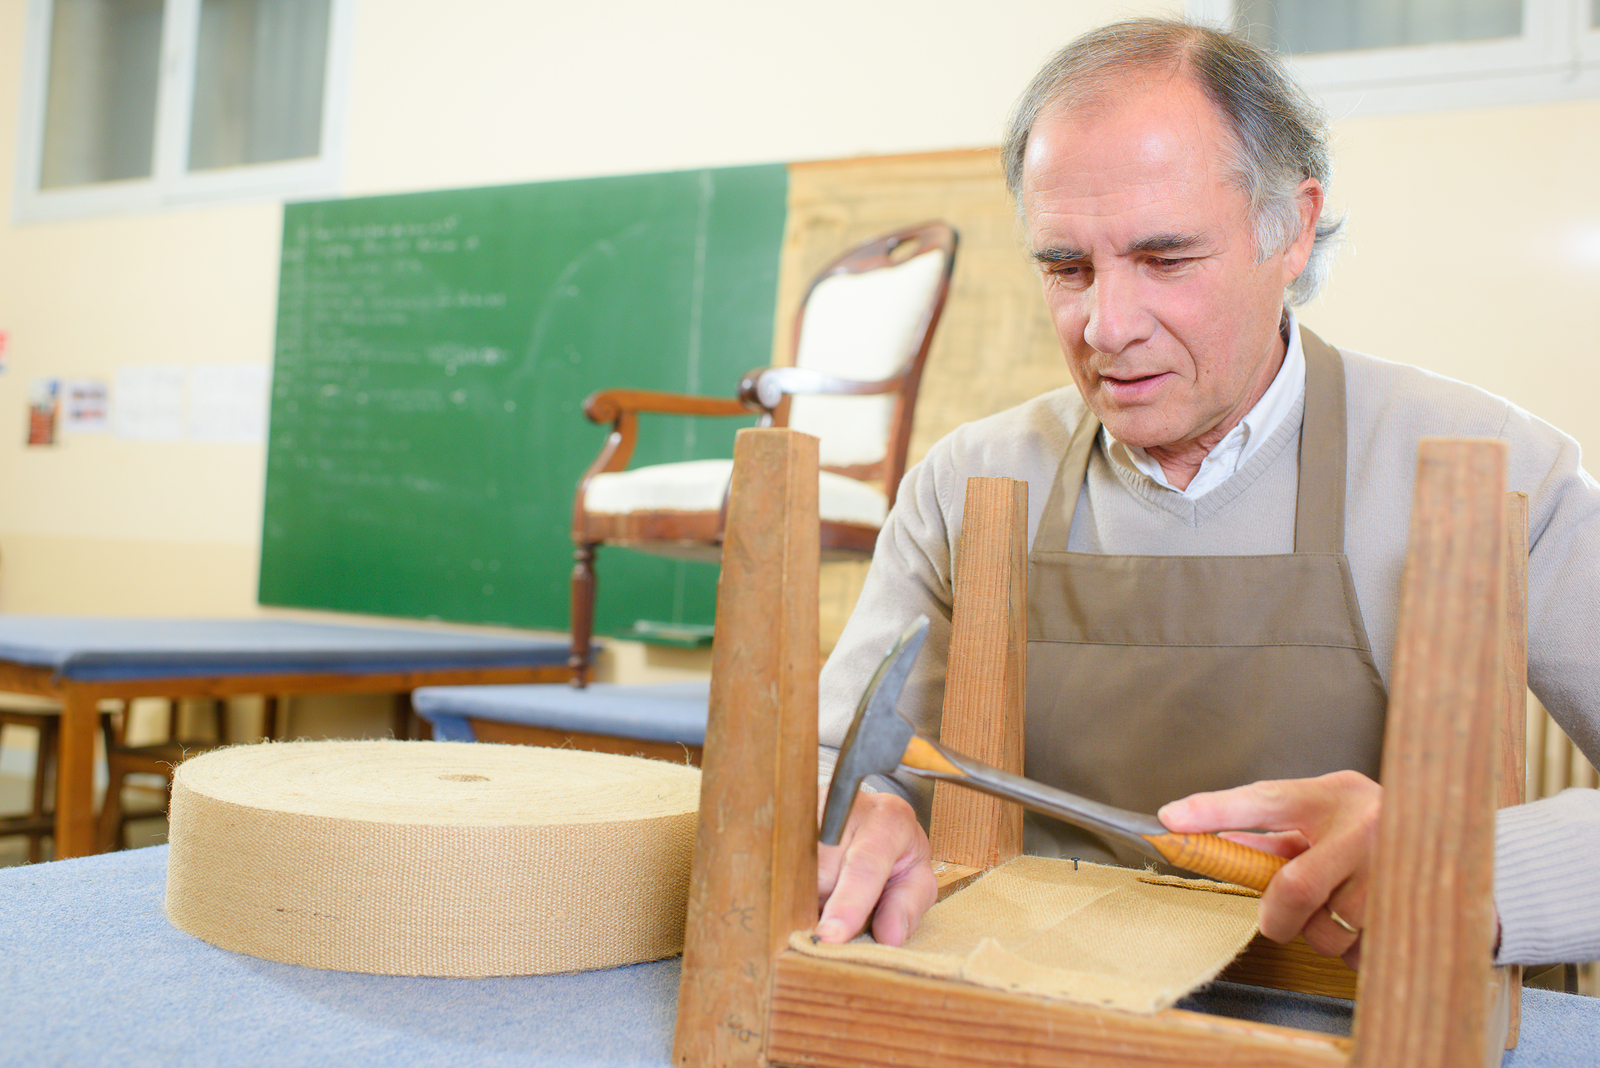
Photo by auremar on Adobe Stock
Use a spray adhesive to secure the foam to the seat itself. Then, place the cut-to-size fabric face down and lay the seat on top. Tightly pull and staple the fabric to the underside of the seat, ensuring it’s taut.
Finish
Once your seal and/or top coat has dried, carefully screw the seat back to the chair frame.
After all’s said and done, you’re left with one (or more!) beautiful, refreshed chairs that match your dining space and are bound to draw attention from visitors.

Photo by olly on Adobe Stock


