


At some point, every homeowner encounters the problem of repairing damages or holes made to interior walls of their home. If this is you, you don’t need to fret because the fix is much easier than you might think. The following step-by-step guide will help you repair the damage or hole and have it disguised without any hint of damage or a hole ever existing. A professional can be consulted if you’re not entirely sure you can repair the hole safely and properly.
Preparation of the Area is Key
It is extremely important to prepare the area you are going to be working on to ensure your repair project stands the test of time. First, you should gently sand around the affected area to remove any chipped paint or loose drywall. Wipe away the dust and move on to determining how best to cover the hole depending upon the size.
Photograph by Dmitri Illarinov on Dreamstime


Size Matters—Determine Your Repair Options
If the hole you are trying to repair is less than six inches in diameter you can easily cover it with drywall tape. Simply cut short pieces of drywall tape to cover the hole but without too much excess. Make an X or T with the tape over the hole and ensure the drywall tape is taut. If the area needing repair is large, you will need to cut around the hole to make a square, ensuring there are no wires where you will be cutting, and cut an equal piece of wall board which will fit into the newly made hole in the wall. You need a scrap piece of wood to tuck in behind the hole and secure it with screws to the wall. Next screw the cut piece of wallboard into place using the scrap wood to support it. If there are gaps between your wall and the piece of wallboard, simply cover with drywall tape.

Photo by nattakan p/EyeEm on Adobe Stock
Cover Up Job
You will need a bucket of joint compound and a putty knife to spread the compound over the affected area, trying not to put it on too thick. Use the edge of the putty knife to smooth out the compound as you go. This will save you time in your next step and also prevent big chunks of joint compound coming off later. Once your area is covered in compound and you can no longer see the hole or damage, let the compound dry thoroughly, usually 24 hours.

Photo by Ulleo on Pixabay
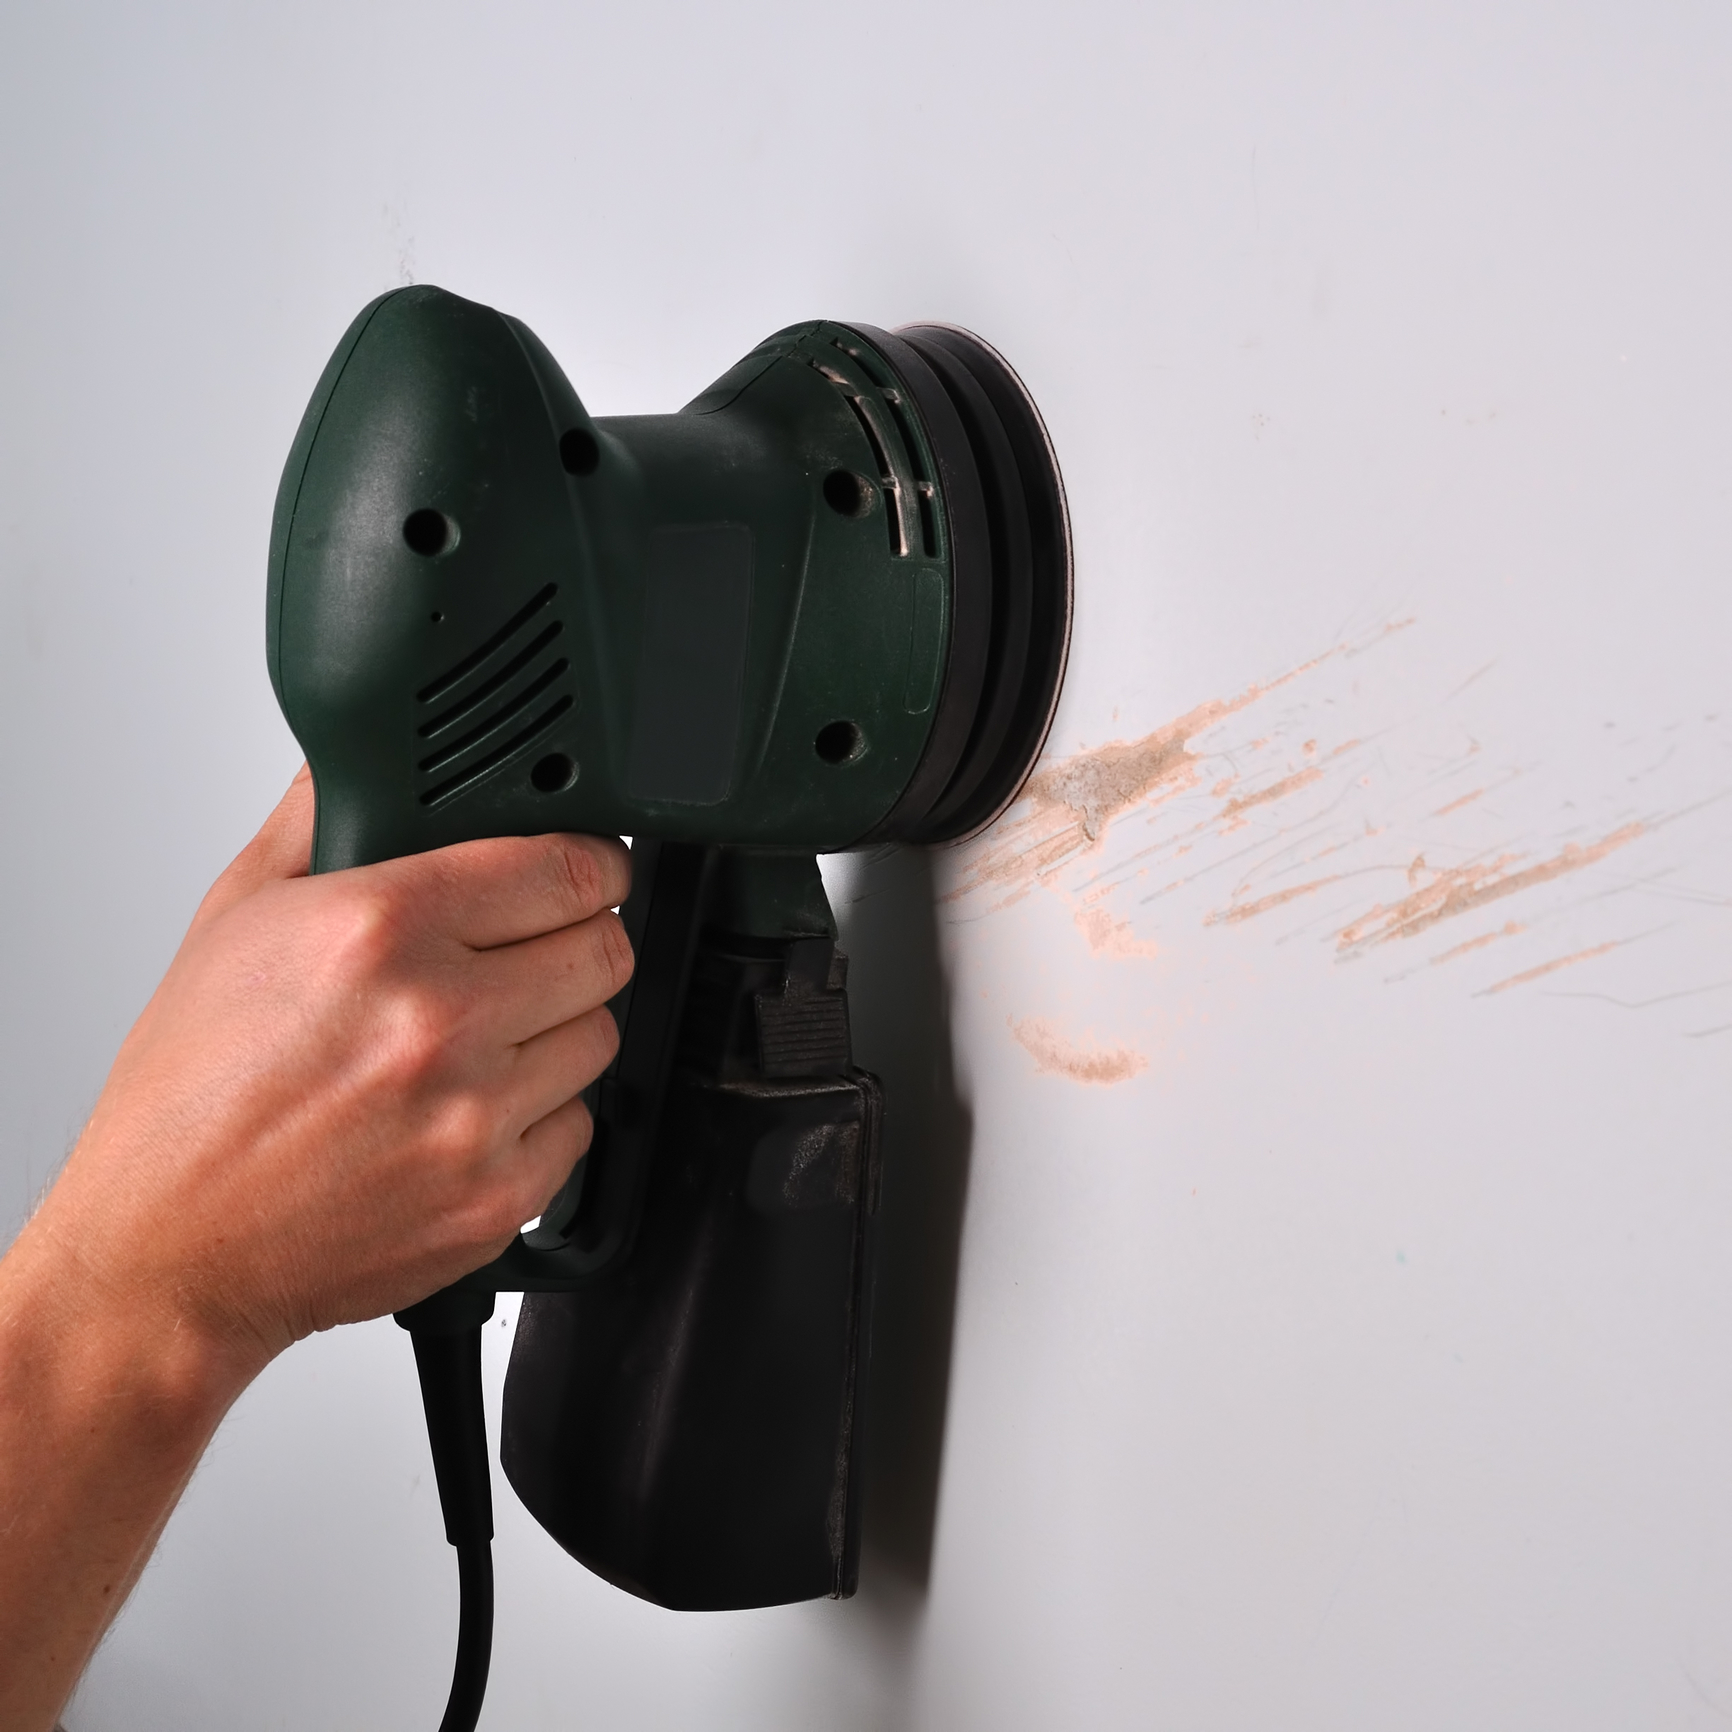
Time for Some Elbow Grease
Once your compound job is dry, you can get out your sandpaper and get ready to put in a little work. Begin sanding gently in circular motions over the compound. The purpose here is to smooth the area, sand out any imperfections and have the area as flush to the wall as possible. You may need to “spot sand” certain problematic areas. Do this carefully so as not to disturb the rest of the already sanded joint compound. Once you feel confident in the smoothness of your sanding job, wipe away any excess dust remaining on the walls.

Photo by OpenClipart-Vectors on Pixabay
Touch Up and Finish
With the wall freshly repaired and sanded to smooth, flat finish, you can now get out your paints to match whatever your current wall color is and paint the repaired area. It is important to note that this might take multiple coats since the joint compound is such a stark white color. Sometimes this white will “bleed” through the paint but can usually be covered up with a few coats of touch up paint. This is why it is best to keep the damaged area as small as possible, to avoid having to use a lot of joint compound.

Photo by Shutterstock
Once you have painted over your newly repaired wall, you will hardly be able to tell that there was ever a hole or damage in the wall. With a little bit of time and minimal tools, you can get this DIY project done quickly and easily.
DISCLAIMER: Readers should keep in mind that any accounts of renovation presented in this blog are written accounts of events taking place at individual homes, and are not necessarily endorsements of do-it-yourself home improvement. You proceed at your own risk if you attempt to replicate any activities described here.


