


A water-damaged subfloor can ruin the structure of your house. Unfortunately, it’s a common problem. A few hours of misdirected rainwater or a neglected plumbing leak can cause inches of water to seep down and settle in the subfloor. In a couple days, this moisture will turn to rot. This damage to your subfloor can take months, even years, to uncover. When you find rot in your subfloor, it’s safe to assume the damage has been there for good amount of time. The destructive effect this type of floor damage can have on your home is extreme. If there's any damage, it needs to be dealt with swiftly and efficiently. Use these helpful steps as a guide to a quick DIY floor repair.
1. Fix the Leak
It may seem obvious, but your first step must be to identify the leak and fix it. Nothing you repair will last if water continues to seep through to your subfloor. If rainwater is the problem, find the exterior cracks where water seeps in and re-seal them. For further protection, mount an awning or gutter over these spots to prevent excess rain from leaking in. If your leak is interior, check the plumbing. Call in a plumber before you fix any plumbing problems. Even if you end up doing most of the repair yourself, you’ll manage a more permanent repair if you consult with an expert first.

Photo by Phovoir on Shutterstock


2. Remove Floor Material
Once you’ve repaired the leak, you can focus on getting to the subfloor. First, find some rubber gloves and safety goggles to protect yourself from splinters and other wood-related injuries. Once you’re geared up, begin to remove the floor material. Carefully pry up each floorboard and set it aside. If your floor is covered in carpet, pull back the covering to the nearest wall. For some carpet installations, you will need to remove the baseboards to do this. If your flooring is vinyl, cut out the area in need of repair. You can replace the damaged vinyl with a piece cut to the same specifications after your subfloor repair is complete.

Photo by LTim on Shutterstock
3. Determine Amount of Damage
Once the flooring is removed, you will see the extent of the subfloor water damage. The rotting areas will be discolored, buckled, and eaten through in areas. Take a piece of chalk and mark the areas that need to be removed. Draw around the damaged subfloor so you know where you should cut when you start to remove it. You should also make a note of where the underlying floor joists lie. Their placement will determine how you remove and re-install the subfloor.
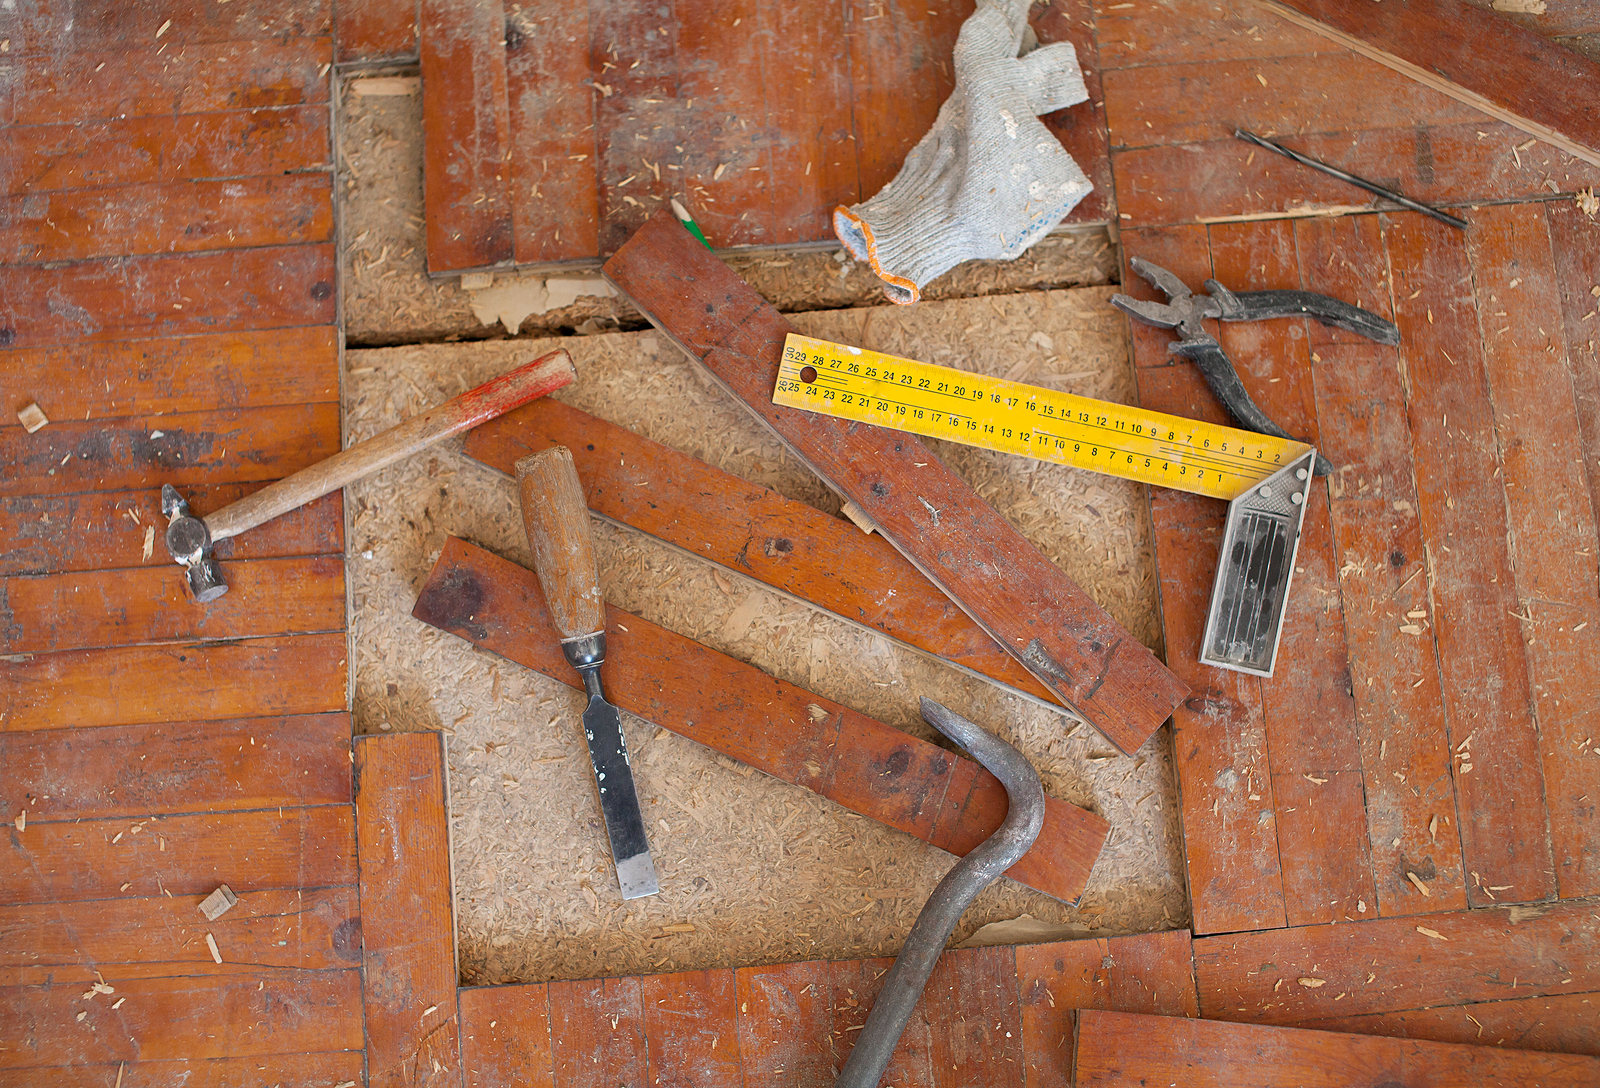
Photo by LTim on Shutterstock
4. Cut Damage Out
All moistened areas of the subfloor need to be removed. Even if the damage isn’t dire yet, anything damp will eventually sprout mold and begin to rot. Your repair must be complete to preserve the integrity of your home. Use a circular saw set to one-inch depth to cut out the rotting subfloor. Cut precisely along the chalk lines you drew. It’s important to be thorough when you cut, cutting as close to the joists as possible. Once the damaged sections have been cut, use a pry bar to carefully remove them. Remove any leftover loose nails as well.
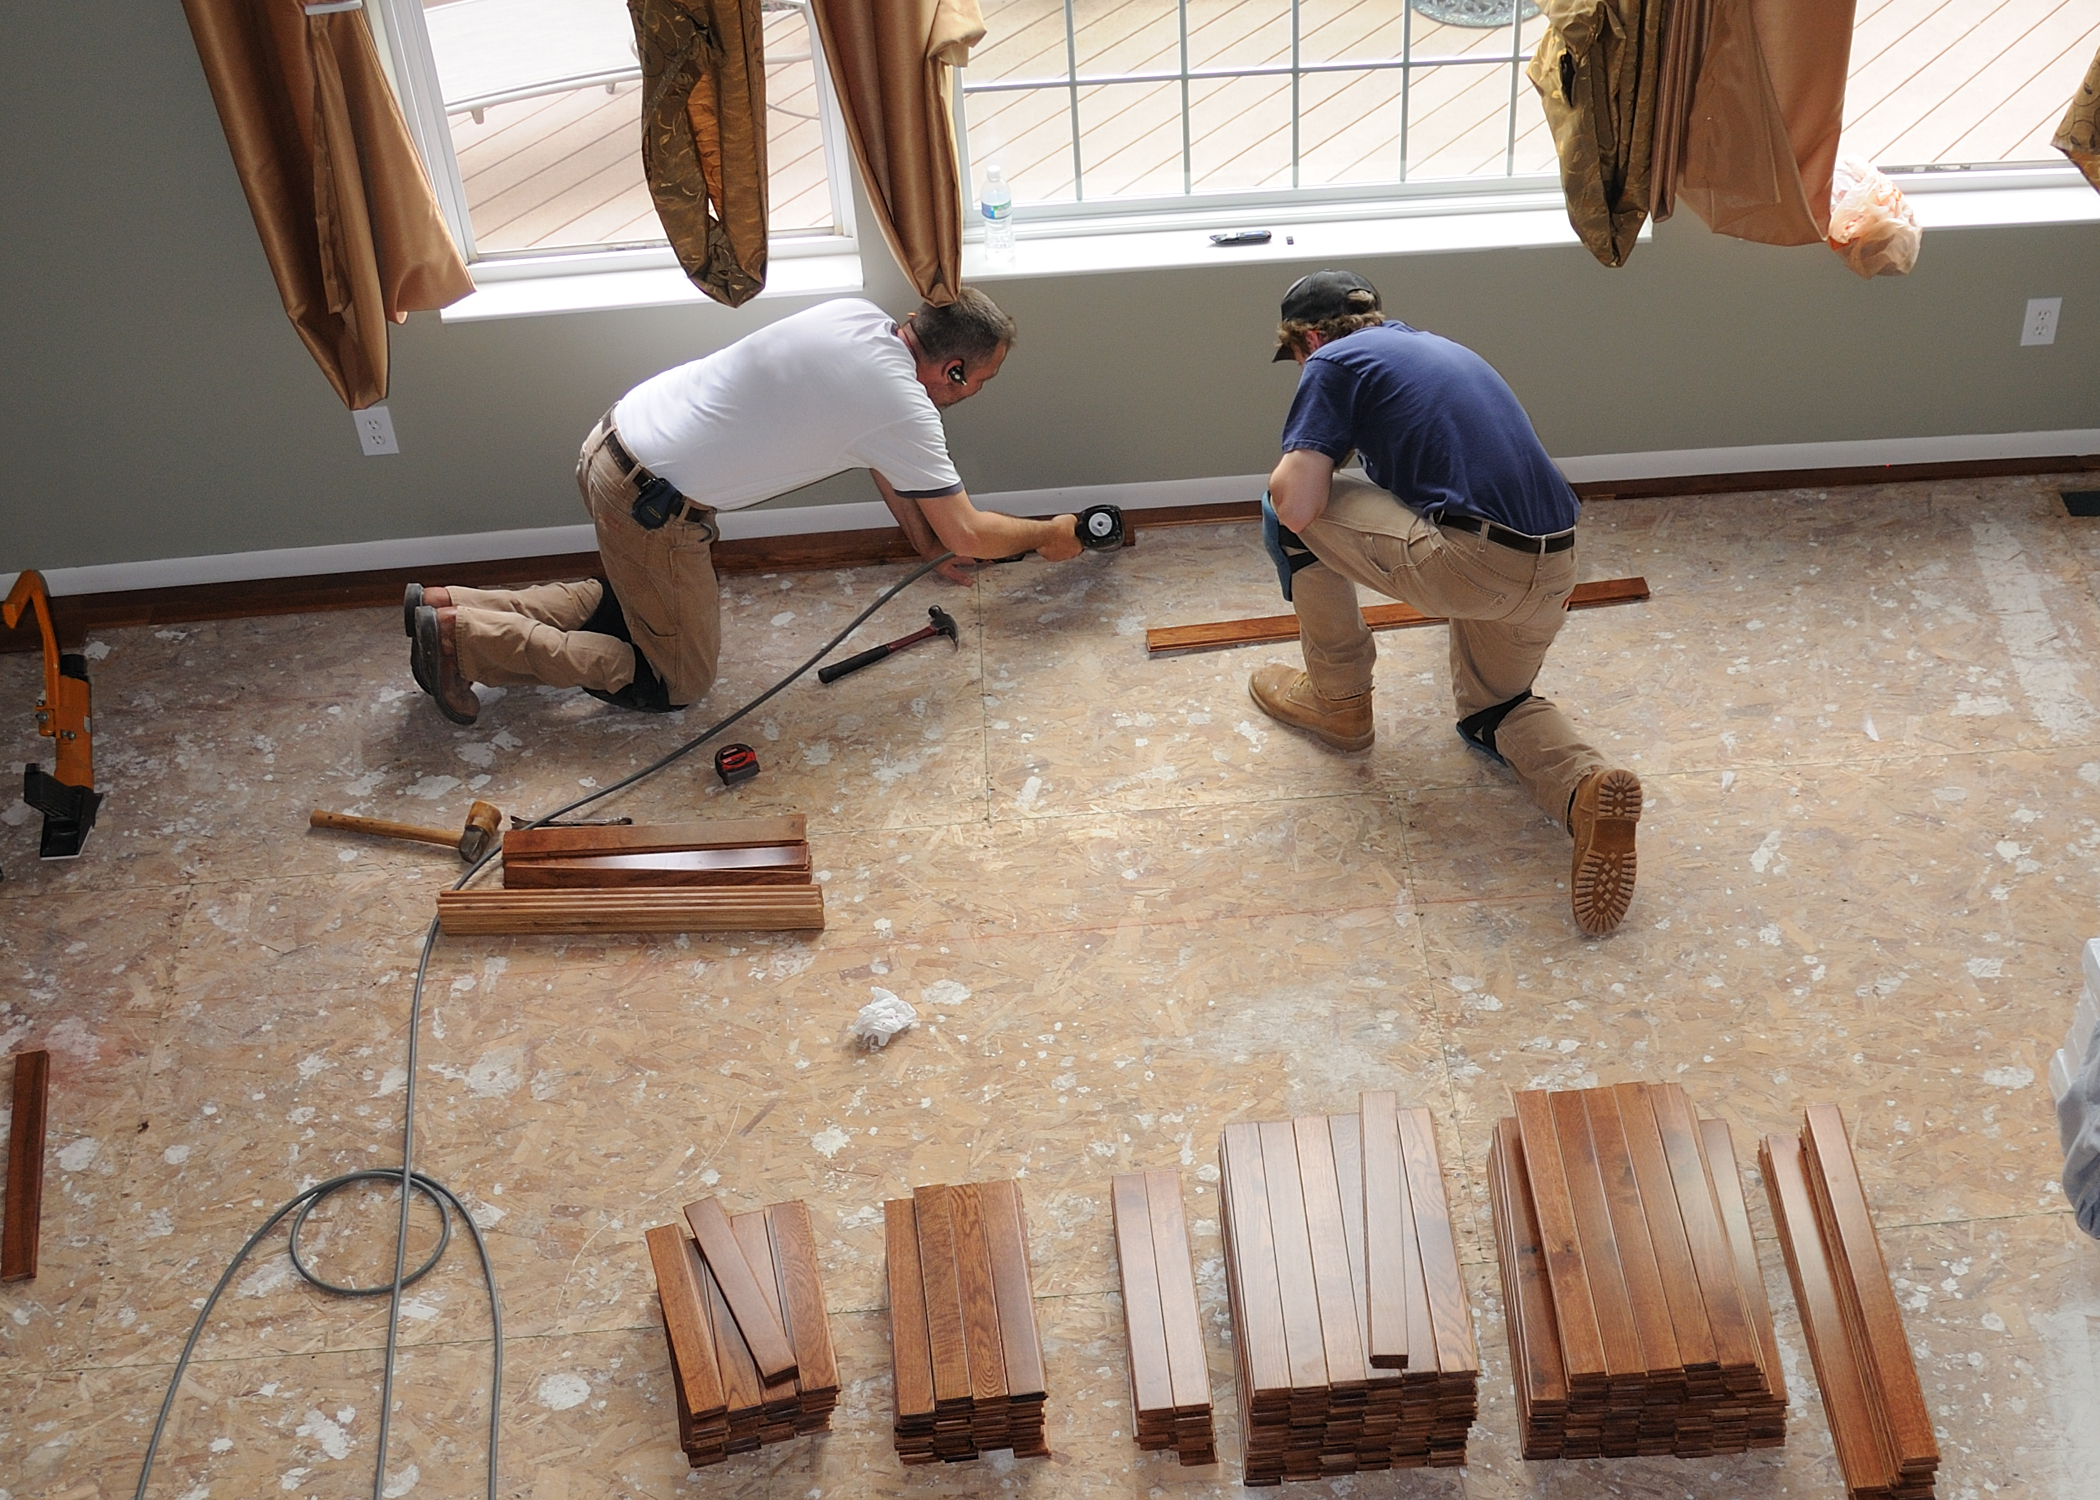
Photo by Anne Kitzman on Shutterstock
5. Reinforce the Floor Joists
You can’t cut out your floor joists without severely compromising the foundation of your house. If the joists have suffered any water damage, you need to dry them out and build reinforcements to lend the floor extra support. Cut several 2x6 boards to nail on under the newly exposed floor area. Once the joists are dry, nail these boards next to the joists. If the original joists were weakened by water damage, these new boards will compensate for that.
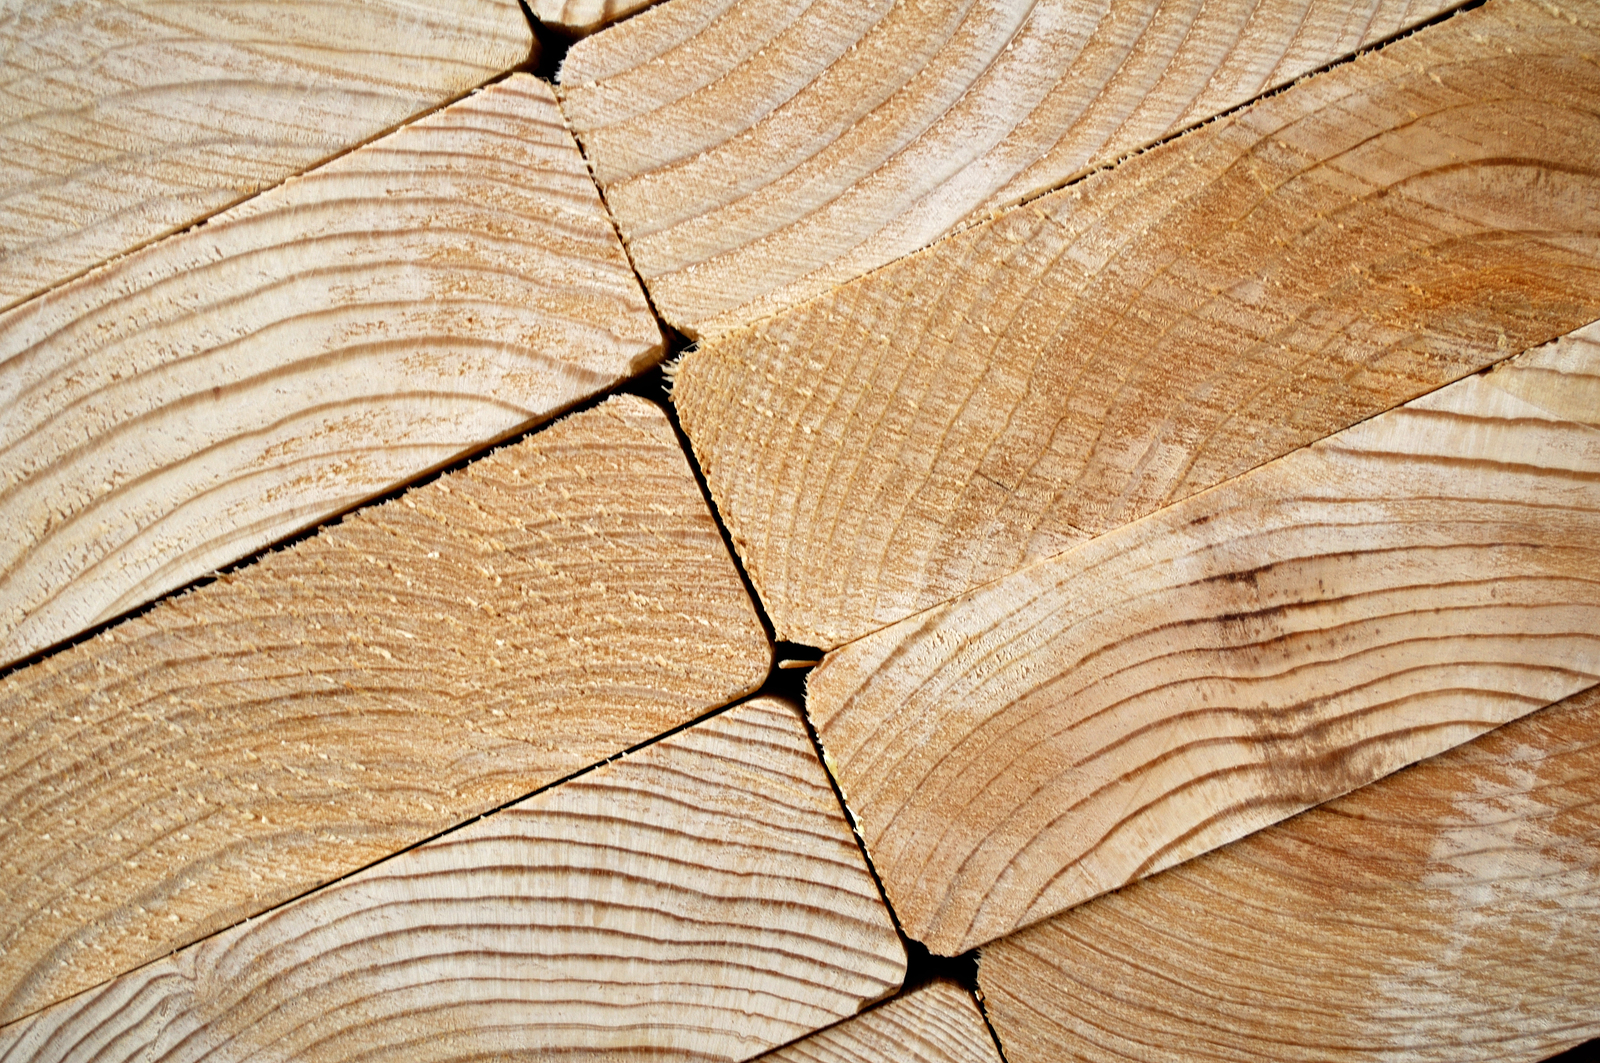
Photo by MArk Herreid on Adobe Stock
6. Install the Replacement
Measure the area you removed in the subfloor and cut a replacement piece to fit in its place. It is very important that your measurement and your cut are accurate. Allow a 1/8th of an inch gap between the new subfloor and the old to allow the new wood space to expand. Replacement subfloor should be attached with fresh nails and hammered into the center of the hole where the damage was removed. Once the subfloor has been installed, fasten down the flooring the way you found it and your installation will be complete.
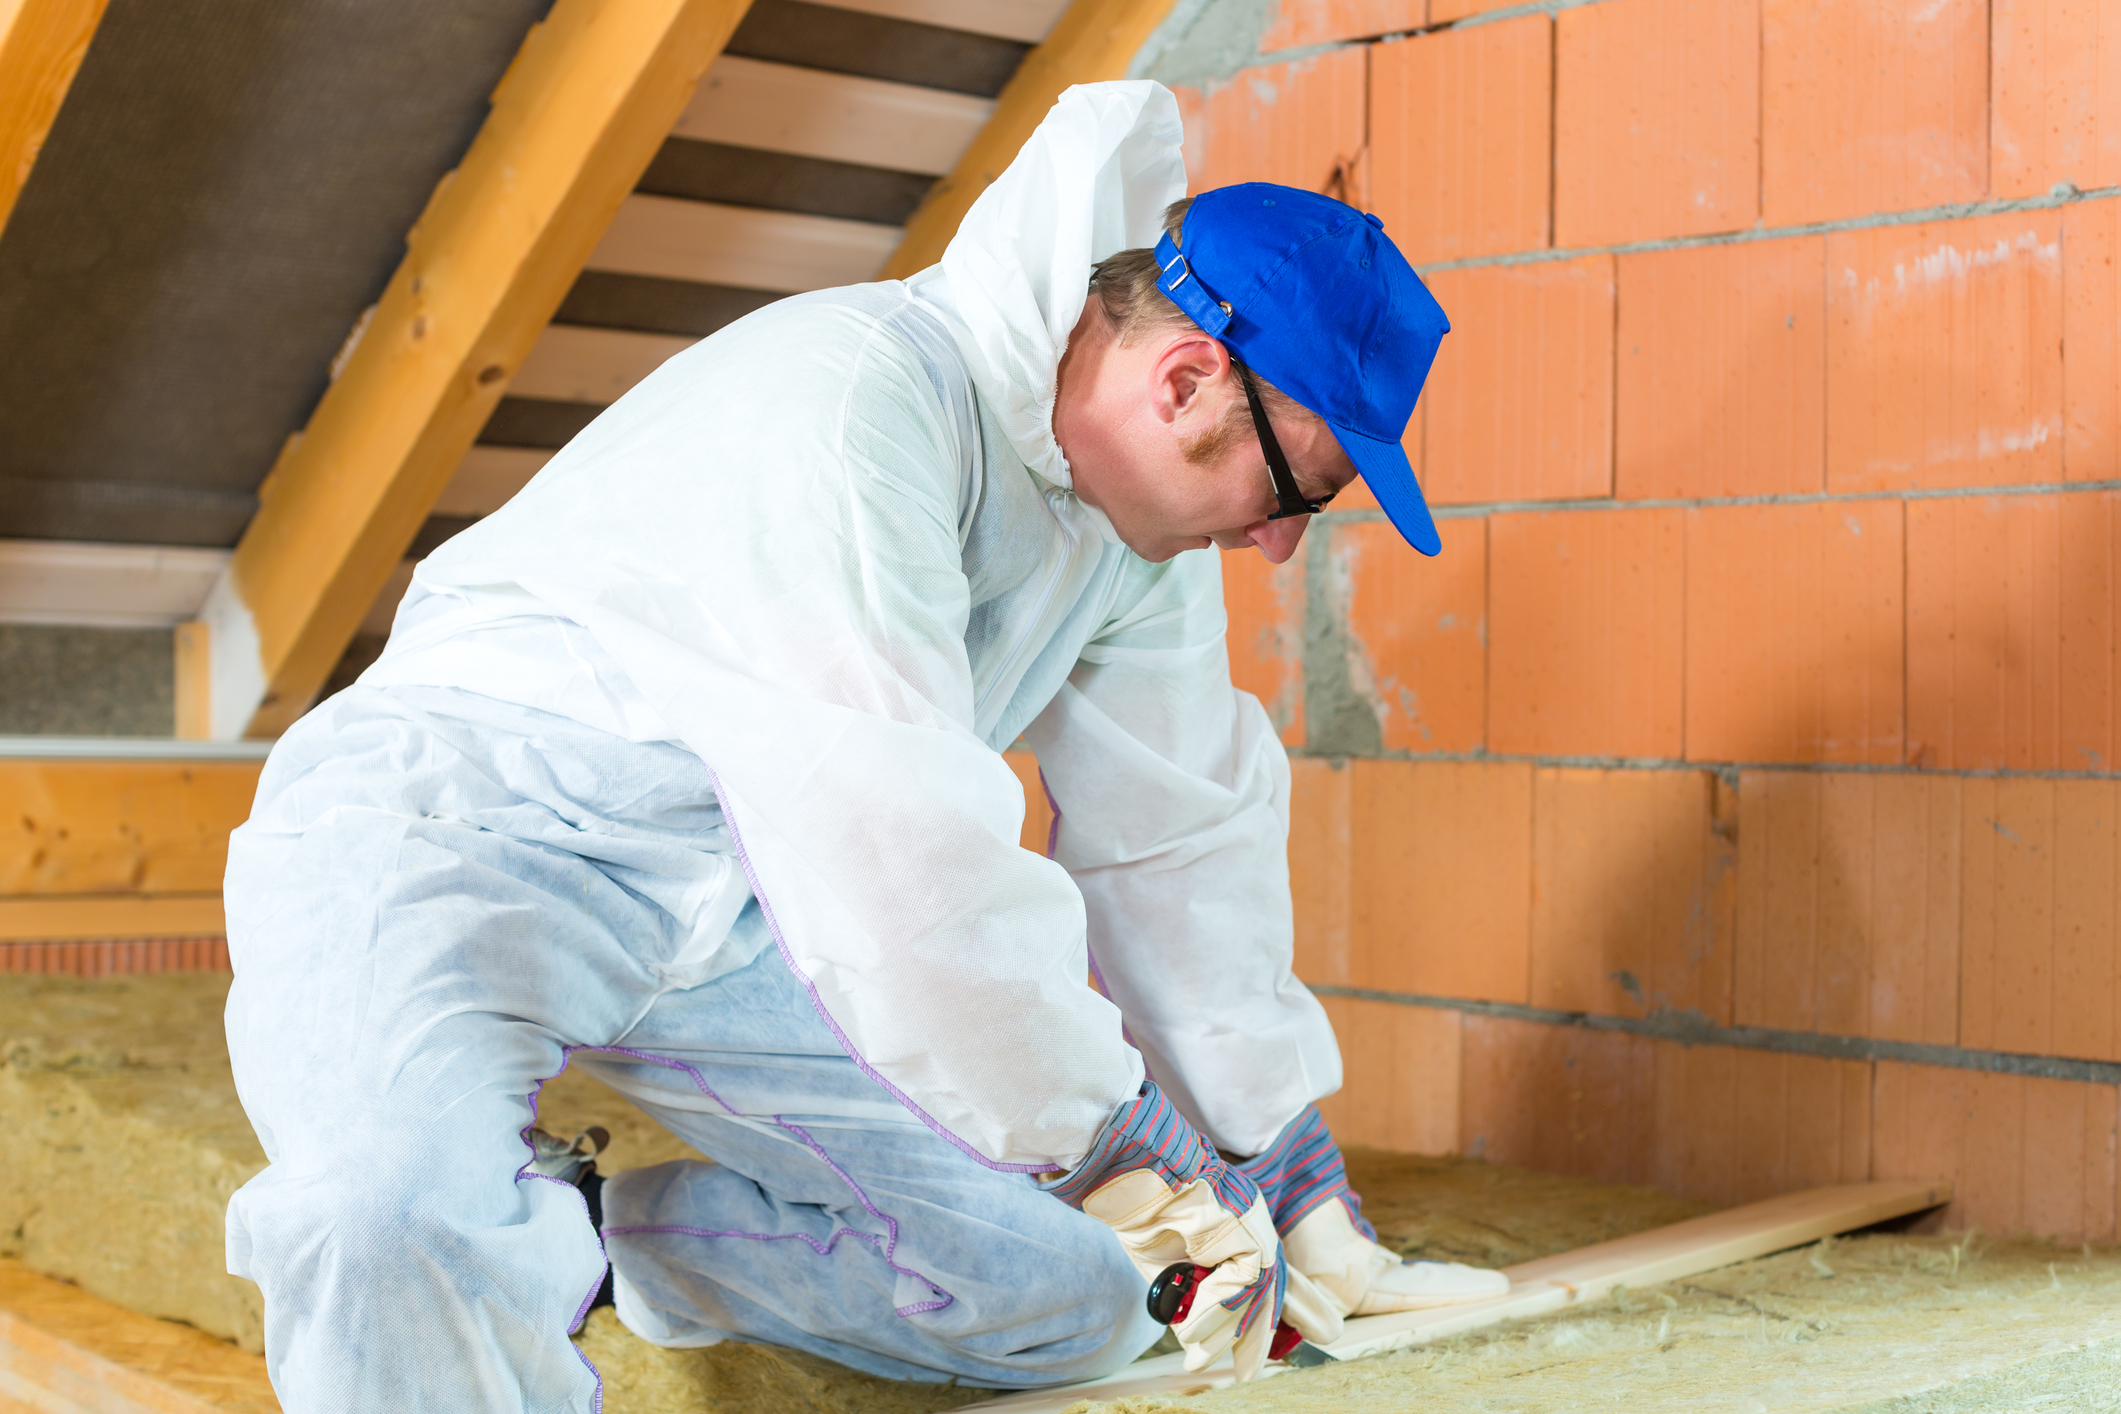
Photo by Kzenon on Shutterstock
Don’t let water damage put your home at risk. Turn to these handy steps and repair your subfloor sooner rather than later.


