


Hardwood is an excellent long term investment and it can last for hundreds of years when well-maintained. It’s durable, beautiful, and according to the Environmental Protection Agency (EPA), provides better indoor air quality. The National Wood Flooring Association (NWFA), which lists 33 different species of wood flooring in their gallery, considers hard wood flooring the most sustainable flooring option. At the rate that most of the trees listed in their gallery grow and mature, a floor lasting longer than 40-60 years would be usable well beyond the length of time it would take to regrow the materials.
Wood floors don't need a ton of maintenance, but perhaps after 20+ years of use, your floors may need a refinishing. Compared to other types of flooring, this is minor maintenance. It’s relatively easy to learn how to refinish hardwood floors, but your hardwood floor will likely not need to be replaced in your lifetime. What other kinds of flooring can boast that kind of longevity? If you take a few notes about refinishing hardwood floors from below, you can definitely make refinishing your hardwood an easy DIY home improvement project.
Here's a list of some other items you'll need for this project:
- Random orbital sander (rent)
- Hand sander
- Detail sander
- Painters tape
- Plastic tarps/sheets
- Sandpaper
- Clean rags
- Natural bristle brush
- Microfiber stain applicator
- Respirator / dust mask
- Gloves
- Knee pads
- Eye protection
- Hearing protection
- Wet/dry Vac
Prep the Room
There's a fair amount of preparation to make sure things go smoothly and keep dust from finding all the places you don't want caked in debris. The first step is to prep the room.
- Clear the room of everything you can, including curtains, because this job can get messy and anything you leave in the room will have to be cleaned later. Expose the entire floor.
- Completely cover any doors leading in or out of the area you're sanding, but make sure you know how to cleanly exit after you've finished!
- Remove shoe molding along the outer edge of the flooring.
- Inspect the floor for any protruding nails or leftover staples from carpeting. Drive any protruding nails into the floor, and remove any leftover staples.
- Isolate the room - this is going to get messy. Cover vents, light fixtures, windows, outlets, etc.
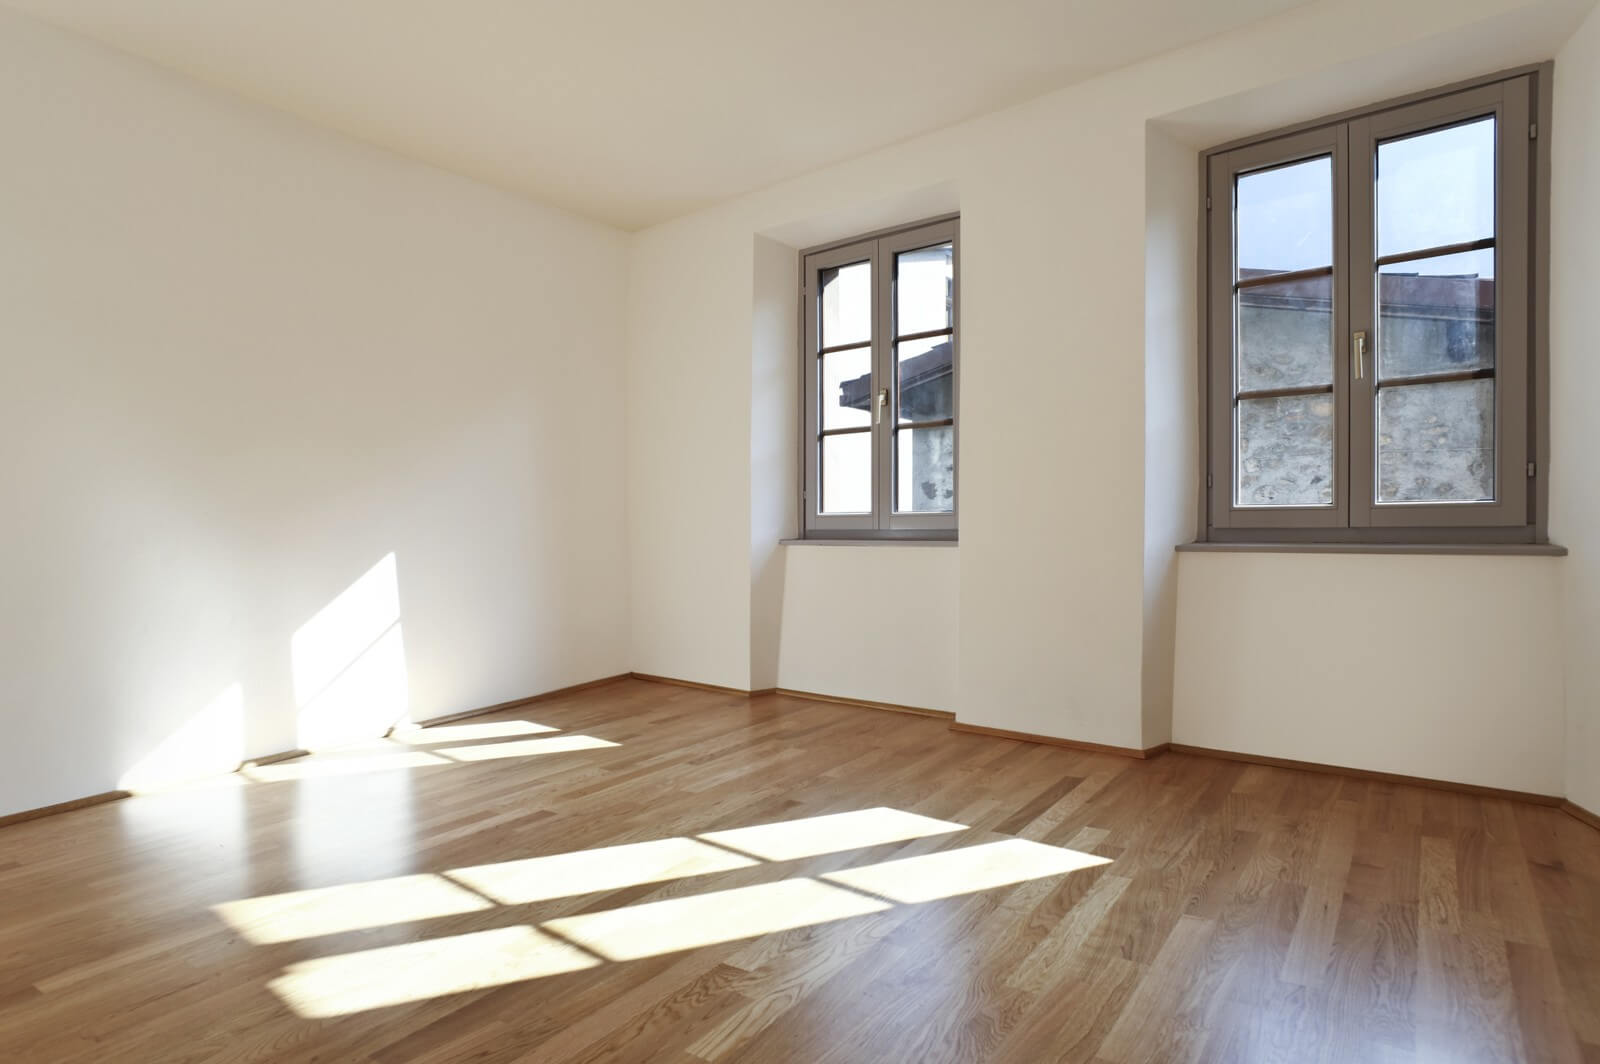
Photo by alexandre zveiger on Shutterstock


Start Sanding
You’ll sand the floor three times during the refinishing process. First with coarse grit sandpaper first, then medium grit, then fine grit. Make sure that your floor is level, since a wavy or warped floor will require the use of a different type of sanding method. You will overlap the previous sanding section you’ve made by a little each time to ensure that the entire floor is sanded - imagine mowing the lawn. It’s recommended that after the sander bag is half-full of dust, you should empty it instead of waiting until it’s full. This makes the sander function more effectively throughout your job. Remember to practice up before starting, and begin with an area of the floor that will likely be covered up to get into a groove before proceeding.
You may notice that it’s hard to reach corners or get in close to your baseboards while using your sander. You can use a palm sander, or preferably a scraper to finish off your sanding job in hard-to-reach spots. Between each grit, you need to thoroughly vacuum up all of the leftover dust, and after your final sanding with 100- or 120-grit sandpaper, you’ll want to wipe the floor with a dry cloth or tack cloth after vacuuming.
- Sand the entire room with the course grit sandpaper first (30-40).
- Use the hand sander along the edge of the room with 30-40 grit sandpaper.
- Use the detail sander in each corner of the room with 30-40 grit sandpaper.
- Repeat steps 1-3 with medium grit sandpaper, and lastly fine grit sandpaper.
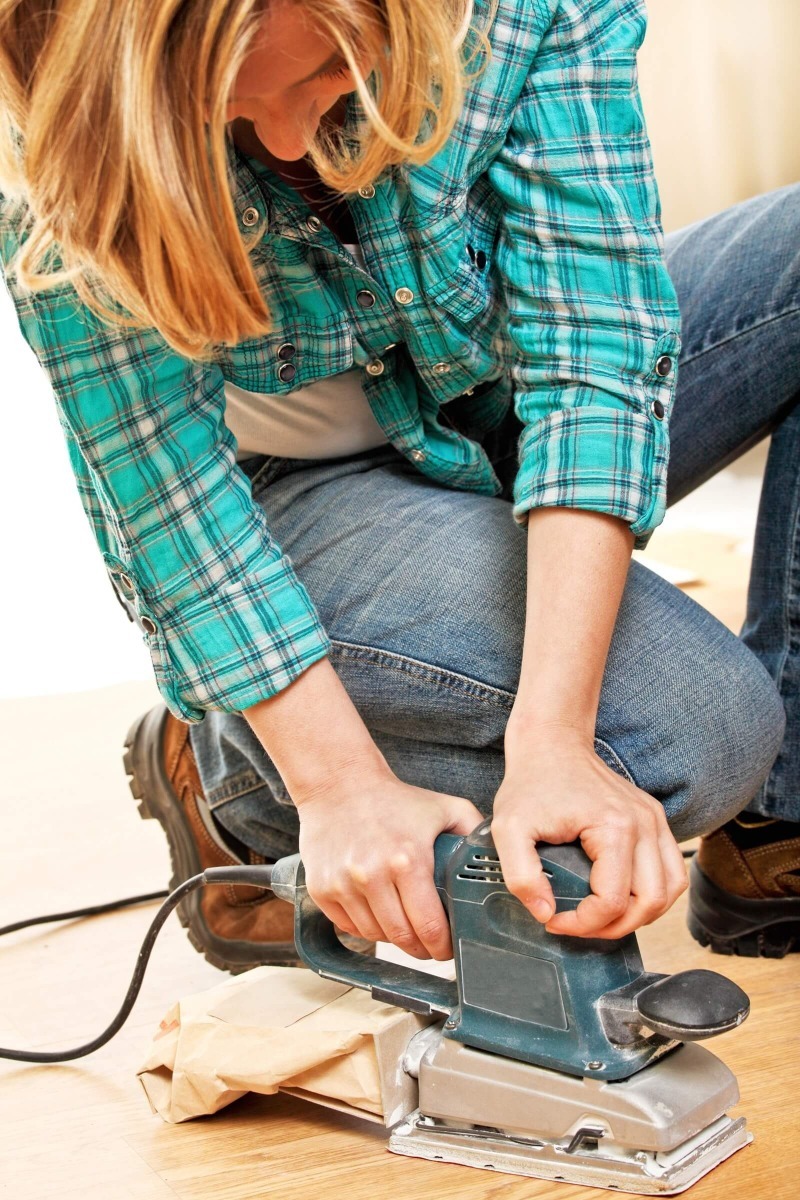
Photo by gualtiero boffi on Shutterstock
It’s important that cleaning takes place between each sanding. This will help keep the dust levels lower in the room and will help you out at the end when you prep to apply your finish. Plan to use a regular vacuum or a wet/dry vacuum cleaner (such as a Shop-Vac) with a brush attachment after finishing each layer of sanding.
After completing three layers of sanding and running the vacuum, use a damp mop over the entire floor to pick up any residual debris. A damp rag should be used over other surfaces in the room, such as mantel places, lighting fixtures, or windowsills, to pick up dust as well. A thorough cleaning will ensure that there’s no debris from sanding trapped under or in the finish. The final step before beginning with your finish is to clean the floor once more. Mineral spirits are recommended by many, but a less toxic option is vinegar diluted with water. Wipe the floor down again using a clean damp rag.
Stain & Seal
If you would like to apply a stain before sealing the floor, this is your moment! Once you’ve selected your stain, make sure you also select a conditioner to use before applying the stain. Follow the directions for the stain you’ve chosen. Make sure that as you apply the stain you work towards a doorway.
If you’re not applying a stain, you can apply a sanding sealer to the floor before applying your finish. Follow the instructions on the sealant and let it dry. Then use a fine 320 grit sandpaper to gently sand the floor. You will need to clean one more time after this sanding! Vacuum again and use a clean cloth one final time.

Photo by DUO Studio on Shutterstock
Adding a Finish
There are many types of finishes for hardwood floors, the most popular of which is polyurethane. You can buy polyurethane as a water-based, oil-based, or moisture-cured product: the water-based is clear, the oil-based is an amber color, the moisture-cured starts clear and ambers over time. Other DIY floor refinishing options include wax, conversion varnish, and natural oils.
Once you’ve chosen your finish, prep your applicators. Take your natural bristle brush and remove any loose bristles. Take your stain applicator and roll a lint roller over it to pick up any loose fibers or threads. You don’t want pieces of brush and fuzz trapped in your finished floor!
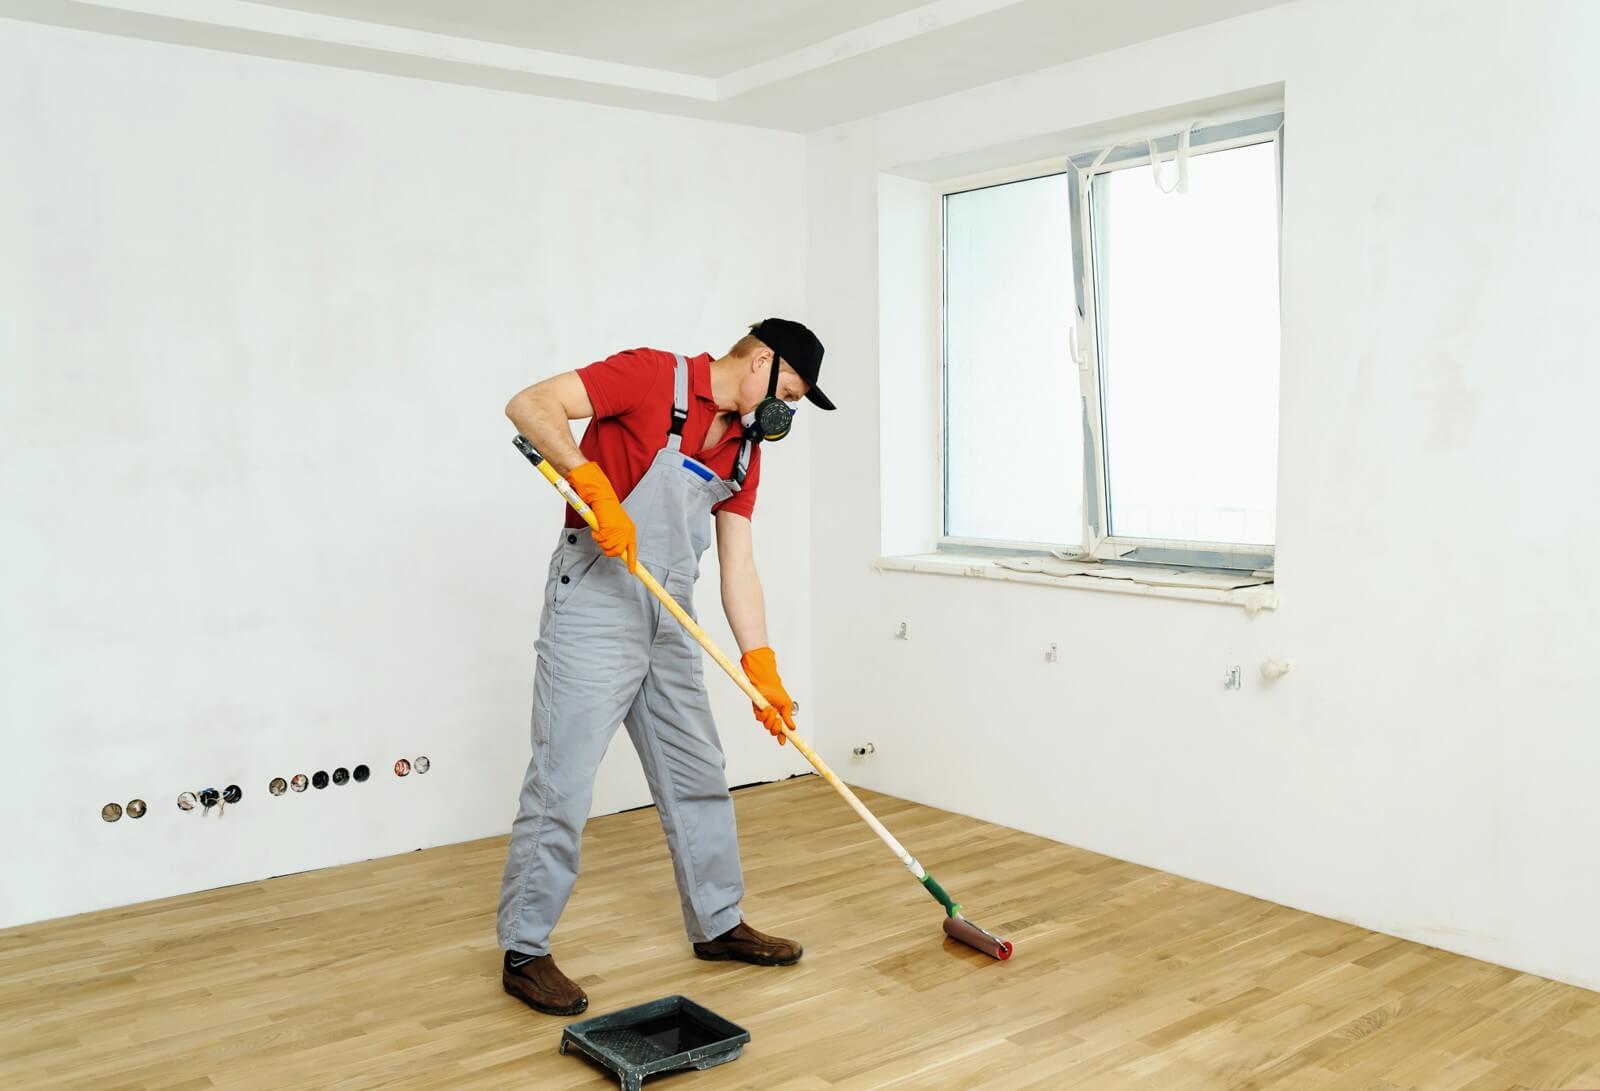
Photo by DUO Studio on Shutterstock
Using the brush, start at the edges of the room and spread the polyurethane with a firm, consistent pressure to avoid creating any bubbles. You want the brush strokes to overlap just a bit. As you move towards the center of the room, transition to using the stain applicator. Again, make sure you work towards a door so that you’re not trapped in a corner! Make sure to carefully read the instructions on the finish you’ve purchased. Let the floor dry for the appropriate length of time before applying the second coat.
After a few days, you’ll want to double check the floor to make sure the finish has hardened. If it remains sticky or soft, wait a little longer to use the space. Reattach your shoe molding and doors. Make sure you adhere felt pads to the feet of any furniture you move back into the room.
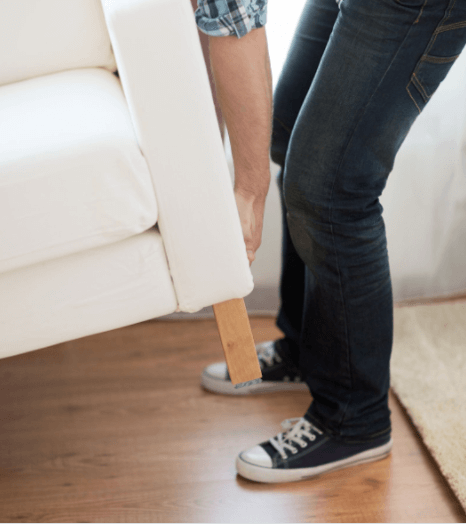
Photo by Syda Production on Shutterstock
Hopefully this guide helped you towards your goal of revitalized hardwood floors. Happy sanding!
DISCLAIMER: Readers should keep in mind that any accounts of building a home presented in this article are written accounts by the authors, and are not necessarily reflect the opinions of the owners of this website. You proceed at your own risk if you attempt the activities described here.


