


Will your guests be looking at that colorful abstract painting you just added to your modern living room or that ugly hole in the wall right beside it – a ghost of your previous home design?
Small cracks, holes, and dents can combine to do some serious harm to your home's overall look. They can take away from any home design you are trying to accomplish. And no matter how hard you try or how much money you spend, there they are – those holes and cracks threatening to steal the thunder from your decorating scheme.
You may be wondering what you can do to restore your home, walls, and paint jobs to their original pristine quality and let your design take back its rightful starring role. The answer may surprise you with its simplicity.
Spackling is a skill that just about anyone can learn how to do properly with minimal risk. A quick trip around your house with some spackle and sandpaper, followed by a lap with some touch-up paint, can do wonders to improve the atmosphere and perceived quality of your home environment. It’s easy, affordable, quick, and convenient! So why not get it done as soon as possible?

Photo by Bildagentur Zoonar GmbH onShutterstock
What Is Spackle?
Spackling paste or spackling compound is comprised of gypsum powder and binders, and it is used for patching cracks, small holes, and dents in drywall, plaster, and even wood. It can come in a pre-mixed paste form or in a powder that should be mixed with water before applying. Spackle® is a registered trademark, but the word is commonly used to describe the compound.
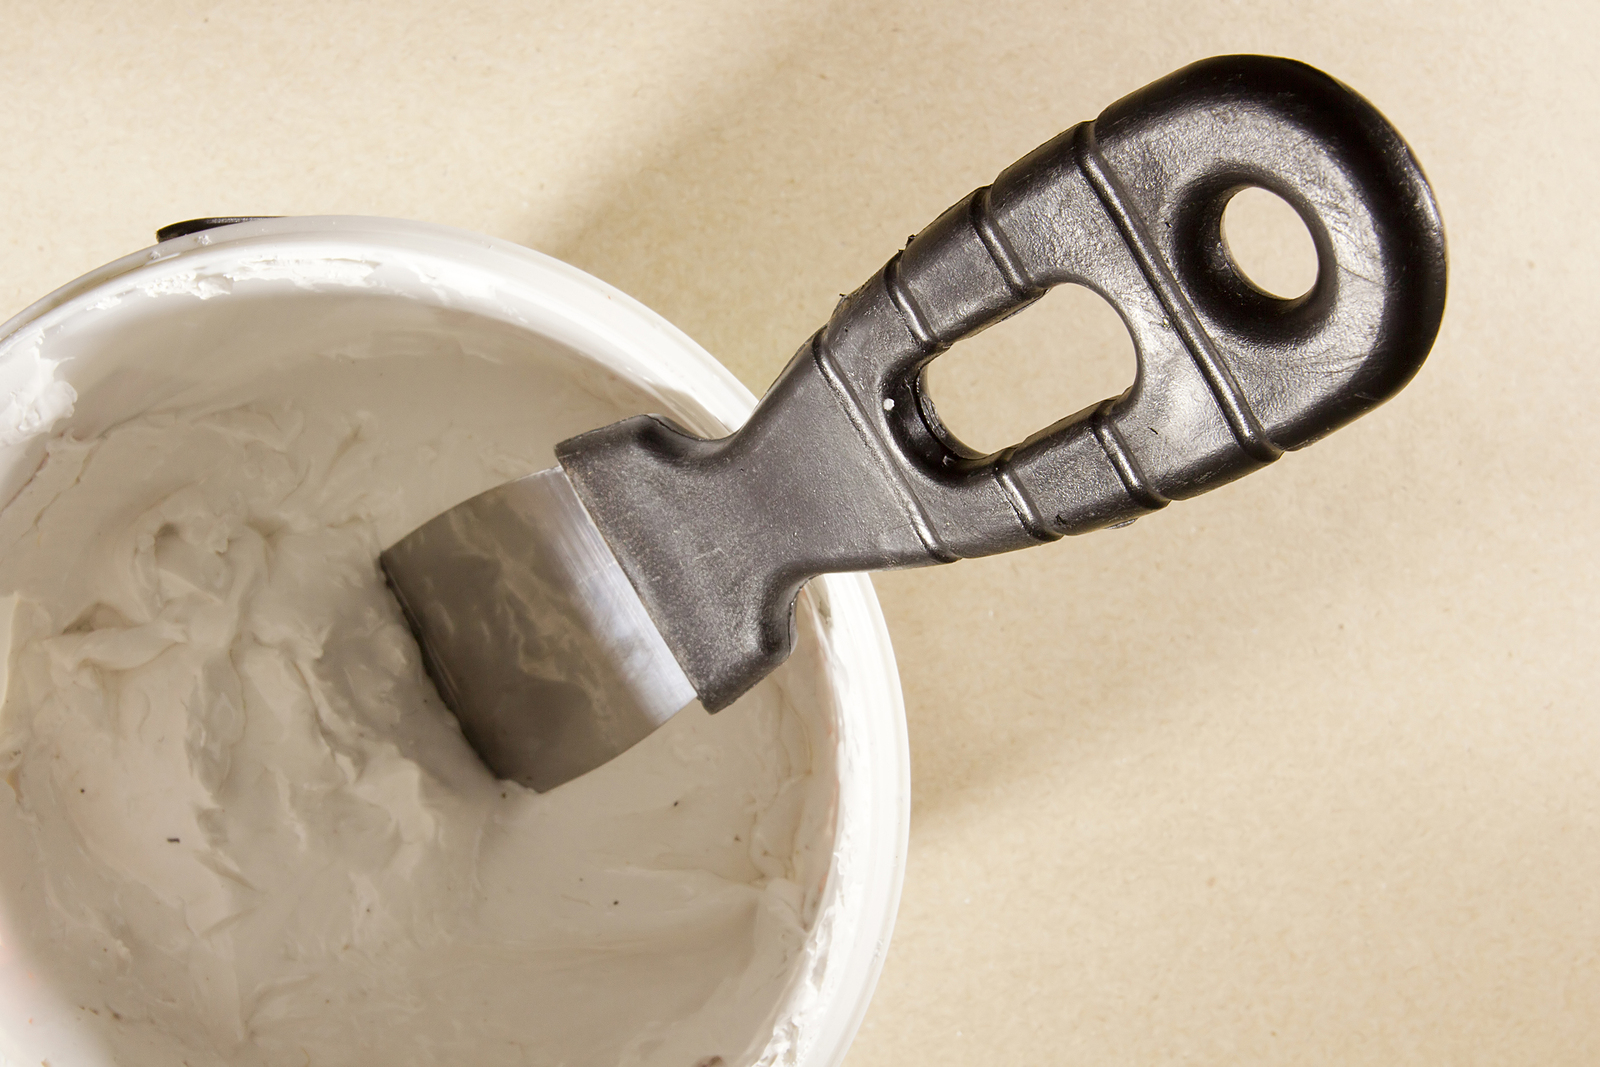
Photo Constantine Pankin on Shutterstock
When Should I Choose Spackle?
If the drywall itself or the paper on the drywall have been compromised, it might be too big a job for spackle. If the paper or the drywall core are damaged, you may need to mud and tape instead of spackle. If the damage seems superficial (less than 1/4 inch deep) or comes from small nails used to hang pictures, spackle should do the trick.

Photo by Okawarung on Dreamstime
Prep the Area
Slow down with that putty knife! The first thing you need to do is prep the area. This is a quick and easy process. All you need to do is clean the area and smooth out the surface.

Photo by Ermolaev Alexander on Shutterstock
What is meant by “smooth out?” Check out the area that needs patching. Did the nail leave some protruding wallboard, paper, or paint fragments when it got pulled out? Use your putty knife to gently scrape this away in order to level the surface, taking care not to make the hole or crack any bigger than it already is.

Photo by Evgeniy Zhukov on Shutterstock
Don’t worry about damaging the surrounding paint job – you’re going to touch up the paint to finish the job. Fine-grit sandpaper may work justs as well. Just make sure you’ve thoroughly cleaned off any residue after this process.
Apply the Spackle
Scoop up just enough spackle to fill in the hole that you’re working on and close the lid right away to keep your compound from drying. Feather the spackle over the damaged area with your blade at a 45-degree angle to the wall. Try to get some of the compound deep into the hole, but also take care not to build up an excess of spackle beyond the surface of the wall.

Photo by iamPOJ on Shutterstock
Once you’ve filled the hole, place your blade at a 90-degree angle to the wall and scrape away any excess compound that may be there, being cautious not to remove the spackle that’s filling the hole. Before the compound dries and sets, use a damp cloth to remove further excess in the surrounding area.

Photo by iamPOJ on Shutterstock
After a few hours of drying time, the spackle may have shrunk a bit, leaving a small depression that needs to be filled with a second coat. If there is any protruding excess or awkward texturing after your second coat has dried, gently sand it down with your fine-grit abrasive until even with the wall.
Touch-Up
Before breaking out the paint, wipe away any leftover debris with a dampened cloth. When the surface is level, clean, and completely dry, touch the area up with a paint that precisely matches the rest of the wall.

Photo by xveron90x on Shutterstock
Voila! A DIY home repair that takes very little time or skill, but will definitely leave you feeling like a satisfied pro and give your home design an opportunity to really shine.


