


A white picket fence is iconic of the American Dream, but this dream can happen anywhere on earth, and they do look very nice. When you have a well-built picket fence, it can help to accentuate the beauty of your home, make property boundaries, and provide some added security.
You could hire professionals to take care of the fence build and installation, or you could DIY. Before getting started, make sure you have the right tools on hand and time enough to tackle the job.

Photo by Paul Hakimata Photography on Shutterstock


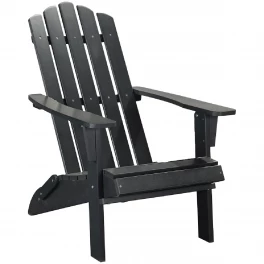
Prefabricated Fence Sections
Unless you are very skilled at woodworking, your best option when installing one of these fences is to buy prefabricated sections of fence. You can find these available for more than just picket fences if you ultimately decide on a different type of fence for your property. You can generally buy a 3-by-8-foot section of picket fence for just under $40.
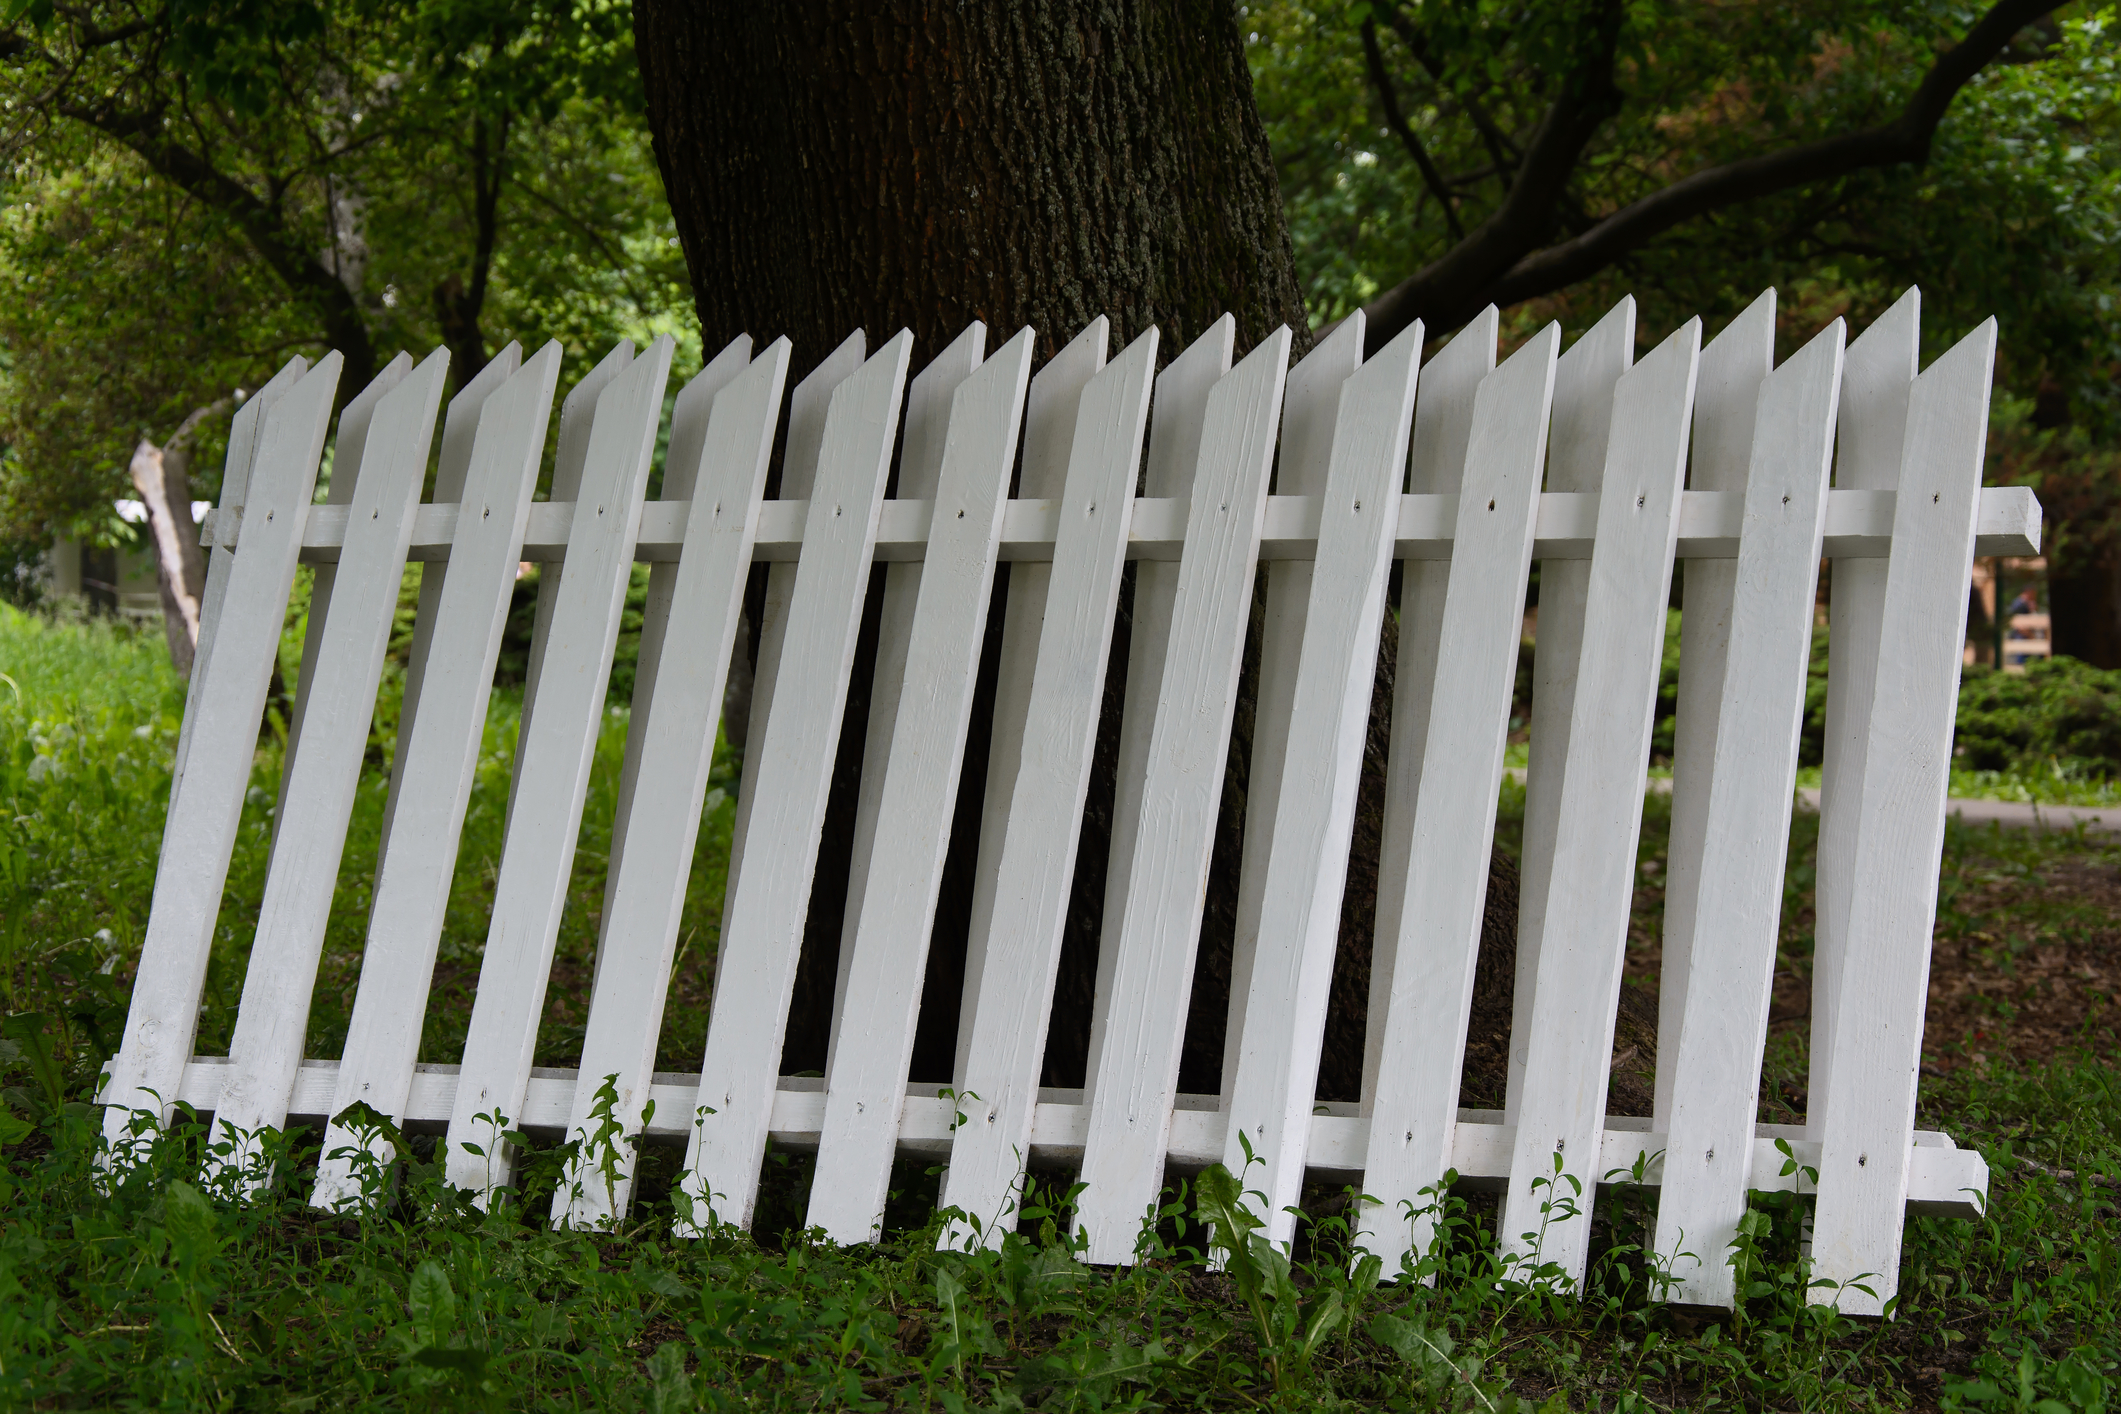
Photo by Iryna Pivtorak on Shutterstock
What Tools Will You Need?
You can't do without a level, a posthole digger, a drill, circular saw, tape measure, tarp, shovel, mason’s line, a 7-foot tamping bar, stakes, and a 7-foot digging bar. When it comes to the posthole digger, there's the options of a manual option or gas-powered digger.
If you have only a short fence, then you could do it manually. If you have a large number of sections to install though, it will be much easier to have a gas-powered option at your disposal. If you do not want to buy one, you can often find them for rent.
Be Sure it’s Safe to Dig!
This is a step that you can’t ignore. You need to know what’s underground before you start digging. Get the location of all of the buried utility lines that are on your property so you do not inadvertently hit them when digging. To learn where the utility lines are in the United States, call 811. This number will route you to your local call center, so you can get the information you need.

Photo by Monkey Business Images on Shutterstock
Digging the First Posthole
At the position of your first post, you will dig a hole that is 10 inches in diameter. You can start the hole with a shovel and then finish it up with the posthole digger. The depth of the hole should be about 32 inches., and the diameter should be 10 inches all the way down. You will then use the digging bar to help you cut through roots and to loosen any rocks. Remove the rocks and get rid of them.
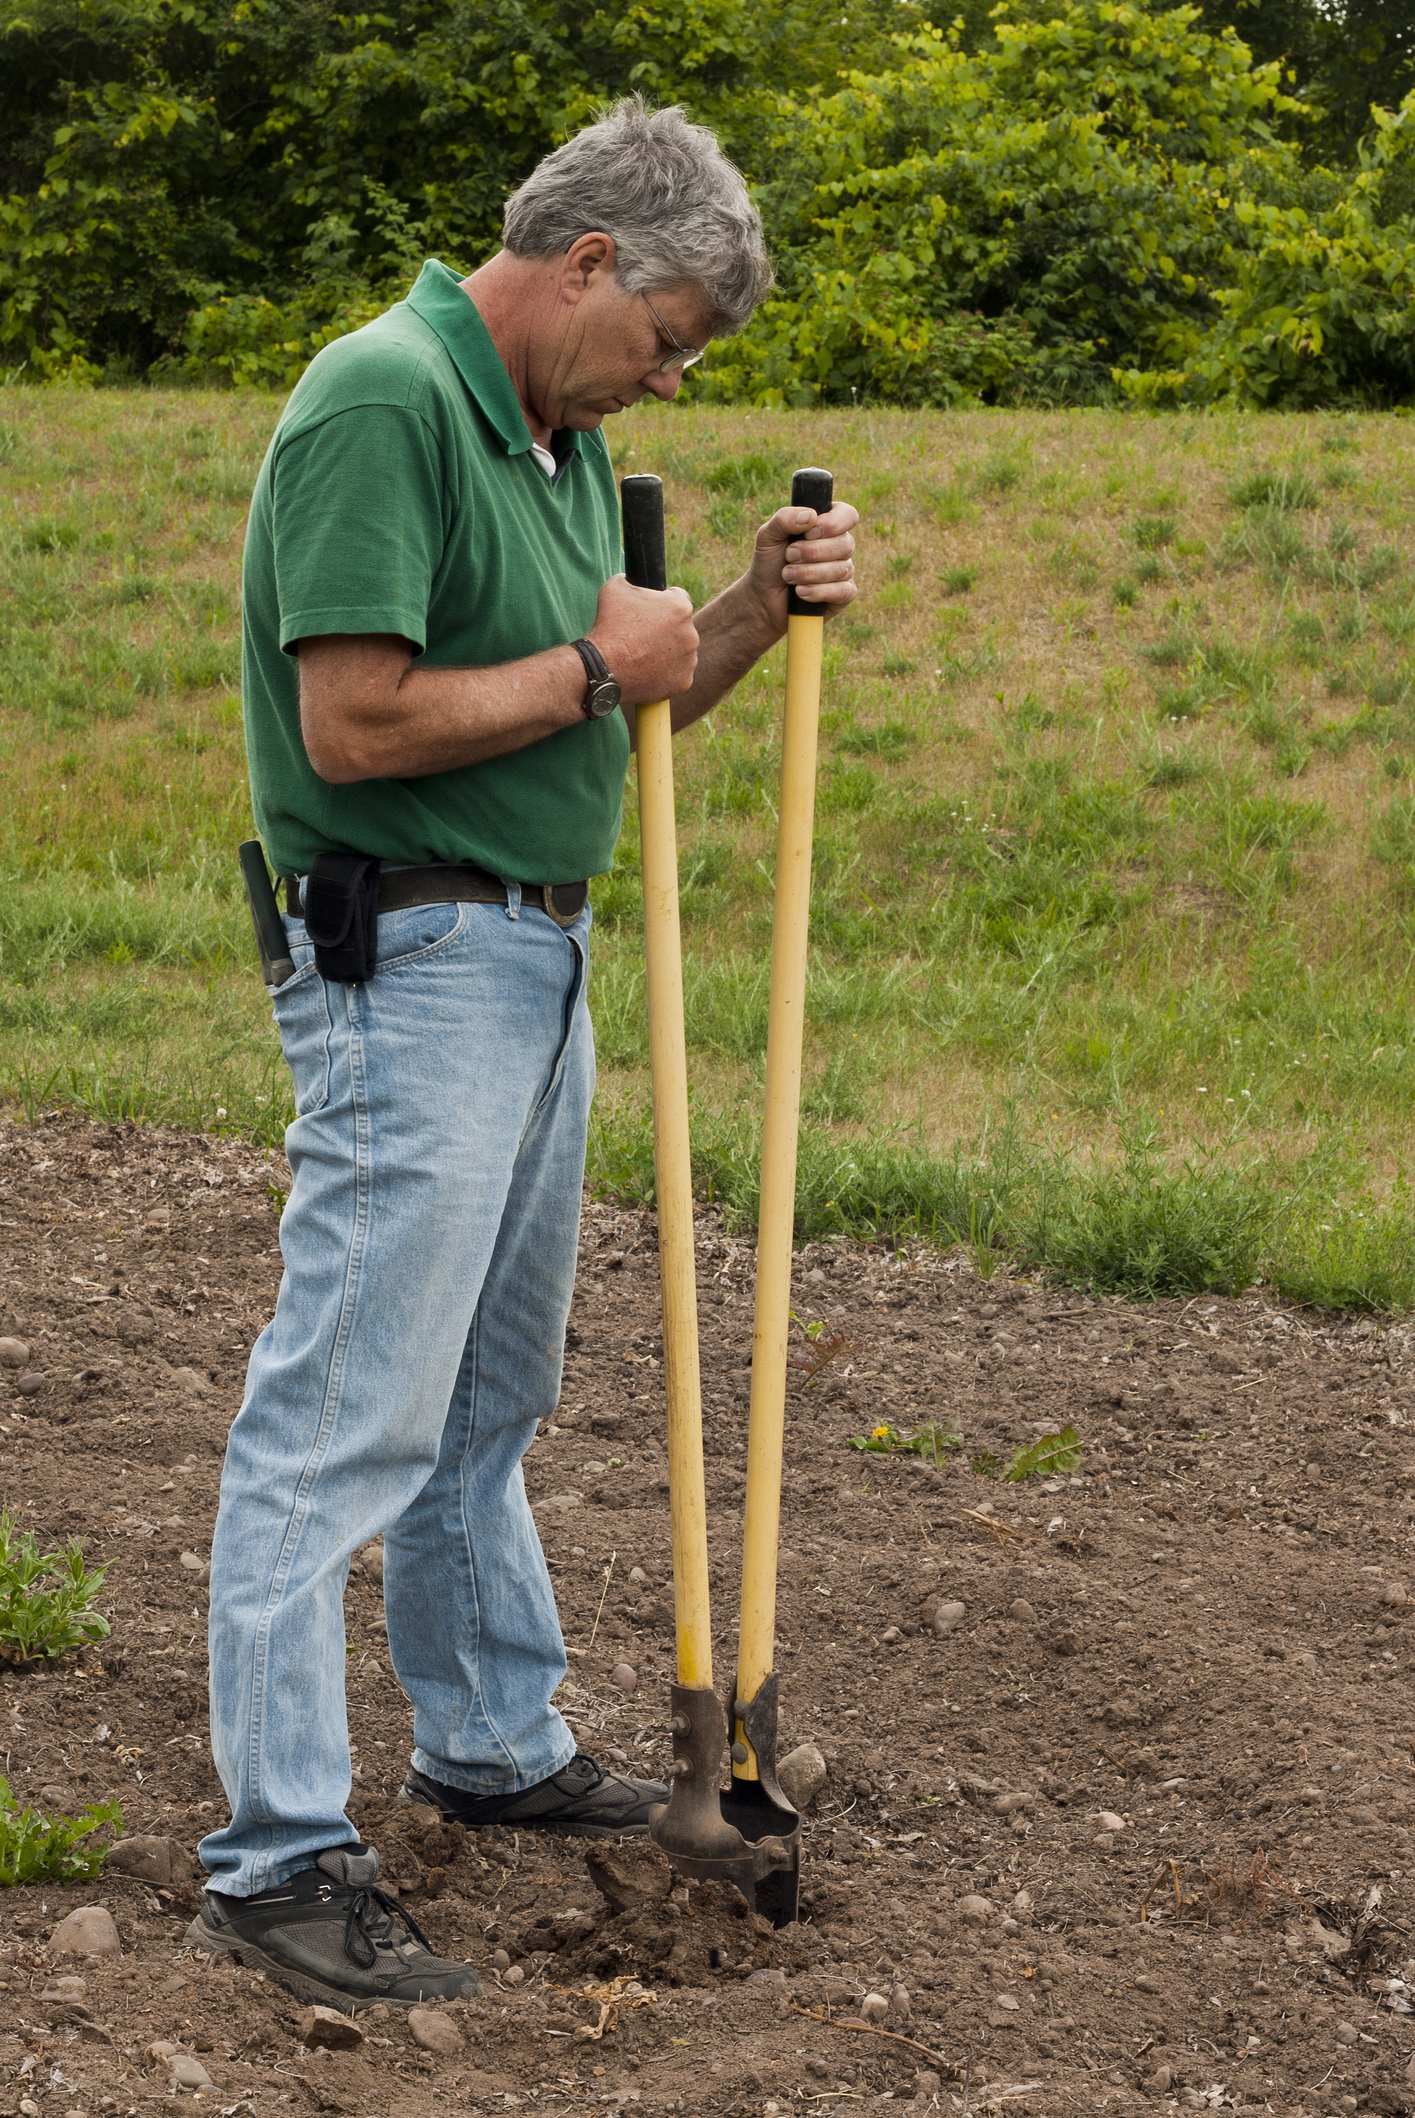
Photo by digitalreflections on Shutterstock
The dirt that you remove needs to be saved, as this will be going back into the hole. Place the dirt onto your tarp, so it will be easy to refill the holes after the posts have been installed.
Set the Post
Your next step is to set the post. If the post has mortises (holes in the fence posts that are used for interlocking), you will want to position the post so that the bottom of the fence is between 2 inches and 5 inches off the ground. Add around 8 inches of dirt to the hole, and then check to make sure that the post is level and straight.
Use your tamping bar to make certain that the dirt is tight and compact. Add another 8 inches of soil, make sure it is straight and level again, and then tamp down the newly added soil. Do this until you have filled the hole completely.
The Second Posthole
You need to make sure that the posts are all set evenly in the ground so the fence will be even too. To help make this easier, use the mason’s line and tape it to the outside of the first post about 5 inches above the ground. Use the tape measure to determine where the next post will begin.
Take a stick or stake and place it in the ground at the point where the second fence post’s corner will start. Wrap the mason’s line around the stake, making sure it is also 5 inches off the ground. Then, you can dig your second hole just as you did the first. Do the same with all of the posts that you have.
Add the Panel Sections
Now it will start to resemble a fence even more. You will slide each of the panels into the mortises in the posts. They should slide in easily, and they should be even, if you have done a good job with your measurements. Secure them with screws.
If you have a fence that doesn’t have mortices, then you will prop the section up against the post so the top rail is level and the bottom of the fence closest to the post is between 2 and 5 inches off the ground. You can then attach it using screws. You will repeat this on each of the posts.
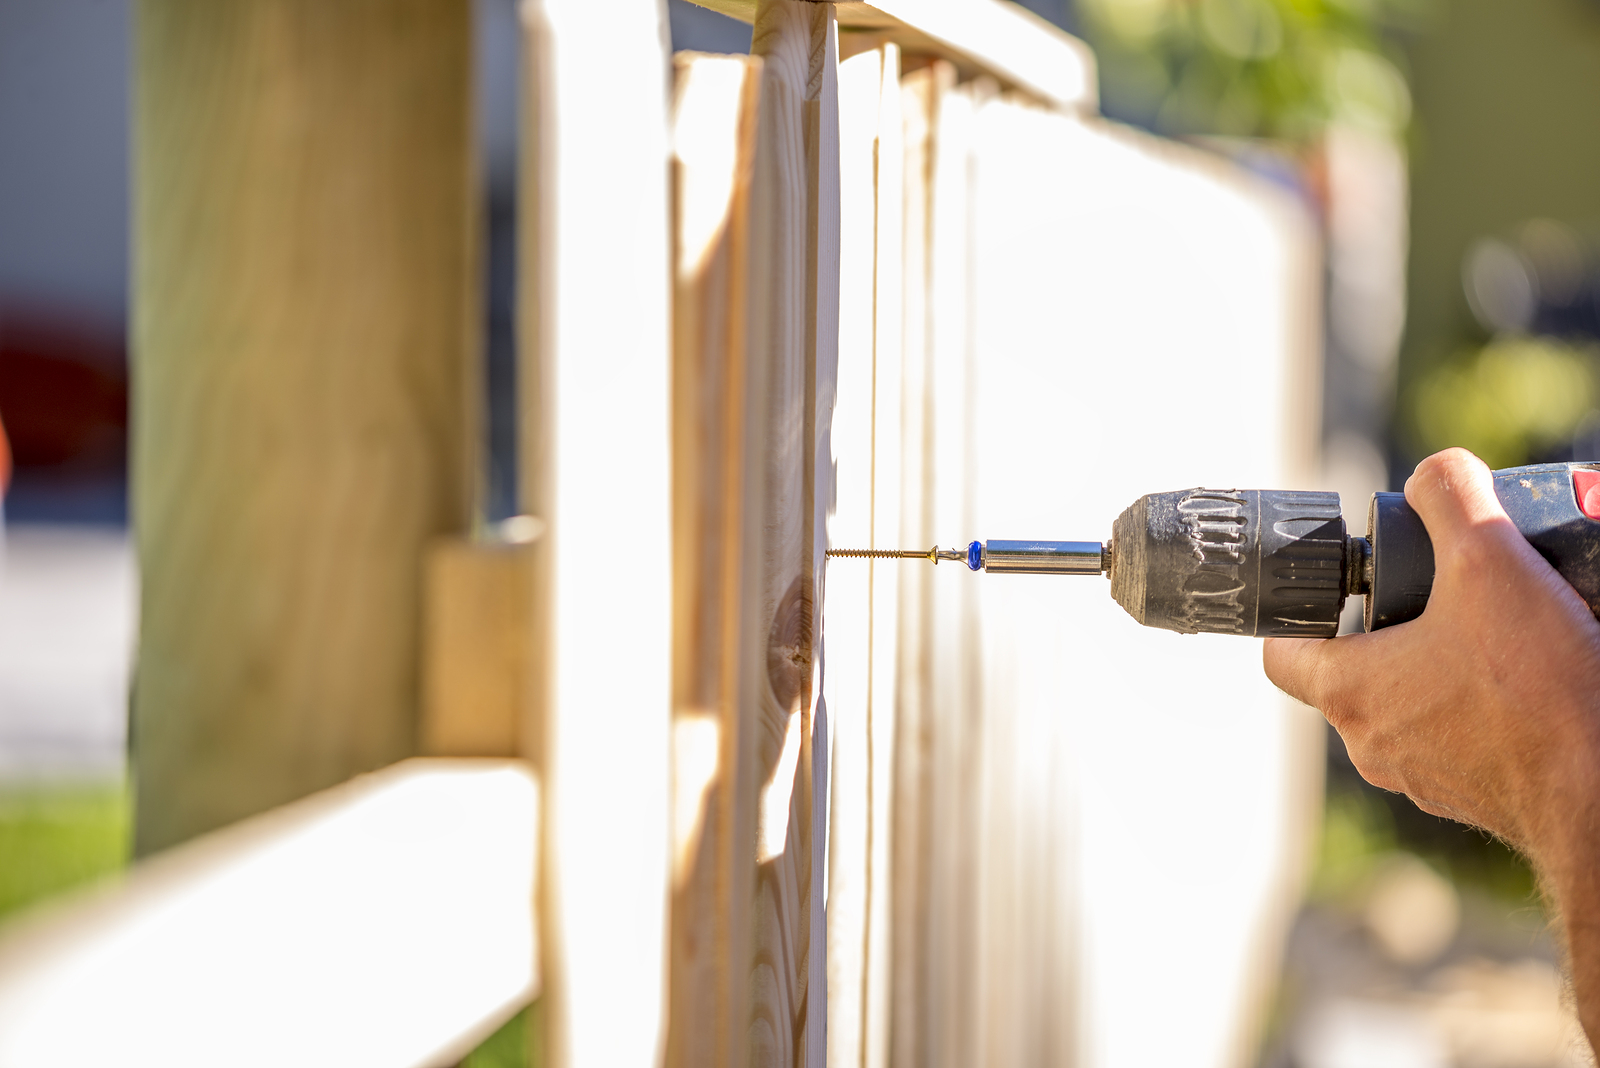
Photo by Gajus on Shutterstock
The Gate
If your fence has a gate, you will install it similarly. Set the posts just as you did earlier for the fence, taking care to measure the width of the gate, and making certain the tops of the posts are level for a proper fit. Finally, you will hang the gate (you can use wedges to prop the gate up to the right level) and attach the hinges. It's important to leave a 3/4-inch gap between the post and the gate on each end.

Photo by Les Palenik on Dreamstime
Installing a white picket fence is not beyond the reach of a DIYer. It will take time and effort but talk about the end result! You'll get to enjoy your proverbial house with a white picket fence at last!


