


Wood floors require maintenance. Wood is a durable material, but daily wear-and-tear takes a toll on the protective finish. After a few years, your home's floor will need a little revamp to cover scratch marks and worn grooves in the wood. There’s no need to rip up your flooring and lay down new floorboards for a few nicks and scrapes. Give your wood floor a fresh new look with a new stain or coat of paint. It’s a home improvement project you can complete in one weekend at minimal cost. Here are some easy steps to help you get the job done right.
1. Gather Your Materials
You don’t need many materials to re-vamp your floor. Paint rollers, brushes, and a sander are the tools you’ll need. Gather latex primer, and floor paint to apply once the floor is prepped. Lastly, have some trisodium phosphate handy to scrub the floor before you begin.
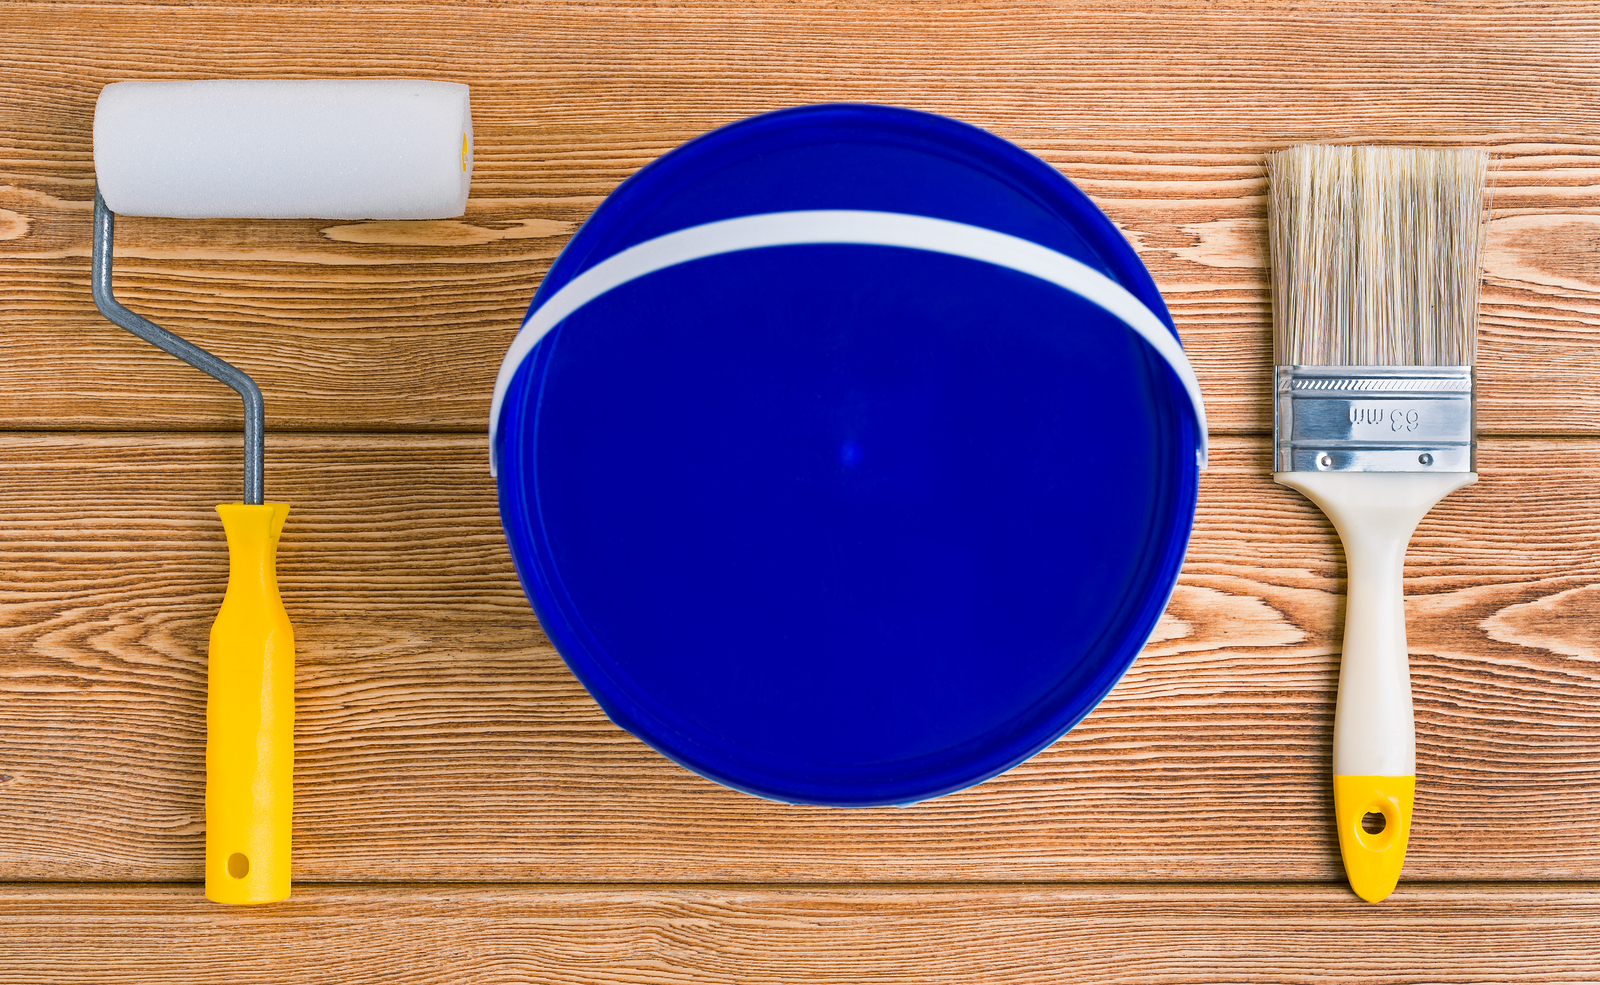
Photo by Windofchange64 on Shutterstock


2. Clean the Floor
Once your room is clear, scrub down the floor with trisodium phosphate. The product can be found at most home improvement stores and even some drug stores. Trisodium phosphate can cause severe damage to the eyes and skin, so wear protective goggles and gloves while you clean.
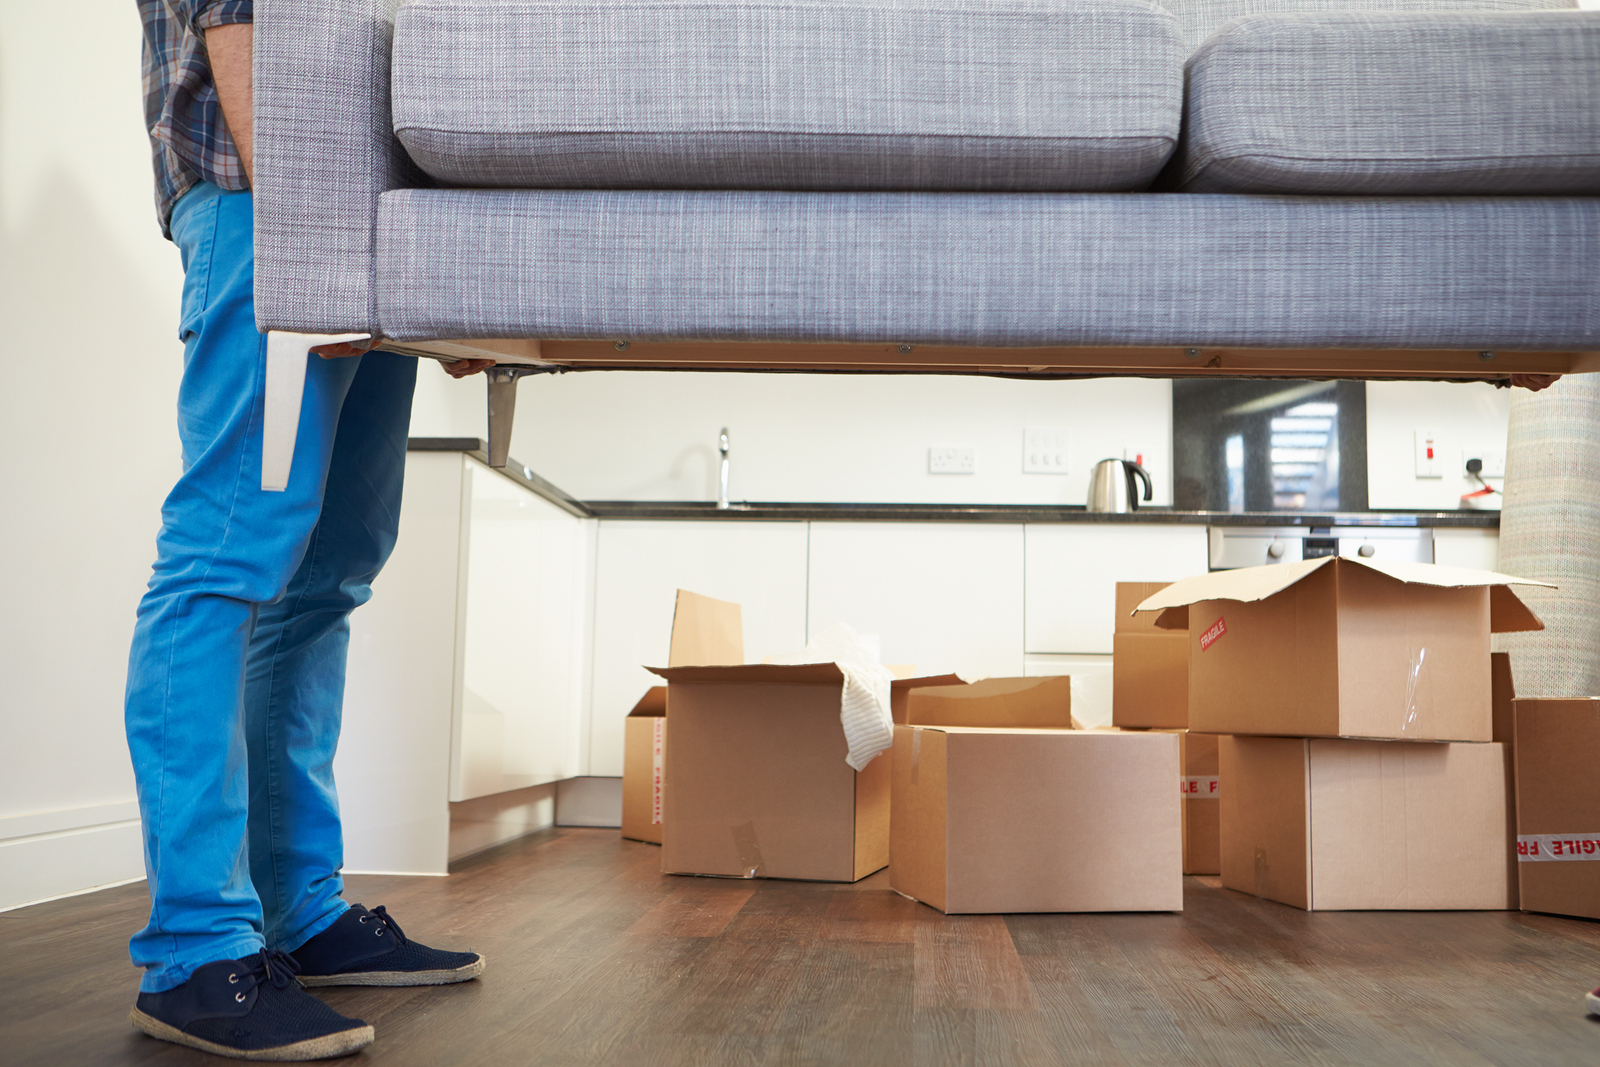
Photo by Monkey Business Images on Shutterstock
3. Sand the Floor
If your floor looks beaten up, you need to smooth it down before you paint. Sanding your floor will also give it a textured surface your paint job will easily stick to. For the best results, use a 220-grit sandpaper.
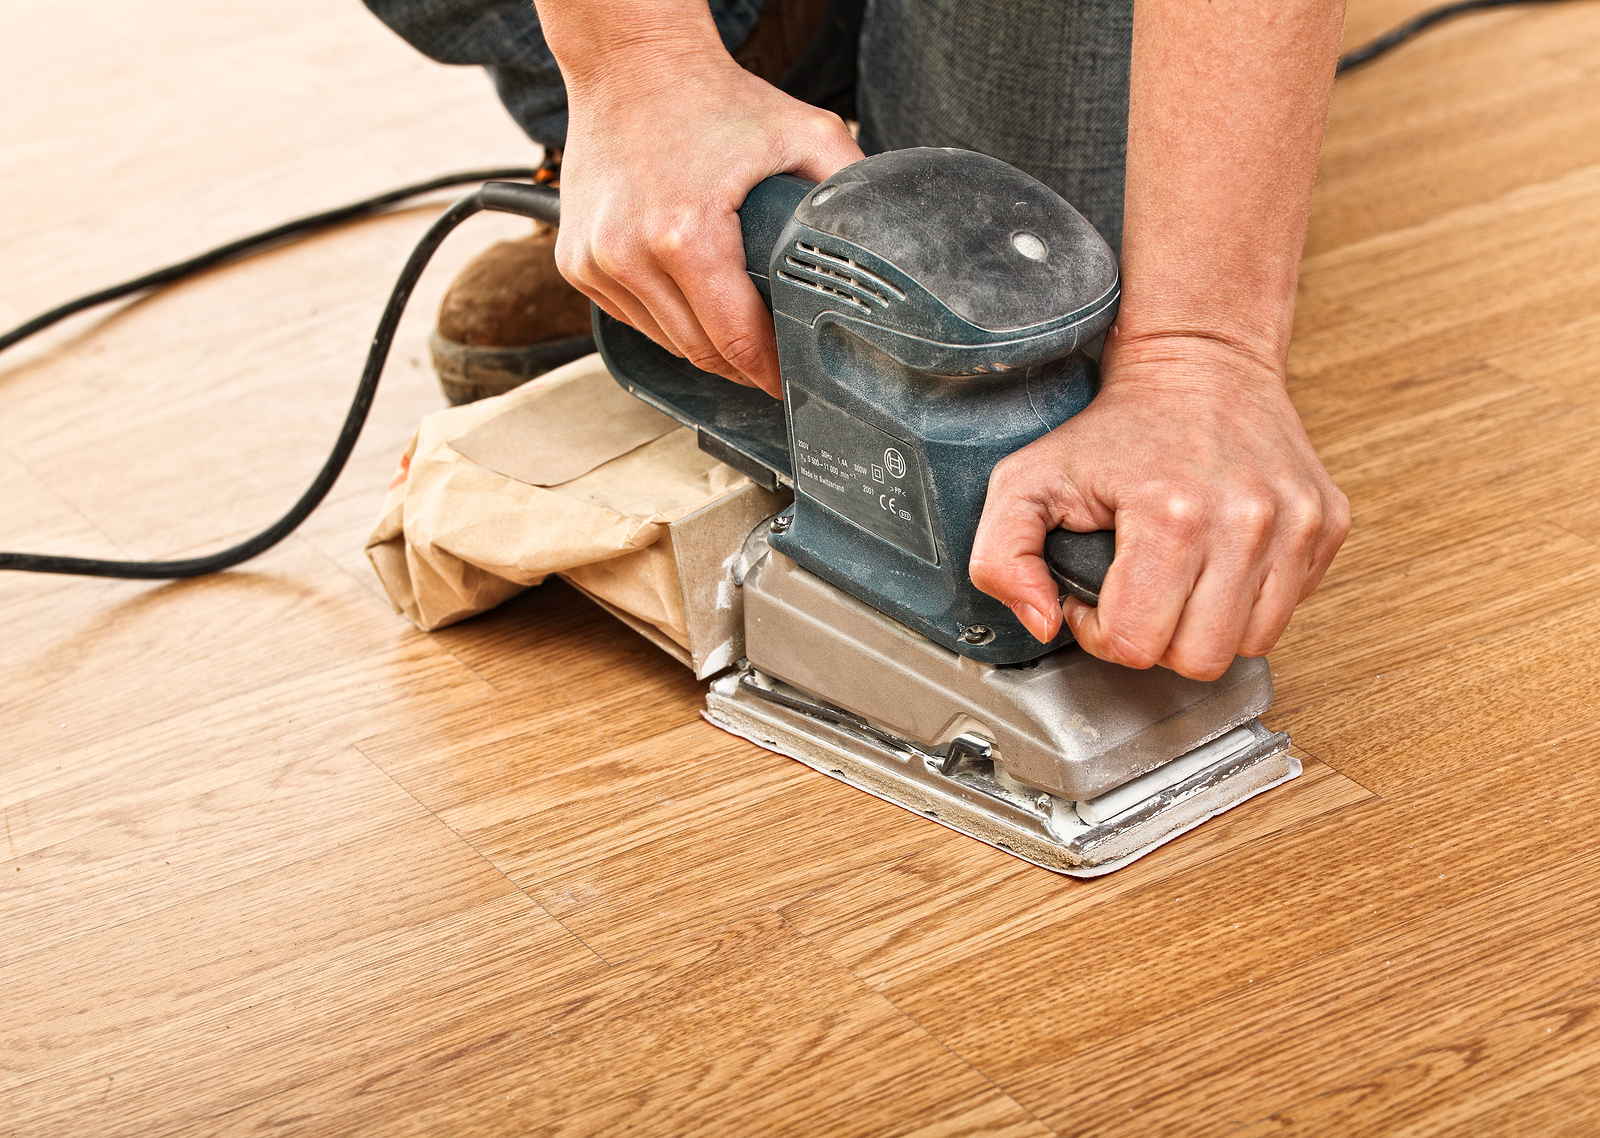
Photo by gualtiero boffi on Shutterstock
4. Fix the Floor
Appliances, puppy claws, and toys are just a few items that can nick small chunks out of a wood floor. A little caulk will fix these worn spots. Trim any jagged or bulging areas and then fill the holes with caulk. Smooth out your patch job with a putty knife, then sand the repaired areas again. Once you’ve finished these repairs, your floor should have a uniform, even surface all around.
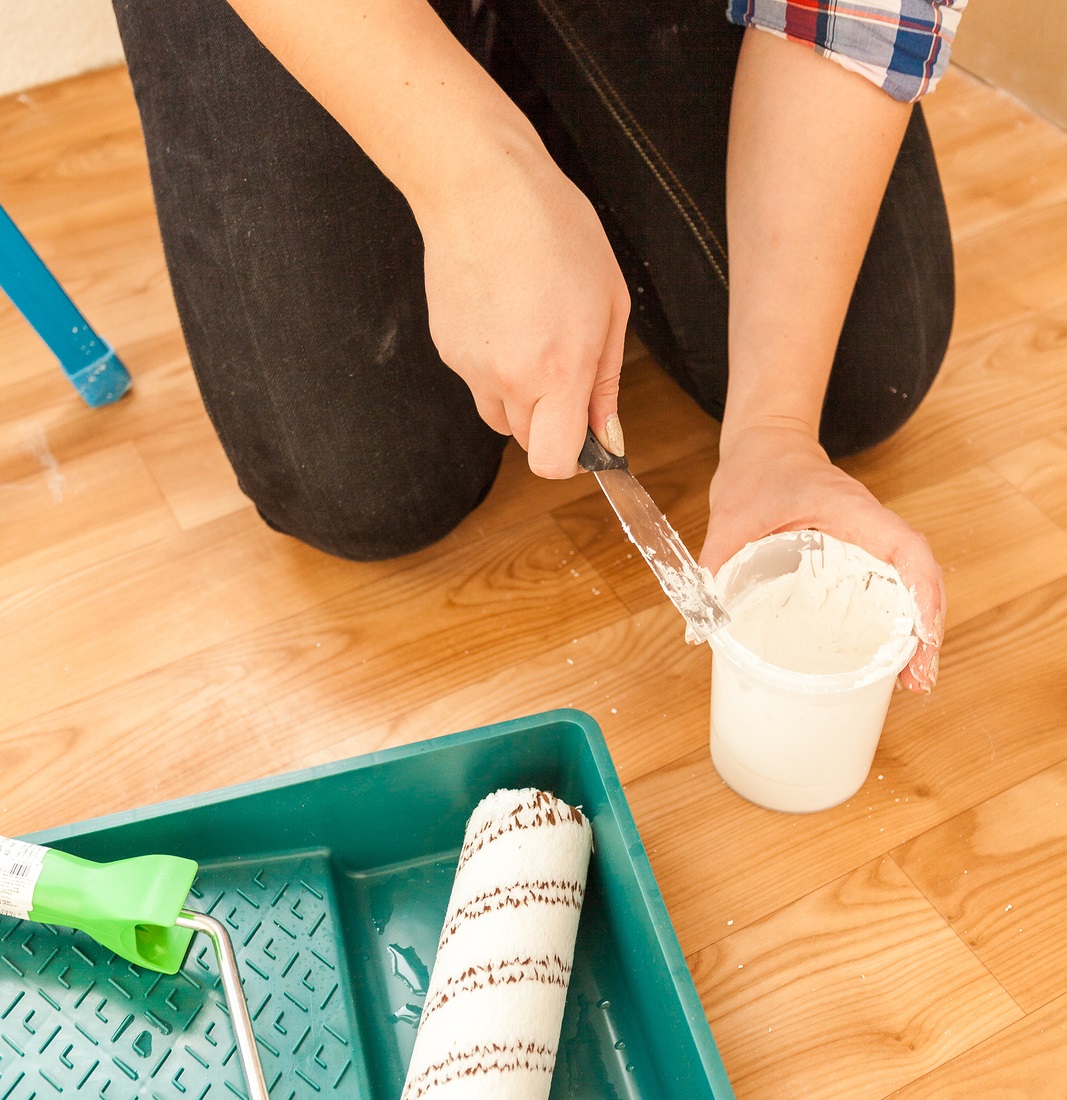
Photo by kryzhov on Shutterstock
5. Vacuum the Excess Debris
After you sand, caulk, and re-sand, your floor will need a thorough sweep to get rid of extra particles. Use a vacuum to get rid of dust and debris. Don’t forget this step. If you don’t clear your floor before you start painting, excess dirt and dust will be painted onto your smooth floor.

Photo by Andrey_Popov on Shutterstock
6. Apply Primer
Use latex primer to set down a base coat. For this step, treat your floor as you would any painted surface in your house. If the first coat doesn’t look like it provides enough cover, let it dry and apply a second.

Photo by Kiwimate on Dreamstime
7. Vacuum Again
Once your base coat has dried, give your floor another clean. Debris will be most noticeable if trapped underneath your colored coat of paint.

Photo by Phovoir on Shutterstock
8. Paint the Floor
Work from one side of the room to the other. Make sure your painting pattern leaves you right by the door when you finish. Don’t limit yourself. Floor paint can have grid patterns, stripes, or alternating checkers. Don’t let the fact you’re painting a floor limit your imagination. Just craft your creativity so that it fits with the pattern of your floor. Stripes, for example, should run in the same direction as your floorboards. If you have a grid, keep the colors and pattern consistent.
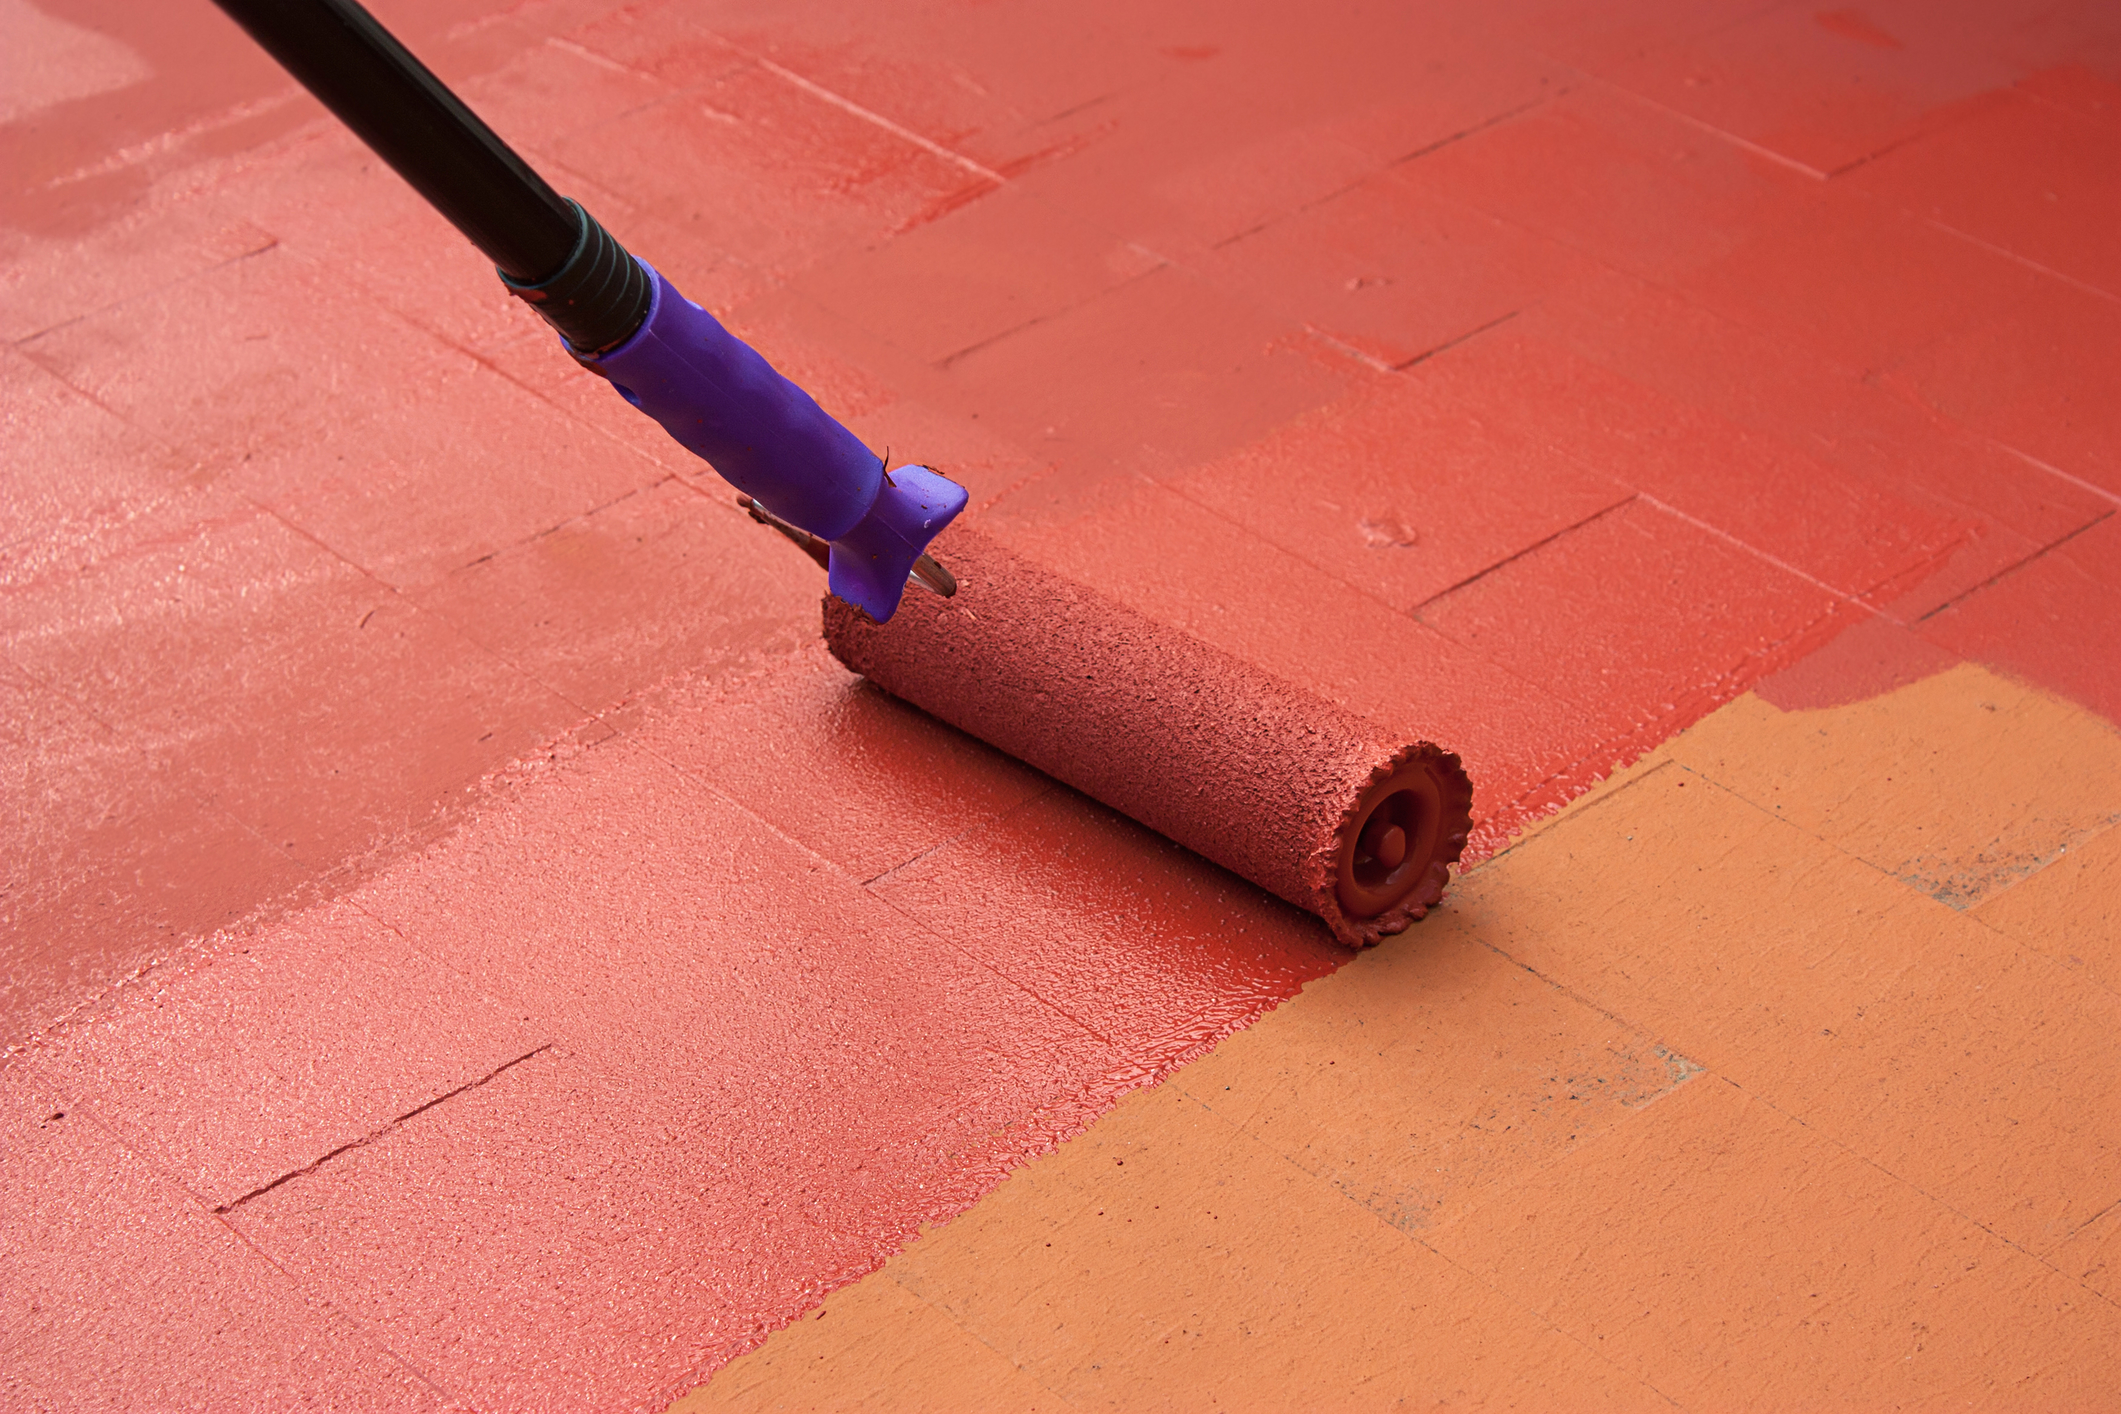
Photo by maicasaa on Shutterstock
It doesn’t take a huge renovation to give your home a fresh look. Take a weekend and update the living room. When it’s this easy, there’s no excuse for a worn-out floor.
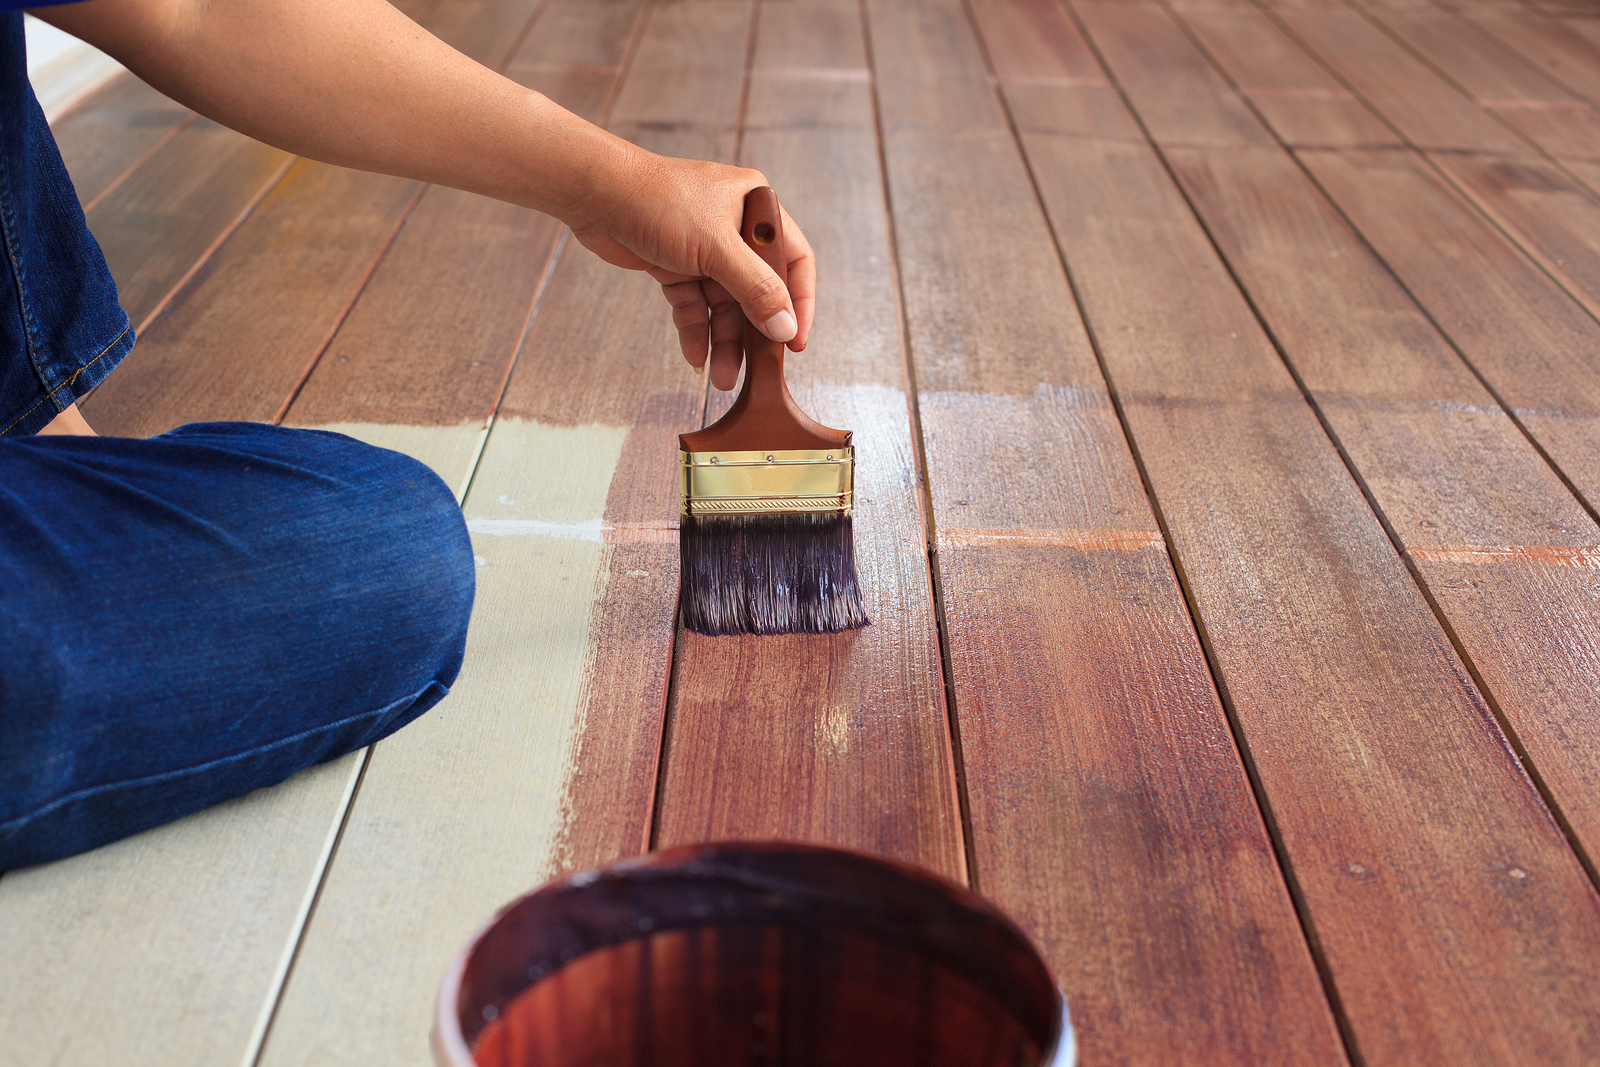
Photo by stockphoto mania on Shutterstock


