A working refrigerator is an important household item. Keep yours running effectively and efficiently by cleaning the condenser coils at least once a year. Depending on the location of your coils, dust, dirt, and pet hair can collect on and around the coils, which prevents the refrigerator from releasing heat. As a result, the compressor has to work harder and run longer which uses more energy and shortens the life of the refrigerator. You will need a few tools and about a half-hour to clean the coils. Cleaning your refrigerator's coils once in a while certainly beats a costly service call, or having to buy a new refrigerator.

Photo by Andriy Popov on Alamy
Tools You’ll Need
Two tools that make coil cleaning easier are a vacuum with a crevice and brush attachment, and a condenser coil cleaning brush. The brush is bendable and made to fit in tight spaces. You can purchase one online or from any hardware store. This brush can also be used to clean dehumidifier and air conditioner coils.
Find Your Coils
Condenser coils are located either on the back side of the refrigerator or across the bottom in the front. These coils cool and condense the refrigerant that cycles through them with the help of a compressor. When located on the bottom of the fridge, dirt, dust and pet hair can form around the coils, which makes them unable to cool the refrigerator effectively.
Coils located on the back of the refrigerator are less likely to get clogged with dirt and pet hair, but still need cleaning.
Unplug the Refrigerator!
Before doing anything, unplug the refrigerator from the wall or turn it off at the circuit breaker. Never work on any electrical device that is plugged in.
Shut Off the Water
If your refrigerator has a water or ice maker, shut off the water supply while the power is off.
Front Coil Cleaning
If the coils are on the front of the refrigerator, remove the kickplate at the bottom. It should pull or snap off. You will need to get down on the floor to look under the refrigerator. Use the coil brush and the vacuum to gently remove all the dust, dirt, and pet hair from around the coils. Vacuum the kickplate was well and reinstall it.
On the back of your refrigerator is the access panel for your condenser and condenser fan. It is a good idea to clean this area as well when you clean the coils. To do this, you will need to move the refrigerator forward to get to the panel. If your refrigerator is large and heavy, find a friend to help you move it. Place cardboard on the floor in front of the refrigerator to protect the floor.
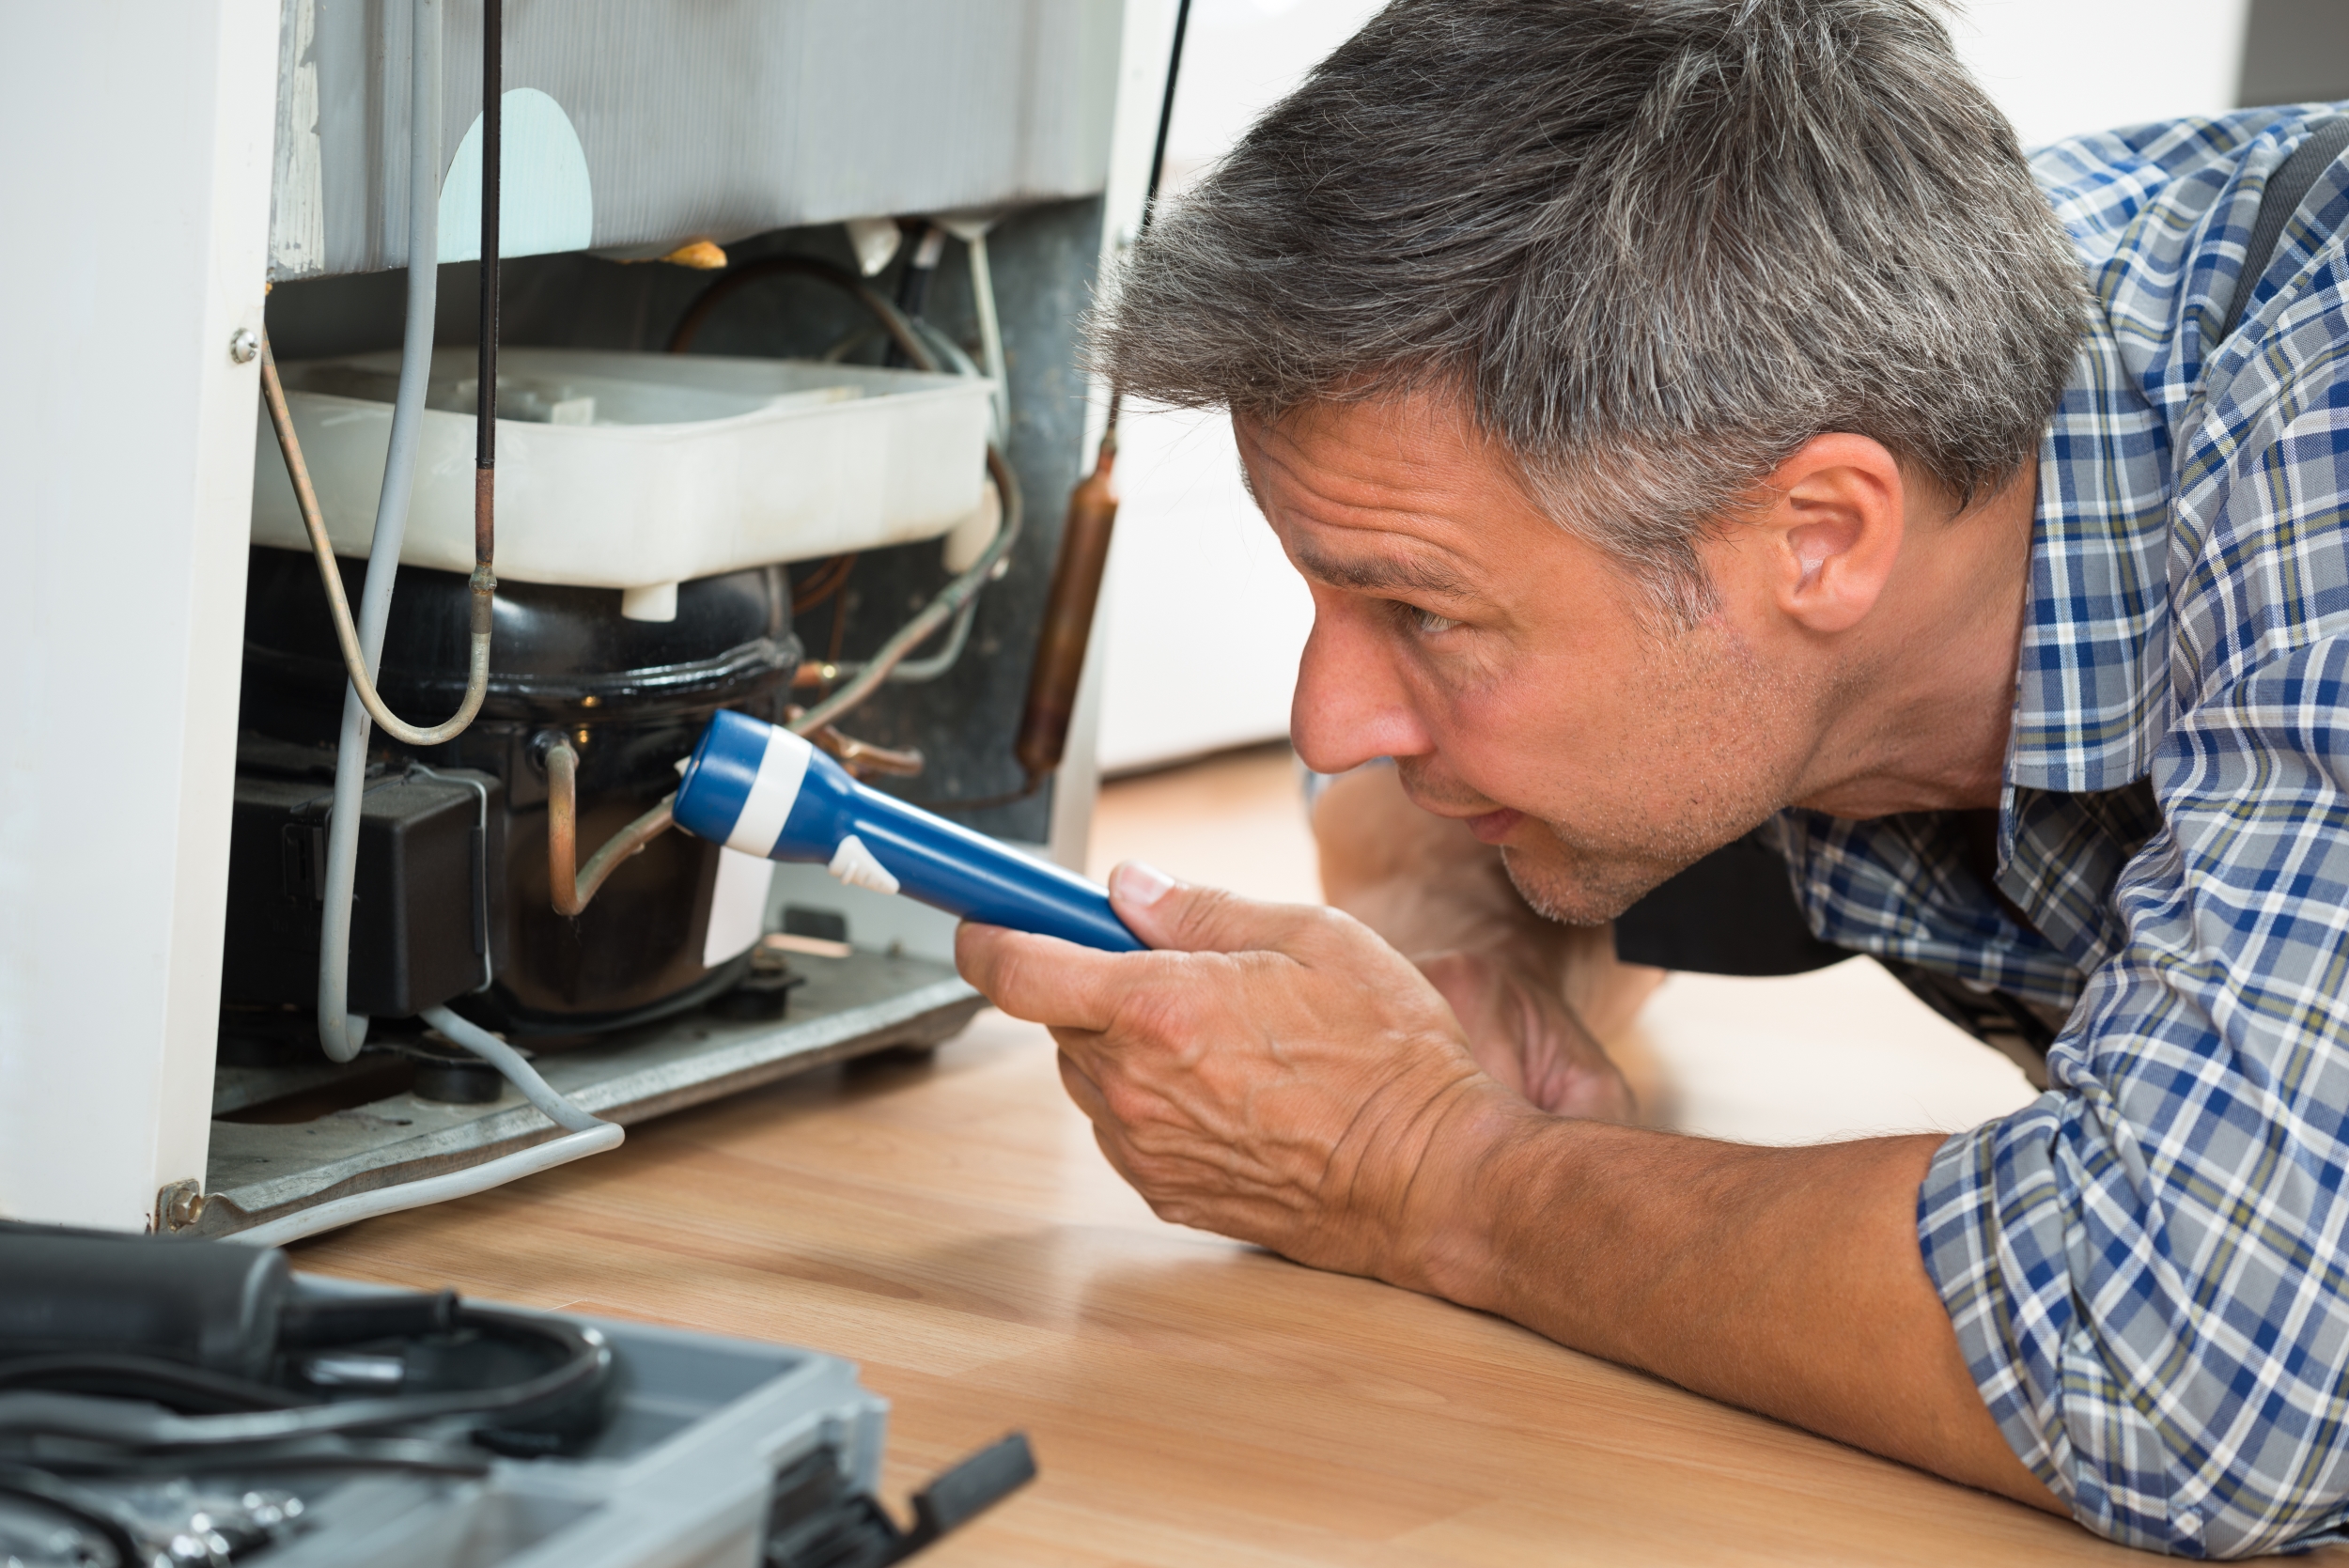
Photo by Andrey_Popov on Adobe Stock
You will need a screwdriver to remove the screws from the condenser panel. Remove the panel and use the coil brush, vacuum, and rag to clean the condenser area. Use a soft cloth to brush off the fan. Once clean, reinstall the panel and gently push the refrigerator back in place. Plug in the refrigerator or turn on the circuit breaker, turn on the water or ice maker, and you should be good for another year.
If you own multiple shedding pets, you may want to clean your bottom coils every six months or more as pet hair has a fondness for condenser coils and likes to collect there.
Rear Coil Cleaning
If the condenser coils are on the back of the refrigerator, you will need to move the refrigerator forward to get to the coils. Have a friend help move the refrigerator if it is large and heavy. Place cardboard on the floor in front of the refrigerator to protect the floor.
Once away from the wall, use the coil brush and vacuum to gently clean the coils.
Rear coils do not get as dusty and dirty as bottom coils, but it is still important to clean them.
Examine the water and drain lines for mold and clean any found.
The condenser is located in a compartment below the coils. Brush, clean, and vacuum this area as well. Refrigerators with coils on the back do not have a condenser fan.
With your refrigerator being away from the wall, now would be a good time to clean the floor behind it. Also wipe down or vacuum the walls as dust can accumulate on the wall and migrate to the coils.
Clean the top of the refrigerator as well to get rid of as much dust as you can. Less dust around the refrigerator means less dust on the coils.
Carefully push the refrigerator back in place, plug it in or flip the breaker and you are done. Your refrigerator should be humming and happy. Remember to turn on the ice or water maker if so equipped.
It takes a little bit of time and effort to clean your refrigerator coils, but it is time well spent. The average refrigerator uses approximately 15 percent of a home’s total electric. A refrigerator with dirty coils can use up to 25 percent more energy as it needs to work harder and run longer to keep the inside cool. To avoid excess energy usage and a costly replacement or repair, get in the habit of cleaning your refrigerator coils on a regular basis.


